During winter, I often liked sitting outside for a few minutes after my university lecture instead of going straight home.
One day, I sat near a tree in the warm afternoon sun and noticed how its branches and leaves made such a simple shape against the sky.
That quiet little break gave me the idea to turn the tree in front of me into an easy paper craft using simple shapes.
It felt like a nice way to recreate one of those ordinary university moments that somehow stays in your mind.
Let’s make this tree craft.
- How Trees Make Food and Use Energy
- Material Needed :
- Step-by-Step Guide
- 1. White Circle Base
- 2. Brown Paper Trunk
- 3. Green Paper Strips
- 4. Paper Strip Branches
- 5. Curled Paper Leaves
- 6. Colorful Star Tree
- Fun Facts About Trees
- Why Cutting Down Too Many Trees Is Harmful
- Trunk Holds the Design Together
- FAQs
- Can I Make This Tree Craft for Different Seasons?
- Can I Add Birds or Fruit to This Tree Craft?
How Trees Make Food and Use Energy
Trees make food through photosynthesis, using sunlight, water, and carbon dioxide to produce sugars inside their green leaves.
Those sugars are then used during respiration, where tree cells release the energy needed for growth, repair, and other activities.
Photosynthesis mainly happens when light is available, while respiration continues during both the day and the night.
Together, these two processes help trees make food, release usable energy, and continue growing throughout their life.
Material Needed :
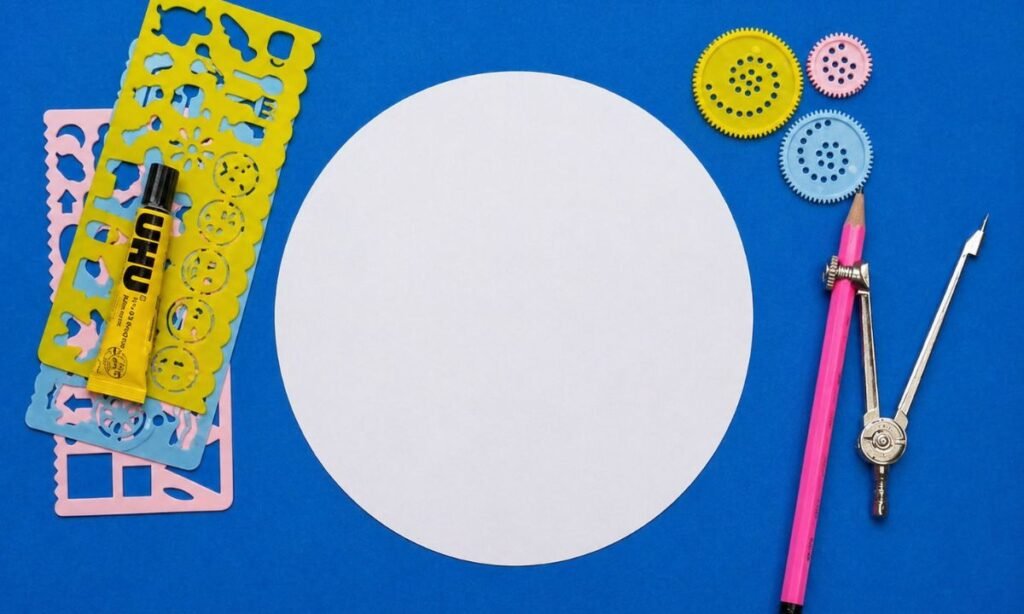
• White chart paper
• Brown paper
• Green paper
• Colored papers
• Glue
• Scissors
• Pencil
Step-by-Step Guide
1. White Circle Base
Start by cutting a large circle from white paper, using a compass to draw an even outline before cutting.
Place the circle on a flat surface so you have enough room to arrange the tree pieces neatly.
Make sure the paper is large enough to fit the trunk in the center and green strips around it.
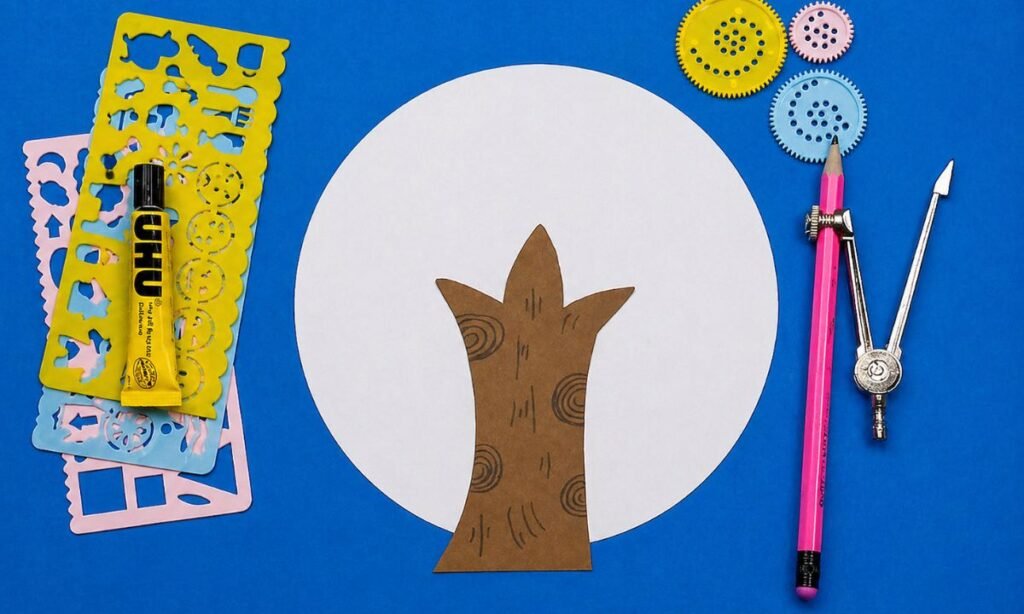
2. Brown Paper Trunk
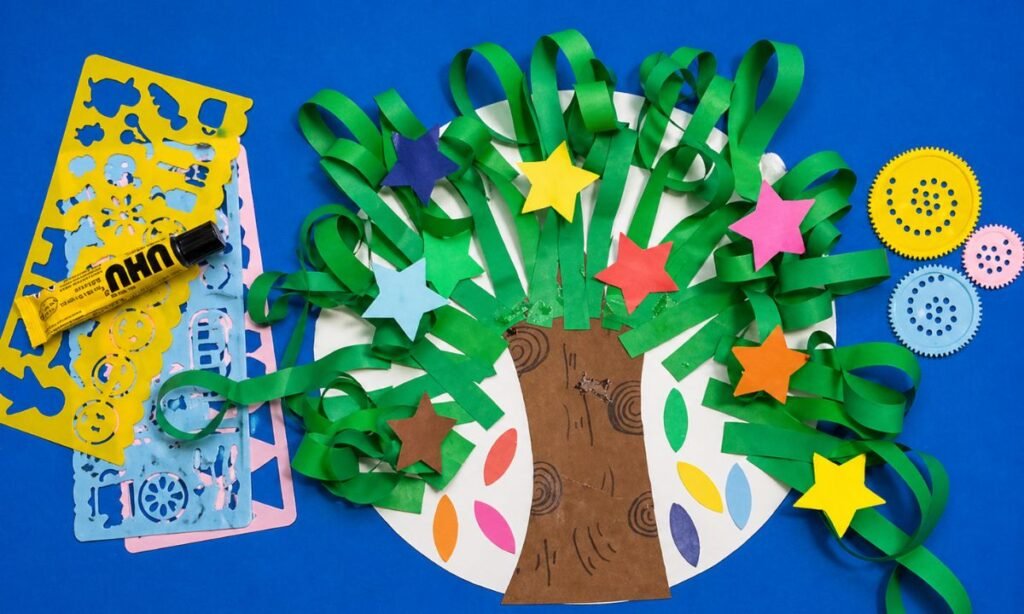
Cut a tree trunk from brown paper, making three pointed branches at the top to give it a natural shape.
Use a black marker to draw small curved lines and circular patterns across the trunk for bark details.
Glue the finished trunk onto the lower center of your white circle, leaving plenty of space above for leaves.
3. Green Paper Strips
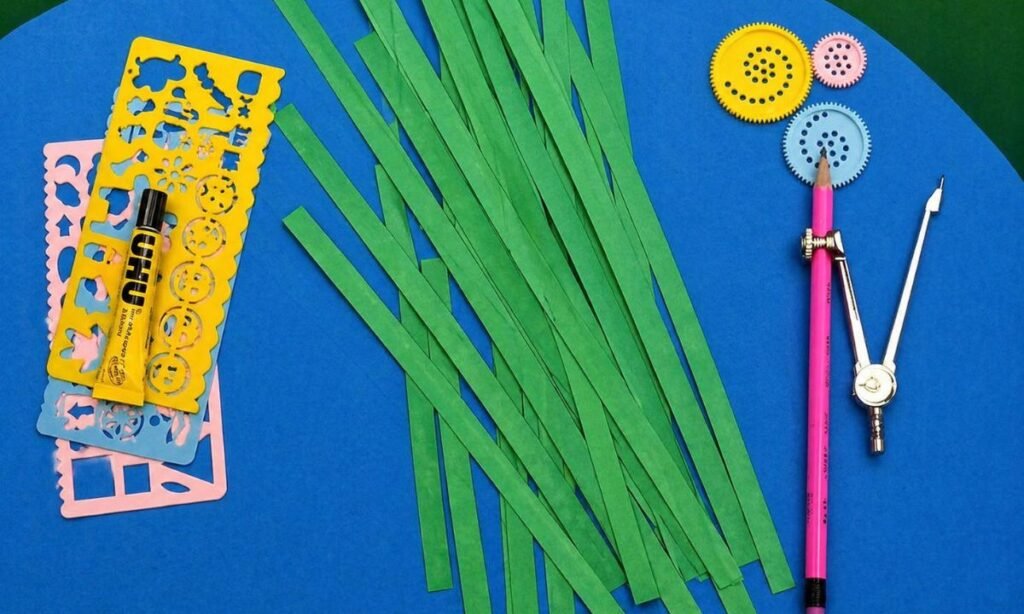
Take green construction paper and cut several long, narrow strips, making their widths similar for a neat tree design.
Use scissors to make straight cuts, but leave the strips at different lengths to create a fuller appearance.
Gather all the strips together before attaching them, so you can easily arrange them around the tree trunk.
4. Paper Strip Branches
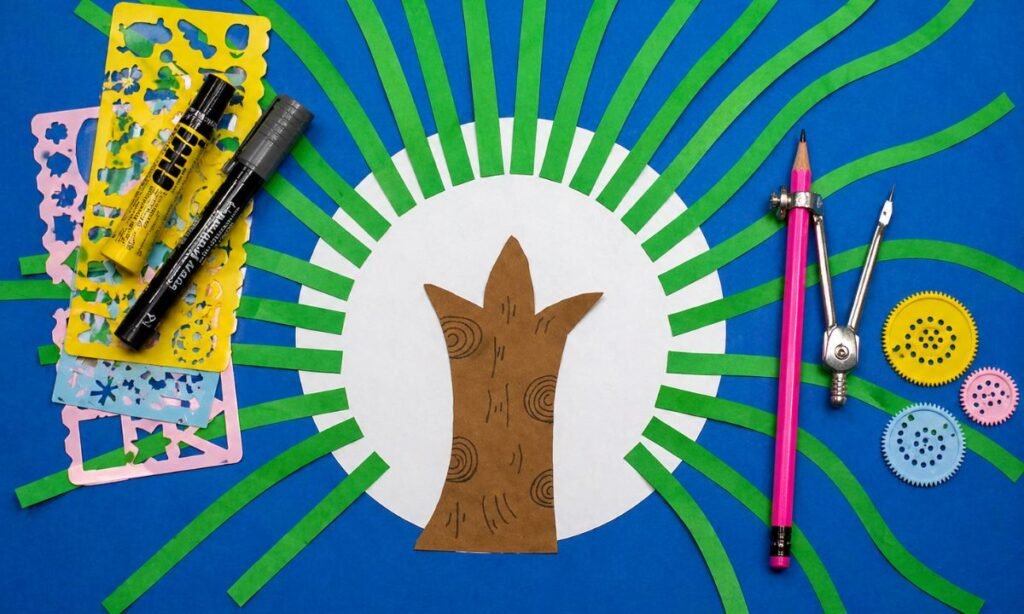
Arrange the green paper strips around the upper edge of the white circle, pointing them outward in different directions.
Glue one end of each strip near the circle’s edge, leaving the remaining length extending beyond the paper.
Space the strips around the trunk to create a wide, leafy tree shape with visible gaps between branches.
5. Curled Paper Leaves
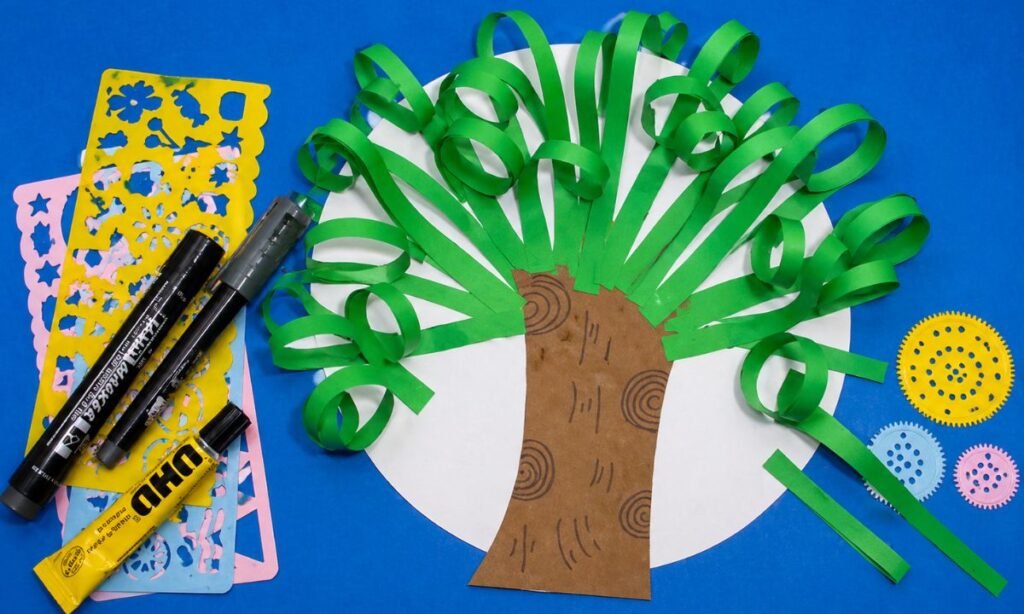
Take the green paper strips attached around the trunk and gently curl their loose ends using your fingers or a pencil.
Bend each strip into a rounded loop, then glue its end near the base to hold the curved shape.
Repeat around the entire tree, mixing large and small loops to create a full crown of curled green leaves.
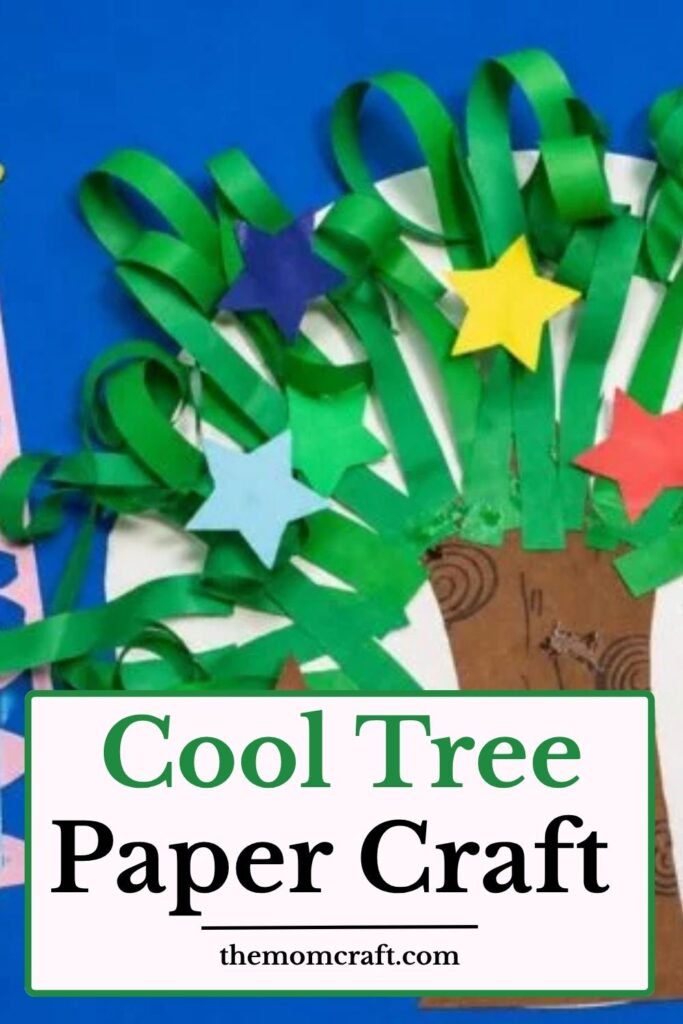
6. Colorful Star Tree
Cut small stars from different colored papers using a star stencil, choosing bright shades like yellow, pink, blue, and orange.
Glue the paper stars across the curled green branches, spreading the colors around instead of placing similar shades together.
Add small colorful paper leaf shapes near the bottom of the white circle to finish the decorated tree craft.
Fun Facts About Trees
- Trees can live for many years, and some species survive for hundreds or even thousands of years.
- Some tree roots form partnerships with underground fungi, helping the tree absorb more water and nutrients from the soil.
- Many animals depend on trees for food, shelter, nesting spaces, and protection from predators.
- Some trees grow flowers and fruits, while others produce cones, nuts, or seeds in different ways.
- Tree trunks become thicker over time as new layers of wood grow beneath the bark.
- Forest trees can help cool their surroundings by providing shade and releasing water vapor through their leaves.
Why Cutting Down Too Many Trees Is Harmful
Trees provide homes and food for many animals, so removing large numbers can destroy habitats and reduce wildlife populations.
Their roots also help hold soil in place, which means fewer trees can lead to more erosion during rain and strong winds.
Trees absorb carbon dioxide as they grow, so widespread tree loss can reduce the amount of carbon stored in forests.
Protecting forests and planting new trees where appropriate helps support cleaner air, healthier soil, and more stable ecosystems.
Trunk Holds the Design Together
The trunk gives the paper tree its main structure and creates a clear base for attaching the branches, leaves, and other details.
Keeping the trunk wide enough helps the finished tree look balanced instead of making the leafy top seem too heavy.
You can slightly curve or widen the lower section to make the shape feel more natural without adding complicated cutting.
A strong central trunk also makes it easier to arrange the upper paper pieces neatly and keep the whole tree design connected.
FAQs
Can I Make This Tree Craft for Different Seasons?
Yes, you can change the leaf colors to match spring, summer, autumn, or winter while keeping the same basic tree shape.
Use fresh green shades for spring and summer, warm orange or brown tones for autumn, and fewer leaves for winter.
This makes the same craft useful for seasonal lessons, classroom displays, or changing decorations throughout the year.
Can I Add Birds or Fruit to This Tree Craft?
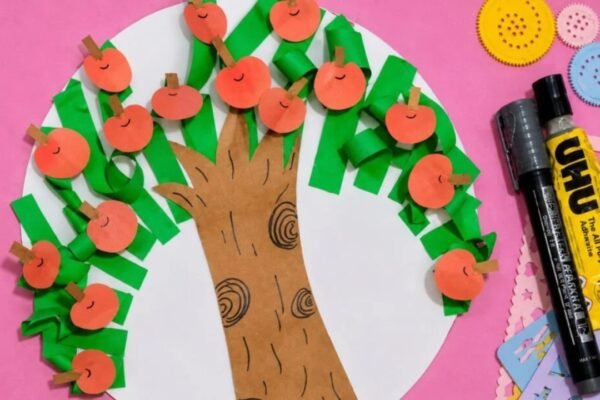
Yes, you can attach small paper birds, apples, flowers, or other simple details to make the tree look more interesting.
Keep the extra pieces small so they do not cover too much of the trunk, branches, or leafy sections.
Adding only a few details usually works best because the tree should still remain the main part of the craft.
You may also like to make!