During autumn, I always notice how the leaves on the ground look completely different from the bright green ones still hanging on the trees.
Some turn yellow, orange, or brown, and even the shapes start standing out more once they fall.
Seeing all those colors together made me want to recreate the same autumn look with paper at home.
It felt like an easy way to bring a little bit of that outdoor autumn look into a paper activity.
Let’s make this leaf craft.
- A Little Piece of Autumn
- Material Needed:
- Step-by-Step Guide
- 1. Folded Yellow Paper
- 2. Straight Cutting Lines
- 3. Colorful Paper Strips
- 4. Pointed Leaf Outline
- 5. Colorful Leaf Cutouts
- 6. Folded Paper Leaves
- 7. Fan Shaped Leaves
- 8. Paper Palm Leaf
- Why Fallen Leaves Feel Different
- Easy Ways to Customize
- Leaf Craft Challenges
- FAQs
- Can I Use Real Leaves With This Paper Leaf Craft?
- Can I Turn These Paper Leaves Into a Garland?
A Little Piece of Autumn
This leaf craft captures the colors and shapes that make autumn leaves so noticeable once they begin falling from the trees.
Using yellow, orange, brown, or red paper can recreate that seasonal look without needing to collect and dry real leaves.
The finished piece can bring a small autumn detail indoors while still keeping the activity simple enough for kids.
It works especially well when you want a seasonal craft that feels connected to something children can actually notice outside.
Material Needed:
- Yellow craft paper
- Green craft paper
- Orange craft paper
- Glue
- Scissors
- Pencil
Step-by-Step Guide
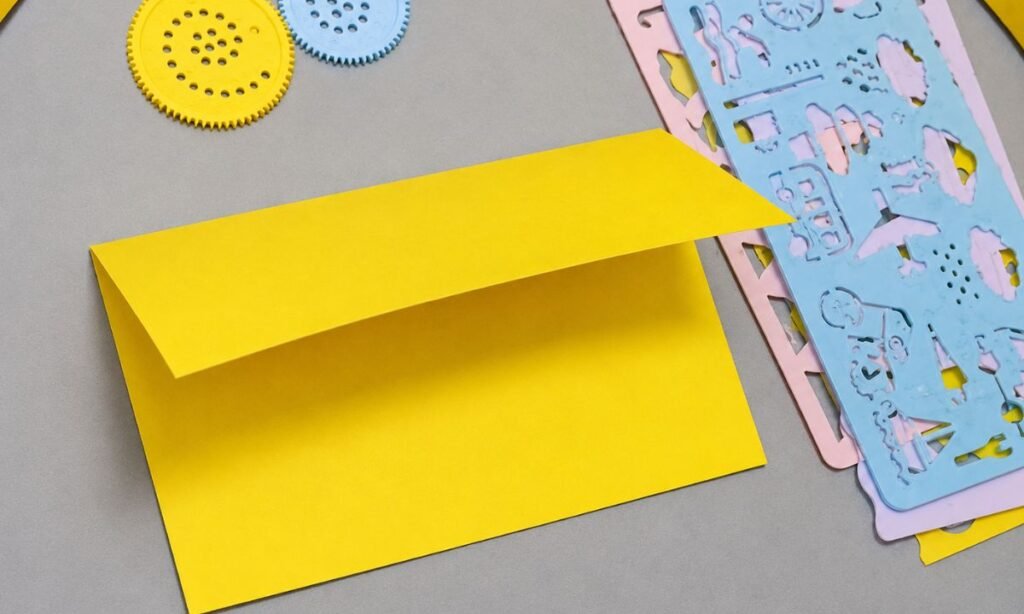
1. Folded Yellow Paper
Take a rectangular sheet of yellow construction paper and fold it in half, bringing the longer edges together evenly.
Press along the folded edge with your fingers to create a sharp crease that holds the paper firmly together.
Place the folded sheet on your work surface, making sure both layers stay aligned before marking the cutting lines.
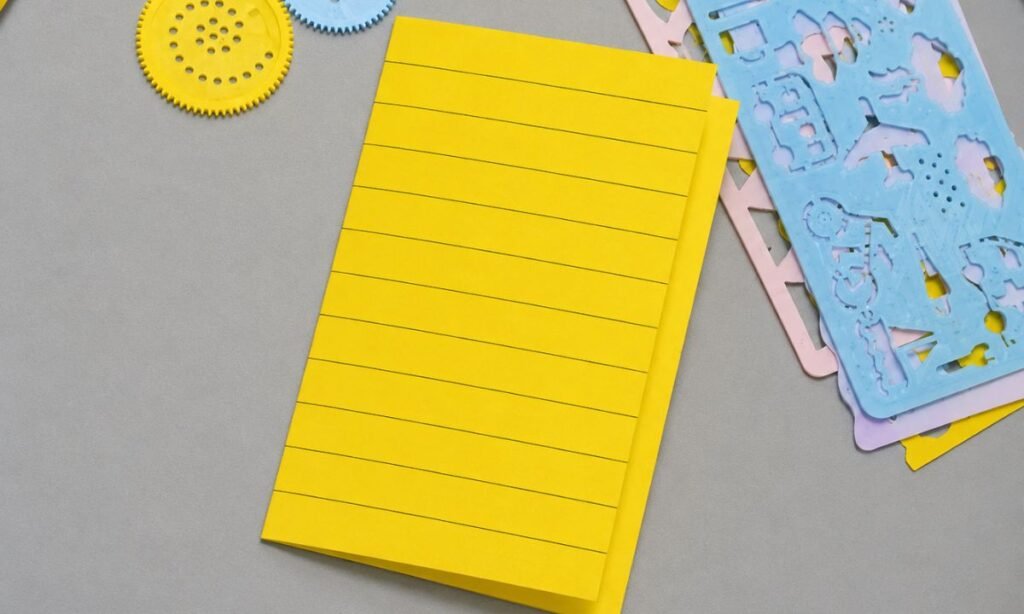
2. Straight Cutting Lines
Place the folded yellow paper vertically and use a ruler to draw several straight horizontal lines across its surface.
Leave equal gaps between the lines so each section forms a paper strip of nearly the same width.
Draw the lines from one side toward the other, leaving a narrow unmarked margin along the paper’s edge.
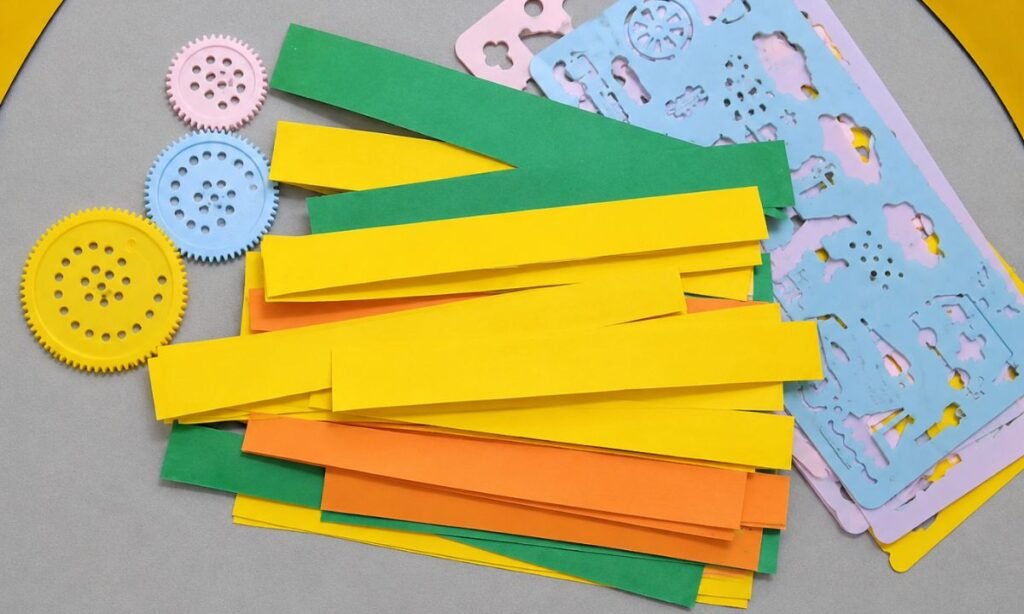
3. Colorful Paper Strips
Cut long rectangular strips from yellow, orange, and green construction paper, following the marked lines with scissors.
Make several strips in each color, using similar widths so the pieces are easy to fold and shape.
Arrange the finished strips together, separating the different colors before starting the next step of the leaf craft.
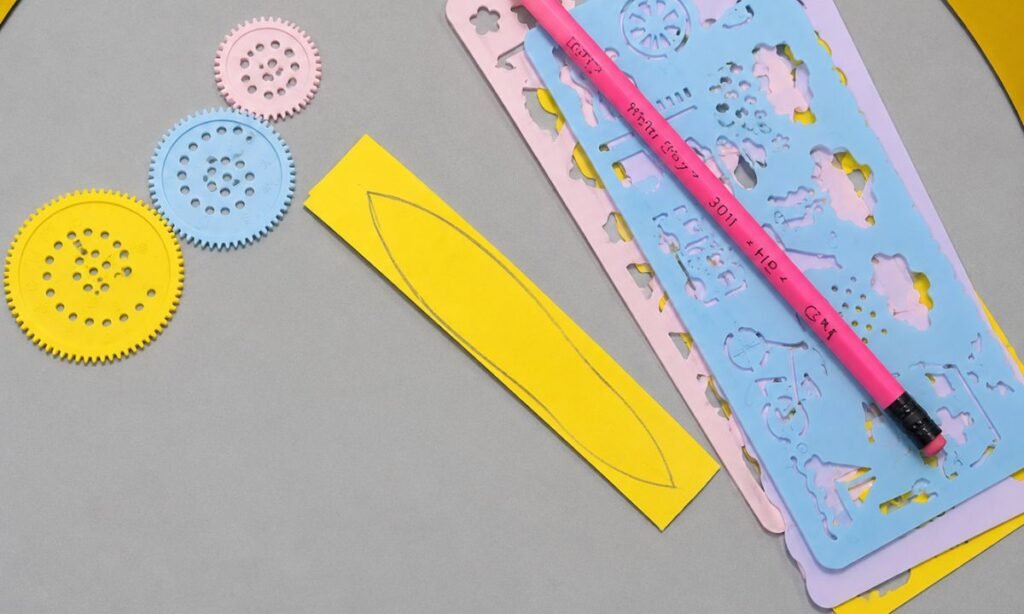
4. Pointed Leaf Outline
Fold a yellow paper strip lengthwise, then draw a long, narrow leaf shape across the folded surface.
Start with a sharp point at one end, curve the sides outward slightly, and narrow them toward the opposite tip.
Follow the pencil outline with scissors to cut the folded paper into matching pointed leaf shapes.
5. Colorful Leaf Cutouts
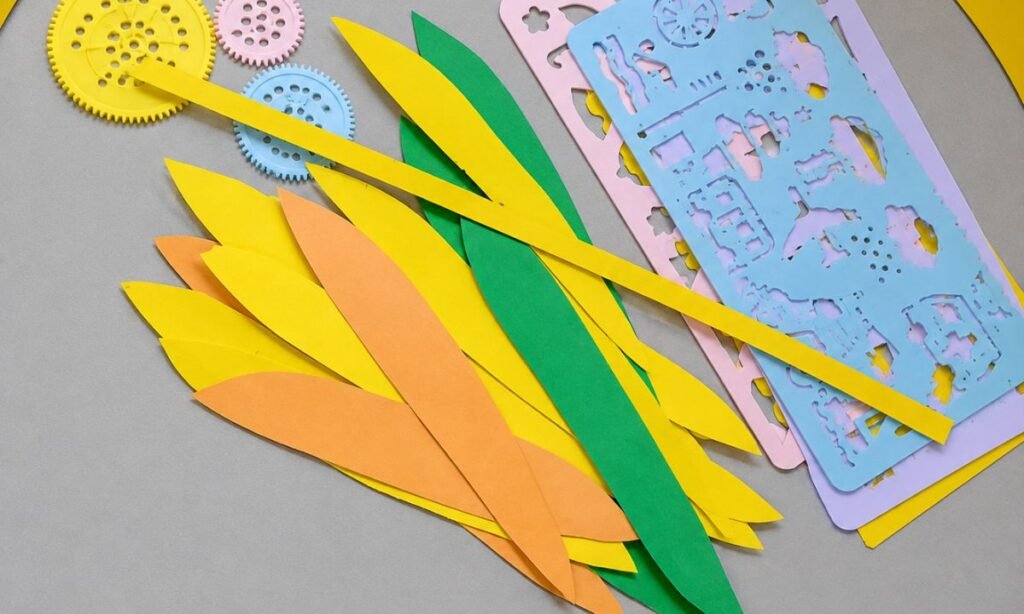
Cut along the pointed outlines of the folded yellow, orange, and green paper strips to make several long leaves.
Trim the edges carefully so each leaf has narrow pointed ends and slightly curved sides without uneven cuts.
Prepare enough leaves in all three colors, along with one long yellow strip for the center stem.
6. Folded Paper Leaves
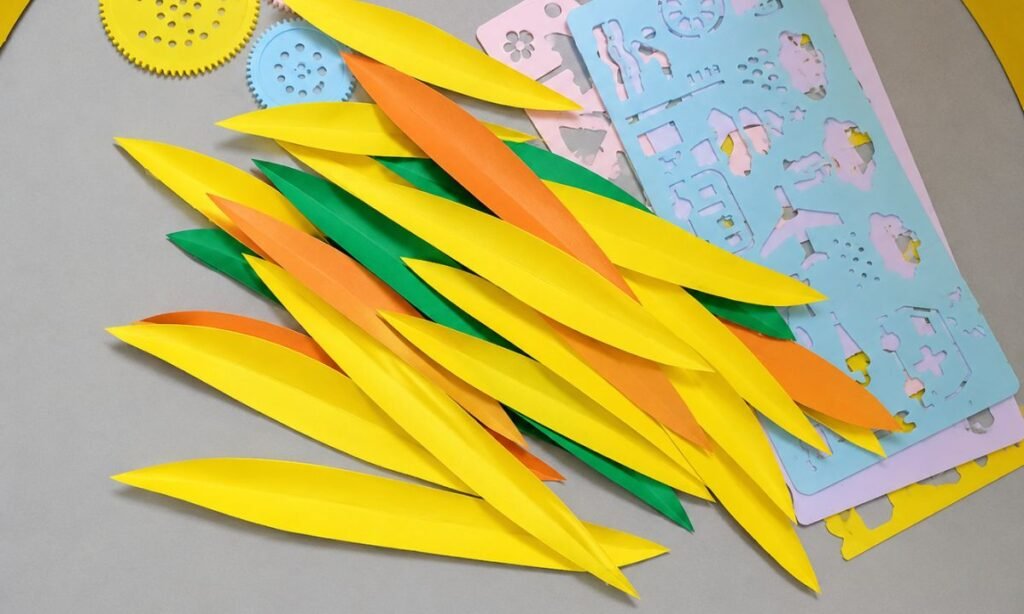
Fold each pointed paper leaf gently along its center lengthwise, pressing the crease from one tip to the other.
Repeat the same folding process with the yellow, orange, and green leaves to give every piece a raised center.
Open the folded leaves slightly so their pointed ends stay flat while the middle crease remains visible.
7. Fan Shaped Leaves
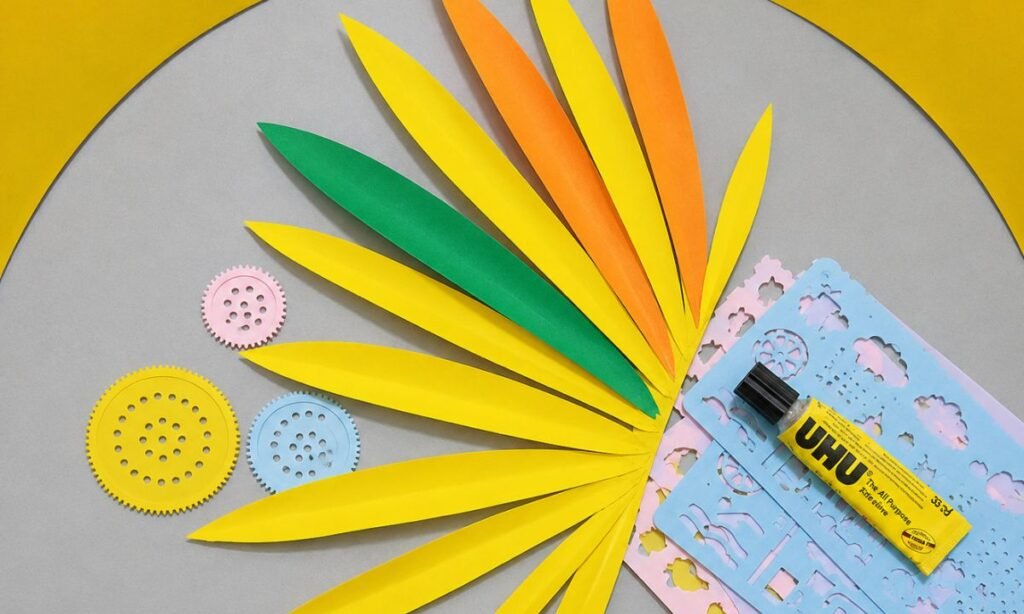
Arrange the folded paper leaves in a fan shape, bringing their narrow ends together at one central point.
Place yellow leaves between the orange and green pieces, spreading their pointed tips outward with small gaps.
Apply glue to the overlapping ends and press them together to secure the colorful leaves in position.
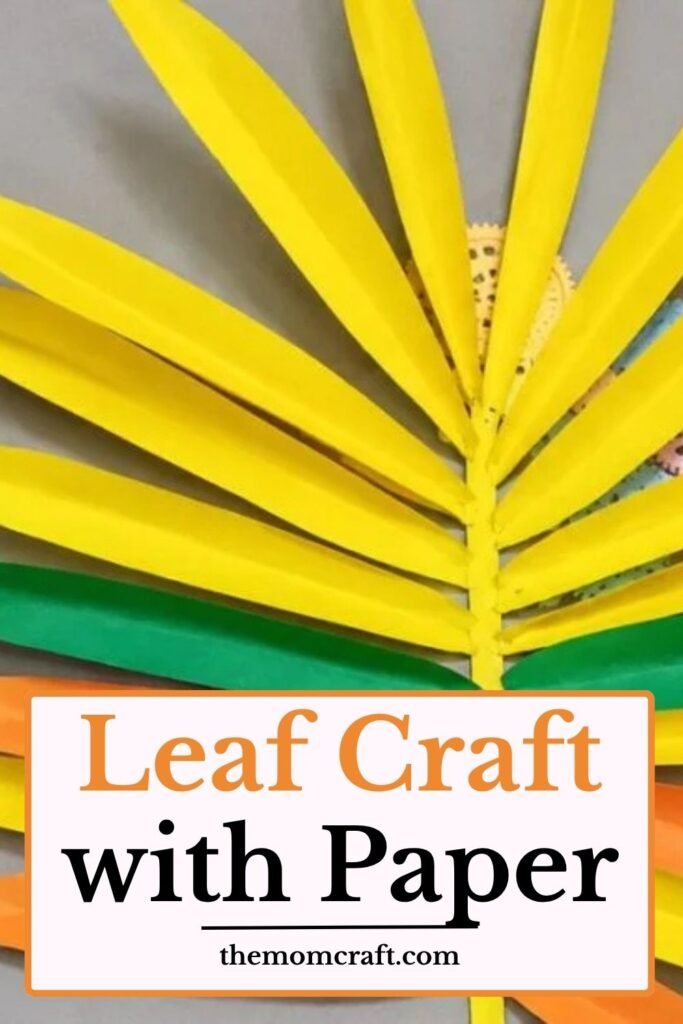
8. Paper Palm Leaf
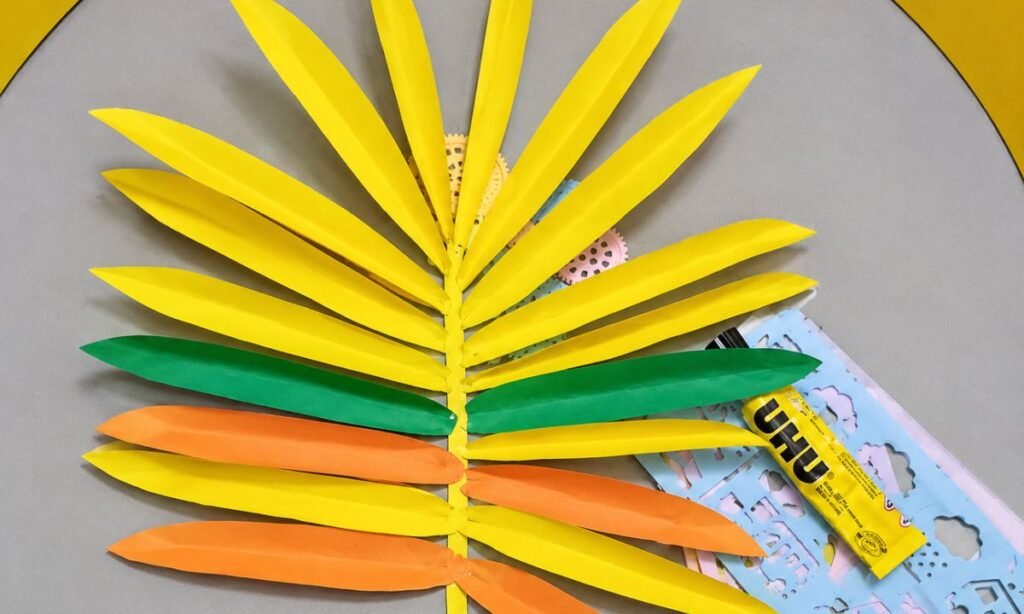
Use a long yellow paper strip as the center stem and attach folded paper leaves along both sides.
Glue the narrow ends of the leaves to the stem, placing yellow pieces toward the top and colorful ones below.
Angle each leaf outward from the stem, arranging the green and orange pieces between the yellow leaves.
Why Fallen Leaves Feel Different
Once leaves dry and fall from a tree, they usually become lighter, thinner, and more brittle than fresh green leaves.
That change happens as they lose moisture and stop receiving water from the tree.
Their texture can become crisp enough to break easily, especially after staying on the ground for several days.
This makes real fallen leaves interesting to compare with smooth paper versions during a simple seasonal craft.
Easy Ways to Customize
Change the leaf colors to match different seasons, using fresh green for spring or warmer orange, yellow, red, and brown shades for autumn.
You can also vary the shape, size, or edge pattern so every paper leaf looks slightly different instead of repeating one design.
You can also change the number and spacing of the leaves along the center stem to create a fuller or more open arrangement.
Several leaves can also be combined on one page to create a small seasonal arrangement rather than making only one piece.
Leaf Craft Challenges
Keeping both sides of the leaf balanced can be tricky, especially when drawing the shape freehand before cutting.
Thin points around the edges may tear easily, so slower cuts usually work better than trying to finish the outline too quickly.
Small vein details can also make the design look crowded if too many lines are added across the paper.
Planning the main shape first and adding only a few clear details usually keeps the finished leaf neat and easy to recognize.
FAQs
Can I Use Real Leaves With This Paper Leaf Craft?
Yes, you can place a real leaf beside the paper version and use it as a guide for the shape, veins, and edges.
Choose a flat, dry leaf so it is easier to trace without tearing or moving around too much.
This can help kids notice the difference between a real leaf texture and the smoother paper version.
Can I Turn These Paper Leaves Into a Garland?
Yes, you can make several leaves in different colors and attach them along a piece of string or ribbon.
Leave a little space between each leaf so the shapes stay visible instead of overlapping too much.
This works especially well for autumn wall decor, classroom displays, or a simple seasonal decoration at home.
You may also like to make!