I was eating at a seaside restaurant with my friends when we noticed an octopus moving through the water nearby.
Its long arms kept curling and stretching in different directions, and everyone at the table stopped for a moment to watch it.
I found the way it moved much more interesting than I expected, especially how each arm seemed to have its own motion.
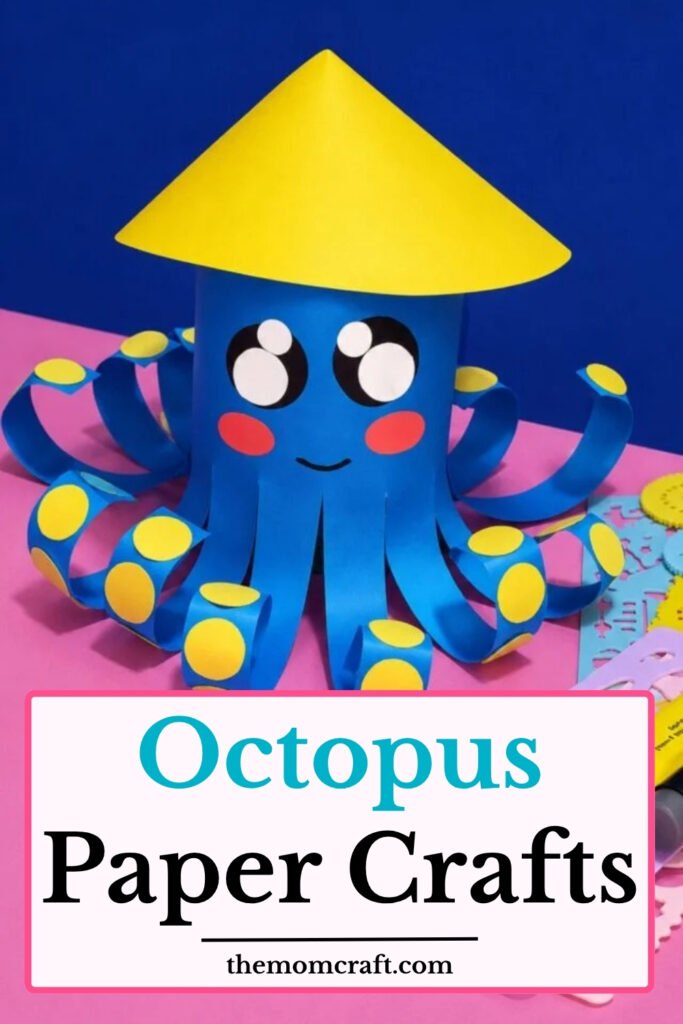
That little seaside moment with my friends inspired this colorful paper octopus craft with eight curled tentacles and a playful face.
Let’s make this octopus paper craft.
- How Octopuses Change Color
- Materials Needed:
- Step-by-Step Guide
- 1. Blue Paper Base
- 2. Tentacle Line Drawing
- 3. Paper Tentacle Cutting
- 4. Octopus Face Pieces
- 5. Yellow Tentacle Spots
- 6. Rolled Octopus Body
- 7. Curled Paper Tentacles
- 8. Smiling Octopus Craft
- Why Octopuses Have Eight Arms
- Easy Ways to Customize
- FAQs
- Can I Make This Octopus Craft Without Curled Paper Tentacles?
- Can I Turn This Octopus Craft Into an Underwater Display?
How Octopuses Change Color
Special skin cells called chromatophores allow many octopuses to change their appearance very quickly.
They can use color changes for camouflage, communication, warning displays, or reacting to nearby threats.
Some species can also alter the texture of their skin, helping them match rocks, coral, or the seafloor.
That ability makes octopuses especially interesting because their appearance can change without changing their actual body shape.
Materials Needed:
- Blue craft paper
- Yellow craft paper
- White craft paper
- Black craft paper or black marker
- Pink or red craft paper
- Pencil
- Ruler
- Scissors
- Glue
- Round plate or circular tracing object
Step-by-Step Guide
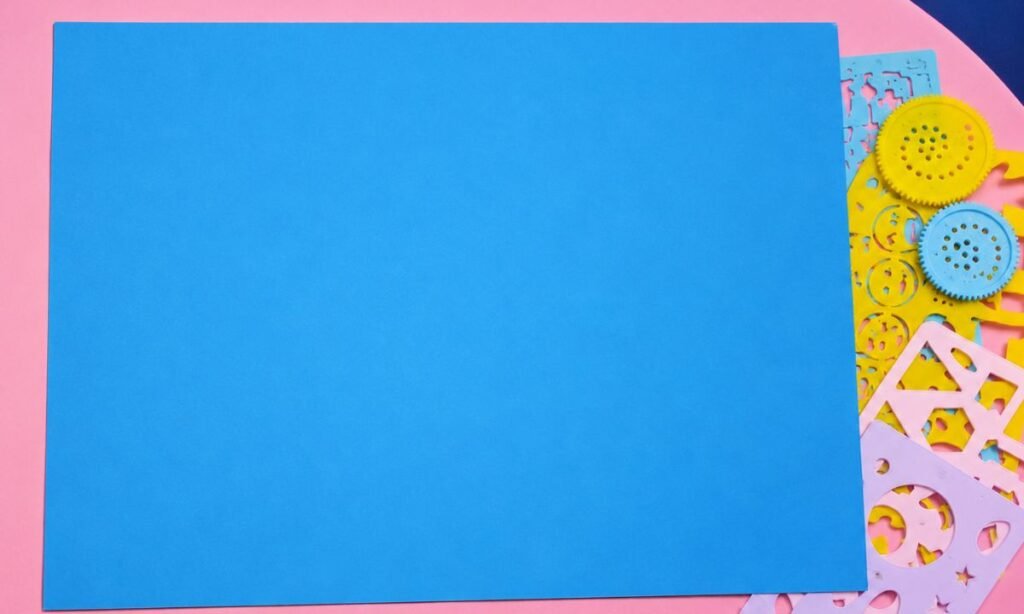
1. Blue Paper Base
Start your octopus craft with a large sheet of blue construction paper, choosing a rectangular piece that provides enough space for the tentacles.
Place the paper horizontally on a flat surface and gather a pencil, ruler, and scissors before marking the cutting lines.
Use slightly thick construction paper so the octopus body stays firm while the long paper tentacles can still bend and curl easily.
2. Tentacle Line Drawing
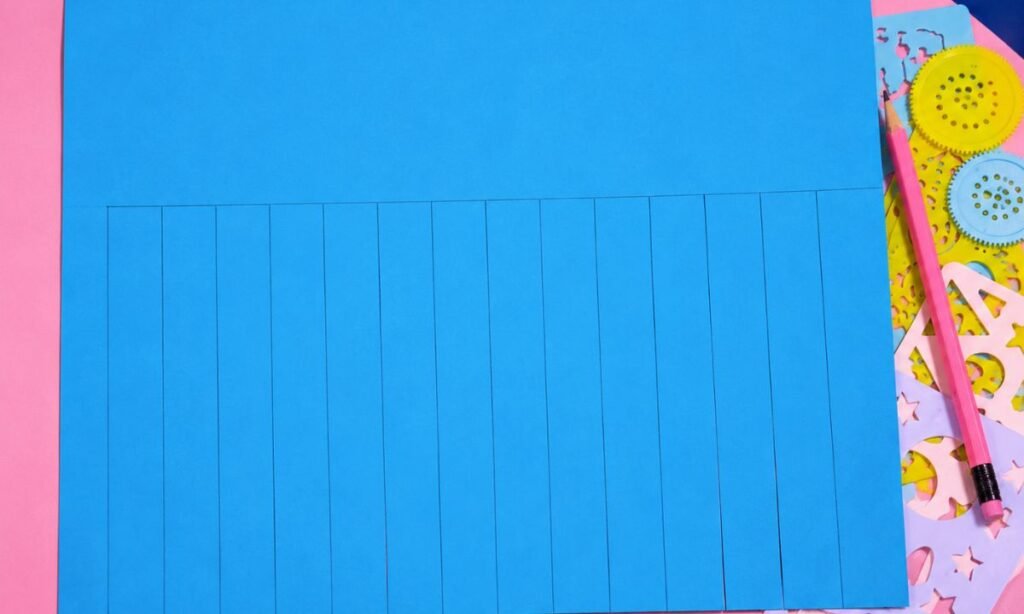
Draw a straight horizontal line across the blue paper, leaving the upper section untouched to create the octopus’s main body.
Mark evenly spaced vertical lines from the horizontal guideline down to the bottom edge, creating several long strips for the tentacles.
Use a ruler to make each strip approximately the same width, helping children follow the cutting lines without making uneven tentacles.
3. Paper Tentacle Cutting
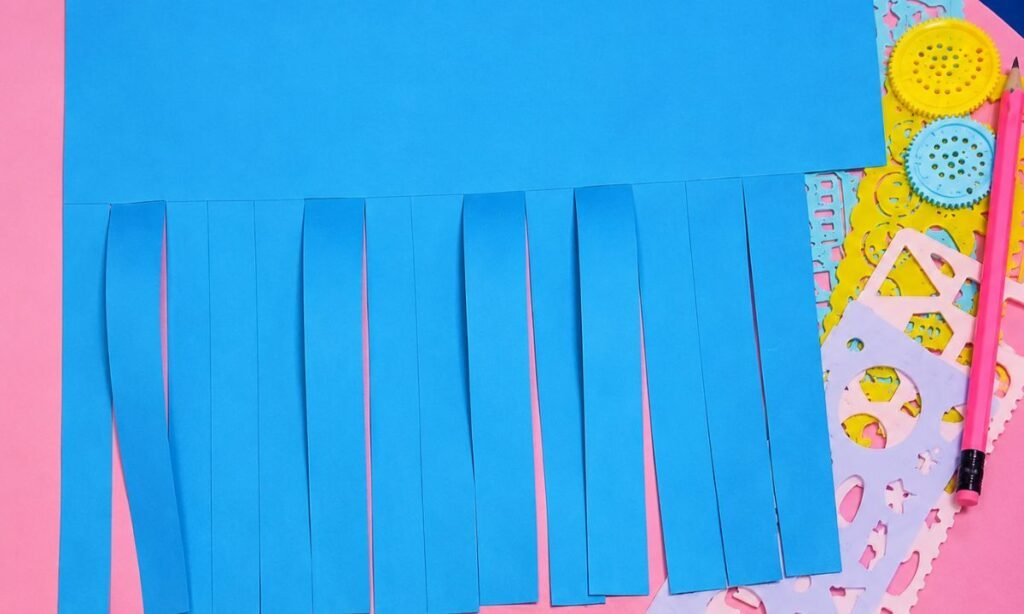
Cut carefully along each vertical pencil line, starting from the bottom edge and stopping when you reach the horizontal guideline.
Leave the upper section completely connected so the octopus body remains in one piece while the individual tentacles hang freely below.
Separate the cut strips gently with your fingers, checking that every tentacle moves independently without tearing the paper near its base.
4. Octopus Face Pieces
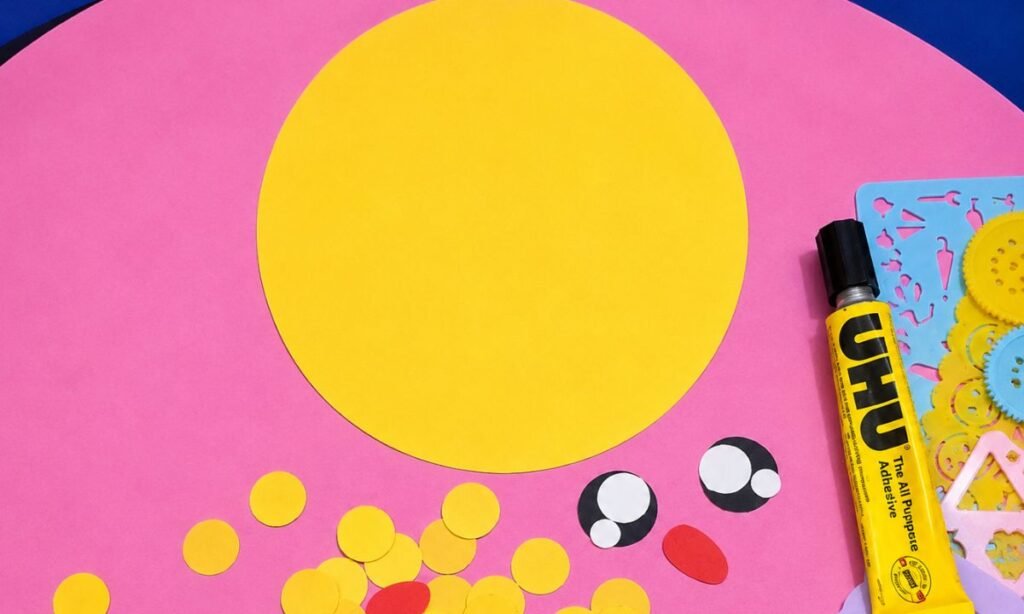
Cut a large yellow circle from construction paper to create the octopus’s face, using a round plate for an even outline.
Prepare two black and white paper eyes, several small yellow circles, and a red oval mouth for decorating the finished octopus.
Arrange the facial pieces on your work surface before gluing, making sure the eyes and mouth fit comfortably inside the yellow circle.
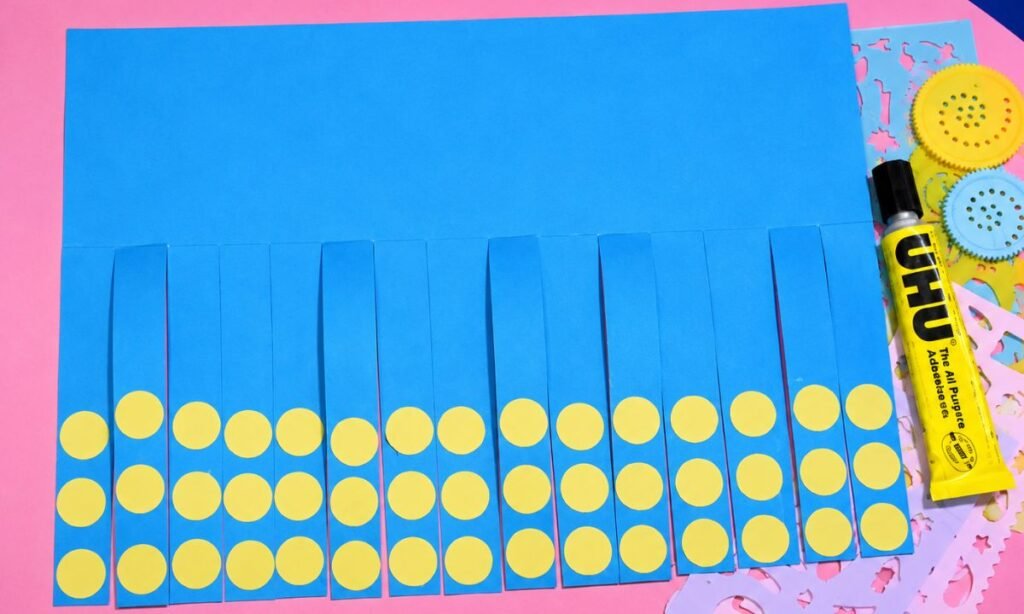
5. Yellow Tentacle Spots
Glue small yellow paper circles along the lower section of each blue tentacle, arranging them in three rows to create octopus suckers.
Space the circles evenly across the strips, leaving enough blue paper visible between them so the yellow spots form a clear pattern.
Press each circle gently after applying glue, making sure all the paper spots stay attached before shaping the tentacles into curls.
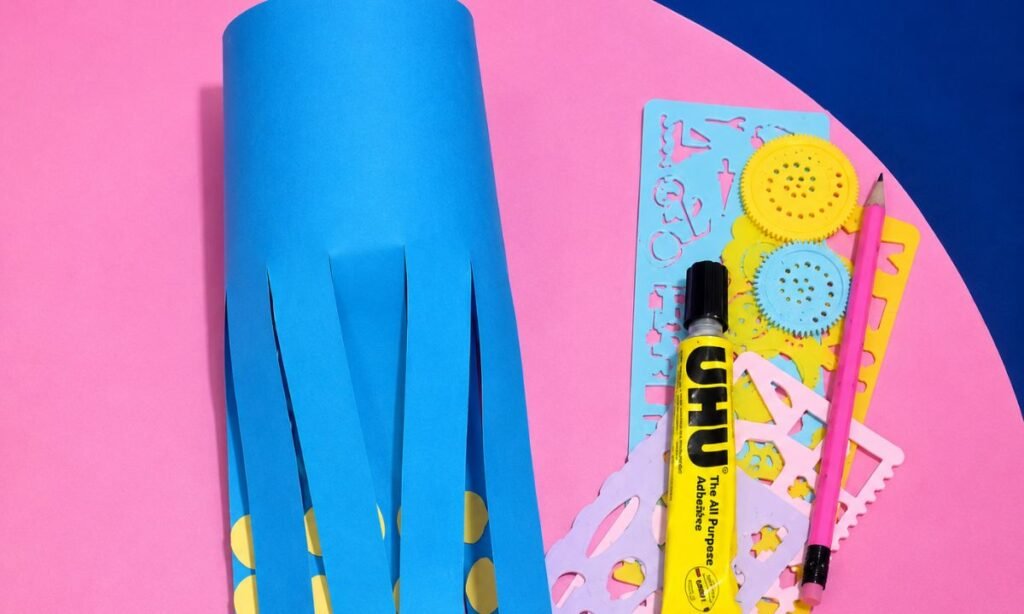
6. Rolled Octopus Body
Roll the uncut upper section of your blue paper into a cylinder, bringing both side edges together to form the octopus’s body.
Apply glue along one overlapping edge and press it firmly against the other side, leaving the decorated paper tentacles hanging freely below.
Allow the glue to dry before shaping the lower strips, making sure the cylinder stays round and does not collapse when handled.
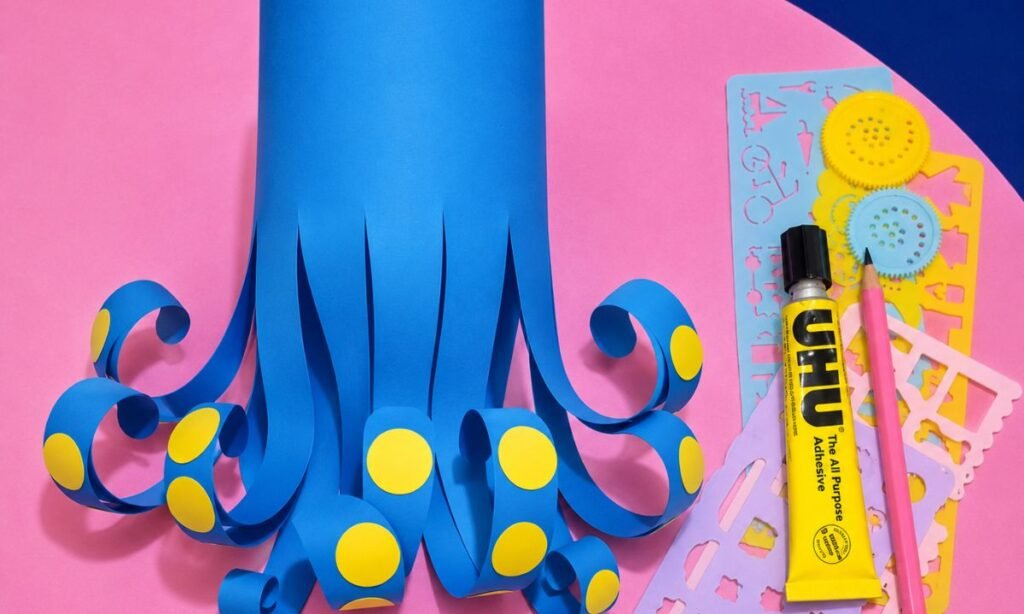
7. Curled Paper Tentacles
Use a pencil to curl the ends of each blue paper tentacle, rolling the strips gently outward to create loose spiral shapes.
Work on one tentacle at a time, adjusting the curls so they spread naturally around the bottom of the cylindrical octopus body.
Leave some tentacles tightly curled and others slightly open, creating different curved shapes while showing the yellow paper suckers clearly.
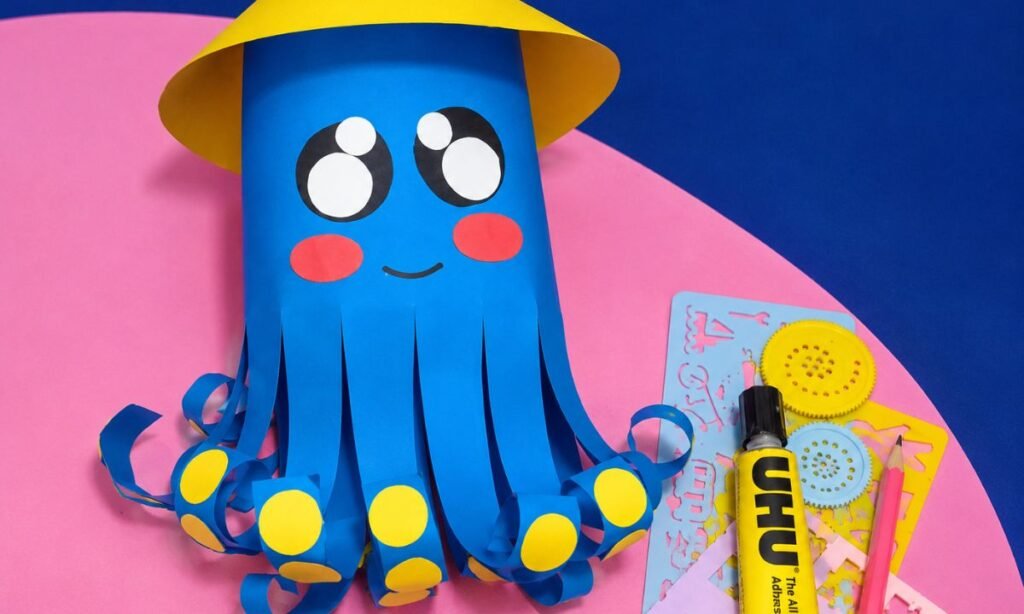
8. Smiling Octopus Craft
Attach two large black and white paper eyes to the front of the blue cylinder, leaving enough space underneath for facial details.
Glue two small red oval cheeks beneath the eyes and draw a curved smile between them using a black marker.
Finish by attaching a yellow paper cone over the top of the cylinder, then arrange the curled tentacles around the finished octopus.
Why Octopuses Have Eight Arms
An octopus has eight flexible arms covered with suckers that help it grip surfaces, catch food, and explore its surroundings.
Each arm can bend and move in many directions, giving the octopus excellent control while swimming, crawling, or handling objects.
This unusual body structure is one of the easiest features that makes an octopus instantly recognizable among other sea animals.
Using eight separate paper tentacles in the craft is a simple way to recreate that distinctive shape clearly.
Easy Ways to Customize
Change the body color, eye style, tentacle pattern, or facial expression to give each paper octopus a different look.
You can add spots, stripes, tiny circles, or contrasting paper details across the head and tentacles for extra decoration.
Try adding small paper shapes, patterned stickers, or contrasting details across the body to make each octopus look more decorative.
You can also add a small bow, crown, or paper bubbles if you want the finished craft to feel more playful.
FAQs
Can I Make This Octopus Craft Without Curled Paper Tentacles?
Yes, you can use straight or gently folded paper strips instead of curling every tentacle around the octopus body.
Keep all eight tentacles similar in length so the finished craft still looks balanced and easy to recognize.
This option works well for younger kids who may find shaping several curled paper strips a little difficult.
Can I Turn This Octopus Craft Into an Underwater Display?
Yes, you can place the finished octopus with paper bubbles, seaweed, shells, coral, and small fish around it.
Keep the decorations around the body so the face and all eight tentacles remain clearly visible from the front.
This works nicely for a classroom board, kids’ room, ocean project, or simple sea-life craft display.
You may also like to make!