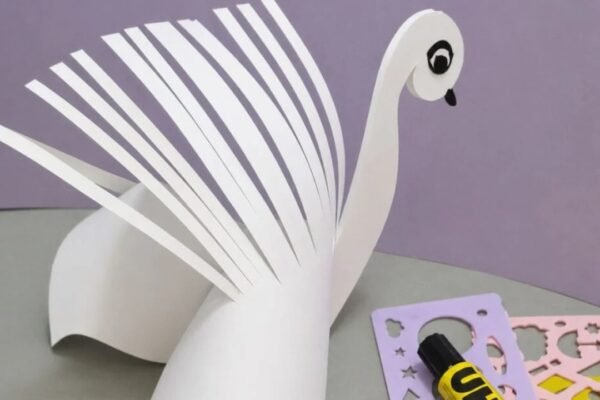
One evening, my little sister showed me a picture of a peacock and kept talking about how beautiful its wide colorful tail looked.
She was especially interested in the feather patterns and wanted to know why they looked like tiny eyes.
That gave me the idea to make a simple paper version with a folded green tail and bright repeated details.
The finished craft turned out playful, colorful, and easy enough to make with basic paper pieces at home.
Let’s make this peacock craft.
- Why Peacock Tails Look So Colorful
- Materials Needed:
- Step-by-Step Guide
- 1. Fold Green Paper
- 2. Shape Tail Fan
- 3. Prepare Peacock Pieces
- 4. Decorate Tail Feathers
- 5. Assemble Peacock Body
- 6. Attach Tail Support
- 7. Finish Peacock Craft
- Why Peacock Feathers Have Eye Spots
- Why the Accordion Tail Works
- FAQs
- Can I Make This Peacock Craft Without Accordion Folding?
- Can I Turn This Peacock Craft Into Wall Decor?
Why Peacock Tails Look So Colorful
Peacock tail feathers stand out because they reflect light in a way that creates bright blue, green, and bronze shades.
Those colors can appear to shift slightly depending on the angle, which makes the tail look even more dramatic.
Using several bold paper colors in this craft helps recreate that eye-catching look without needing complicated painting or extra materials.
These shifting shades are one reason peacocks look so striking when their tail feathers spread into a full display.
Materials Needed:
- Green craft paper
- Orange craft paper
- Yellow craft paper
- Red craft paper
- White craft paper
- Black craft paper or black marker
- Scissors
- Glue
Step-by-Step Guide
1. Fold Green Paper
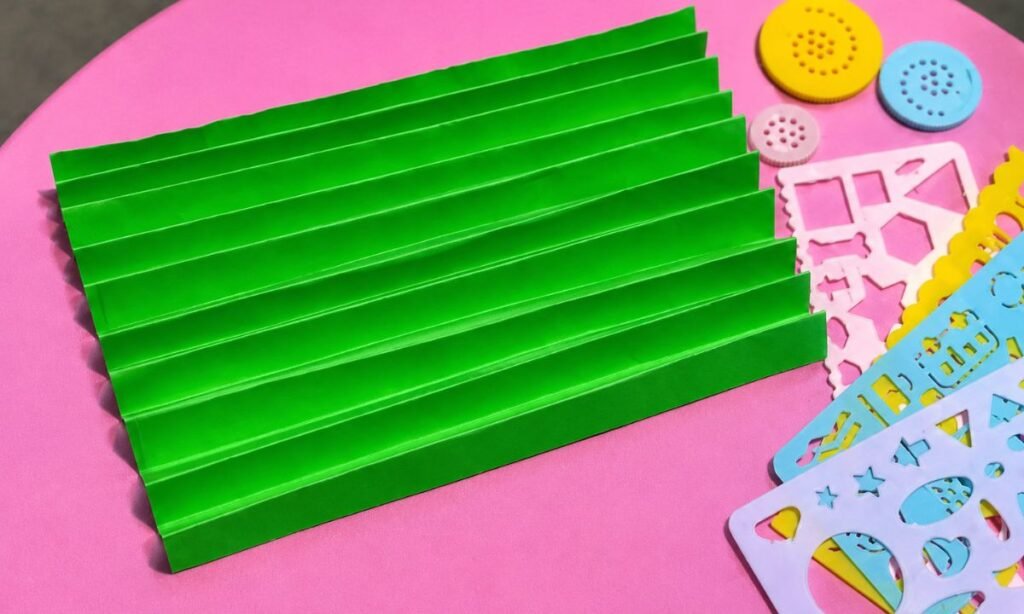
Fold the green craft paper back and forth into even accordion sections, keeping each crease straight from one edge to another.
Press every fold firmly so the paper holds its shape, creating several narrow sections that can spread into a wide fan later.
Keep the folded strip aligned while working, checking that the spacing stays similar across the entire piece for a balanced peacock tail.
2. Shape Tail Fan
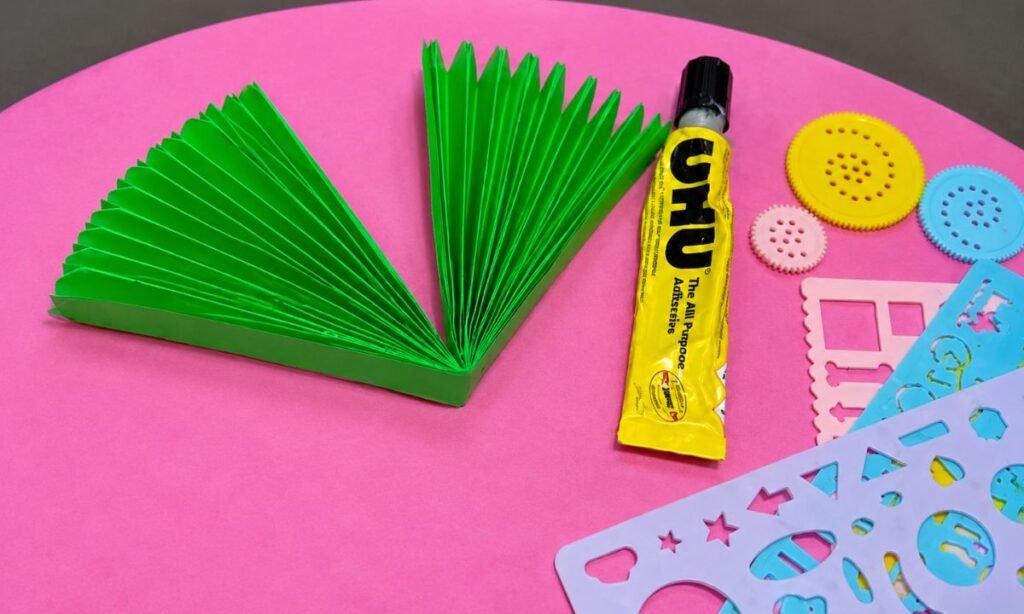
Bring the folded green paper inward at the center, bending both sides upward until the accordion begins forming a wide fan shape.
Glue the touching center sections together, pressing firmly so the folded paper stays joined without flattening the surrounding pleats.
Open the outer folds gently and adjust their spacing until the green fan spreads evenly with a neat curved edge across the top.
3. Prepare Peacock Pieces
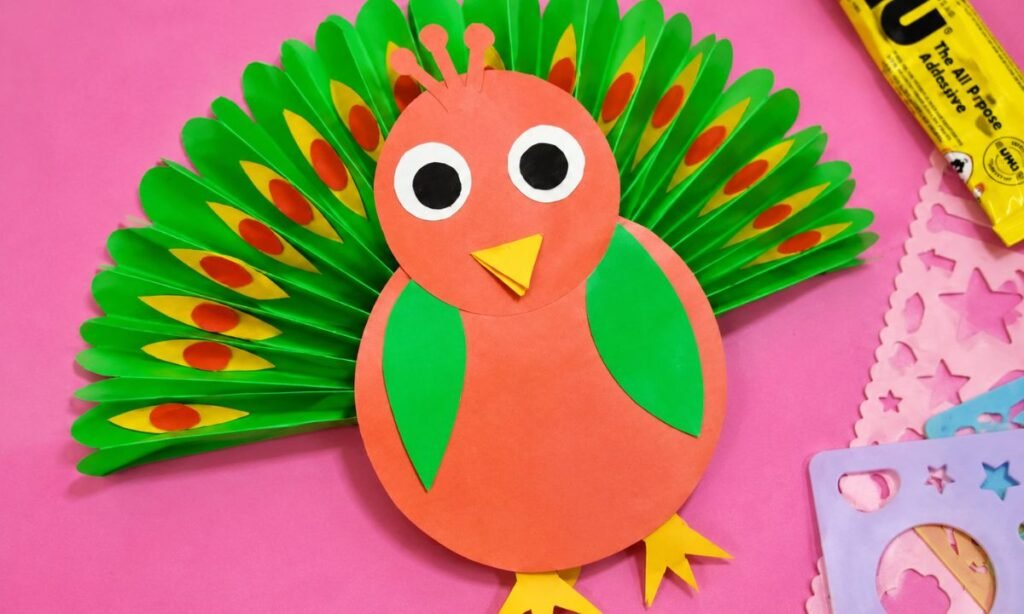
Cut the orange body and head shapes, green wing pieces, eyes, feet, and several yellow feather details with red centers.
Keep the small decorative pieces grouped together so the matching shapes remain easy to organize while assembling the finished peacock.
Arrange every prepared piece beside the green fan first, checking their sizes and proportions before attaching anything to the folded tail.
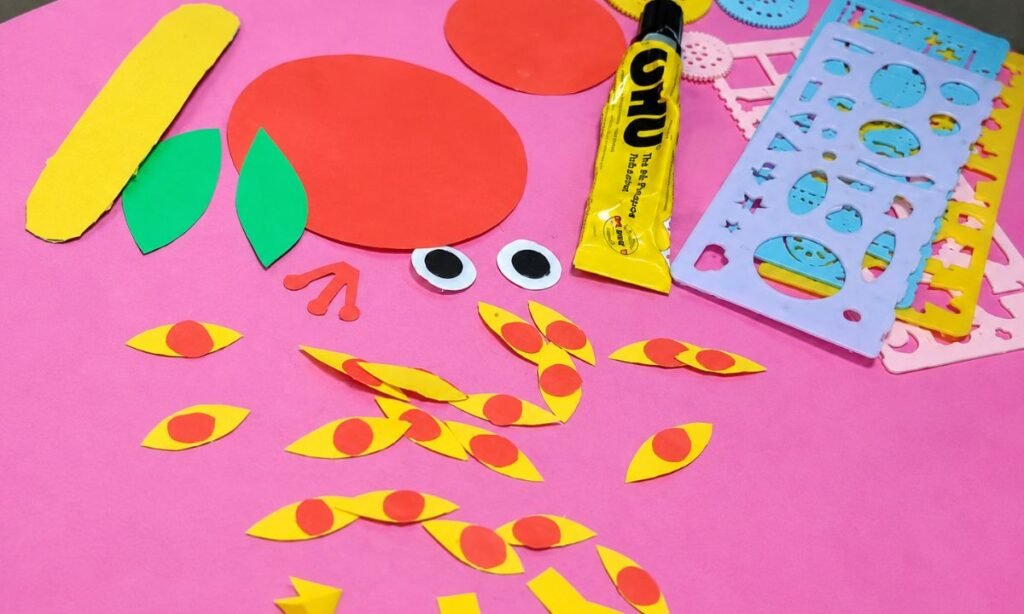
4. Decorate Tail Feathers
Glue the yellow feather shapes along the outer sections of the green fan, spacing them evenly across the folded paper surface.
Attach one red circular center onto each yellow piece, creating repeated eye-like markings that stand out clearly against the green background.
Press every small decoration gently so the pieces stay flat while the accordion folds remain open and evenly spread across the tail.
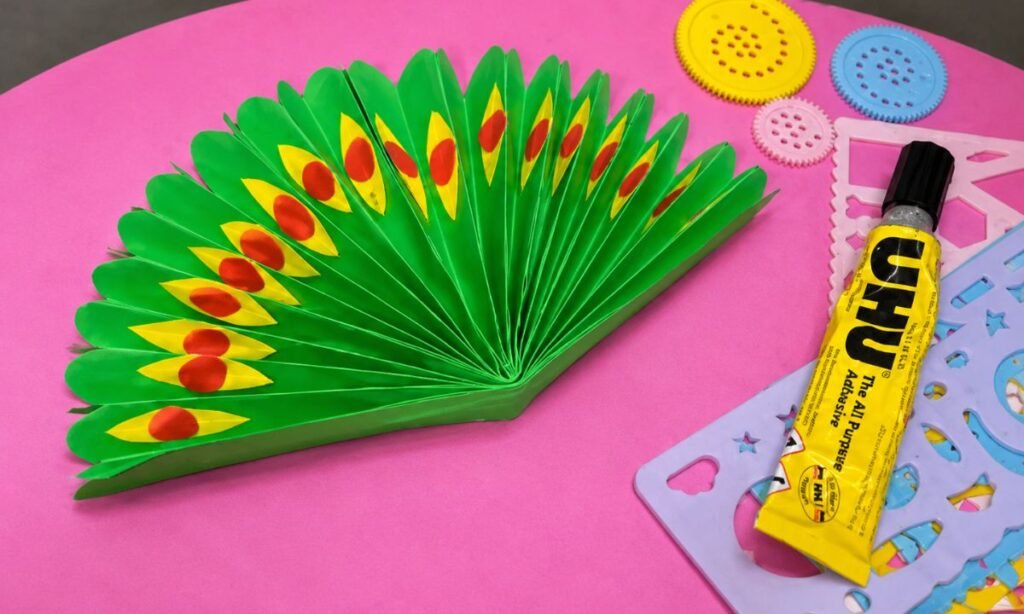
5. Assemble Peacock Body
Glue the round orange head above the larger body piece, keeping both shapes centered so the peacock body stays neatly aligned.
Attach the green wing shapes on both sides, then add the paper eyes, folded yellow beak, crest, and feet carefully.
Press each piece firmly after gluing, checking that the facial details and wings remain balanced across the finished orange body.
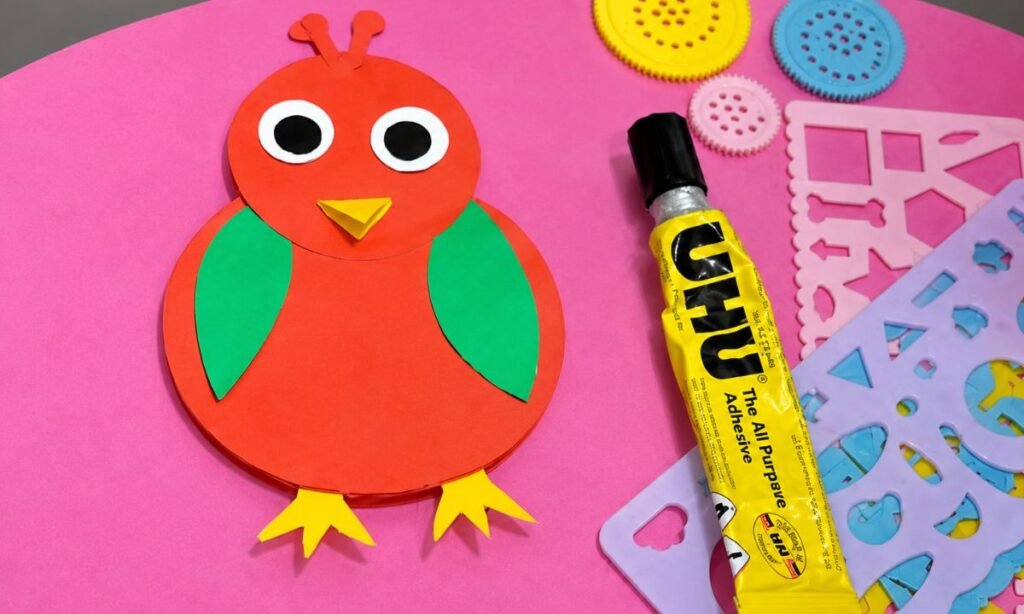
6. Attach Tail Support
Glue a long yellow paper strip behind the center of the green fan, letting one end extend downward beneath the folds.
Press the strip firmly against the folded center so it stays secure without closing or flattening the wide fan shape.
Keep the fan fully opened while the glue sets, adjusting both sides until the tail looks evenly spread and symmetrical.
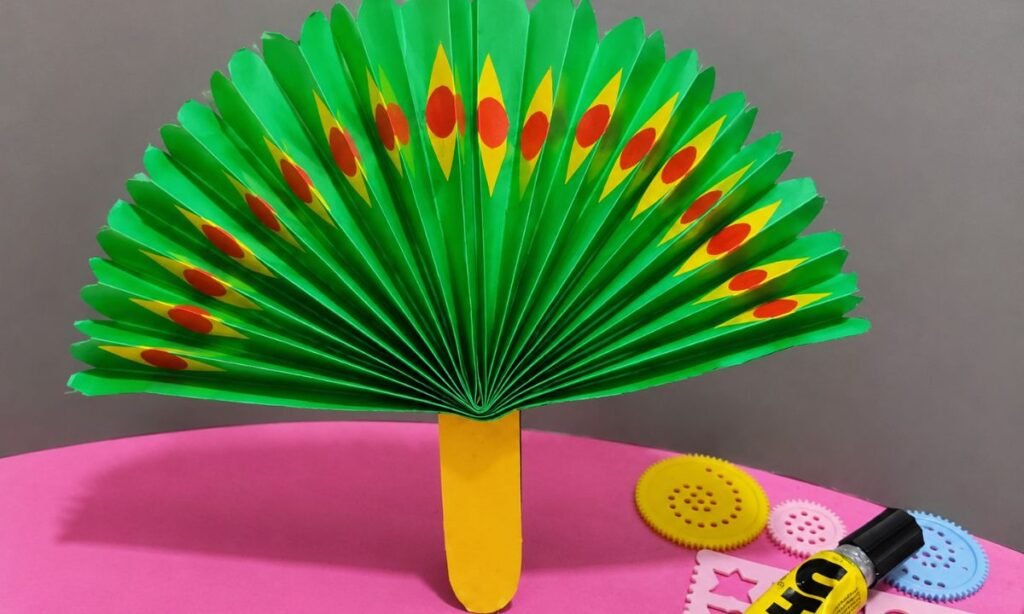
7. Finish Peacock Craft
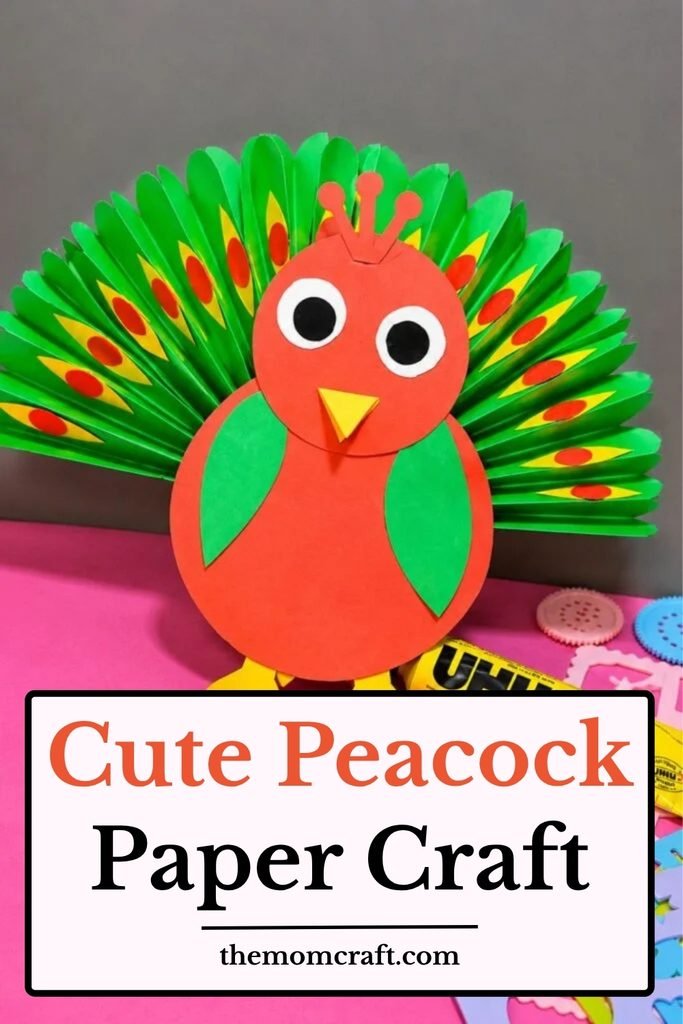
Position the completed orange peacock body over the lower center of the green fan, covering the support strip behind it.
Glue the body securely in place, keeping the head upright and making sure the decorated tail stays visible around both sides.
Press the center gently and check the feet, wings, face, and feather details before displaying the finished paper peacock craft.
Why Peacock Feathers Have Eye Spots
The round markings on peacock feathers are often called eye spots because their shape looks a little like an eye.
These patterns help make the tail more noticeable when the bird spreads its feathers during display.
Adding repeated yellow and red shapes to the paper fan gives the craft a similar patterned effect.
Keeping the markings evenly spaced also helps the finished tail look more balanced from one side to the other.
Why the Accordion Tail Works
The folded green paper spreads into a wide fan, giving the peacock a large tail without using many separate feather pieces.
Each crease creates a natural section, which makes it easier to place the decorative feather markings in neat rows.
The folds also add depth, so the tail looks fuller than a single flat sheet of paper.
This simple structure gives the finished peacock a much stronger shape while still keeping the craft lightweight.
FAQs
Can I Make This Peacock Craft Without Accordion Folding?
Yes, you can cut a large fan shape from green paper and decorate it with repeated feather markings instead of making accordion folds.
A flat tail will look simpler, but it can still work well if you want an easier version for younger kids.
Keep the body centered over the bottom edge so the peacock still looks balanced against the wider tail.
Can I Turn This Peacock Craft Into Wall Decor?
Yes, you can attach the finished peacock to a wall, bulletin board, or classroom display using removable adhesive.
Make sure the accordion tail is fully open before mounting so the feather pattern stays visible from both sides.
A larger version can also work as bright seasonal decor for a kids’ room, craft corner, or school project area.
You may also like to make!