My room had been feeling a little too plain, especially the area around my computer table where I spend so much time.
I was also free from university for a few days, so I wanted a small DIY project that could brighten the space without buying new decor.
That made me think about making a few paper tulips and placing them in a jar beside my computer.
It felt like an easy way to add some color to the room while also making something useful during my free time.
Let’s make this tulip flower craft.
- Why Tulips Have Their Cup Shape
- Materials Needed:
- Step-by-Step Guide
- 1. Prepare Blue Paper
- 2. Fold Paper Square
- 3. Draw Tulip Shape
- 4. Cut Tulip Pieces
- 5. Layer Tulip Pieces
- 6. Prepare Green Pieces
- 7. Attach Flower Head
- 8. Finish Tulip Craft
- Easy Ways to Customize
- Tulip Craft Challenges
- FAQs
- Can I Make Several Tulips for a Jar?
- What Paper Works Best for This Tulip Craft?
Why Tulips Have Their Cup Shape
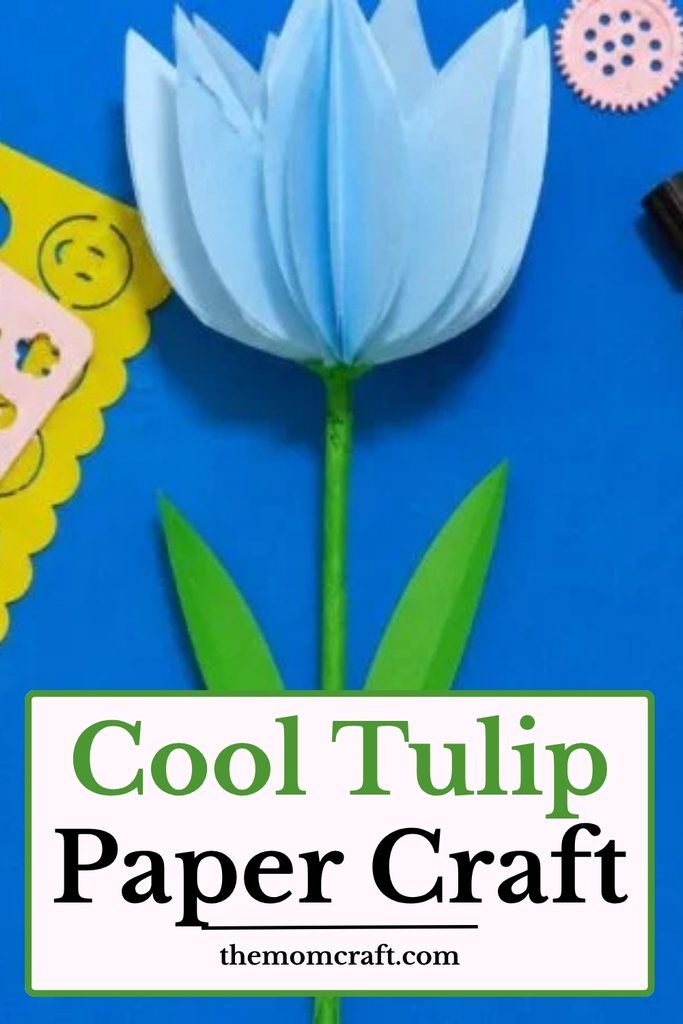
Tulip flowers are known for their smooth cup-like form, with petals that curve upward and meet near the top.
That shape helps protect the flower’s inner parts while still allowing the petals to open wider as the bloom develops.
In this craft, layering several folded paper pieces creates a similar rounded shape instead of leaving the flower completely flat.
Keeping the pointed tops slightly separated also helps the finished tulip look fuller and closer to the real flower.
Materials Needed:
- Blue craft paper
- Green craft paper
- Pencil
- Scissors
- Glue
- Green paper strip or rolled green paper stem
Step-by-Step Guide
1. Prepare Blue Paper
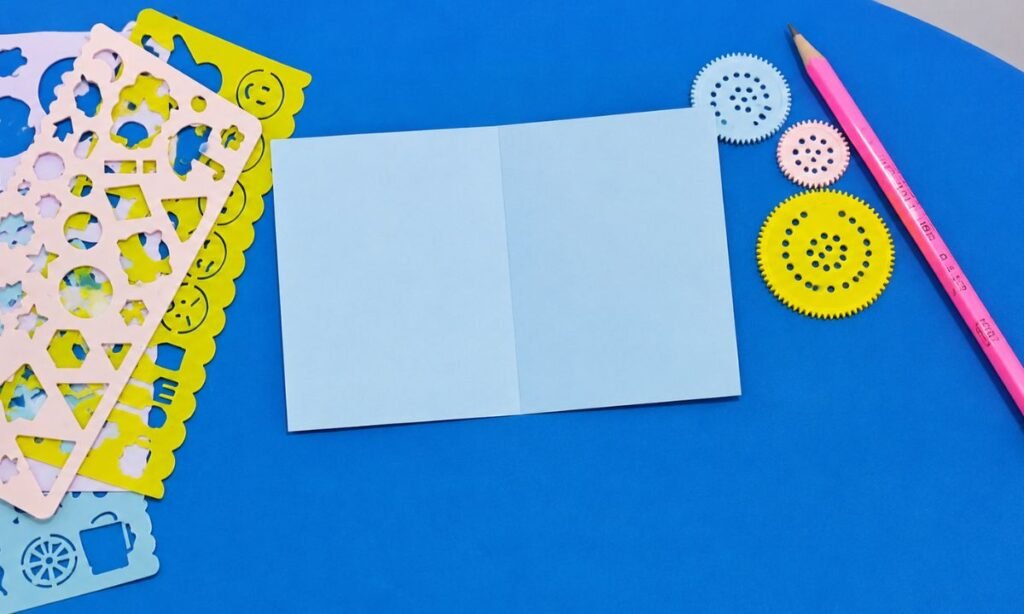
Place a rectangular sheet of light blue craft paper flat on your work surface, keeping the edges straight and smooth.
Choose a clean piece without wrinkles, since neat paper makes the folding and cutting steps much easier to manage.
Keep a pencil nearby and check the paper size before folding so the finished tulip shape does not become too small.
2. Fold Paper Square
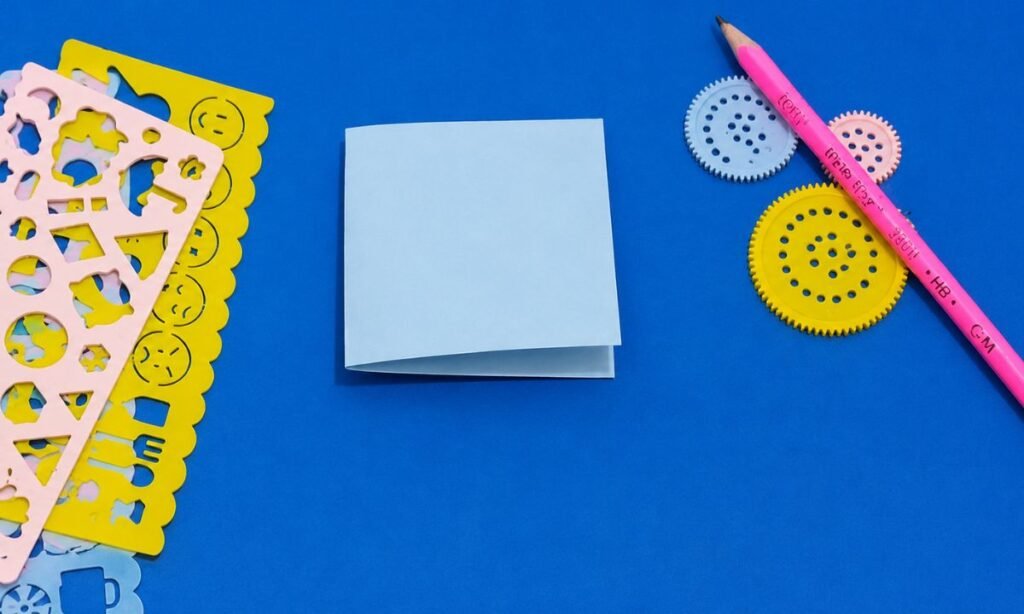
Fold the light blue paper inward to create a smaller square section, aligning the outer edges as evenly as possible.
Press the folded edge firmly with your fingers so the crease stays visible and both paper layers remain neatly together.
Place the folded piece flat on the table, keeping the open edges aligned before drawing the tulip outline next.
3. Draw Tulip Shape
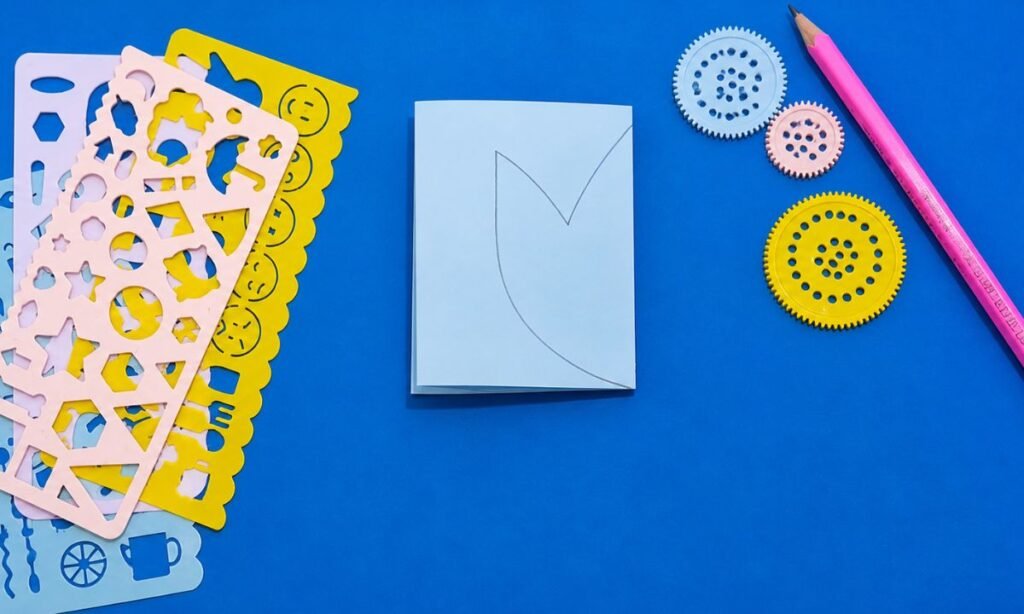
Draw half of a tulip shape along the folded paper, adding a curved lower edge and pointed sections across the top.
Keep the outline close to the fold so both sides will match when the paper is cut and opened afterward.
Check the pencil line carefully before cutting, adjusting the curves and pointed top until the tulip shape looks balanced overall.
4. Cut Tulip Pieces
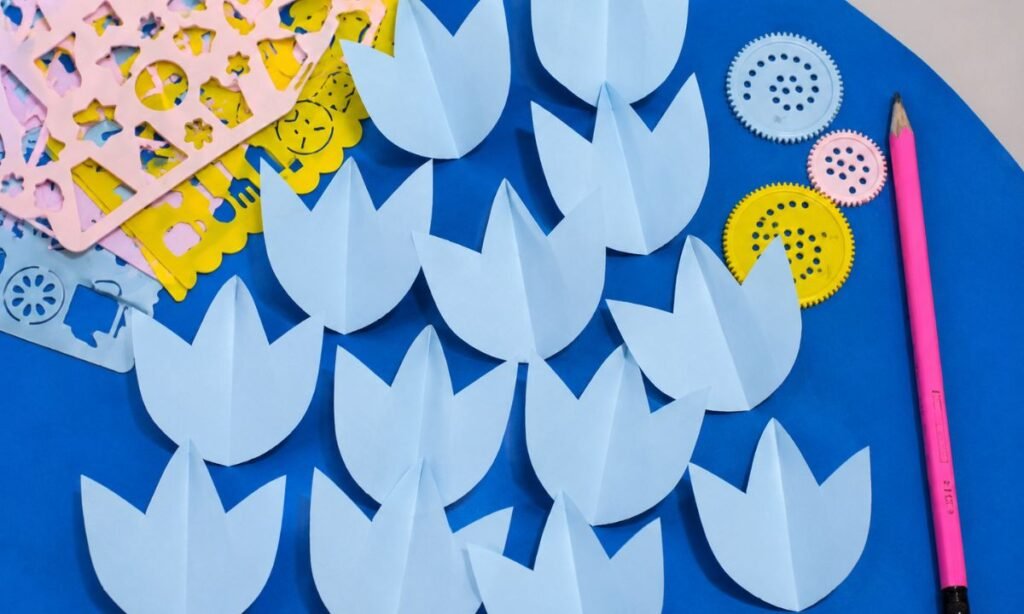
Cut along the drawn outline while the paper remains folded, then open each piece to reveal a symmetrical tulip shape.
Repeat the same process several times, creating multiple light blue tulips with matching pointed tops and softly rounded lower edges.
Keep the center crease visible on each tulip, since it gives the flat paper pieces a little extra shape and dimension.
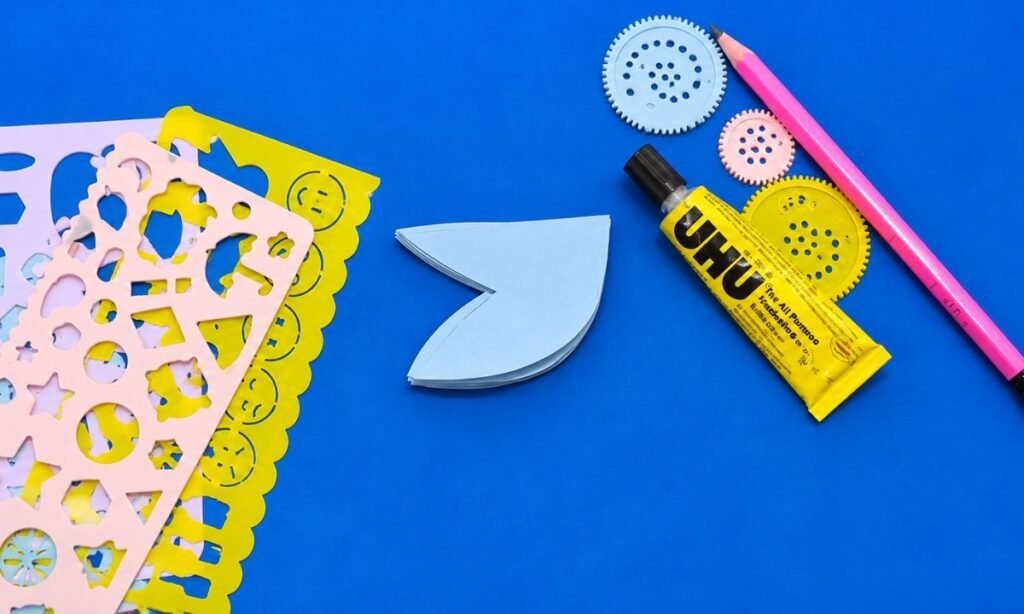
5. Layer Tulip Pieces
Stack the folded blue tulip pieces together, aligning their center creases and pointed tops so the layers stay neat and even.
Apply a small amount of glue between the folded sections, pressing each layer gently so the flower pieces hold together securely.
Keep the layered tulip closed while the glue sets, checking that the curved edges remain aligned neatly around the outside.
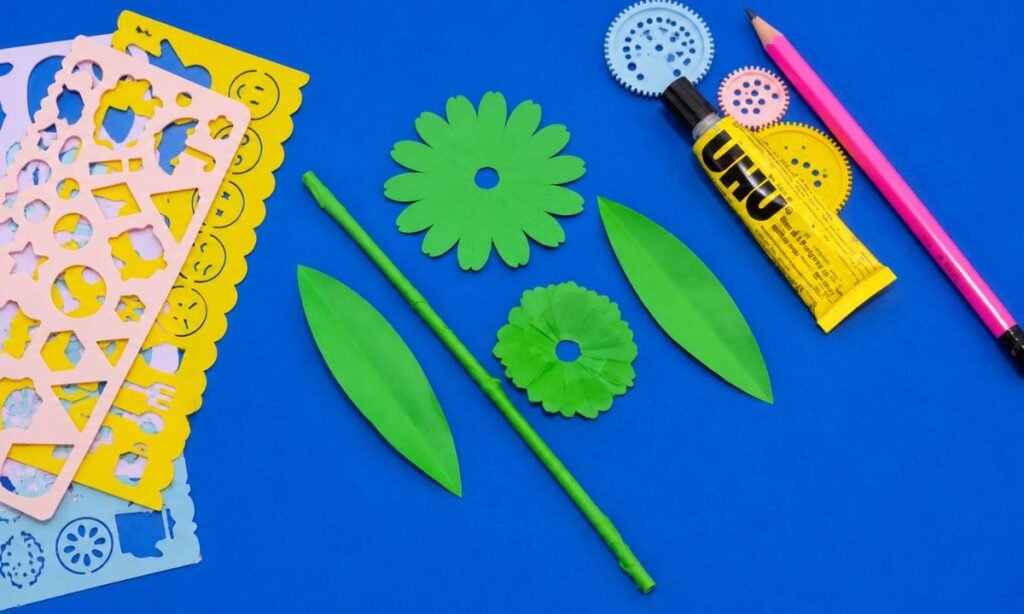
6. Prepare Green Pieces
Prepare a long green paper stem and two pointed leaves, keeping their sizes balanced with the layered tulip head.
Fold each leaf lightly along the middle to create a center crease, giving the flat green shapes a little extra dimension.
Keep the stem and both leaves together on your work surface so they are ready for the final assembly.
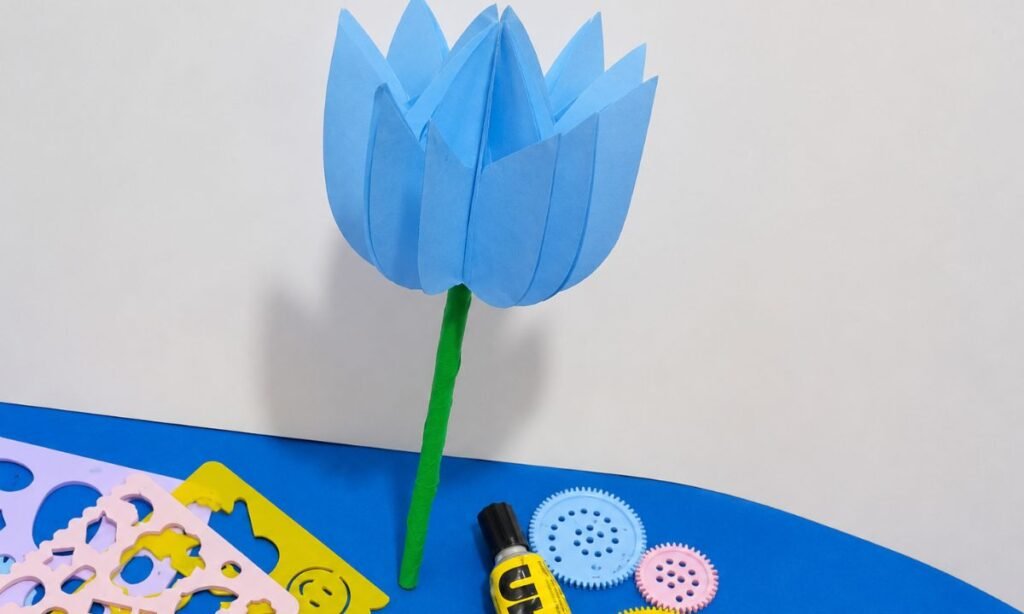
7. Attach Flower Head
Attach the layered blue tulip head to the top of the green stem, pressing the joined area firmly until it feels secure.
Spread the folded flower layers outward carefully, allowing the pointed sections to separate and create a fuller tulip shape overall.
Check the flower head from both sides, adjusting any uneven layers so the blue petals appear balanced around the stem.
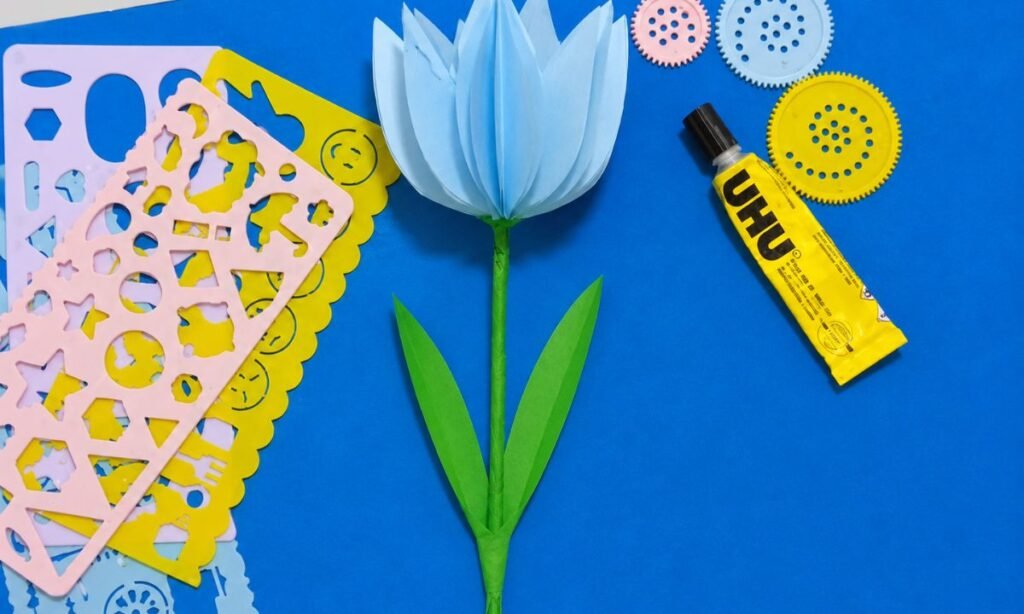
8. Finish Tulip Craft
Glue one green leaf onto each side of the stem, angling both pointed tips upward toward the flower head above.
Press the lower leaf sections firmly against the stem, keeping their center creases visible so the leaves retain some shape.
Adjust the flower and leaves once everything is attached, completing the paper tulip with a clean and balanced final finish.
Easy Ways to Customize
Change the flower color to pink, yellow, red, purple, white, or any shade that matches your favorite tulip.
You can make the petals slightly wider, taller, or more pointed to change the look without altering the basic structure.
Try adding extra folded layers if you want a fuller flower or fewer pieces if you prefer a simpler design.
Using different green shades for the stem and leaves can also give the finished tulip a little more contrast.
Tulip Craft Challenges
Keeping all the folded flower pieces the same size can be tricky, especially when you are cutting several layers by hand.
The tulip head may also lean to one side if the paper layers are not aligned evenly before gluing them together.
Attaching the stem securely can take a little patience because the flower head is fuller and slightly heavier than a flat paper shape.
Using small amounts of glue and checking the alignment at each step helps the finished tulip stay neat and balanced.
FAQs
Can I Make Several Tulips for a Jar?
Yes, you can make several paper tulips in different colors and arrange them together in a small jar or vase.
Vary the flower heights slightly so the bouquet looks fuller and each tulip remains visible instead of hiding behind another.
This works especially well for decorating a desk, shelf, or computer table with something handmade and easy to keep.
What Paper Works Best for This Tulip Craft?
Medium-weight craft paper works well because it folds neatly while still holding the layered tulip shape after everything is glued together.
Very thin paper may bend too easily, while thick cardstock can make folding and layering the flower pieces more difficult.
Choose smooth paper for the flower head and slightly firmer green paper if you want the stem and leaves to stay straighter.
You may also like to make!