

One night, I was randomly scrolling on my phone when a video of a swan gliding across the water caught my attention.
The long curved neck and bright white feathers looked so calm and graceful that I stopped scrolling for a while.
I kept thinking about that simple shape afterward and wanted to recreate the same elegant look using only paper.
That little late-night moment turned into this swan craft with a curved body and long layered feather strips.
Let’s make this swan craft.
- Why Swans Have Such Long Necks
- Materials Needed:
- Step-by-Step Guide
- 1. Prepare White Paper
- 2. Draw Swan Outline
- 3. Cut Swan Shape
- 4. Shape Feathered Wing
- 5. Finish Swan Details
- Why the Cut Feathers Look Fuller
- Fun Facts About Swans
- Swan Craft Challenges
- FAQs
- Can I Make This Swan Craft With Colored Paper?
- Can I Make This Swan Craft Stand More Firmly?
Why Swans Have Such Long Necks
A swan’s long neck helps it reach underwater plants and food without needing to dive completely beneath the surface.
The curved neck also gives the bird its graceful shape, especially when it is swimming slowly across calm water.
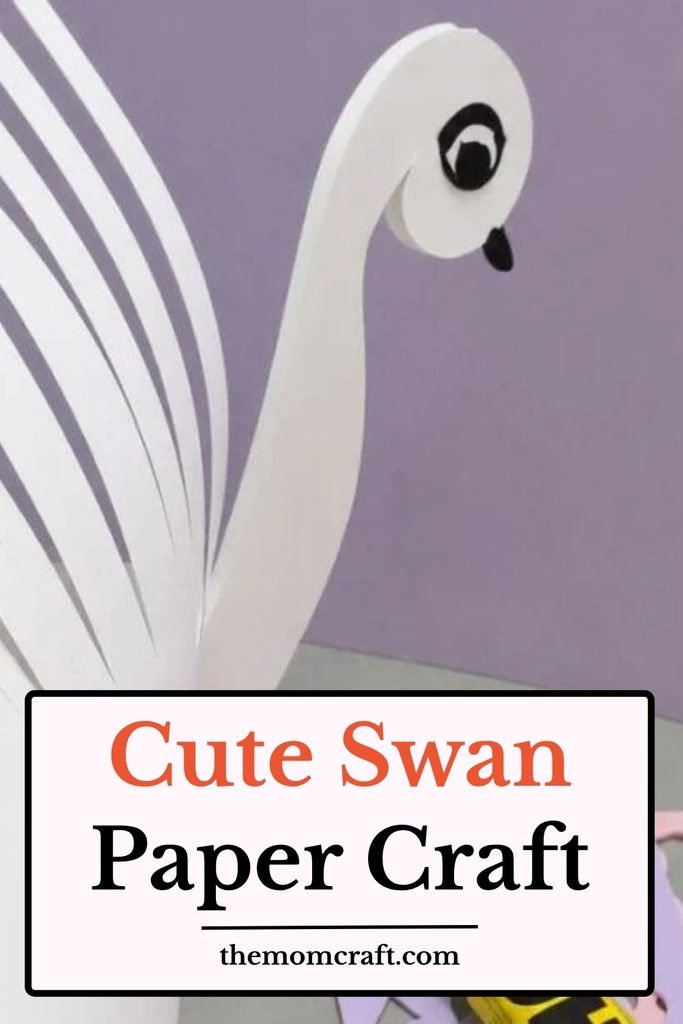
That same curve is important in this craft because it makes the paper swan recognizable even before the feather details are added.
Keeping the neck smooth and narrow helps the finished design look elegant instead of heavy or stiff.
Materials Needed:
- White craft paper or cardstock
- Pencil (for drawing the swan outline)
- Scissors
- Glue or craft adhesive
- Black paper or black marker
Step-by-Step Guide
1. Prepare White Paper
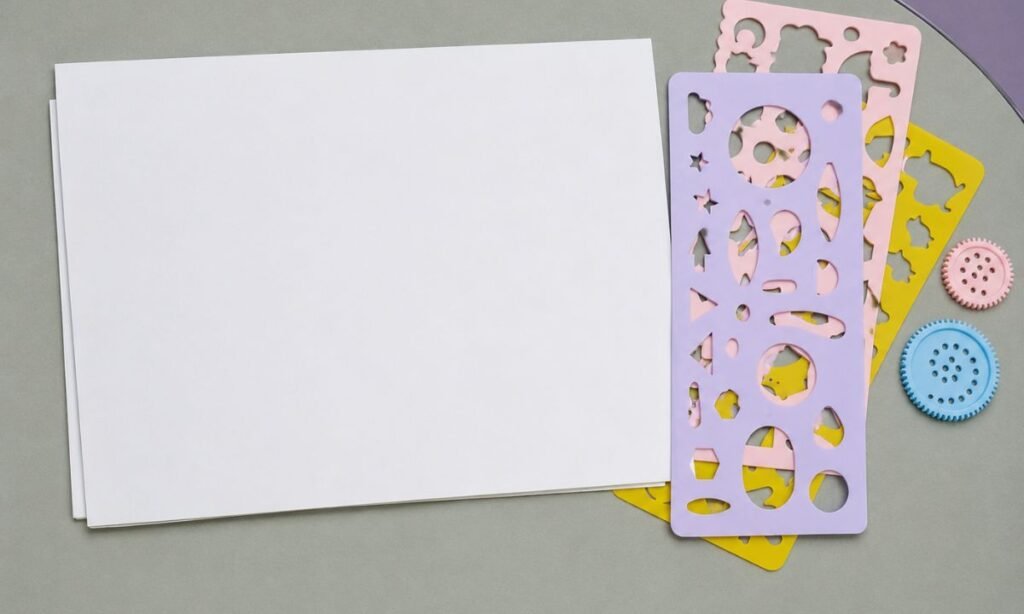
Place a large white craft paper sheet flat on your work surface, keeping the edges straight and the surface completely smooth.
Choose paper that is firm enough to hold its shape after cutting, folding, and attaching the curved wing sections later.
Keep a pencil and cutting tools nearby so the swan outline and feather lines can be marked neatly before shaping.
2. Draw Swan Outline
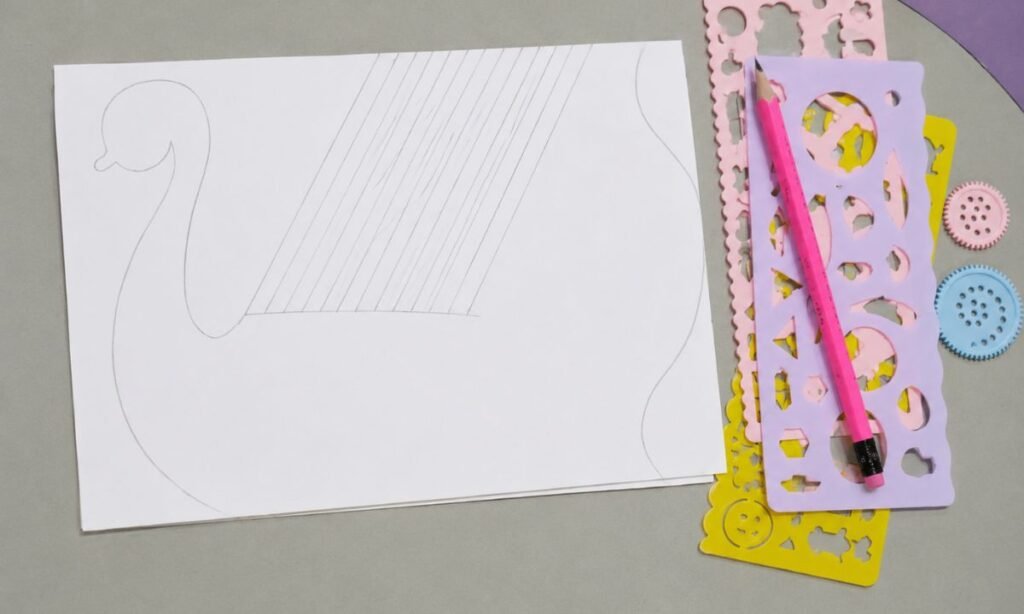
Sketch the swan body with a long curved neck, rounded head, broad lower body, and a raised back section for the wing.
Add several straight diagonal guide lines across the upper body area, keeping them evenly spaced for the feather cuts later.
Check the full outline before cutting, making sure the neck, head, body, and back curve connect smoothly without awkward corners.
3. Cut Swan Shape
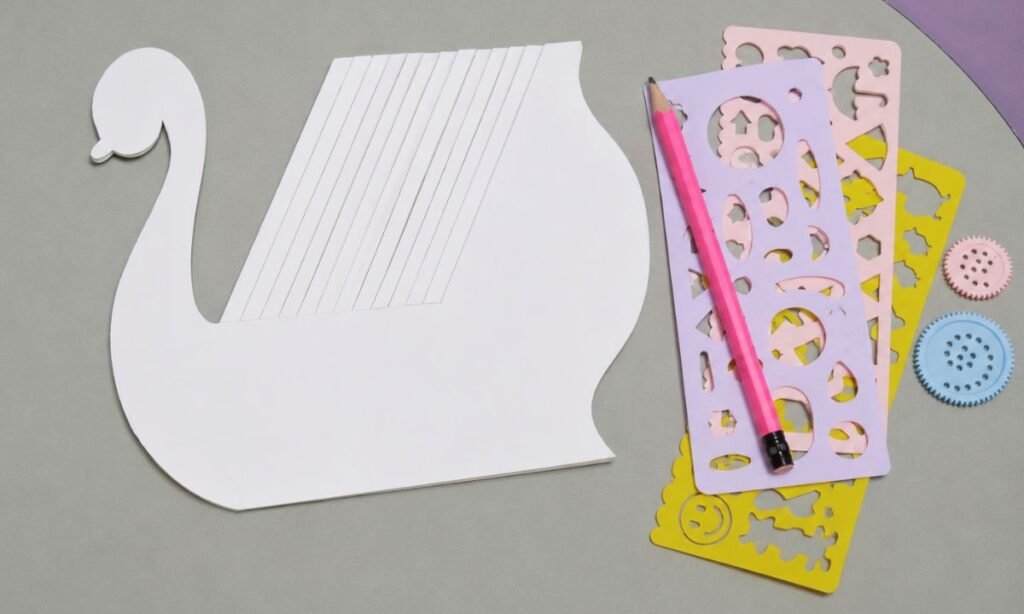
Cut carefully around the outer pencil outline, following the curved neck, rounded head, lower body, and raised back section closely.
Keep the scissors moving slowly around tighter curves so the swan silhouette remains smooth and clean from one end to another.
Leave the diagonal guide lines visible across the upper section, since these will be cut separately to create the feathered wing.
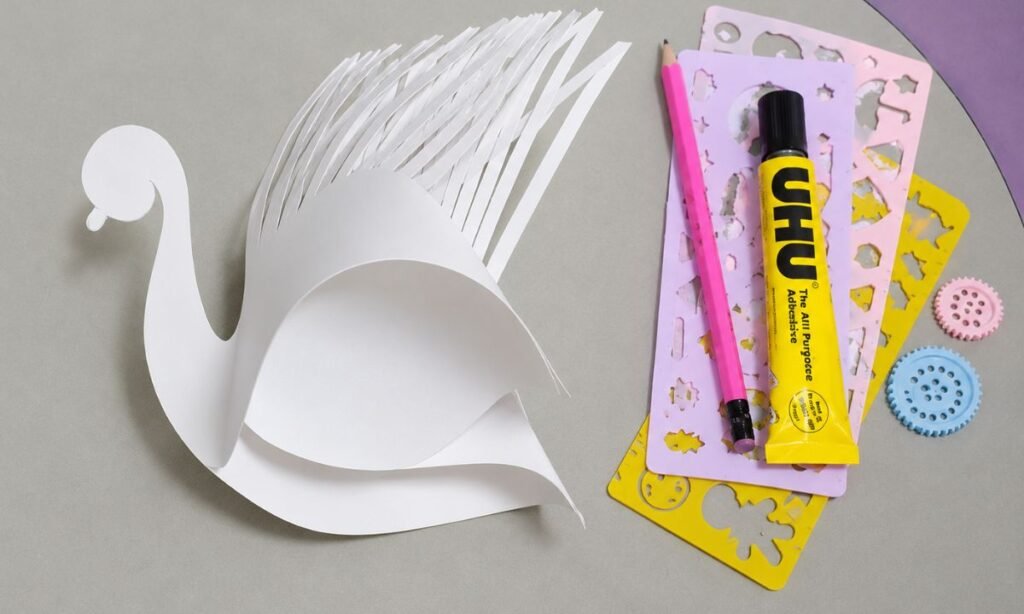
4. Shape Feathered Wing
Cut along each diagonal guide line without removing the strips completely, leaving their lower ends attached to the swan body.
Gently lift and curve the narrow paper sections upward, creating a layered feather effect across the raised wing area.
Bend the lower body slightly so the swan stands with more dimension while keeping the neck and feather strips neatly shaped.
5. Finish Swan Details
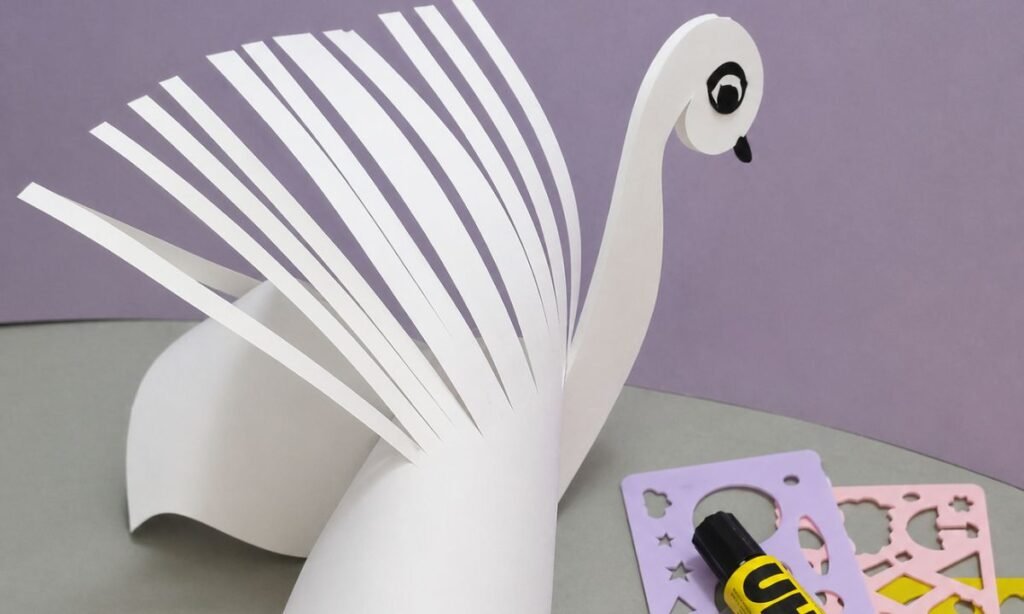
Add a simple black eye and small black beak to the rounded head, keeping both details neat and easy to recognize.
Curve the long feather strips upward and outward, spreading them gently so the wing looks fuller without creasing the narrow sections.
Check the body shape from the side and adjust the base until the finished swan stands neatly with its layered paper wing.
Why the Cut Feathers Look Fuller
The narrow paper strips lift away from the body instead of staying flat against the main swan shape.
That extra spacing creates shadows between the strips, making the wing look much fuller with only one sheet of paper.
Because the strips remain attached at the base, they stay connected while still creating a layered feather effect.
This simple cutting method gives the craft more movement and depth without adding lots of separate feather pieces.
Fun Facts About Swans
- Swans are among the largest water birds and can have very wide wingspans when fully grown.
- Many swans form strong pair bonds and often stay with the same partner for several years.
- Baby swans are called cygnets and usually have grey or brownish feathers before becoming lighter as they grow.
- Swans can sleep while floating on water, especially when they feel safe in a calm area.
- Their strong legs help them swim, take off from water, and move across wet ground.
Swan Craft Challenges
Cutting the narrow feather strips evenly can be difficult because one crooked cut can make the wing look unbalanced.
The paper may also bend too sharply if the feather sections are lifted too quickly while shaping the wing.
Cutting around the smaller head and beak area takes patience because those tighter curves are easier to trim unevenly.
Working slowly with the cuts and bends helps the finished swan keep its clean shape and layered feather effect.
FAQs
Can I Make This Swan Craft With Colored Paper?
Yes, you can use cream, pale blue, pink, or another light shade instead of keeping the entire swan completely white.
A softer color can make the craft feel more decorative while the curved neck and feathered wing still keep it recognizable.
Keep the eye and beak darker so the facial details remain clear against whichever paper color you choose.
Can I Make This Swan Craft Stand More Firmly?
Yes, you can use slightly thicker craft paper or lightweight cardstock so the curved body holds its shape more easily.
Avoid paper that is too stiff because the narrow feather strips still need enough flexibility to lift and curve neatly.
You can also widen the lower base slightly if the finished swan keeps leaning to one side.
You may also like to make!



