

Last summer, my family visited our village, and I kept noticing the ducks walking around near the water and open fields.
There were so many of them together, and their bright beaks, little feet, and slow waddling made them look really cute.
I liked watching them move around so much that I wanted to recreate the same cheerful look with a simple paper craft.
That village memory turned into an easy duck craft with a rounded yellow body and a playful little face.
Let’s make this duck craft.
- Why Ducks Have Webbed Feet
- Material Needed
- Step-by-Step Guide
- 1. Prepare Yellow Strips
- 2. Form Yellow Loops
- 3. Stack Body Sections
- 4. Prepare Duck Pieces
- 5. Assemble Duck Details
- Why Ducks Keep Their Feathers So Neat
- How the Wide Feet Help This Craft Stand
- Easy Ways to Customize
- FAQs
- Can I Make This Duck Craft in Different Colors?
- Can I Make a Small Duck Family With This Craft?
Why Ducks Have Webbed Feet
Ducks have webbed feet that help them push against the water more efficiently while swimming.
The skin between their toes acts like a small paddle, giving them more surface area with every kick.
Those feet also help ducks move through muddy or wet ground without sinking as easily as narrower feet might.
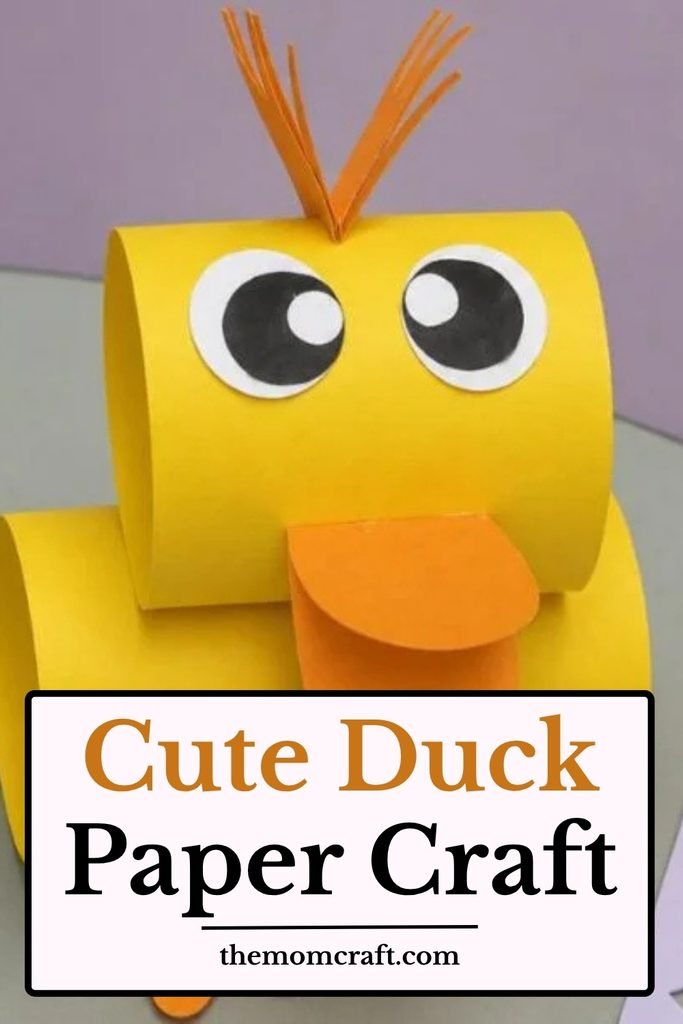
In this craft, the wide orange feet make the duck easy to recognize even with a very simple paper body.
Material Needed
- Yellow craft paper (for the duck body)
- Orange craft paper
- White and black paper or googly eyes
- Scissors
- Pencil and ruler
Step-by-Step Guide
1. Prepare Yellow Strips
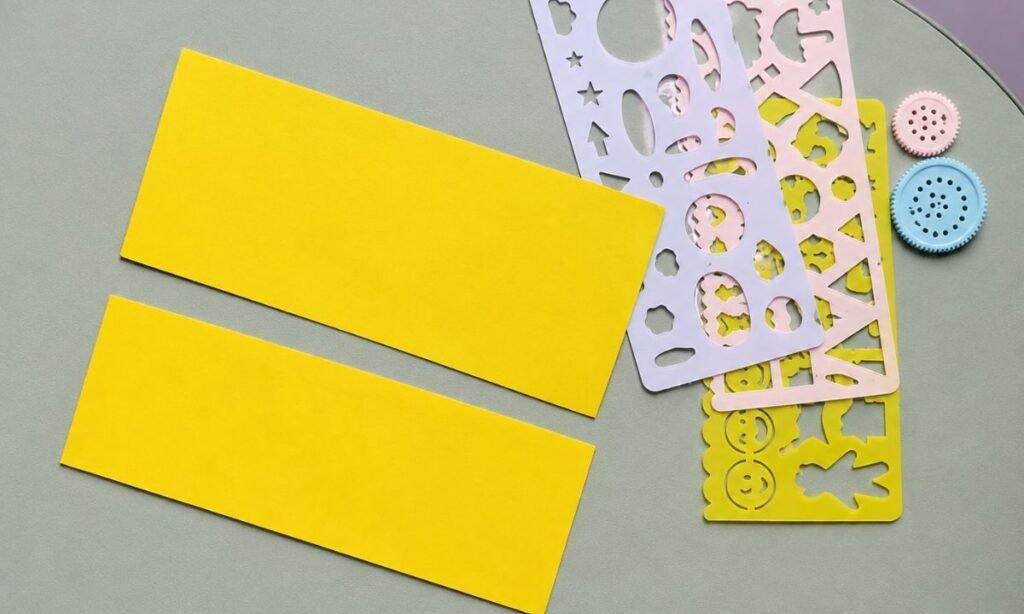
Place two yellow rectangular paper strips flat on your work surface, keeping the edges straight and both pieces similar in width.
Choose clean paper without bends or wrinkles so each strip rolls smoothly and holds a neat rounded shape later.
Keep the pieces side by side and compare their lengths before gluing, making small adjustments if one looks noticeably larger.
2. Form Yellow Loops
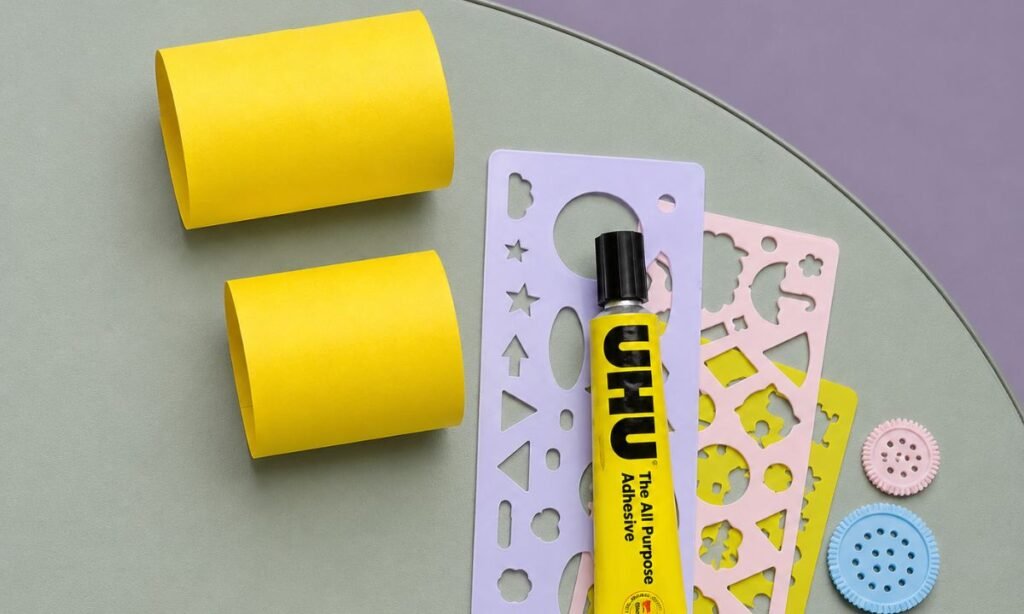
Bring the short ends of each yellow strip together, overlapping them slightly to create two separate rounded paper loops.
Apply glue along the overlapping edges, then press each join firmly until both curved sections hold their shape securely.
Keep the loops standing upright briefly, checking that both openings remain even and the paper does not collapse inward.
3. Stack Body Sections
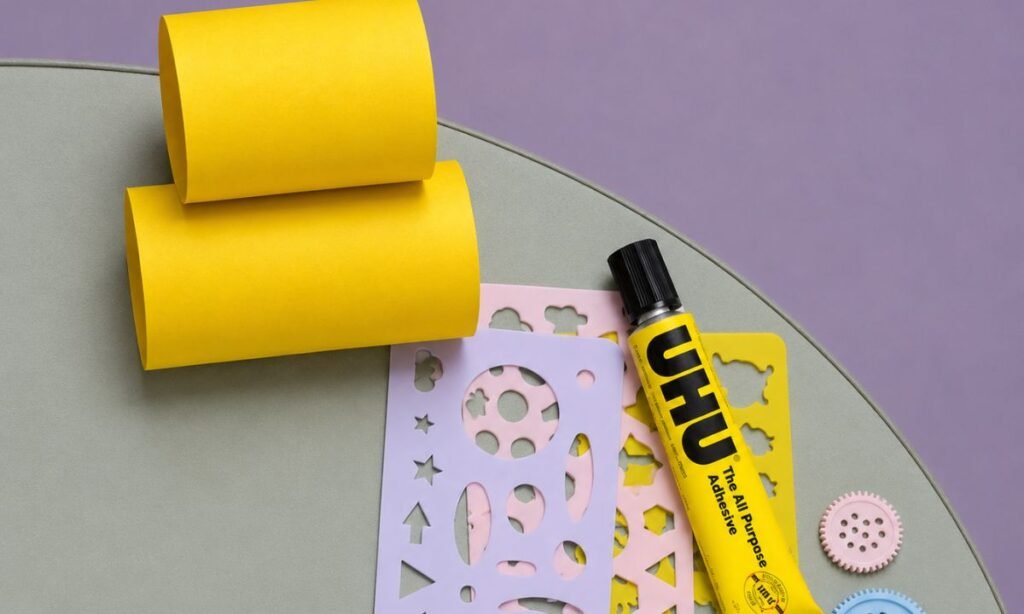
Place the smaller yellow loop on top of the larger one, aligning their centers so the two sections stack neatly.
Apply glue between the touching surfaces and press gently, keeping both rounded shapes secure without flattening either paper loop.
Check the stacked body from the side, adjusting the upper piece if needed so it stays centered over the lower section.
4. Prepare Duck Pieces
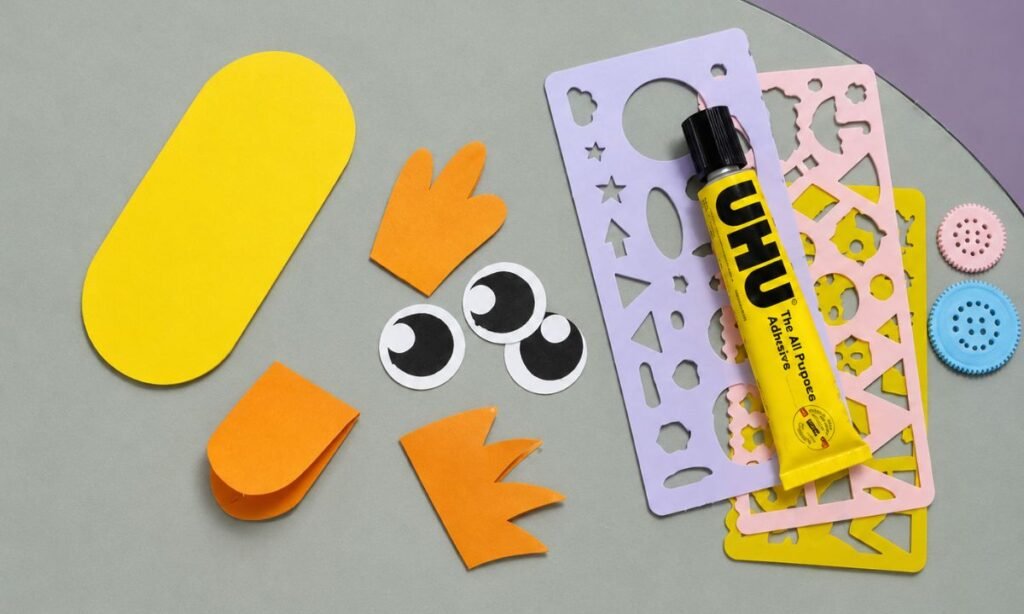
Cut a long rounded yellow body piece, two orange foot shapes, an orange beak, and round paper eyes for the duck.
Keep the orange pieces grouped together and match the eye sizes so the facial details look balanced when attached later.
Arrange all the prepared pieces beside the yellow body first, checking their proportions before beginning the final assembly step.
5. Assemble Duck Details
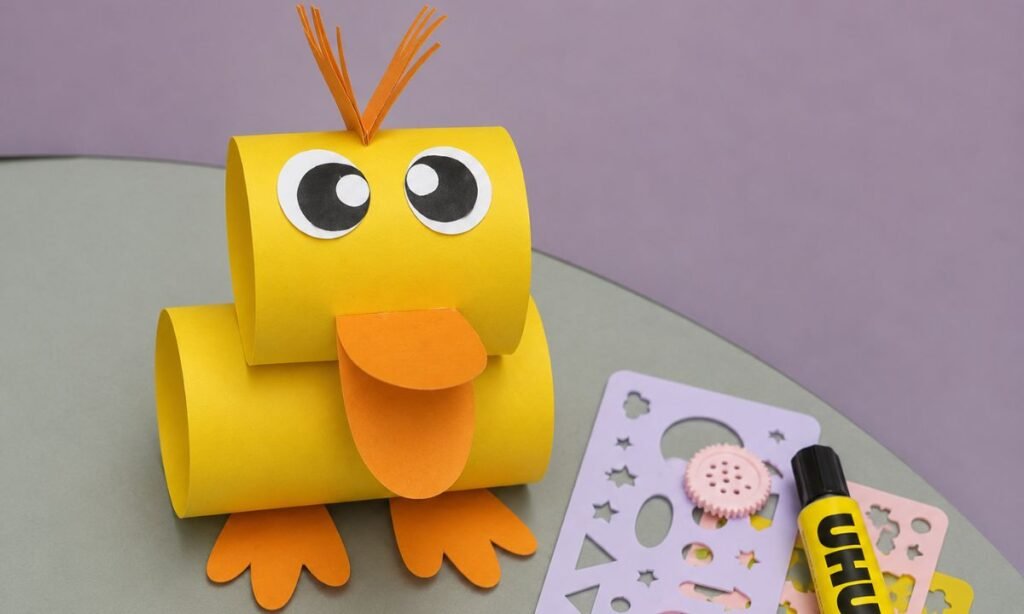
Glue the round paper eyes onto the upper yellow loop, keeping them level and leaving enough space for the beak below.
Attach the orange beak at the center, then glue both orange feet beneath the lower body so they remain clearly visible.
Add the thin orange feather strips on top, then press every glued piece gently to complete the cheerful paper duck.
Why Ducks Keep Their Feathers So Neat
Ducks regularly clean and arrange their feathers using their beaks, a behavior called preening.
While preening, they spread natural oils through the feathers, which helps keep the plumage in good condition.
This also helps many ducks stay better protected from water while swimming and resting near wet areas.
Their smooth, tidy feathers are one reason a simple rounded paper body works so well for this craft.
How the Wide Feet Help This Craft Stand
The broad orange feet give the paper duck a stronger base and help the rounded body look more balanced.
Keeping both feet at the same height also prevents the finished duck from appearing tilted toward one side.
The wide shape works especially well beneath the hollow paper body because it adds support without needing extra cardboard.
This small detail makes the craft easier to display on a table, shelf, or kids’ activity area.
Easy Ways to Customize
Change the body color, eye size, beak shape, or feather details to make each paper duck look slightly different.
You can use pale yellow, white, brown, or even patterned paper depending on the style you want.
Try adding small wings, rosy cheeks, or a tiny bow if you want the finished duck to feel more playful.
You can also add a small paper wing or simple feather marks to give the finished duck more detail.
FAQs
Can I Make This Duck Craft in Different Colors?
Yes, you can use white, brown, pale yellow, or mixed paper colors instead of keeping every duck bright yellow.
Changing the body shade while keeping the orange beak and feet can make each finished duck look a little different.
This works especially well if you want to create several ducks together instead of repeating the exact same design.
Can I Make a Small Duck Family With This Craft?
Yes, you can make the same paper duck in different sizes to create a simple adult-and-duckling group.
Use smaller paper loops for the ducklings while keeping the same eyes, beak, feet, and rounded body structure.
Arranging them together can turn one simple craft into a cute little family display for a shelf or classroom table.
You may also like to make!



