A while ago, I watched a whale show where the huge whale came up from the water and made a big splash near the audience.
The way it moved looked surprisingly smooth for such a large animal, and everyone around me immediately started watching more closely.
I kept thinking about its curved body, wide tail, and the way it disappeared back into the water after each jump.
That memory inspired me to turn the same shape into a simple paper whale craft with easy ocean details.
Let’s make this whale craft.
- Why Whales Have Thick Blubber
- Materials Needed:
- Step-by-Step Guide
- 1. Pink Paper Base
- 2. Whale Body Outline
- 3. Pink Whale Cutout
- 4. Whale Decoration Pieces
- 5. Smiling Paper Whale
- Fun Facts About Whales
- How Whale Tails Help Them Swim
- Whale Craft Challenges
- FAQs
- Can I Make This Whale Craft Without Drawing the Shape Freehand?
- Can I Make This Whale Craft With Cardstock?
Why Whales Have Thick Blubber
Whales have a thick layer of fat called blubber beneath their skin, which helps protect them from cold ocean temperatures.
Blubber also stores energy, giving whales an important reserve during long migrations or periods when food becomes harder to find.
This layer is especially useful for species that travel through colder waters where staying warm can require a lot of energy.
Learning about blubber adds another simple science connection to the craft beyond just focusing on the whale’s shape and swimming features.
Materials Needed:
- Pink craft paper
- Blue craft paper
- White craft paper
- Black craft paper
- Googly eye
- Pencil
- Scissors
- Glue
- Black marker
Step-by-Step Guide
1. Pink Paper Base
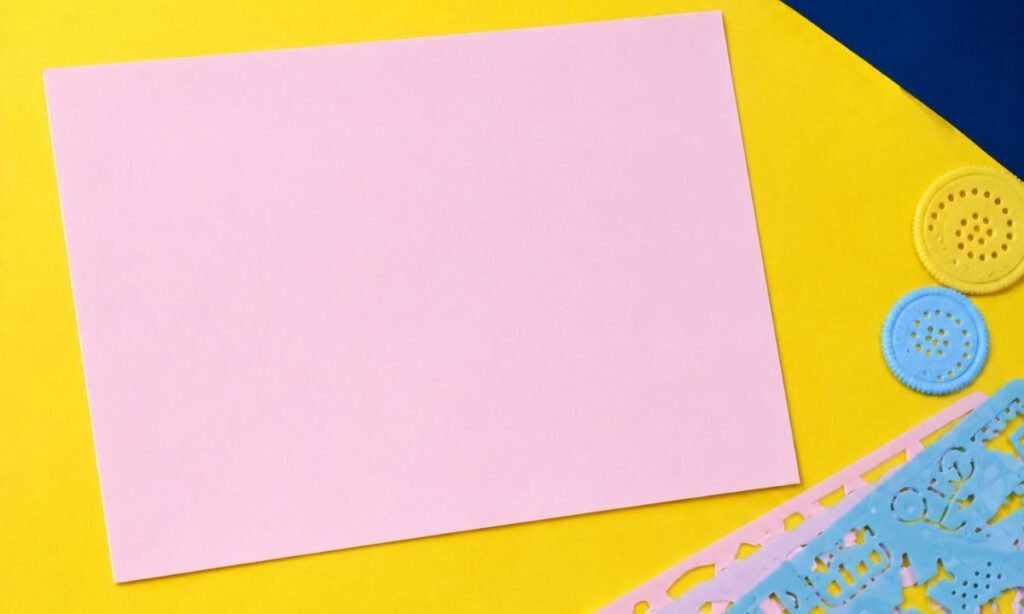
Start your whale craft with a large sheet of light pink construction paper, choosing a rectangular piece that provides enough space for the body.
Place the paper horizontally on a flat surface and gather a pencil, scissors, and glue before drawing the whale’s curved outline.
Choose slightly thick paper so the finished whale holds its shape when you attach the tail, eye, and other decorative pieces later.
2. Whale Body Outline
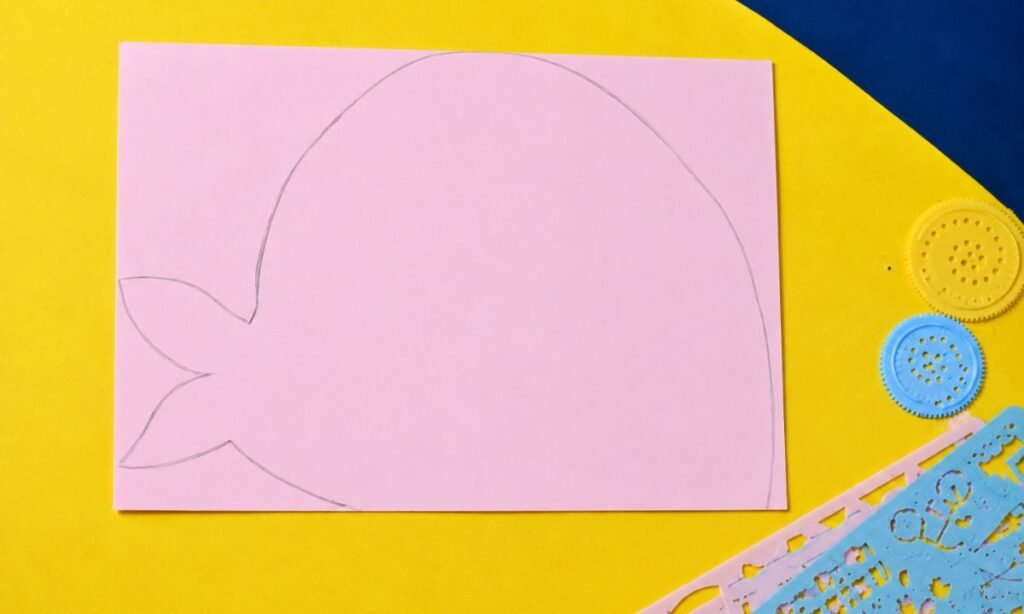
Draw a large rounded whale body on the pink paper, starting with a curved back and extending the shape toward the bottom edge.
Add a two-part tail on the left side, making both pointed sections wide enough for children to cut around them easily.
Connect the tail to the rounded body with smooth pencil lines, leaving a straight lower edge to complete the whale’s outline.
3. Pink Whale Cutout
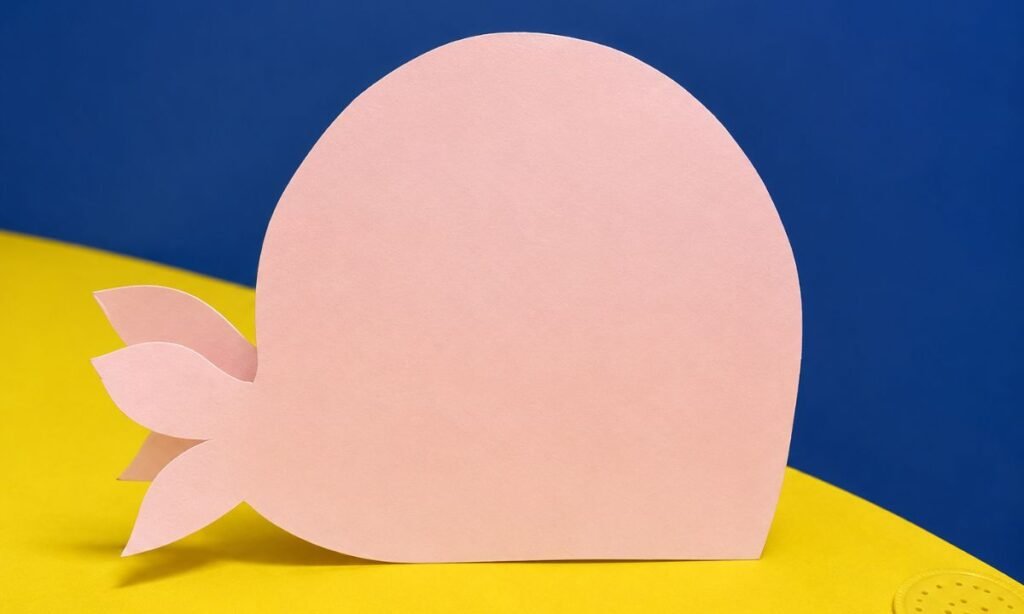
Carefully cut along the pencil outline, following the rounded body and pointed tail sections without cutting into the main whale shape.
Use your fingers to turn the paper while cutting around the narrow tail connection, helping prevent accidental tears along the curved edges.
Fold or layer the tail sections slightly to create a raised appearance, then place the finished whale body aside for decorating.
4. Whale Decoration Pieces
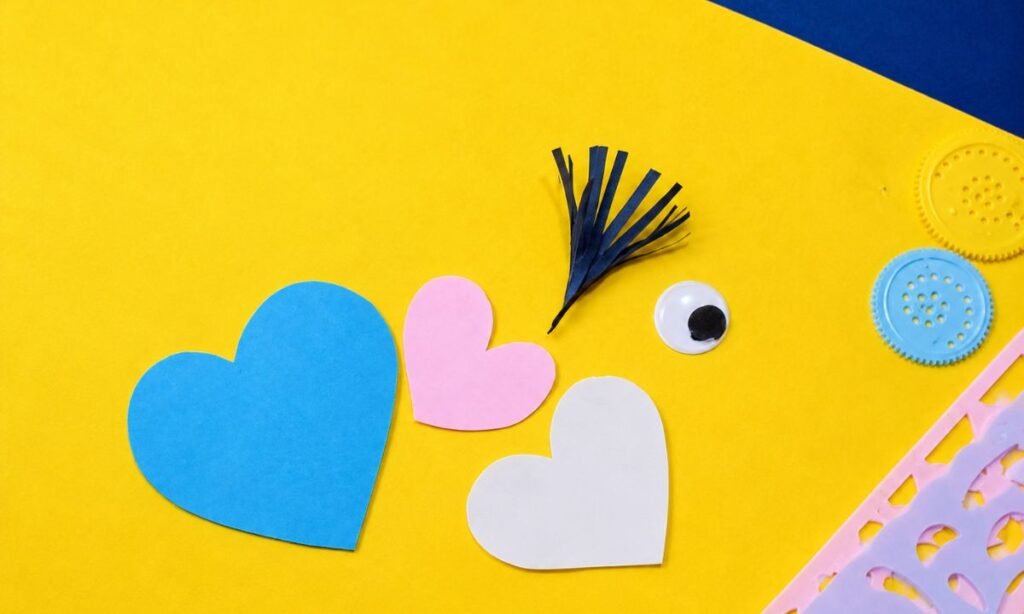
Cut three heart shapes from blue, pink, and white construction paper, making different sizes for decorating the whale’s body and fins.
Prepare a small black paper fringe for the water spray, cutting thin strips while leaving one end connected to hold them together.
Add a small googly eye to your materials, then arrange all the decorative pieces before attaching them to the pink whale body.
5. Smiling Paper Whale
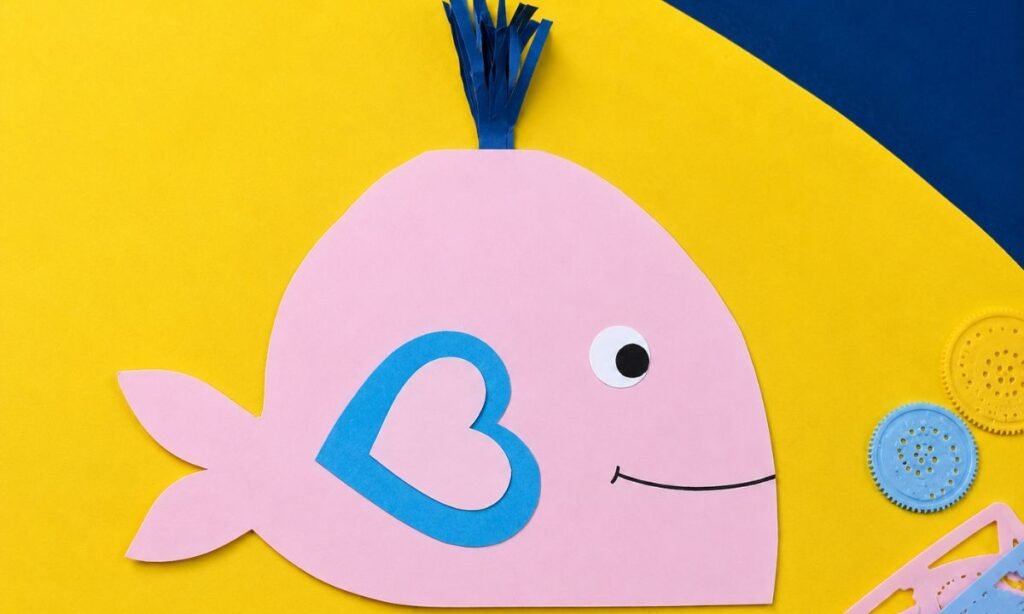
Glue a blue heart-shaped paper frame onto the pink whale’s body, positioning it near the center to create a decorative side fin.
Attach a small googly eye near the upper front section, then draw a gentle curved smile using a black marker.
Finish by gluing the blue paper fringe behind the whale’s upper edge, spreading the thin strips outward to resemble water spraying upward.
Fun Facts About Whales
- Whales are mammals, which means they breathe air and feed milk to their young.
- Some whale species travel thousands of miles during seasonal migrations.
- Blue whales are the largest animals known to have ever lived on Earth.
- Many whales communicate using sounds that can travel long distances through water.
- Different whale species eat different foods, including krill, fish, and squid.
How Whale Tails Help Them Swim
Whales move through the water by pushing their large tail flukes up and down rather than side to side.
This movement creates powerful thrust and helps them travel efficiently through deep water and long distances.
The broad tail is one of the easiest whale features to recognize in a simple paper craft.
Keeping it wide and clearly shaped helps the finished design look more like a whale even before smaller details are added.
Whale Craft Challenges
Cutting the long curved body smoothly can be tricky because uneven edges can make the whale shape look unbalanced.
The tail and fins also need careful placement so they stay proportionate to the main body.
Small face details can shift easily while gluing, especially if the paper surface is curved or layered.
Arranging every piece before attaching it helps the finished whale stay neat and easier to recognize.
FAQs
Can I Make This Whale Craft Without Drawing the Shape Freehand?
Yes, you can print or trace a simple whale template if drawing the curved body and tail feels difficult.
Keep the template large enough so the fins, face, and other details still have enough space to attach neatly.
This option works especially well for younger kids who may struggle with drawing smooth ocean-animal shapes by hand.
Can I Make This Whale Craft With Cardstock?
Yes, lightweight cardstock can work well for the whale body because it gives the large curved shape a firmer base.
Use regular craft paper for the smaller decorative pieces so the hearts, fin, and water details stay easier to cut and attach.
Avoid very thick card because shaping the tail and cutting around the curved body can become more difficult for younger kids.
You may also like to make!