My little sister was reading a short sea-animal poem when she stopped at the part about a tiny seahorse.
She liked how the poem described its curled tail and upright shape, especially because it sounded so different from an ordinary fish.
That little poem made me want to recreate the same unusual sea creature with simple paper shapes and bright colors.
So I turned the idea into this easy seahorse craft with a curved body, long snout, and curled tail.
Let’s make this seahorse paper craft.
- Why Seahorses Have Curled Tails
- Materials Needed:
- Step-By-Step Guide
- 1. Yellow Paper Base
- 2. Seahorse Shape Outline
- 3. Bold Seahorse Outline
- 4. Seahorse Paper Cutout
- 5. Underwater Paper Decorations
- 6. Seahorse Face Details
- 7. Ocean Background Craft
- 8. Seahorse Ocean Scene
- Interesting Things About Seahorses
- Why Seahorses Swim Differently
- FAQs
- Can I Make This Seahorse Craft Without Drawing the Shape Freehand?
- Can I Make This Seahorse Craft Without the Raised Paper Spacer?
Why Seahorses Have Curled Tails
Seahorses use their curled tails to grip sea grass, coral, and other underwater surfaces instead of swimming constantly through strong currents.
This helps them stay in one place when the surrounding water moves, especially in shallow coastal habitats with plenty of plant life.
Their tail works more like a gripping tool than the broad swimming tails seen on many other fish species.
That unusual curled shape is also one of the easiest seahorse features to recognize in a simple paper craft.
Materials Needed:
- Yellow craft paper
- Blue craft paper
- Green craft paper
- Orange craft paper
- Brown or beige craft paper
- White craft paper
- Black craft paper
- Pencil
- Black marker
- Scissors
- Glue
Step-By-Step Guide
1. Yellow Paper Base
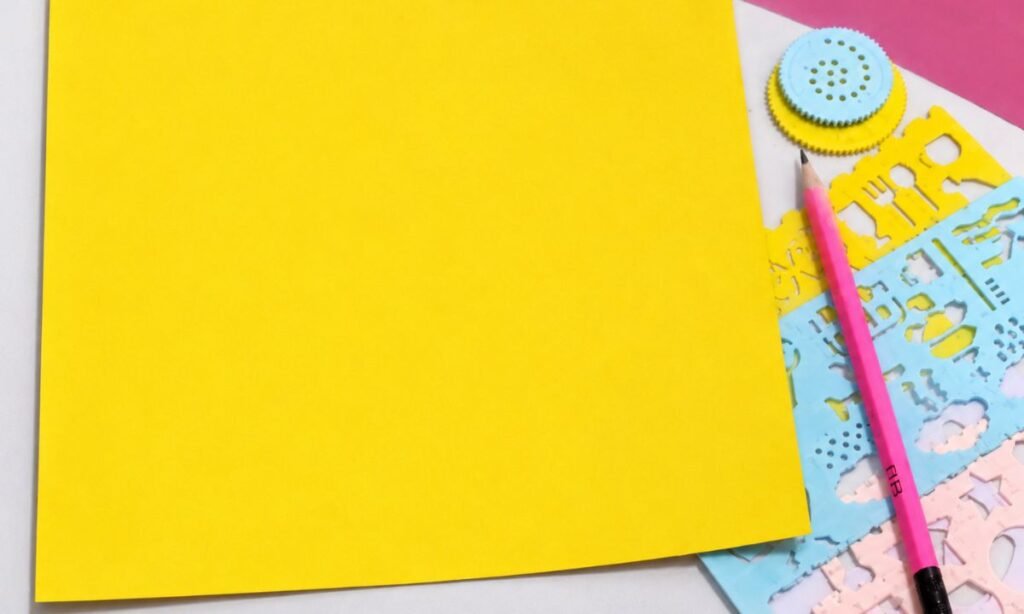
Start your seahorse craft with a bright yellow sheet of construction paper, choosing a slightly thick material that is easy for children to handle.
Place the paper on a clean, flat surface and gather a pencil, black marker, scissors, and any drawing stencils you plan to use.
Make sure the sheet is large enough to draw the complete seahorse shape, including its curved body, small snout, and curled tail.
2. Seahorse Shape Outline
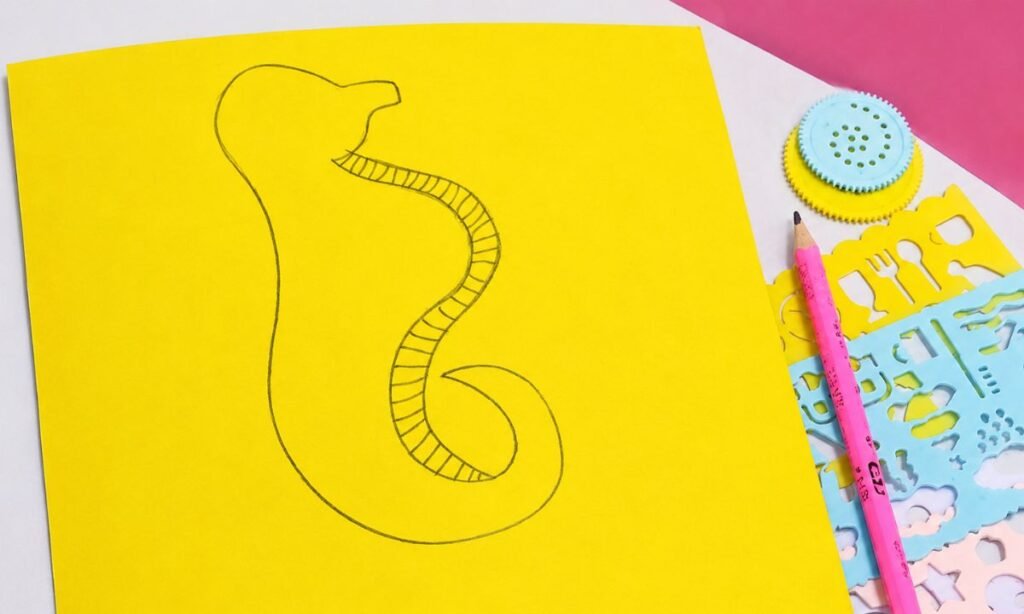
Draw a seahorse outline on the yellow paper, starting with a rounded head and extending a small snout toward the right side.
Continue the curved body downward, making a wide belly before bringing the lower section inward to form the seahorse’s curled tail.
Add short parallel lines along the inner body curve to create a striped belly pattern that children can easily trace and decorate.
3. Bold Seahorse Outline
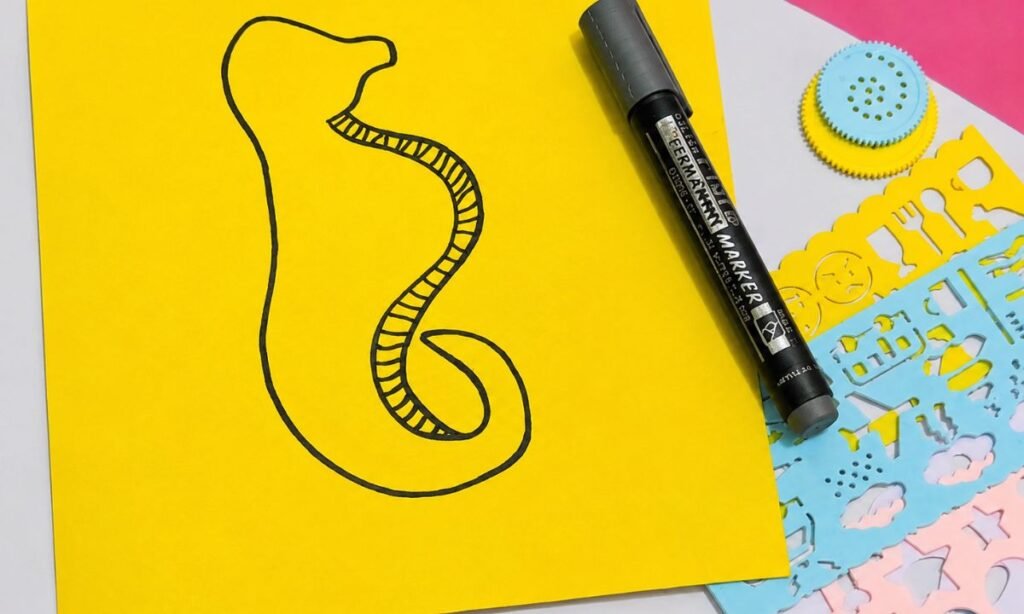
Trace the entire pencil drawing with a thick black marker, following the head, curved back, belly, and curled tail carefully.
Darken the small stripes along the inner body curve, leaving clear yellow spaces between each line to make the pattern visible.
Allow the marker ink to dry completely before cutting, so children can handle the paper without smudging the finished black outline.
4. Seahorse Paper Cutout
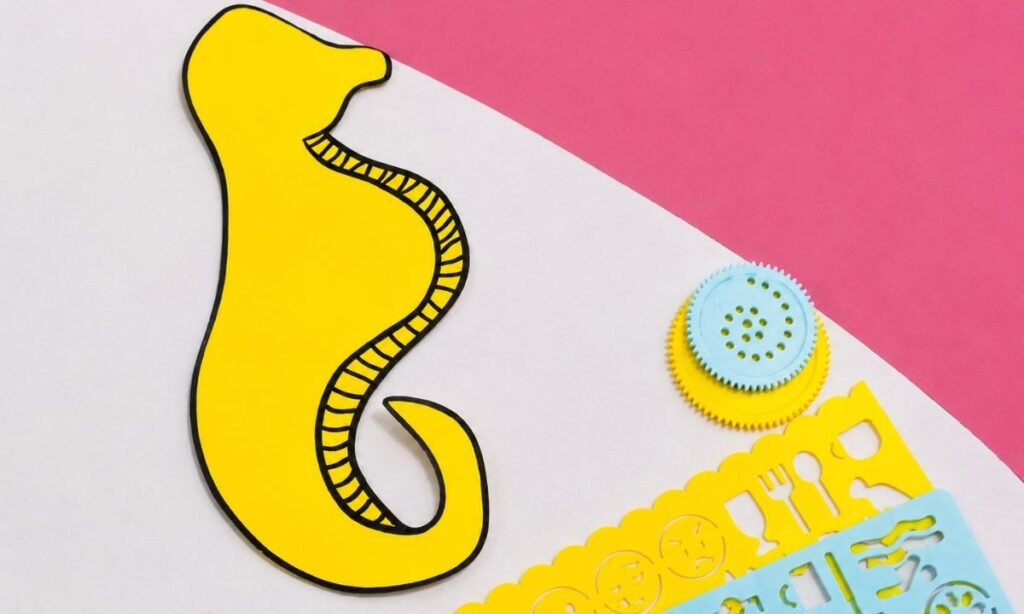
Cut around the black outer outline using scissors, following the curved body and narrow snout without cutting into the striped belly.
Take extra care around the curled tail, turning the paper slowly to preserve the small opening inside the curved shape.
Once the seahorse is completely cut out, place it on a contrasting background before adding its eye and other decorative details.
5. Underwater Paper Decorations
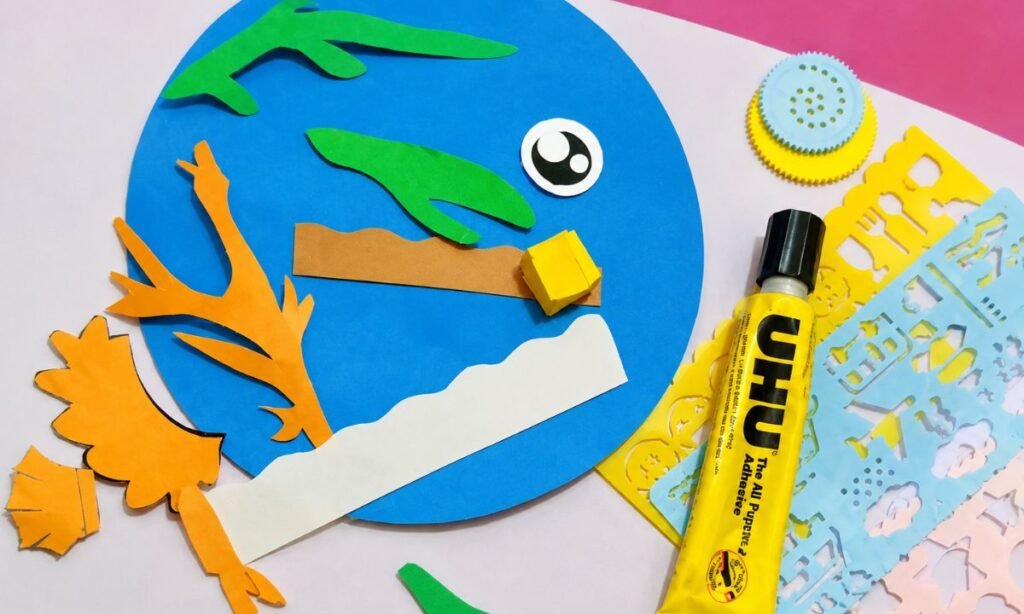
Cut a large blue circle for the ocean background, then prepare green seaweed, orange coral, and brown paper strips for the seabed.
Use scissors to create branching coral shapes and long seaweed pieces, making different sizes so they fit naturally around the seahorse.
Prepare a white wavy paper strip for the ocean floor, along with a small folded paper spacer to raise the seahorse later.
6. Seahorse Face Details
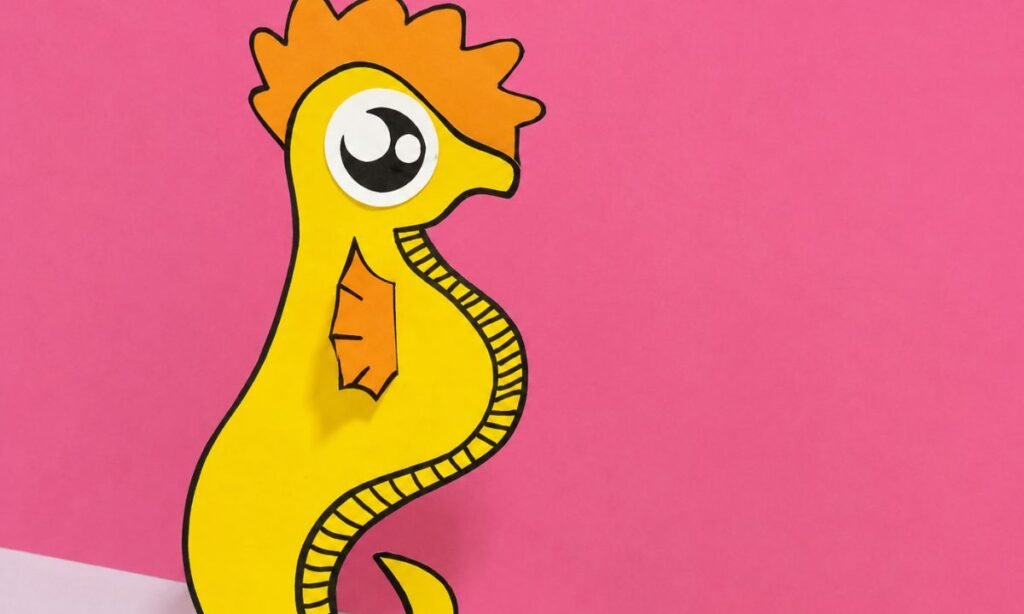
Glue a large white and black paper eye onto the seahorse’s head, positioning it close to the small pointed snout.
Cut an orange spiky shape for the head crest and attach it behind the upper edge, leaving the pointed sections visible.
Add a small orange fin along the side of the body, drawing short black lines to give it a clear pattern.
7. Ocean Background Craft
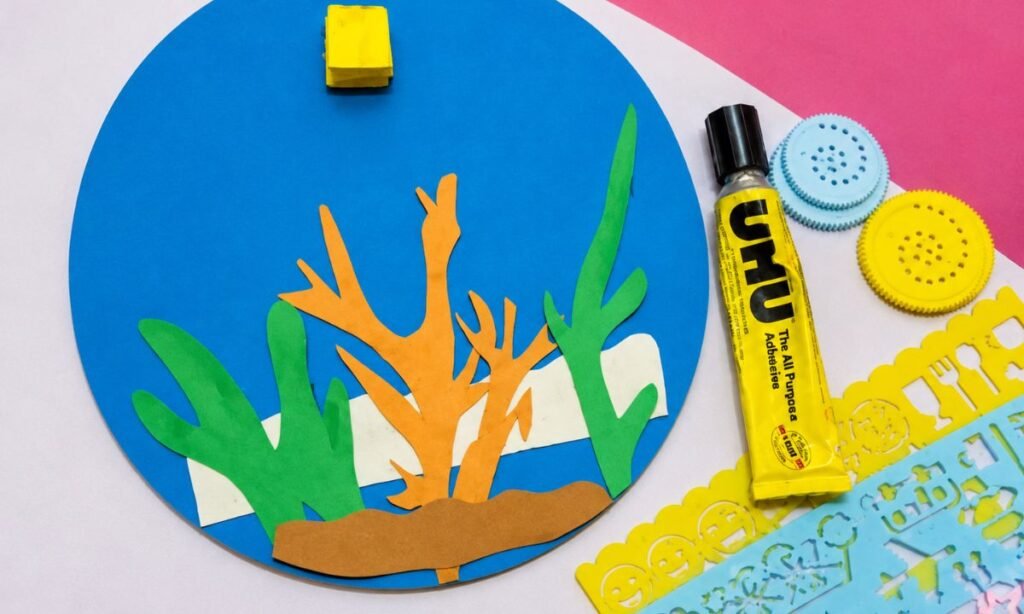
Glue the white wavy strip across the lower section of your blue circle, creating a clear background for the underwater decorations.
Arrange orange branching coral in the center and green seaweed along both sides, allowing the taller pieces to extend upward.
Attach a brown paper strip across the bottom to cover the plant ends, making the decorations look rooted in the seabed.
8. Seahorse Ocean Scene
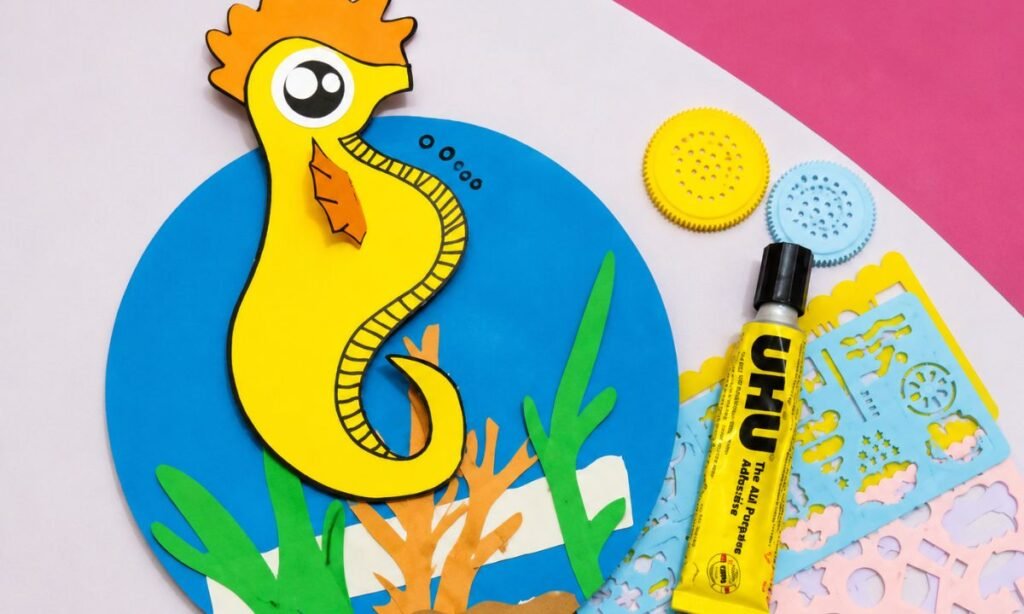
Attach the finished yellow seahorse over the blue ocean background, positioning its curled tail above the colorful coral and seaweed.
Use a folded paper spacer behind the seahorse to raise it slightly, giving the finished craft a simple three-dimensional effect.
Draw small black bubbles near the seahorse’s mouth, then let the glue dry before displaying your completed underwater paper craft.
Interesting Things About Seahorses
- Male seahorses carry developing babies inside a special pouch until they are ready to be released into the water.
- Seahorses swim upright, which makes their body position very different from most familiar fish moving horizontally through the ocean.
- Their eyes can move independently, helping them watch different directions while staying almost still among plants and coral.
- Seahorses do not have teeth, so they suck tiny prey into their long snouts instead of chewing their food.
- Many seahorses can change color slightly, helping them blend with nearby plants, coral, or other parts of their surroundings.
Why Seahorses Swim Differently
Seahorses rely on a small fin on their back that moves rapidly to push their upright bodies through the water.
Tiny fins near the head help with steering, while the curled tail is used mainly for gripping rather than propulsion.
Because their swimming is relatively slow, they often stay close to sheltered areas where plants and coral offer protection.
This unusual movement makes seahorses look especially distinctive compared with faster fish that use broad tails for powerful swimming.
FAQs
Can I Make This Seahorse Craft Without Drawing the Shape Freehand?
Yes, you can trace a simple seahorse template if drawing the curved head, narrow body, and curled tail feels difficult by hand.
Choose a template with clear, wider shapes so the smaller fins and facial details remain easy to cut and attach neatly afterward.
This option works especially well for younger kids who may struggle with narrow curves and smaller sections around the seahorse body shape.
Can I Make This Seahorse Craft Without the Raised Paper Spacer?
Yes, you can glue the seahorse directly onto the blue background if you prefer making a completely flat paper craft instead.
Keep the body centered above the coral and seaweed so the curled tail, small fins, and face remain clearly visible.
A flat version is also easier to store, mount on a classroom board, or place neatly inside a craft folder afterward.
You may also like to make!