My niece really loves snails, and whenever we go to the market, she always stops when she sees one and asks if she can take it home.
Her mother usually tells her no and reminds her that a real snail is not something she can just bring back from the market.
She still keeps asking every time, so I thought a paper version would be a much easier way to give her something similar.
That little habit inspired this simple snail craft with a colorful shell and a cute little face.
Let’s make this snail paper craft.
- Why Snails Carry Their Shells
- Materials Needed:
- Step-by-Step Guide
- 1. Yellow Paper Base
- 2. Round Shell Outline
- 3. Paper Shell Cutout
- 4. Spiral Shell Design
- 5. Smiling Paper Snail
- Interesting Things About Snails
- Why Snails Leave Shiny Trails
- Why Snails Prefer Damp Places
- FAQs
- Can I Make This Snail Craft Without a Paper Spiral?
- Can I Turn This Snail Craft Into a Garden Display?
Why Snails Carry Their Shells
A snail’s shell grows with its body and stays attached throughout its life rather than being something it can leave behind.
The hard shell helps protect the softer body when the snail pulls itself inside during danger or dry conditions.
As the snail grows, the shell also becomes larger and forms the familiar curved spiral shape.
That makes the shell the most recognizable part of a snail and an important feature to highlight in the craft.
Materials Needed:
- Yellow craft paper
- Blue craft paper
- White craft paper
- Black craft paper
- Light pink craft paper
- Pencil
- Scissors
- Glue
- Black marker
- Round plate or circular tracing object
Step-by-Step Guide
numbering lazmi krna
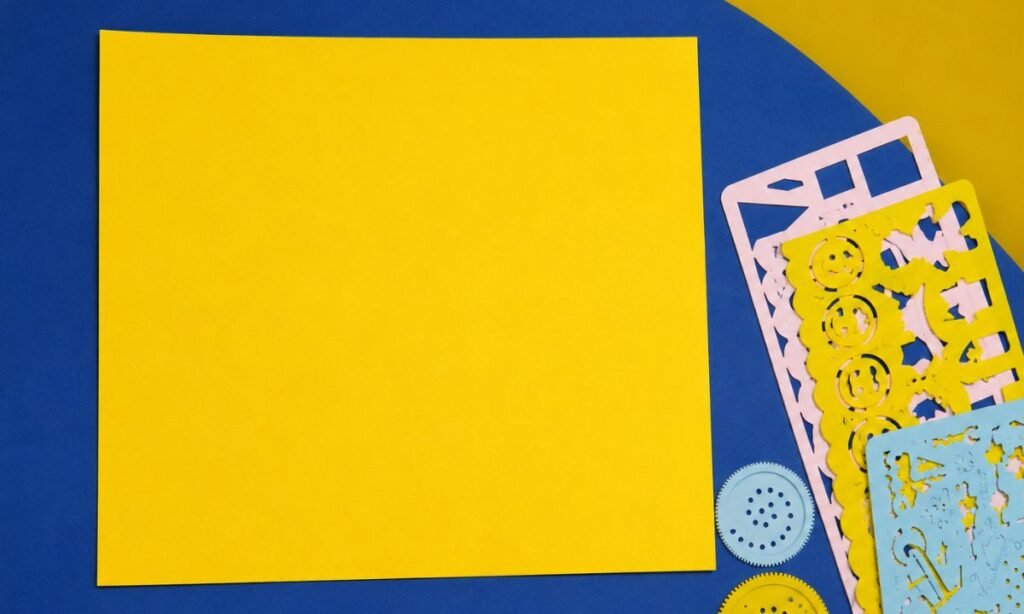
1. Yellow Paper Base
Start your snail craft with a square sheet of yellow construction paper, choosing a bright color for the shell design.
Place the paper on a flat table so children have enough space to trace, cut, and arrange their craft pieces.
You can use regular colored paper or slightly thicker cardstock if you want the finished snail shell to hold its shape.
2. Round Shell Outline
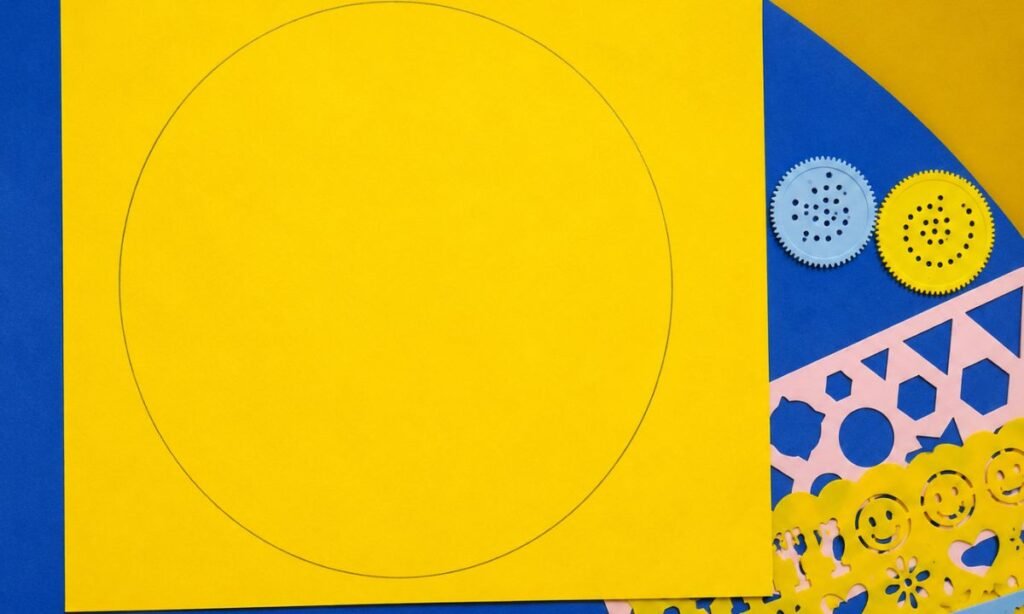
Draw a large circle in the center of your yellow paper using a pencil and a round plate as a guide.
Make the circle big enough to create a noticeable snail shell, leaving some extra paper around the edges for cutting.
Trace the outline lightly so children can follow the curved line easily without struggling to find where they should cut.
3. Paper Shell Cutout
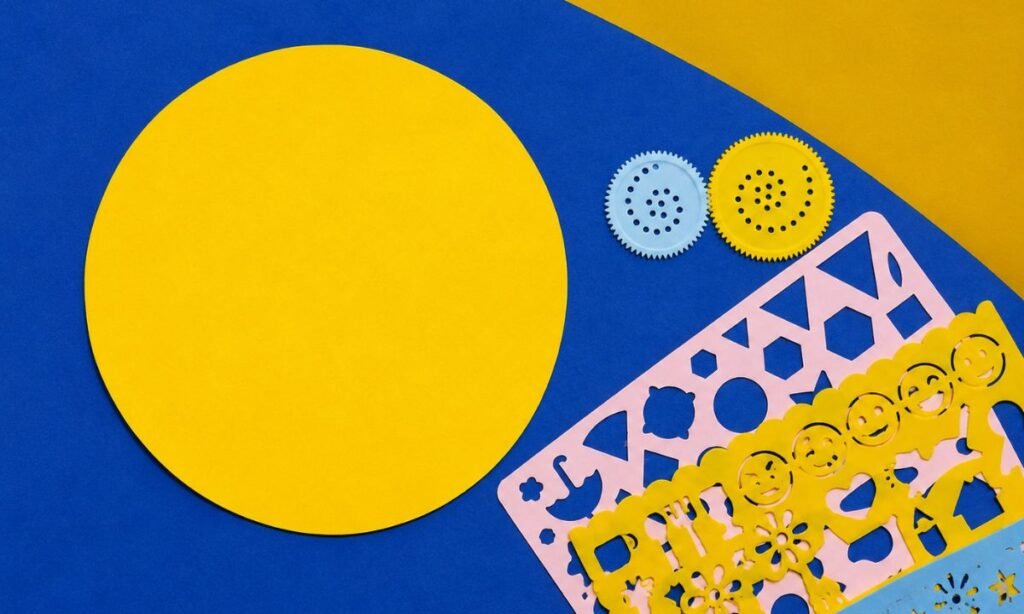
Carefully cut along the pencil outline to separate the large yellow circle from the remaining sheet of construction paper.
Turn the paper slowly while cutting around the curve, helping younger children get a smoother edge without sharp corners.
Set the finished circle aside as your snail shell base, ready for adding colorful paper strips and spiral decorations.
4. Spiral Shell Design
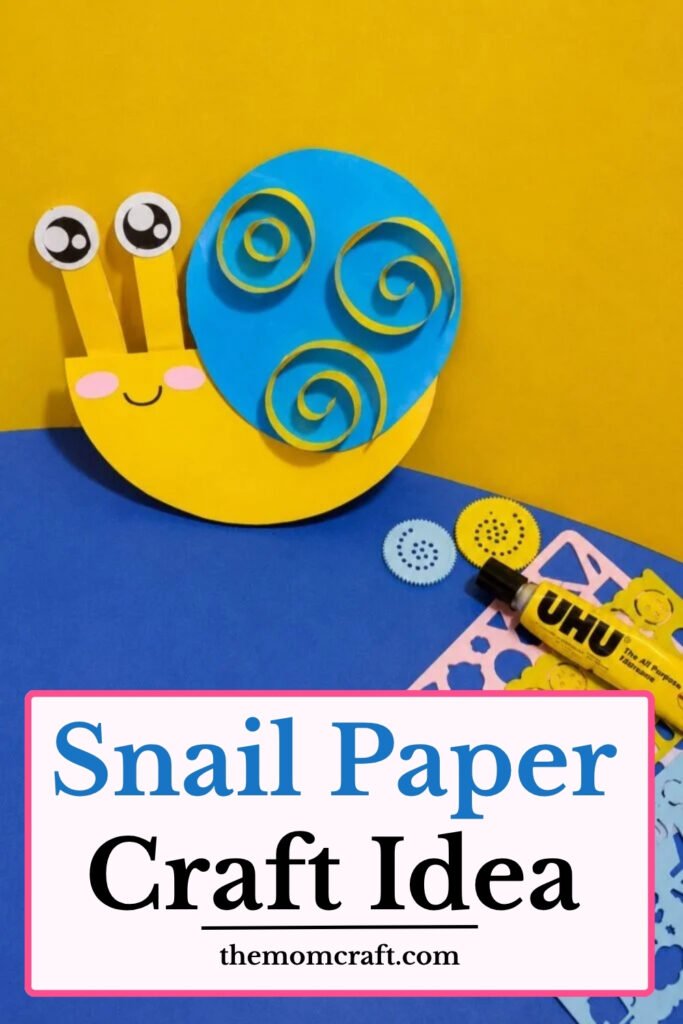
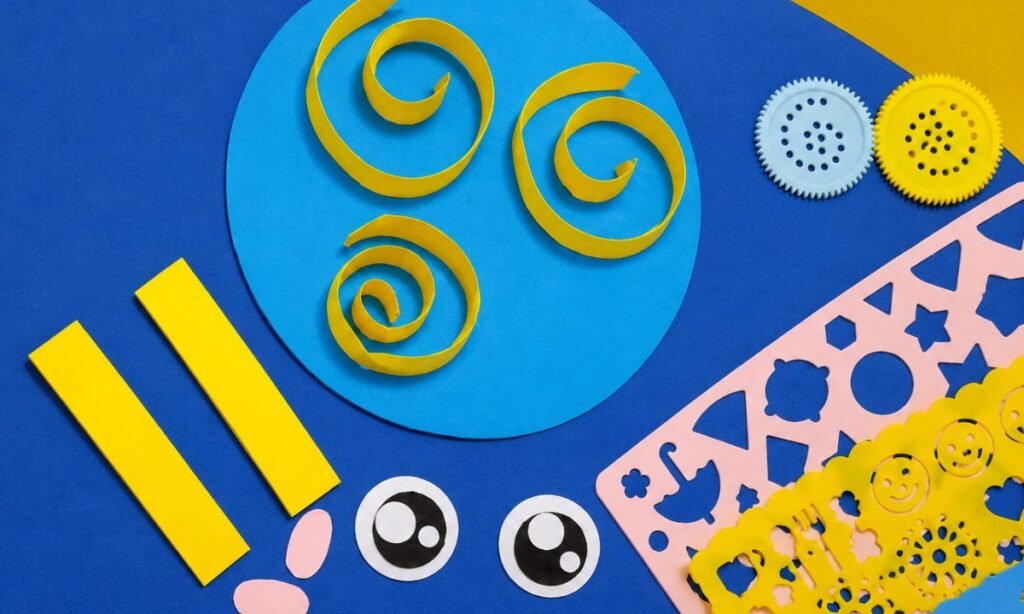
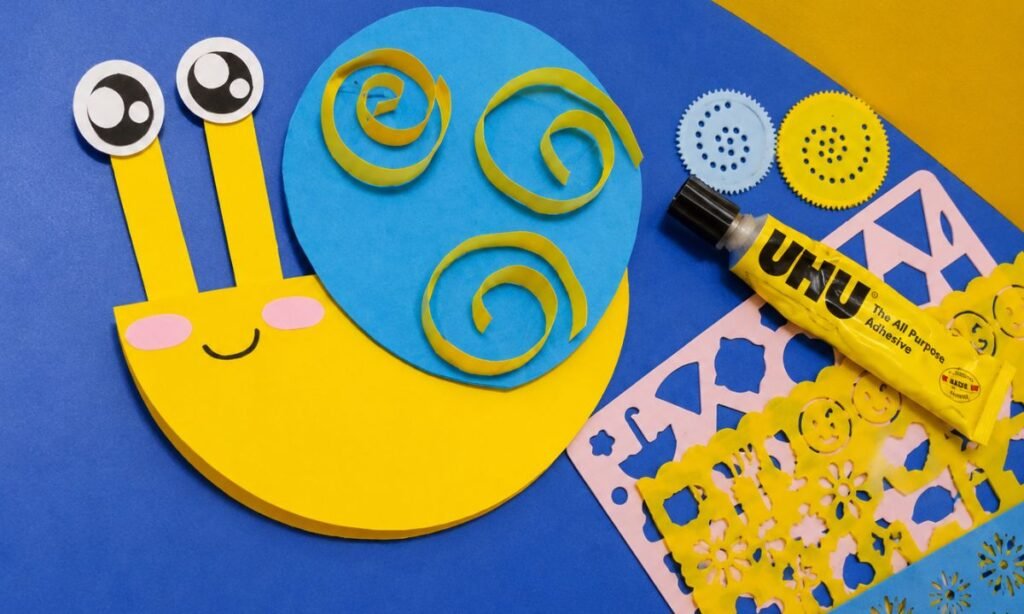
Cut a large blue paper circle and prepare thin yellow strips, curling each strip into a spiral for decoration.
Glue three yellow paper spirals onto the blue circle, spacing them apart so each curled shape remains clearly visible.
Prepare two larger yellow strips, paper eyes, and small pink pieces to create the snail’s body and facial details.
5. Smiling Paper Snail
Attach the blue spiral shell to the yellow snail body, positioning it slightly above the curved bottom edge.
Glue two long yellow eye stalks behind the head, then attach large paper eyes and pink cheeks for a friendly face.
Draw a small curved smile with a black marker, and let the glue dry before displaying your finished snail craft.
Interesting Things About Snails
- Snails move using a muscular foot that creates slow wave-like movements along the ground.
- Damp conditions also reduce the risk of the snail losing too much moisture while it searches for food or shelter.
- Most land snails have two longer tentacles with eyes near the tips and shorter ones used for sensing.
- Some snail species can live for several years depending on their habitat and environmental conditions.
- Snails have a tiny ribbon-like feeding structure called a radula that contains many microscopic teeth.
Why Snails Leave Shiny Trails
As snails move, they release mucus beneath their bodies to make sliding across rough ground easier.
The mucus reduces friction and helps protect the soft underside from small stones, dry surfaces, and other rough textures.
After the snail passes, some of that mucus can remain behind and reflect light, creating the familiar shiny trail.
This unusual movement is one of the easiest clues that a snail has recently crossed a garden or pathway.
Why Snails Prefer Damp Places
Snails lose moisture easily, so damp environments help keep their soft bodies from drying out too quickly.
That is why they are often easier to spot after rain, early in the morning, or around shaded garden areas.
Moist ground also makes it easier for them to move because their mucus works better on surfaces that are not too dry.
This preference explains why snails are commonly found near leaves, soil, stones, and other cool sheltered places.
FAQs
Can I Make This Snail Craft Without a Paper Spiral?
Yes, you can use a simple round paper shell instead of cutting or shaping a spiral design.
Add circles, stripes, or small patterns to the shell so it still looks decorative and easy to recognize.
This option works well for younger kids who may find cutting a smooth spiral shape a little difficult.
Can I Turn This Snail Craft Into a Garden Display?
Yes, you can place the finished snail with paper grass, leaves, flowers, or mushrooms to create a simple garden scene.
Keep the extra pieces around the snail so the shell, eyes, and body remain clearly visible from the front.
This works nicely for a classroom board, spring activity, or nature-themed craft corner.
You may also like to make!