I always end up with a few red paper scraps after craft time, and throwing them away feels like such a waste.
So one day, I turned those little pieces into apples and added them to a simple paper tree.
The kids loved sticking each apple wherever they wanted, and the craft needed very little prep.
Today, I’m going to share this apple craft tutorial so you can create a fun project with your little ones at home.
Let’s make this apple tree.
- A Hands-On Way to Learn About Apples
- Material Needed:
- How to Make Apple Craft Step By Step?
- 1. Draw White Circle
- 2. Add Tree Trunk
- 3. Curl Green Leaves
- 4. Add Paper Apples
- Why Kids Enjoy It?
- Ways to Display It
- Everyday Uses of Apples
- FAQs
- What Other Colors Can I Use for an Apple Tree Paper Craft?
- How Can I Make an Apple Tree Paper Craft Last Longer?
A Hands-On Way to Learn About Apples
Kids can learn where apples grow while making the craft with their own hands and seeing how fruit connects to a tree.
The finished tree can also help you explain simple ideas like branches, leaves, and where apples appear during the growing season.
You can use the apples for easy counting, color recognition, or sorting practice without turning the activity into a formal lesson.
This makes the craft useful for preschool, fall learning, or any apple-themed activity you want to do at home.
Material Needed:
- White craft paper or cardstock
- Green craft paper
- Brown paper
- Red craft paper
- Glue or craft adhesive
How to Make Apple Craft Step By Step?
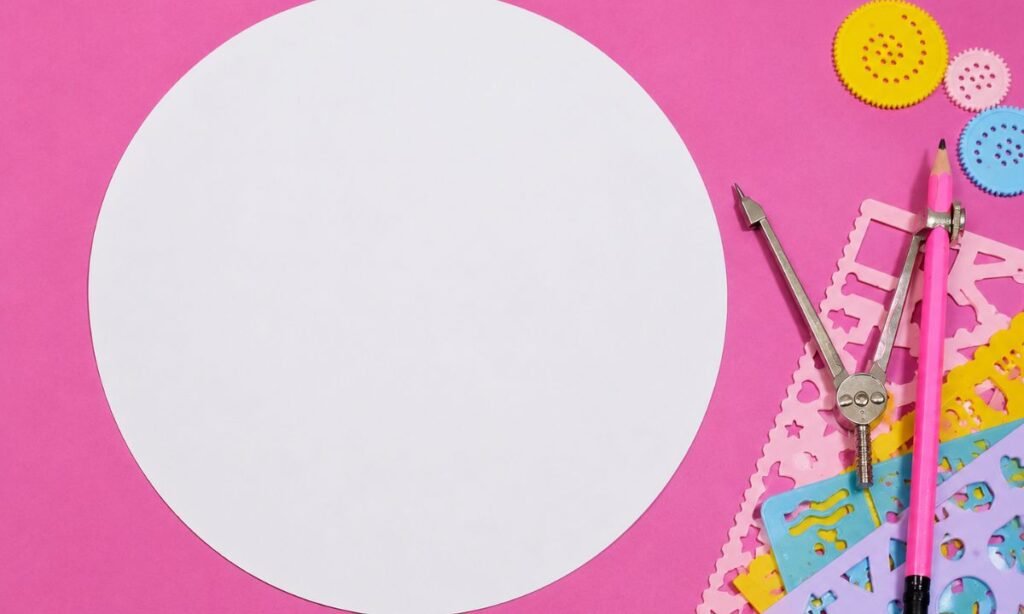
1. Draw White Circle
The very first step is to draw a large circle on white paper, which will be used as the main base for the apple tree.
If you are making this with kids, keep the circle wide and simple so they can easily work with it in the next steps.
Try to make the circle as even as possible, because a neat base will make the final apple tree look much cleaner.
2. Add Tree Trunk
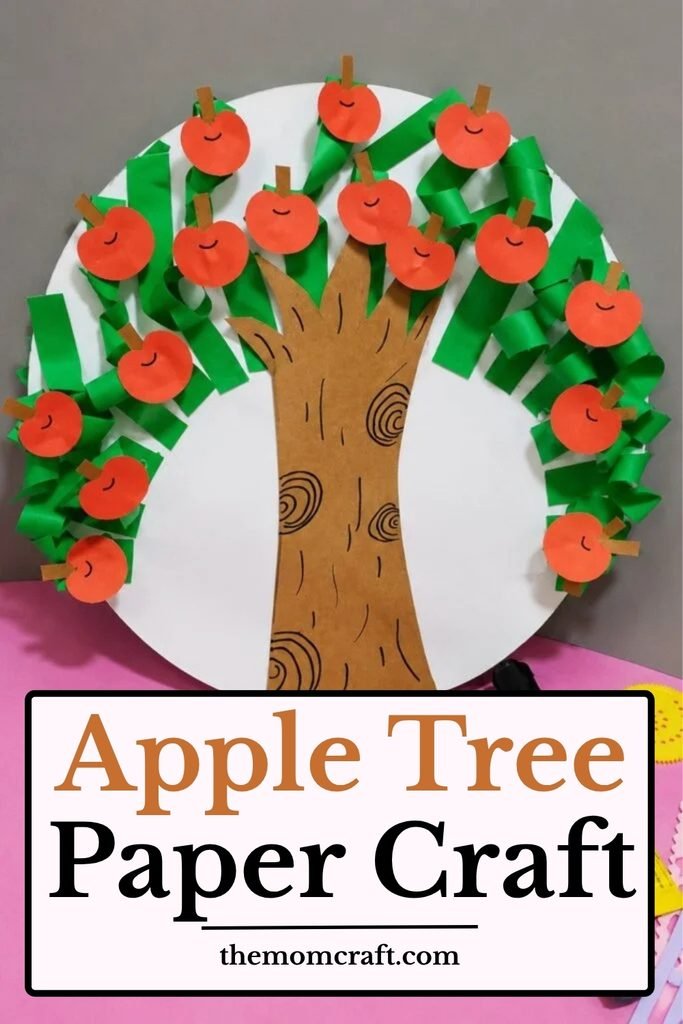
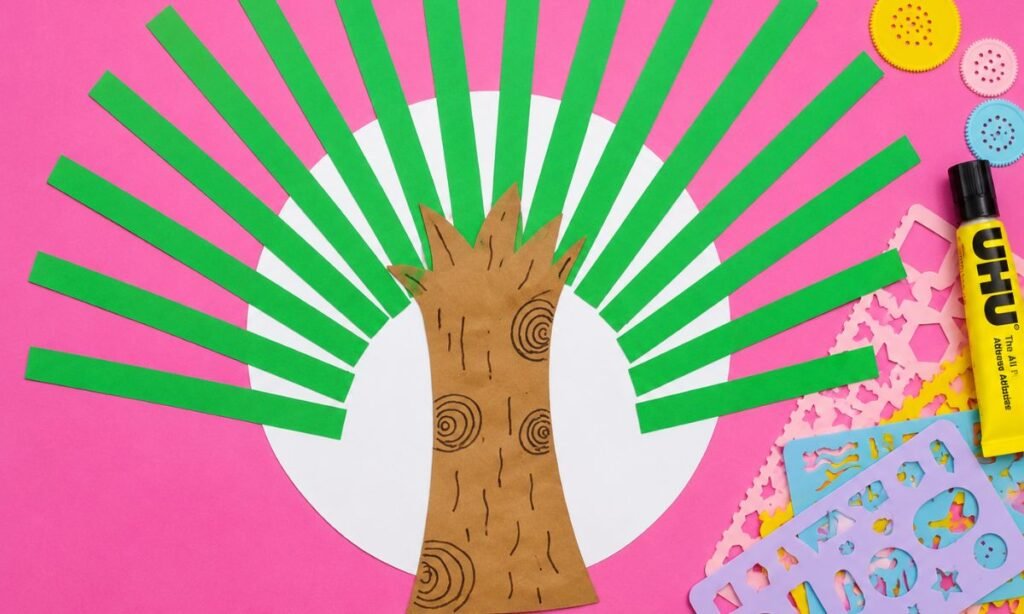
In the second step, you can cut a brown paper trunk and place it in the center of the white circle, with the top spreading into short branch points.
Next, arrange long green paper strips around the trunk so they fan outward and begin forming the leafy part of the tree.
Keep the strips spaced as evenly as you can, because this will make the apple tree look fuller and more balanced in the final craft.
3. Curl Green Leaves
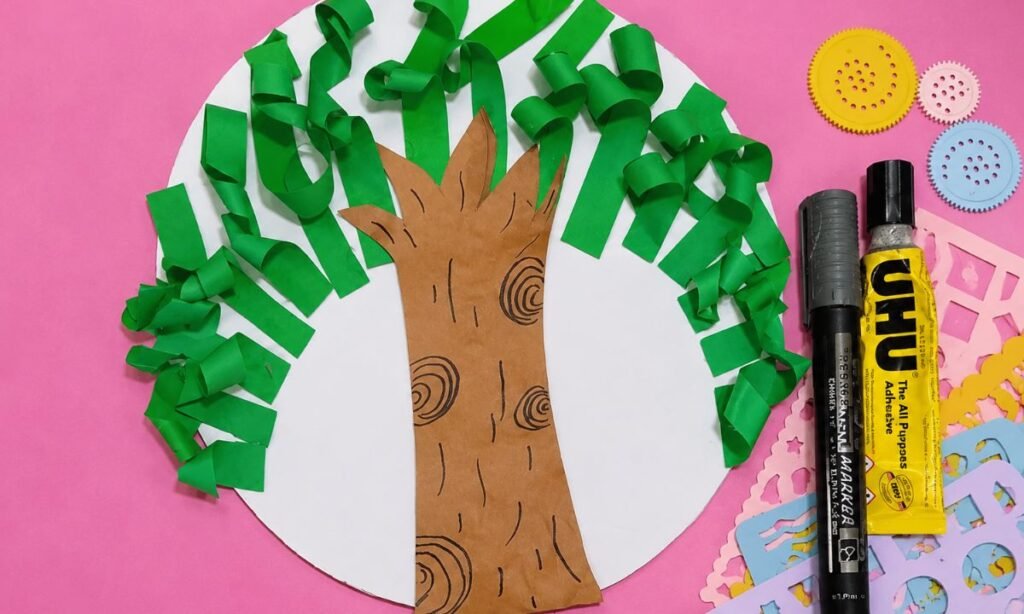
Now, curl the green paper strips around the circle so the tree starts to look fuller and more playful.
Keep some curls loose and some a little tighter to give the top of the tree a more natural shape.
Continue around the edges until the green paper fills the circle nicely while the brown trunk stays easy to see.
4. Add Paper Apples
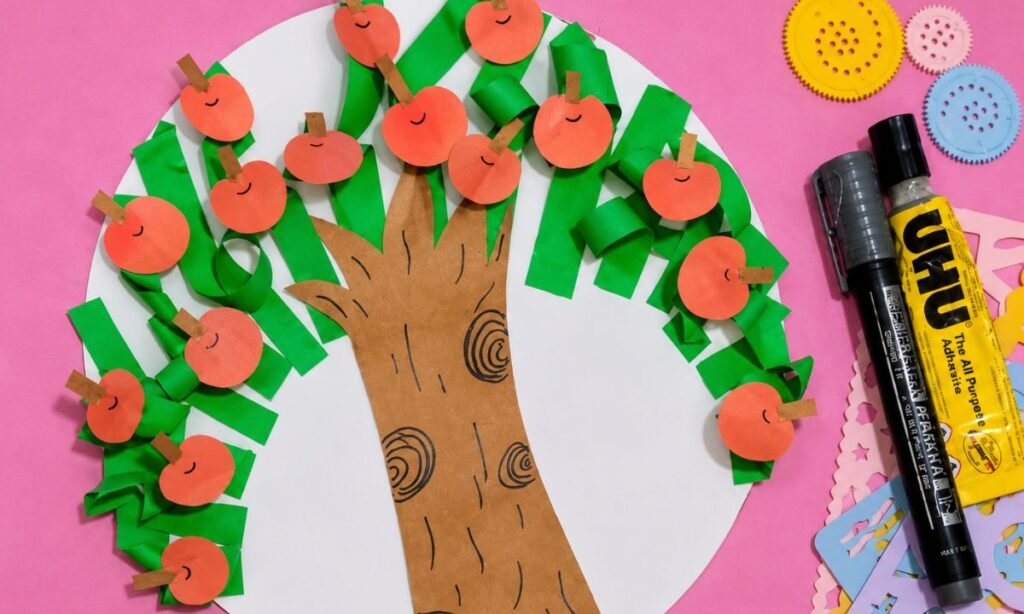
Now, place the red paper apples over the green strips and spread them around the upper part of the tree.
Add a small brown paper stem to the top of each apple before attaching them to the tree.
Leave enough green showing between the apples so the curled leaves and brown trunk are still easy to see.
Why Kids Enjoy It?
Kids enjoy this craft because they get to build the tree step by step instead of only coloring a finished picture.
Adding the small apples gives them a simple part they can place on their own and see the tree change as they work.
Curling the paper and placing the apples gives them small choices to make instead of simply following one fixed design.
Finishing the tree gives them a clear result they can recognize and feel excited to show when the activity is done.
Ways to Display It
Once the apple tree is finished, you can hang it on the fridge or place it on a kid’s room wall.
It also works well in a small craft corner where other fall or seasonal projects are already displayed nearby.
For a classroom, several finished trees can be grouped together on a bulletin board during an apple or fall lesson.
Keeping the craft on display gives kids a chance to see their finished work instead of putting it away immediately.
Everyday Uses of Apples
- Fresh Snacks: Apples can be eaten whole or sliced, making them an easy snack for kids and adults.
- Apple Juice: Fresh apples can be pressed into juice for a simple drink with a naturally sweet flavor.
- Applesauce: Cooked apples can be mashed into applesauce, which works well as a snack or side dish.
- Baked Treats: Apples are commonly added to pies, muffins, crisps, and other baked recipes.
- Lunchbox Fruit: Apple slices are easy to pack and pair well with foods like cheese, yogurt, or nut butter.
FAQs
What Other Colors Can I Use for an Apple Tree Paper Craft?
You do not have to keep the apples red if kids want to try different colors for their own tree.
Yellow, green, or mixed-color apples can make each finished craft look a little different from the original version.
You can also change the leaf colors or add a blue background to match fall, spring, or another seasonal theme.
How Can I Make an Apple Tree Paper Craft Last Longer?
Use thicker cardstock instead of thin paper if you want the finished apple tree to hold its shape for longer.
You can also glue the completed craft onto a piece of cardboard to give the base a little more support.
For longer storage or classroom display, laminate it carefully so the paper is less likely to bend, tear, or collect dirt.
You may also like to make!