I was making a few cloud decorations for a baby’s room when I realized how simple they were to put together with paper.
The soft cloud shape looked so cute on the wall that I thought this would be a useful little craft to share with you too.
It came together much faster than I expected, and the finished piece looked neat enough to use as actual decor.
Let’s start making this little cloud.
- A Soft Little Wall Craft
- Materials Needed:
- Step-by-Step Guide
- 1. Draw Cloud Shape
- 2. Cut Out Cloud
- 3. Prepare Hanging Pieces
- 4. Attach Hanging Strips
- 5. Add Colorful Hearts
- 6. Add Cloud Face
- Why the Hanging Hearts Work?
- More Than a Cloud
- FAQs
- Can I Hang a Cloud Paper Craft on the Wall Without Damaging It?
- What Materials Work Best for Making a Cloud Paper Craft Last Longer?
A Soft Little Wall Craft
This cloud craft works nicely as a small wall decoration because the shape feels light, simple, and easy to place.
You can use it in a nursery, playroom, or reading corner without needing much space or extra decoration around it.
The soft cloud design also pairs easily with stars, moons, rainbows, or other simple sky-themed pieces.
You can also make a few clouds in different sizes and group them together to fill a wider section of the wall.
Materials Needed:
- White craft paper or cardstock
- Colorful craft paper
- Black paper or black marker
- Purple paper
- Glue stick or craft glue
- Pencil
- Scissors
Step-by-Step Guide
1. Draw Cloud Shape
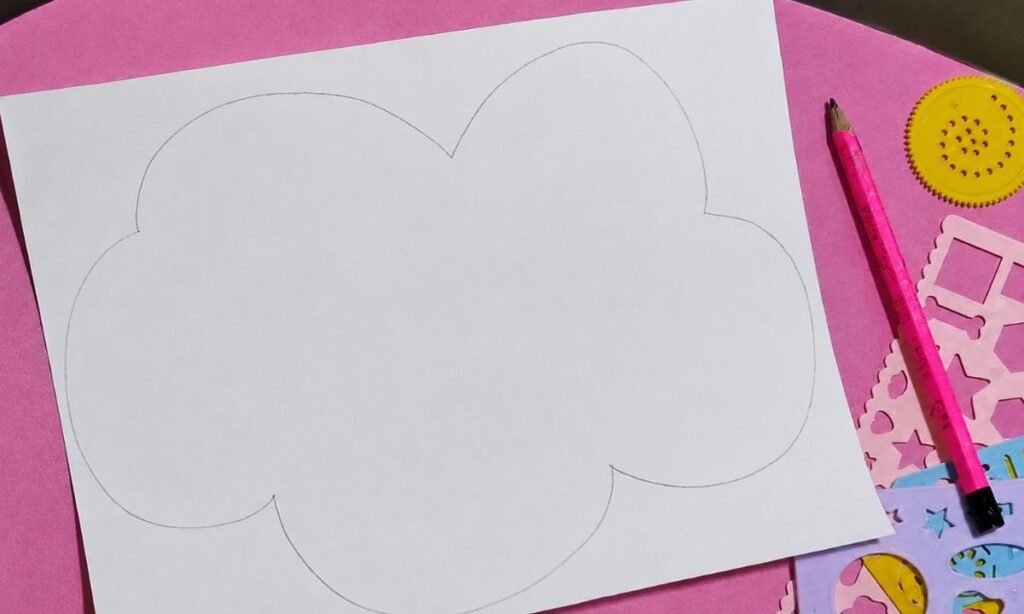
Start by drawing a large cloud outline on white paper, keeping the curves rounded and spaced evenly around the shape.
Use a pencil so you can adjust any uneven sections before cutting and keep the outline clean around the edges.
Keep the cloud shape large and open so the rounded sections stay clear and easy to cut around.
2. Cut Out Cloud
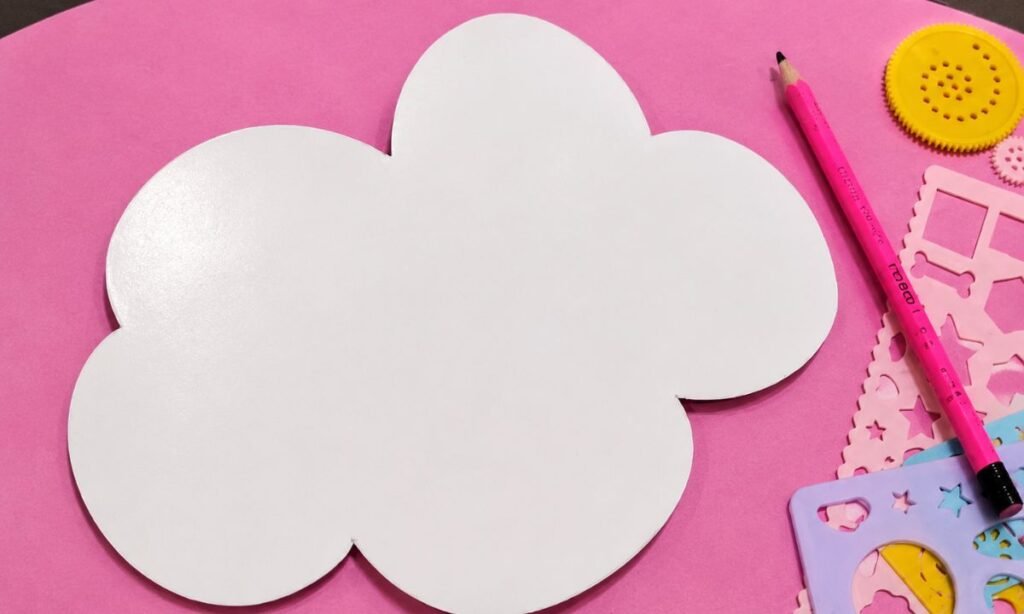
Now, cut along the pencil outline until the whole cloud shape comes free from the white paper.
Move around each rounded section slowly so the curves stay clean and the cloud keeps its soft shape.
When you are done, place the cut cloud flat and check that all the edges look smooth and even.
3. Prepare Hanging Pieces
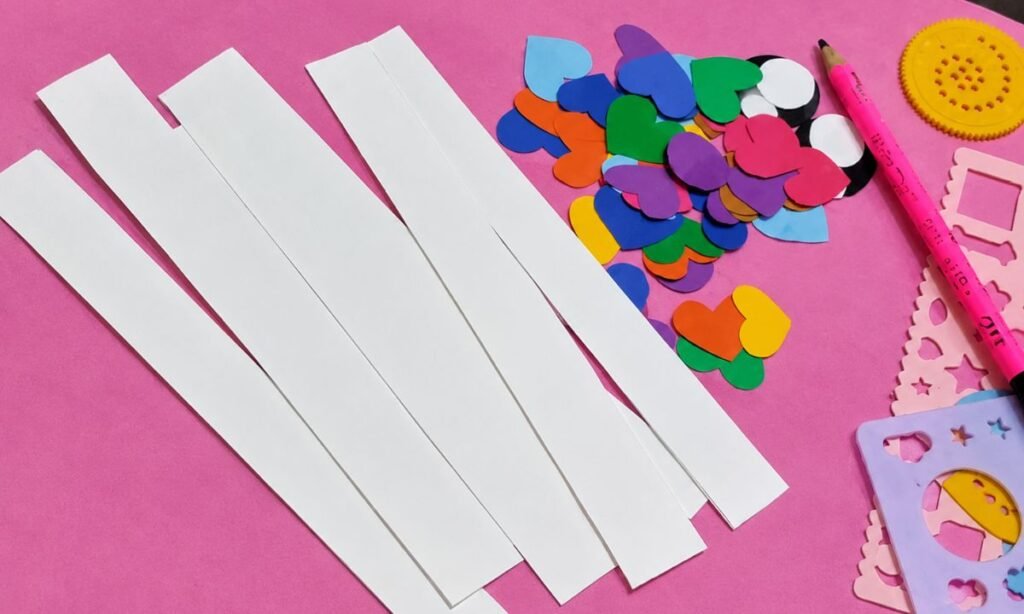
Cut several long white paper strips and keep them roughly the same width so they hang evenly from the cloud.
Prepare a mix of small colorful paper hearts that can be attached along the strips in the next step.
Lay the strips and heart pieces together first so everything is ready before you begin assembling the hanging design.
4. Attach Hanging Strips
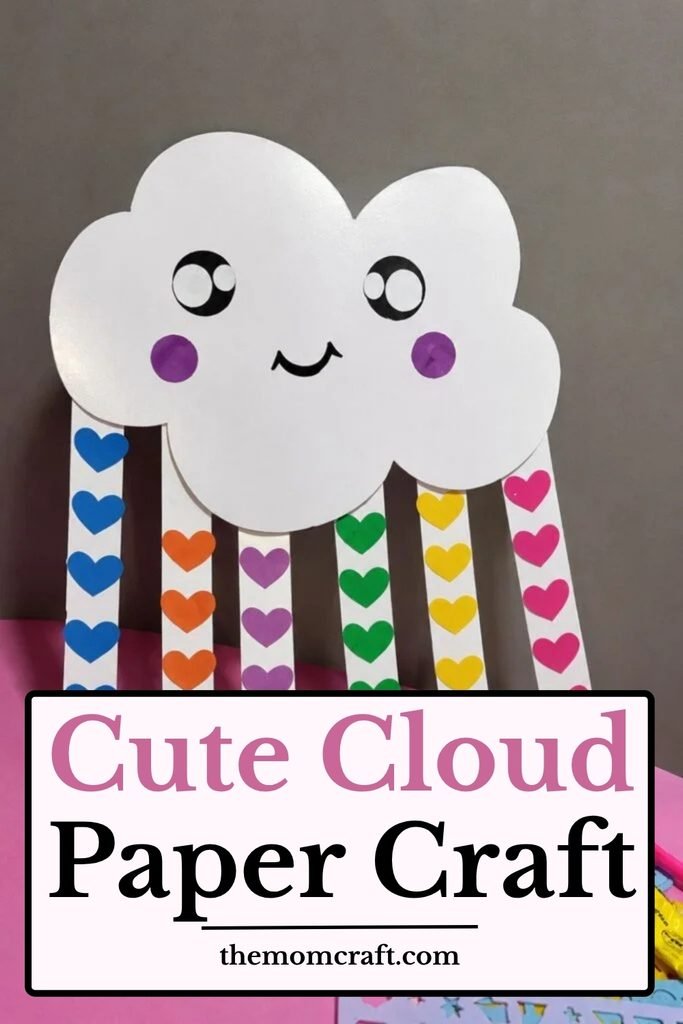
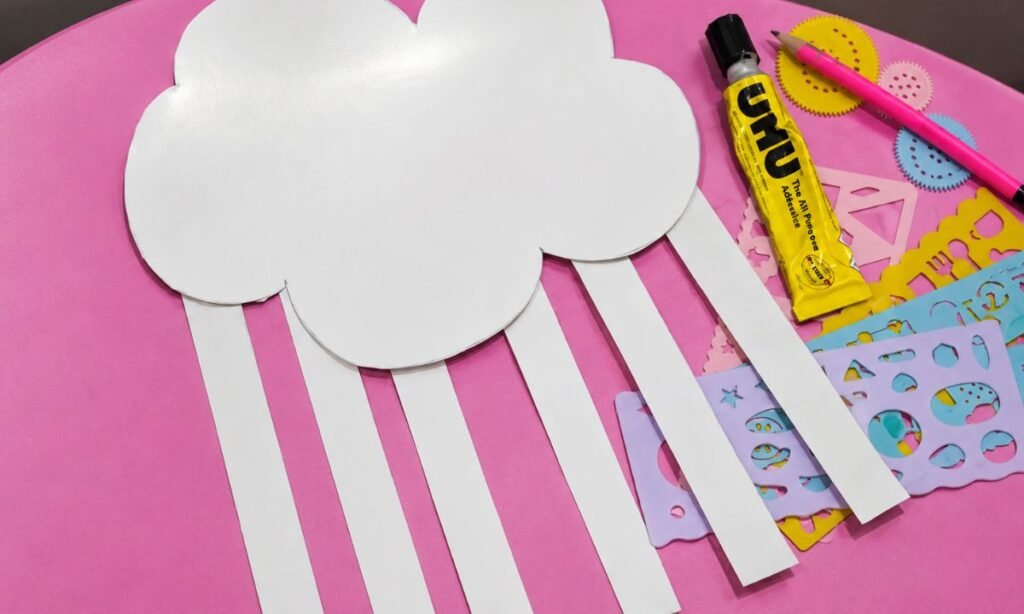
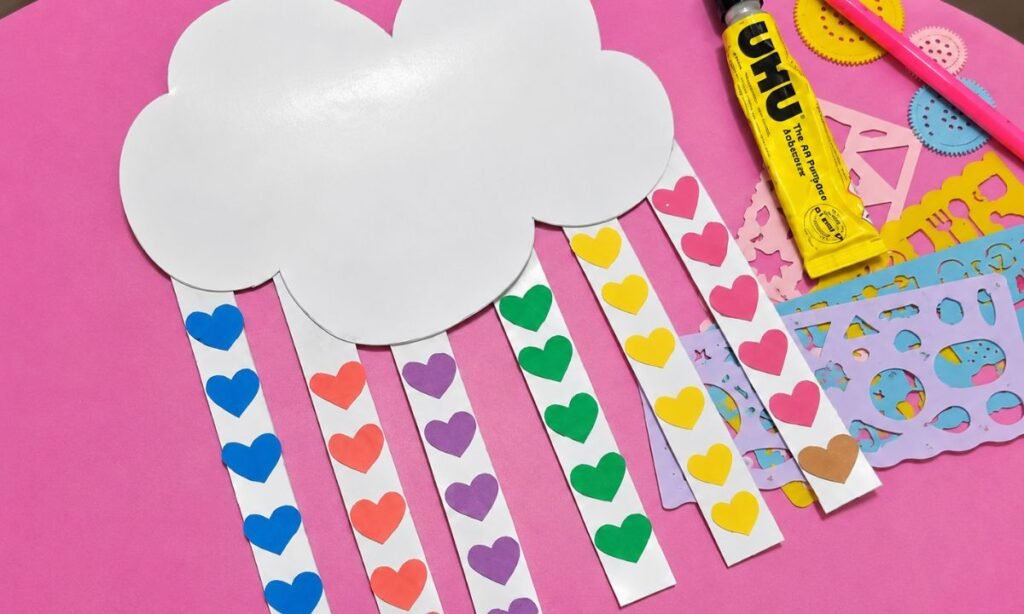
Glue the long white paper strips behind the bottom edge of the cloud so they hang straight downward.
Space the strips evenly across the cloud so the hanging section looks balanced instead of crowded on one side.
Press each strip firmly in place and let the glue hold before moving on to the next decoration step.
5. Add Colorful Hearts
Glue the small paper hearts onto each white strip, keeping one color grouped along the same hanging piece.
Leave a little space between the hearts so each shape stays easy to see instead of blending together.
Continue down every strip until the cloud has a full row of colorful hanging hearts underneath it.
6. Add Cloud Face
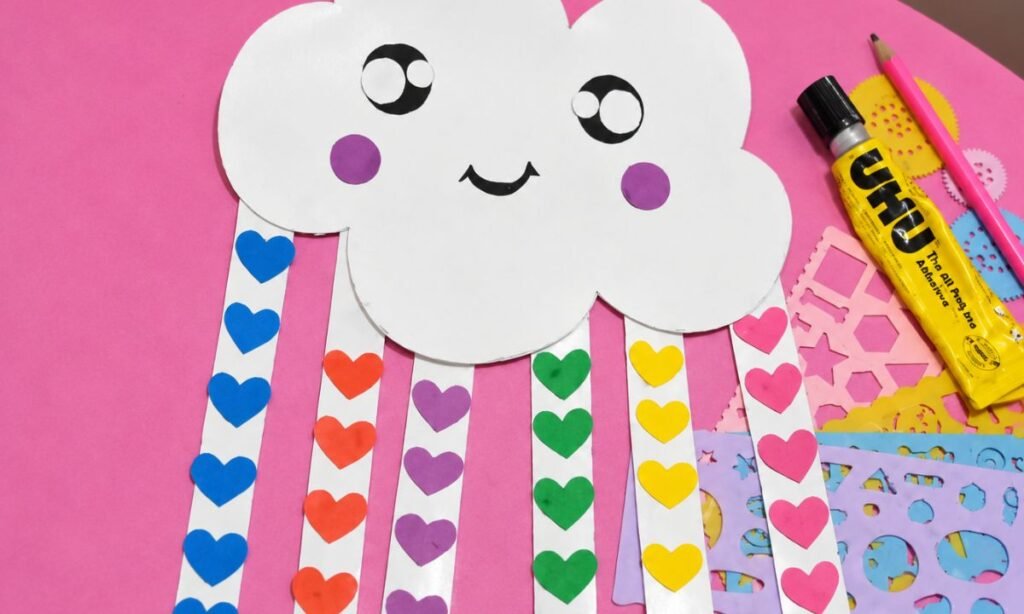
Add two black-and-white paper eyes near the top of the cloud, leaving enough space between them for the face.
Place two small purple circles below the eyes to create simple cheeks on both sides.
Finish the face with a small curved black smile in the center so the cloud looks complete and expressive.
Why the Hanging Hearts Work?
The hanging hearts add color below the cloud and make the finished craft look more complete without adding too many extra pieces.
Because the hearts sit on separate strips, they create a layered look that gives the cloud more movement and visual interest.
Using different colors on each strip also helps the lower part of the craft stand out instead of blending into one flat shape.
You can also change the heart colors to match the room or season while keeping the same cloud design.
More Than a Cloud
It starts with a simple cloud, but the hanging hearts and little face give kids more than one part to work on.
They get to build the main shape first, then add color, expression, and hanging pieces as the design comes together.
Because each part looks different, the craft keeps changing from one step to the next instead of feeling repetitive.
By the end, the cloud has enough detail to feel like a complete little project rather than one plain paper shape.
FAQs
Can I Hang a Cloud Paper Craft on the Wall Without Damaging It?
Yes, you can hang it with removable adhesive strips, poster putty, or small pieces of low-tack tape placed behind the cloud.
Try to keep the adhesive on the thicker parts of the paper so the shape stays supported and does not bend while hanging.
If you want to move it later, peel the adhesive away slowly instead of pulling the craft straight off the wall.
What Materials Work Best for Making a Cloud Paper Craft Last Longer?
Use cardstock or another thicker paper for the cloud base so it stays firm instead of bending easily after hanging.
A strong craft glue works better for the heart strips and small face pieces because these parts can loosen over time.
If you plan to keep the craft for longer, avoid very thin paper and store it flat whenever you take it down.
You may also like to make!