

My niece always ask me for a kitten, but you know it is a big decision that not every family can make.
So instead, I start to look for ways for kids to enjoy their love for cats through simple crafts that they can create at home.
I have seen how happy kids get when they make something related to the animals they love. A cat craft gives them that same level of excitement.
Today, I’m am going to share this cat craft tutorial so you can create a fun project with your little ones at home.
Let’s start!
- Materials:
- How to Make Cat Craft Step By Step?
- 1. Trace the Cat Parts
- 2. Choose Colored Paper
- 3. Cut Out Pieces
- 4. Make the Cat’s Face
- 5. Add the Tummy & Body Details
- 6. Decorate All the Pieces
- 7. Glue the Cat Together
- Fun Facts About Cats
- Make Cat Symmetrical on Both Sides
- Fun Ways To Customize
- FAQs
- Can I Use Different Types of Paper for This Cat Craft?
- How Can I Make My Paper Cat Craft Last Longer?
Materials:
- Colored paper sheets
- Pencil
- Black marker
- Scissors
- Glue
- Compass
- Craft stencils
How to Make Cat Craft Step By Step?
I have created this craft myself and beleive me it is very easy to make. You just have to follow the exact steps I will provide you here.
1. Trace the Cat Parts
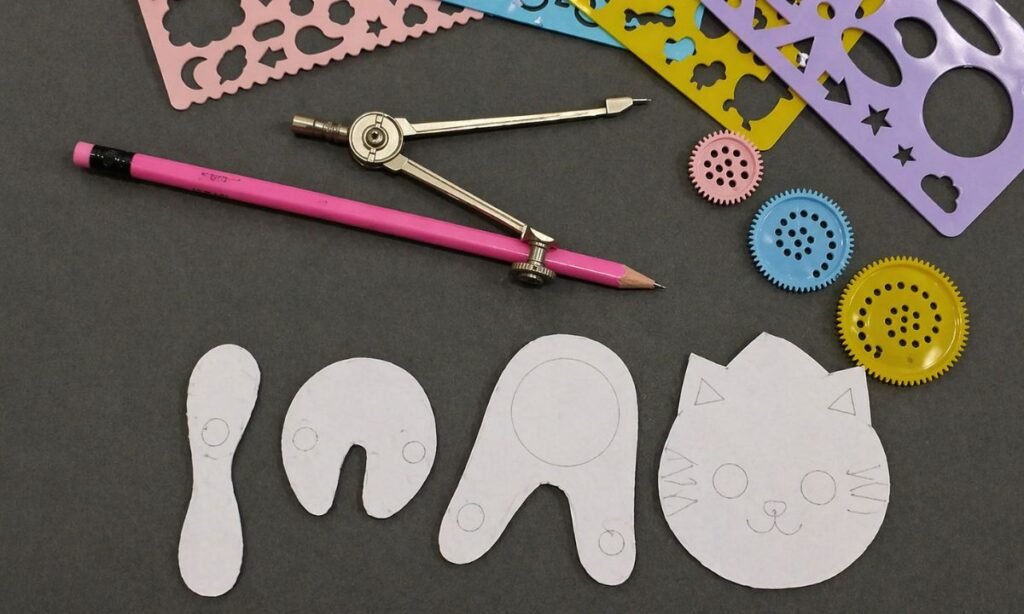
The very first step is to draw the all necassary pieces of a cat on white paper which includes head, torso, legs, tail, ears, paws, and small circle for stomach.
So, if you are making this with your kids then you should keep the shapes simple so they can understand easily and follow along.
You have to ensure you cut shapes accurate as much as you can, becasue the final result highly depends on this.
2. Choose Colored Paper
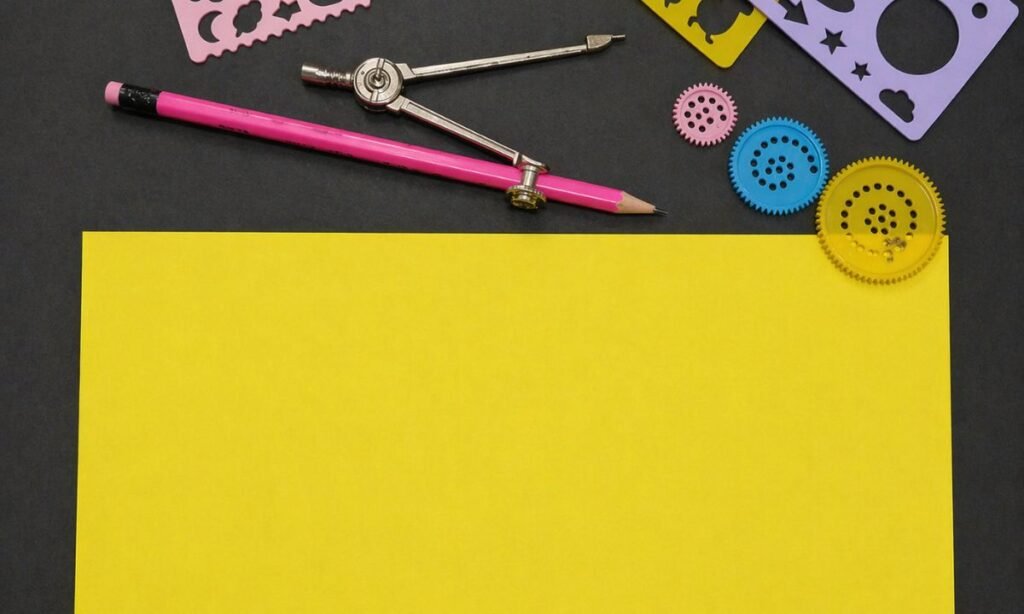
In second step you have to choose a color paper for the cat. I choose yellow but you can choose whatever you want.
Then place the white templates you just created in step 1 on your selected color paper and trace around them.
3. Cut Out Pieces
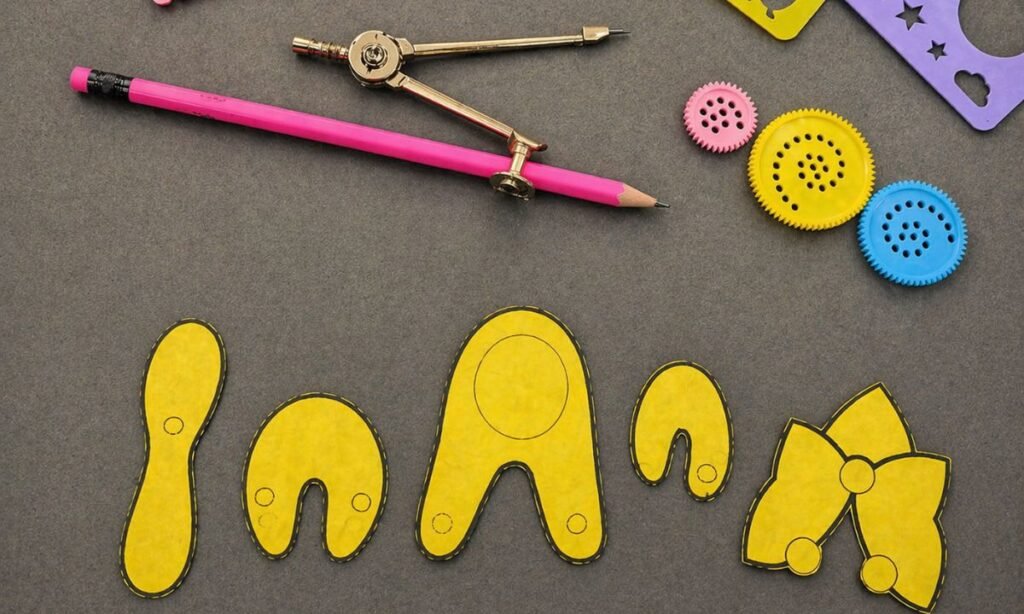
Let’s cut out all the cat part from colored paper on tracing you make on second step. You have to be careful with ears and legs while cutting.
Now for more cuteness you can draw around each piece with the help of black pen. This simple outline will make a big differenace.
4. Make the Cat’s Face
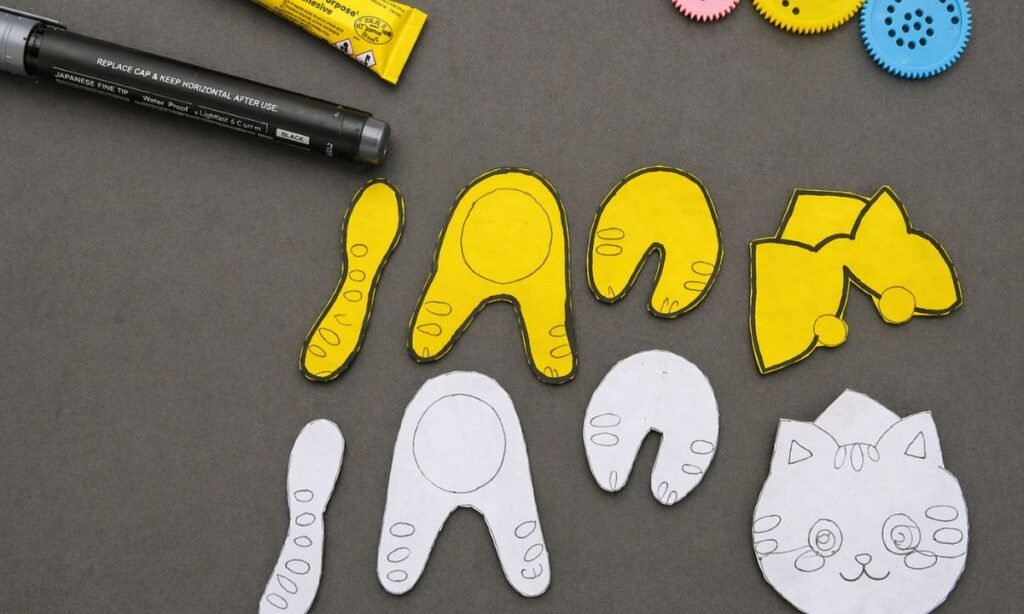
It’s time to make your cat come to life. It all depends on you what you choose to add details in all the cat parts.
You have to add eyes, nose, mouth, whiskers, and ears to the head piece. I prefer to use black marker for whisker becasue it give my cat a cute look.
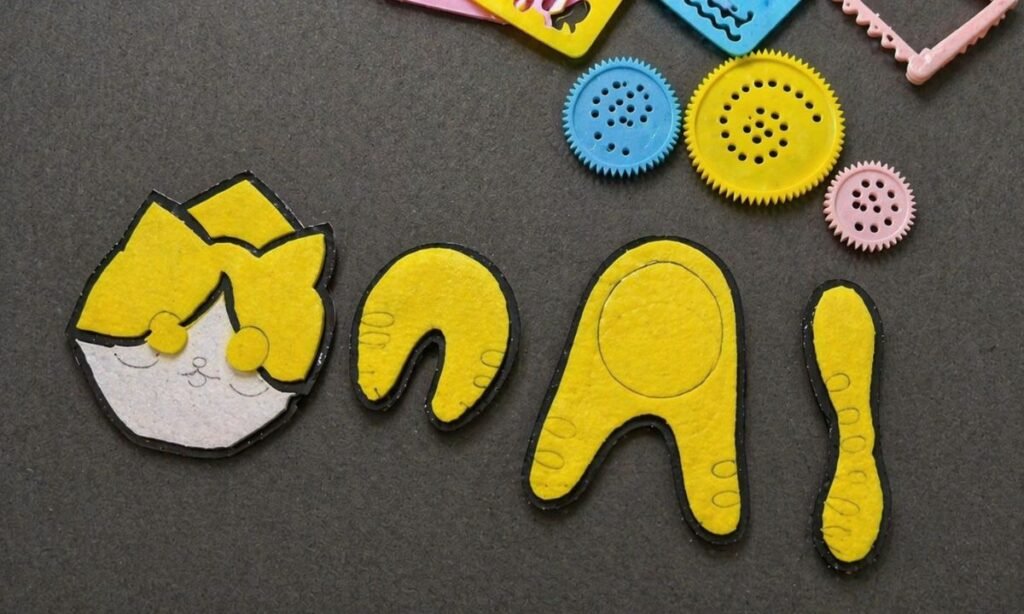
5. Add the Tummy & Body Details
Now cut white circle in middle of the cat body piece and then use the glue to attach it with body.
After that, you can use markers and draw little decorations like dots, stripes, and curved lines. You can also add stripes on the tail and tiny paw prints on the legs.
6. Decorate All the Pieces
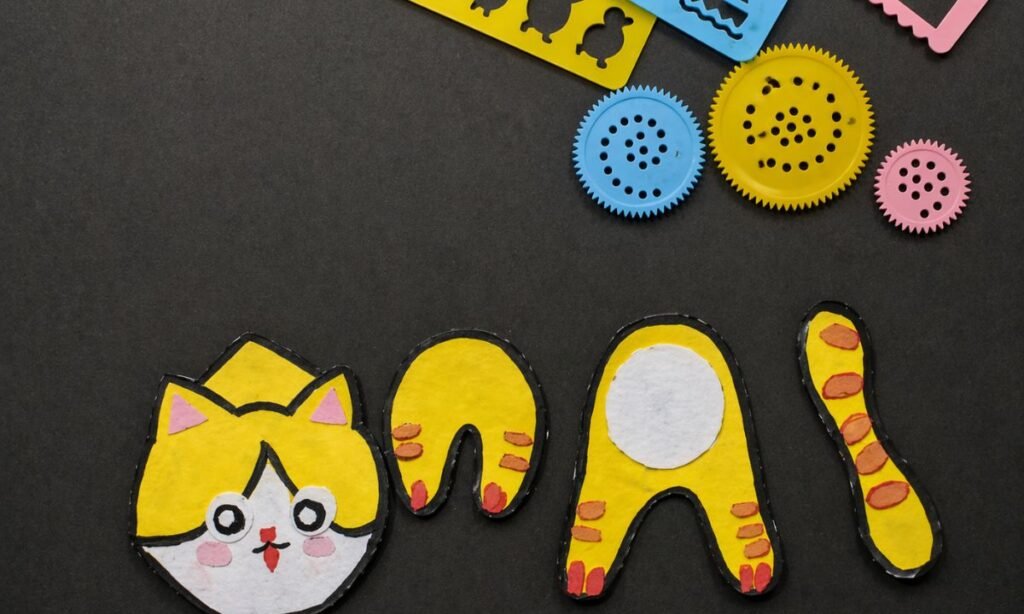
This one is second last step and this is very important before we complete this craft. I have finished everything here and use tiny shapes for decor.
I use this decor on on legs, tail, and face to make my craft more cute and realistic.
7. Glue the Cat Together
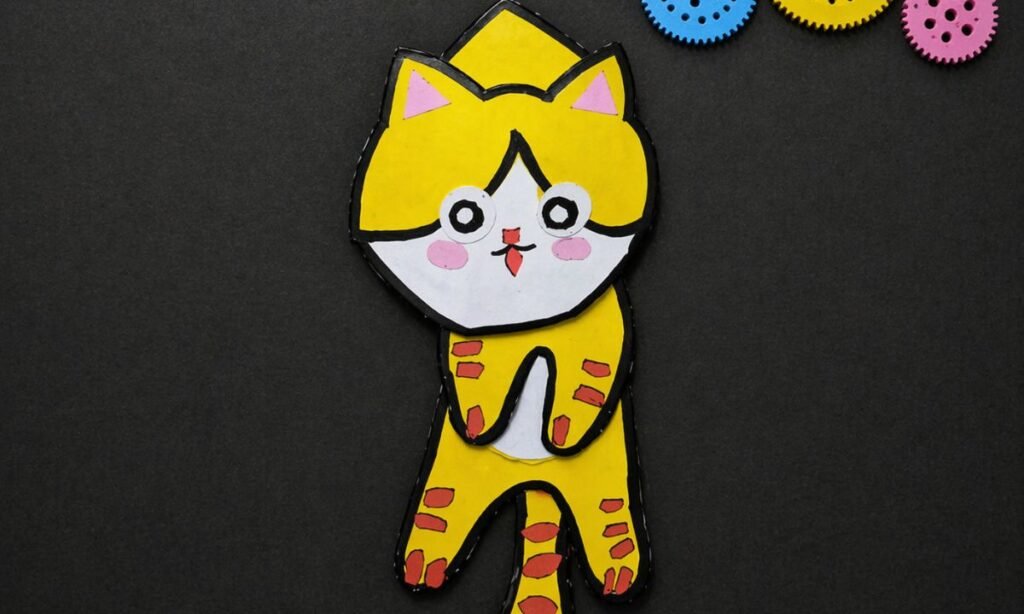
Let’s put all the pieces together and see how our kitty come to life. Start with body, then place head, and then glue the legs in place.
Glue all the remaining pieces and make sure you press the each piece for a few seconds so it sticks properly.
That’s it, your handmade cat is read! Let your kids give it a name and enjoy their new paper friend.
Fun Facts About Cats
Here are some fun facts you can teach your kids alongwith this cute craft for their learning.
- Cats can sleep for most of the day because their bodies save energy for short moments of activity.
- Every cat has a unique nose pattern, which makes each one different.
- Cats use their tails to help keep balance while walking, climbing, and jumping.
- A group of cats is called a clowder, which is a fun little fact kids usually enjoy.
Make Cat Symmetrical on Both Sides
I know it is tricky to make both sides of your paper cat look even as you are cutting everything by hand.
The easy fix for this is you have to fold the paper in half before you sketch and cut the ears, legs and other parts.
With this trick both sides will match without any differance. You can also use your one cut piece as guide for the next one.
Fun Ways To Customize
Now you have finished this cat craft, allow your kids to add their own little touches to make it look more unique.
They can change colors, draw different patterns and give the cat funny expression. I love this becasue kids can create a whole different version of the same crat.
FAQs
Can I Use Different Types of Paper for This Cat Craft?
Yes, you can try out different kind of papers, and see which works best for you. You can use construction paper, scrapbook paper, and regluar craft paper too.
The main thing you have to keep in mind is that thick paper can make your cat strong and stable.
On the other hand, thin paper will be easy to cut, but the final craft will not be strong. I will recommend you to choose thick paper but it’s totally up to you.
How Can I Make My Paper Cat Craft Last Longer?
To make your paper craft last long you have to use high quality glue, and then press each piece firmly.
You can also make this craft more strong by covering the them with transparent tape and maybe laminate them.
I myslef love the idea to glue the finished kitty craft onto a piece of cardboard, as it will give extra strengh and stability to my craft.



