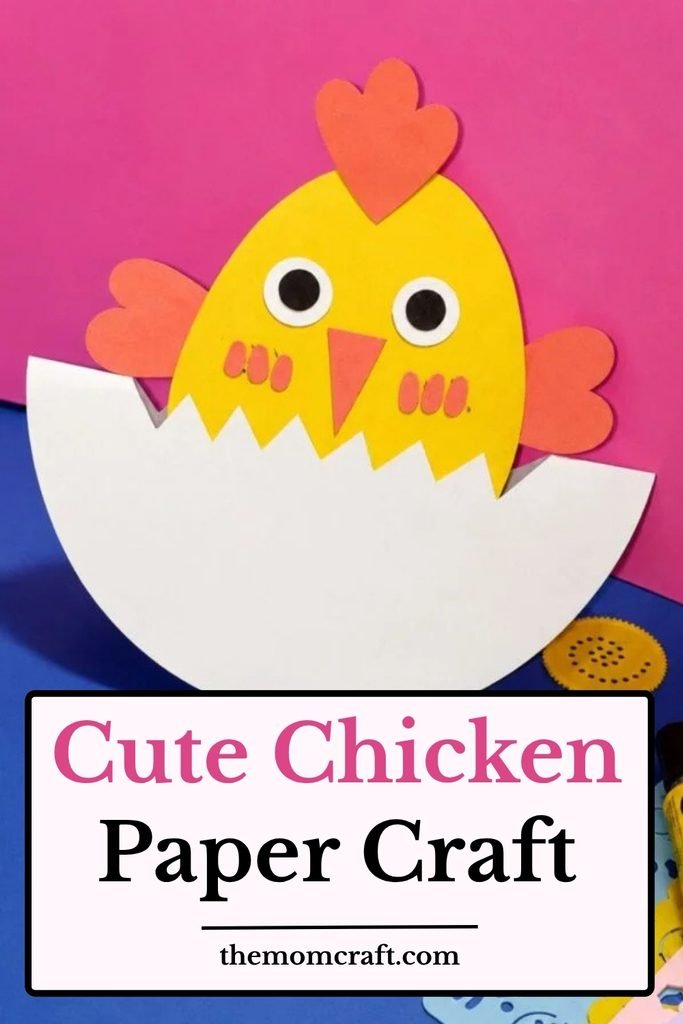
A few weeks ago, I was helping my little sister with a simple farm-themed activity when she started talking about chickens and baby chicks.
She was especially curious about how a chick fits inside an egg and what the shell looks like when it starts breaking.
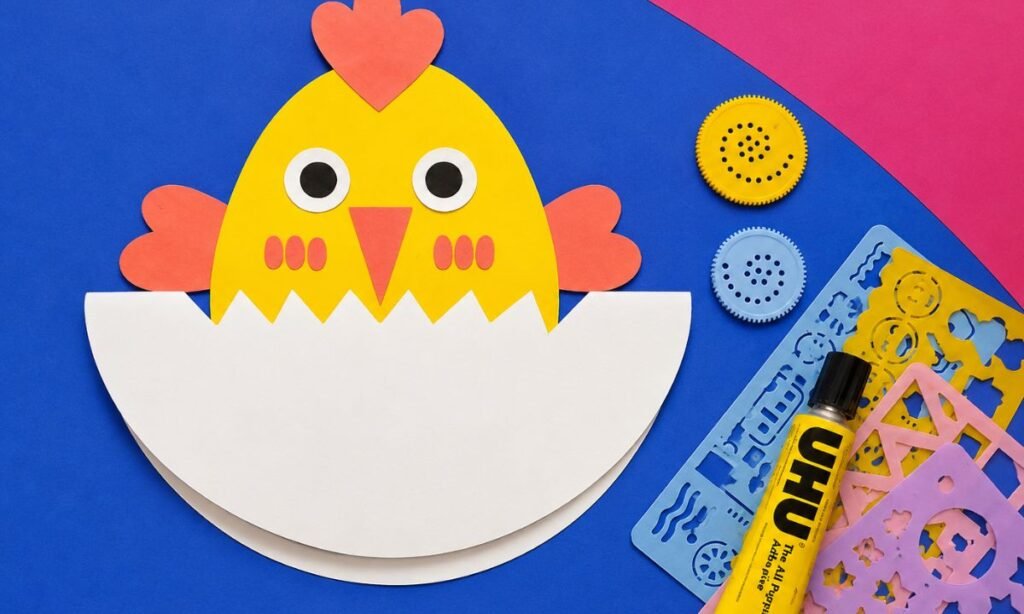
That gave me the idea to make a paper chicken that looks like it is popping out from a cracked eggshell.
The yellow chick and white shell made the craft feel cute, simple, and closely connected to the farm theme.
Let’s make this chicken paper craft.
- Why Chicks Hatch From Eggs
- Materials Needed:
- Step-by-Step Guide
- 1. Prepare White Paper
- 2. Draw Large Circle
- 3. Cut Circle Shape
- 4. Fold Eggshell Base
- 5. Cut Cracked Edge
- 6. Prepare Chicken Pieces
- 7. Assemble Chicken Craft
- Fun Facts About Chickens
- Why the Folded Shell Adds Depth
- Chicken Craft Challenges
- FAQs
- Can I Make This Chicken Craft Without a Compass?
- Can I Turn This Chicken Craft Into an Easter Decoration?
Why Chicks Hatch From Eggs
Baby chickens develop inside eggs until they are ready to hatch and begin breaking through the shell from inside.
They use a temporary sharp tip on the beak, called an egg tooth, to help crack the shell during hatching.
That makes the broken eggshell shape in this craft a fun way to connect the activity with how chicks actually emerge.
The yellow body showing above the shell also makes the hatching idea easy to recognize at a glance.
Materials Needed:
- White craft paper or cardstock
- Yellow craft paper
- Orange craft paper
- Pink craft paper
- Red craft paper
- White and black craft paper or googly eyes
- Pencil
- Scissors
- Glue
- Compass or round tracing object
Step-by-Step Guide
1. Prepare White Paper
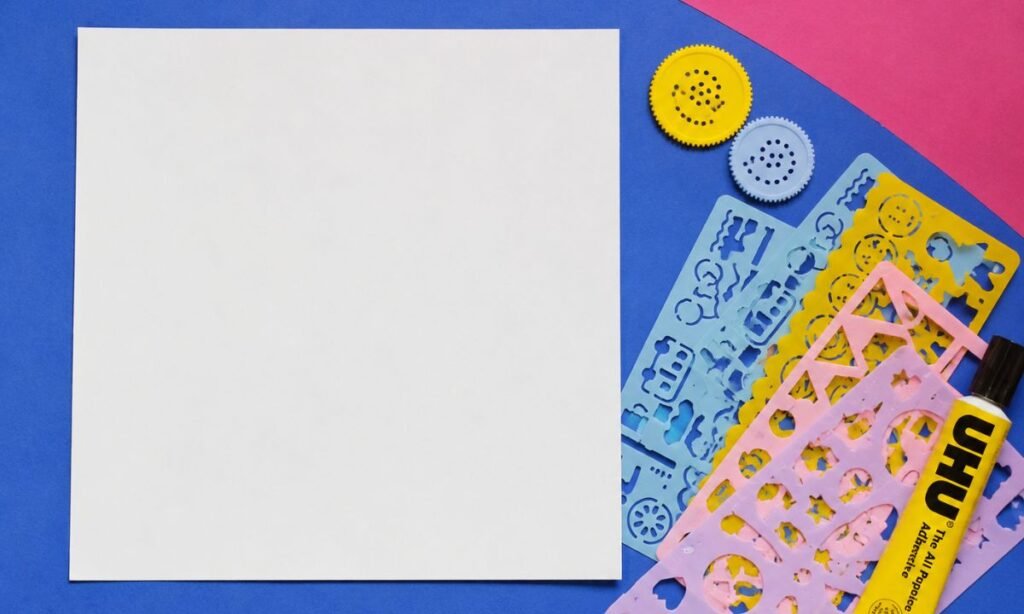
Place a clean white craft paper sheet flat on your work surface, keeping the edges straight and the surface smooth.
Use paper large enough to create the main chicken shape without needing to join several smaller pieces together later.
Keep a pencil, scissors, and round tracing object nearby so the next steps stay simple and easy to follow.
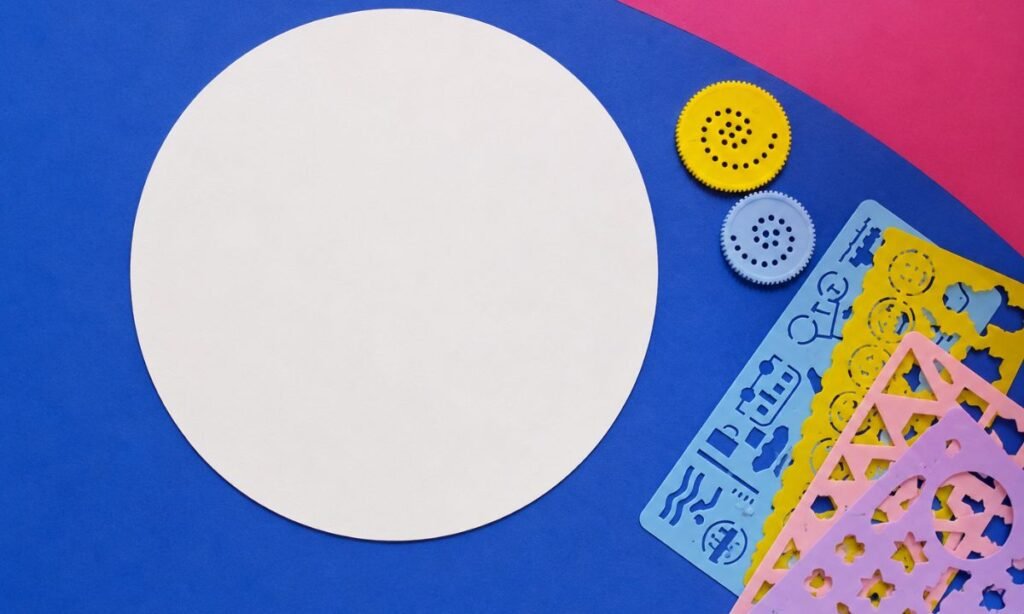
2. Draw Large Circle
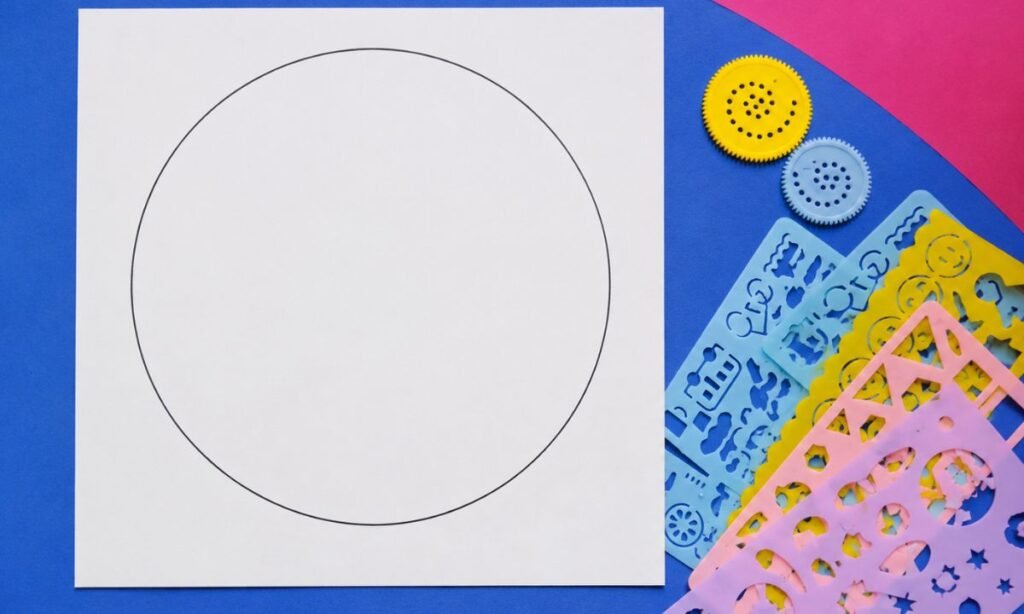
Use a round object or compass to draw one large circle in the center of the white craft paper.
Keep the outline light and smooth, checking that the circle stays evenly shaped before you begin cutting around the edge.
Leave enough space around the circle so you can turn the paper comfortably while cutting the curved outline neatly.
3. Cut Circle Shape
Cut carefully around the drawn circle, following the pencil line closely to create one smooth round white paper piece.
Turn the paper slowly as you cut so the edge stays even instead of creating sharp corners around the circle.
Check the finished shape from all sides and trim any uneven areas before moving on to the folded chicken body.
4. Fold Eggshell Base
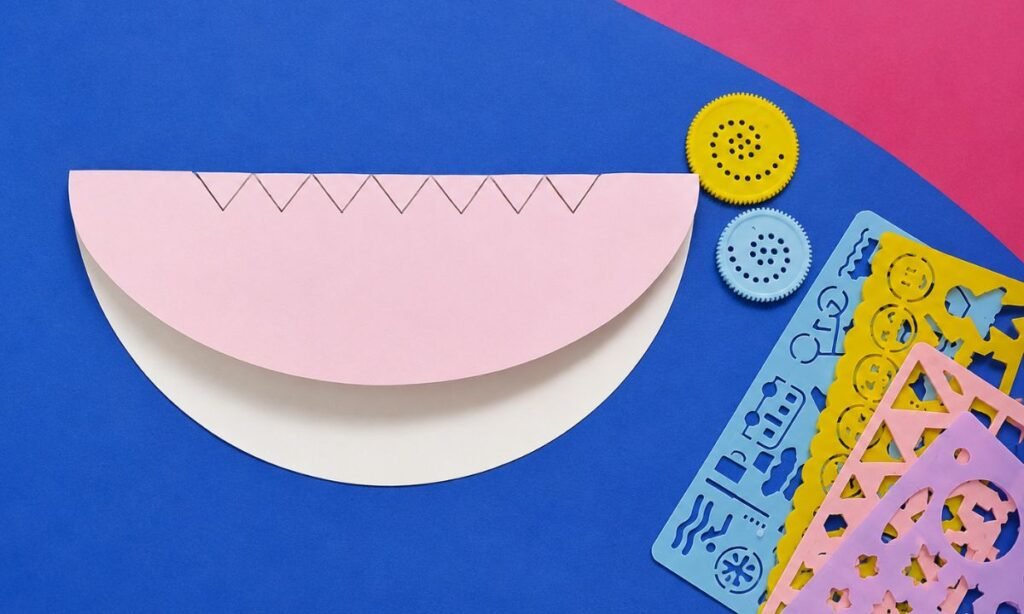
Fold the white circle in half, then place a pink semicircle over the upper section as shown in the image.
Draw several small connected triangle shapes along the straight pink edge, keeping their size and spacing fairly even.
Keep both curved layers aligned while marking the pattern so the folded chicken base stays neat and balanced for cutting.
5. Cut Cracked Edge
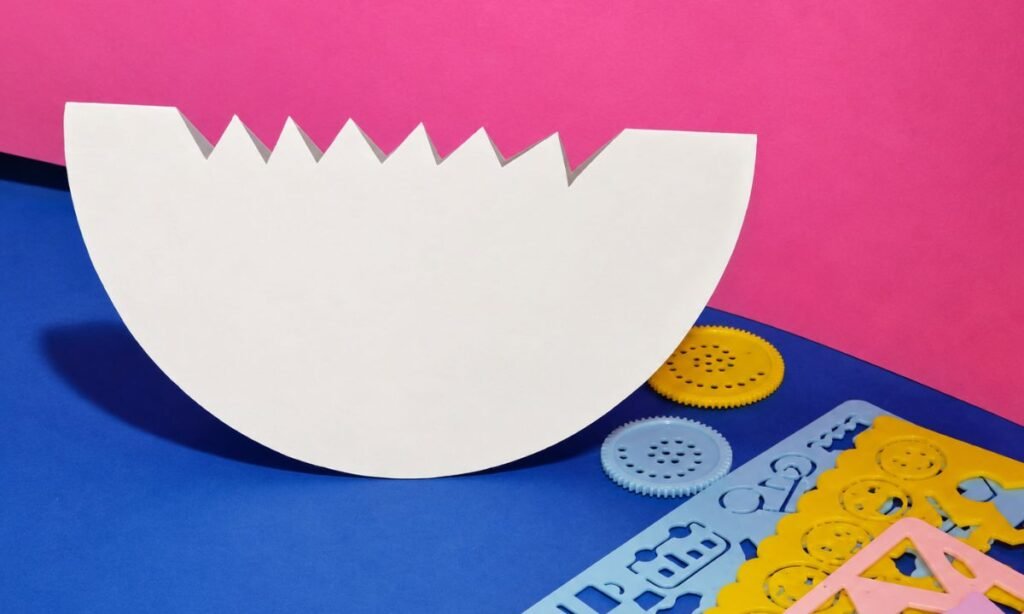
Cut along the marked zigzag line across the folded white semicircle, creating a cracked eggshell edge with several pointed sections.
Keep the cuts clean and evenly spaced so the top edge looks sharp without removing too much of the paper.
Open the folded piece slightly and check both curved sides, trimming any uneven corners before adding the chicken shape inside.
6. Prepare Chicken Pieces
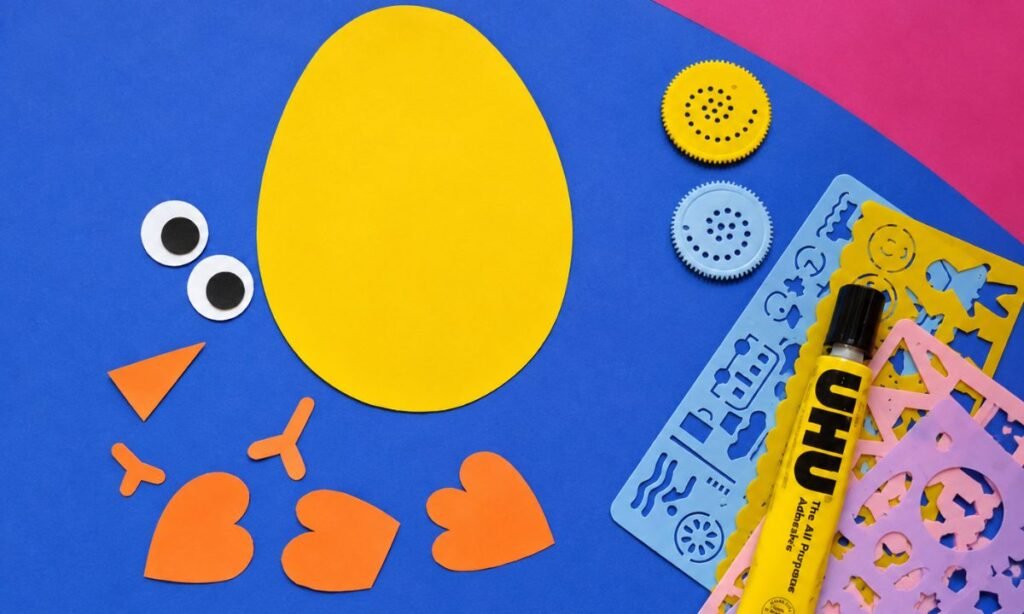
Cut a large yellow oval for the chicken body, then prepare two round paper eyes with black centers for the face.
Make orange paper pieces for the beak, wings, feet, top comb, and small cheek details shown beside the body shape.
Arrange every piece around the yellow oval first, checking the sizes and positions before you begin gluing the chicken together.
7. Assemble Chicken Craft
Place the yellow chicken body inside the cracked white shell, keeping the upper half visible above the zigzag opening clearly.
Glue the eyes, beak, wings, feet, comb, and cheek details onto the body, keeping both sides visually balanced and neat.
Press each attached piece gently, then adjust the shell and chicken until the finished craft sits neatly without shifting out of place.
Fun Facts About Chickens
- Chickens can recognize many individual faces, including both other chickens and familiar people.
- Baby chickens are called chicks, while adult females are hens and adult males are roosters.
- Chickens communicate using different calls for food, danger, contact, and other situations.
- A hen can turn her eggs while incubating them, helping the developing chick grow properly inside.
- Chickens can see a wide range of colors and have strong daytime vision.
Why the Folded Shell Adds Depth
Folding the white circle creates two curved layers instead of leaving the eggshell completely flat on the page.
The lower section gives the yellow chick a clear place to sit while keeping most of its body visible.
It also makes the cracked edge stand slightly forward, giving the finished craft more shape without adding extra paper layers.
This simple fold helps the chick and shell feel like one connected craft instead of two separate flat pieces.
Chicken Craft Challenges
Cutting the zigzag shell edge evenly can be tricky because uneven points may make the opening look slightly unbalanced.
Keeping the chicken centered inside the shell also matters, especially when both wings and facial details need space around them.
Small pieces like the feet, cheeks, and beak can shift easily while gluing if too much adhesive is used.
Placing everything first before gluing helps the final chicken look cleaner and more balanced.
FAQs
Can I Make This Chicken Craft Without a Compass?
Yes, you can trace around a plate, bowl, or other round object instead of using a compass for the white circle.
Choose something large enough to create a shell that can comfortably hold the yellow chicken body inside.
This method is also easier for younger kids who may find drawing a smooth circle with a compass difficult.
Can I Turn This Chicken Craft Into an Easter Decoration?
Yes, you can use pastel paper colors, patterned eggshell pieces, or small decorative details to give it an Easter theme.
The cracked shell and hatching chick already fit naturally with spring and Easter craft displays.
You can place the finished piece on a classroom board, shelf, or activity table as part of seasonal decor.
You may also like to make!