Me & my family went to the seaside, and I kept noticing small crabs moving across the wet sand near the water.
There were so many of them around, and the way they quickly moved sideways made everyone stop and watch for a while.
I liked how their wide bodies, raised eyes, and little claws made them easy to recognize even from a distance.
That beach memory inspired this simple paper crab craft with bright colors and playful details.
Let’s make this crab paper craft.
- Why Crabs Hide Under Rocks
- Materials Needed:
- Step-By-Step Guide
- 1. Orange Paper Circles
- 2. Crab Body Pieces
- 3. Folded Crab Legs
- 4. Crab Body Assembly
- 5. Smiling Paper Crab
- Fun Facts About Crabs
- Why Crabs Have So Many Legs
- Easy Ways to Customize
- FAQs
- Can I Make This Crab Craft Without Drawing the Body Freehand?
- Can I Turn This Crab Craft Into a Beach Display?
Why Crabs Hide Under Rocks
Many crabs hide beneath rocks, shells, seaweed, or sand when they need protection from predators or strong sunlight.
These sheltered spaces also help them stay cooler and reduce the risk of losing too much moisture.
Some species come out more actively when conditions are safer or when they are searching for food.
That hiding behavior explains why crabs are often spotted around rocky beaches and shallow coastal areas.
Materials Needed:
- Orange craft paper
- Yellow craft paper
- Pink craft paper
- White craft paper
- Black craft paper or black marker
- Blue craft paper
- Pencil
- Scissors
- Glue
- Round plate or circular tracing object
Step-By-Step Guide
1. Orange Paper Circles
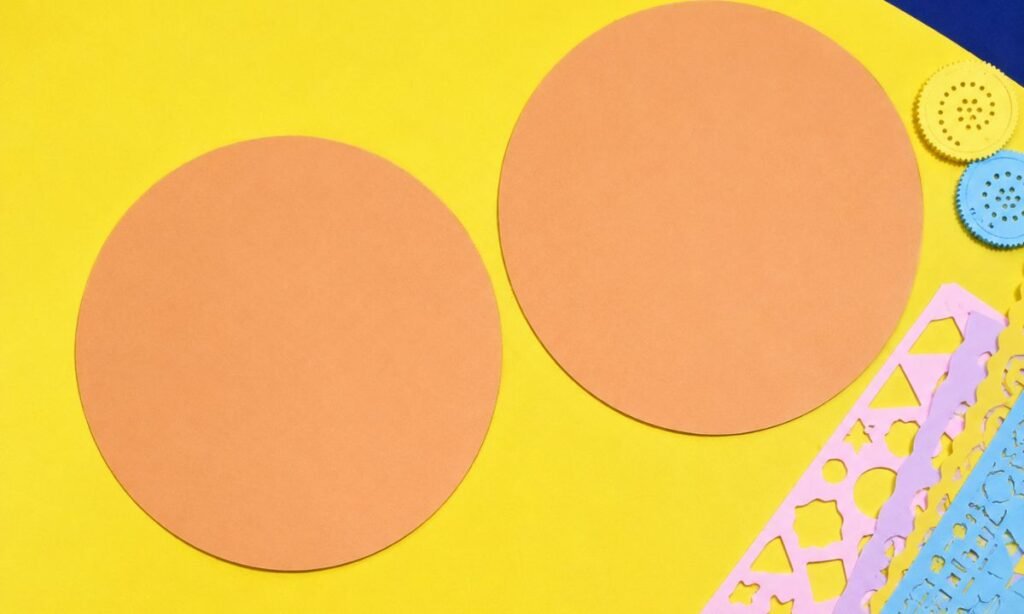
Start by cutting two large circles from orange construction paper, using a round plate to trace matching shapes for your crab craft.
Make both circles approximately the same size so you can use one for the main body and another for additional crab pieces.
Cut slowly around each curved outline, making sure the edges remain smooth before preparing the smaller circles for the crab’s legs.
2. Crab Body Pieces
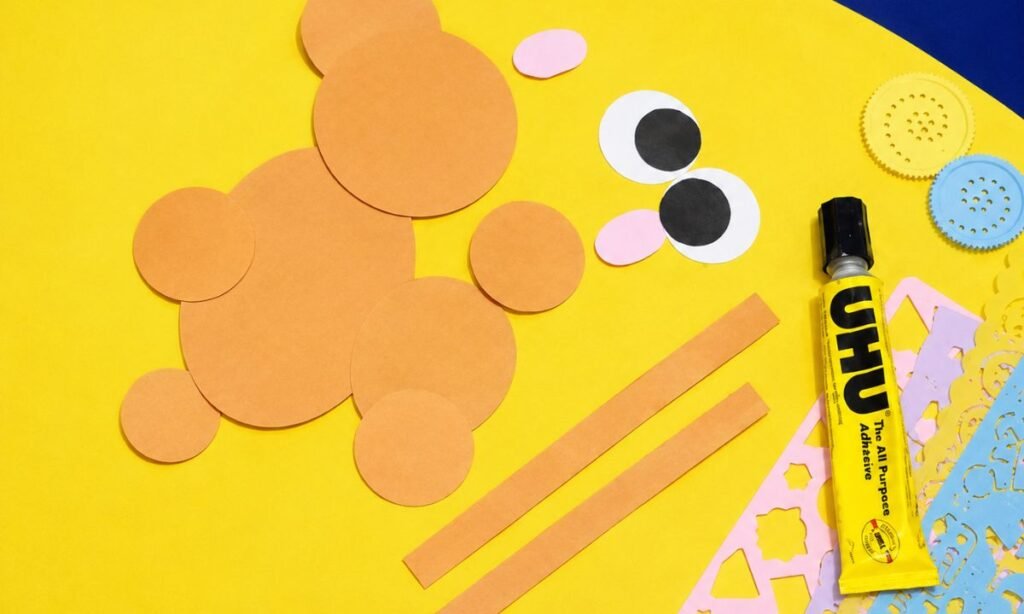
Cut several smaller circles from orange paper, making different sizes for the crab’s legs and claws on both sides of its body.
Prepare two long orange paper strips for attaching the claws, along with two white circles and smaller black circles for the eyes.
Cut two small pink oval shapes for the cheeks, then arrange all your paper pieces before starting the gluing process.
3. Folded Crab Legs
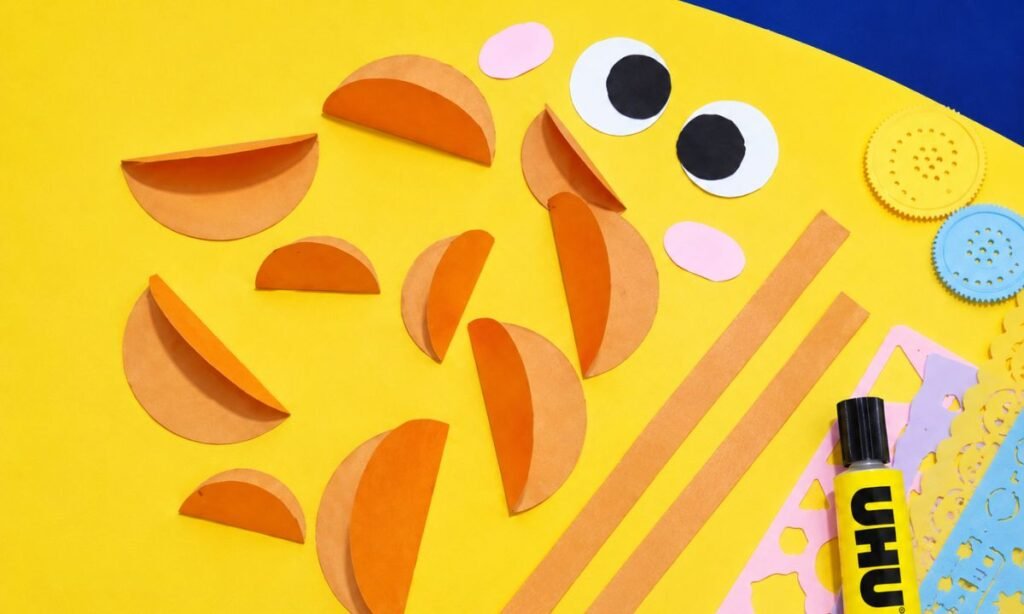
Fold each small orange paper circle in half, pressing along the middle to create raised semicircle shapes for the crab’s legs.
Prepare larger folded circles for the claws and smaller ones for the side legs, giving each piece a slightly curved appearance.
Leave the folded edges loose instead of pressing them completely flat, so the finished crab has a raised paper design.
4. Crab Body Assembly
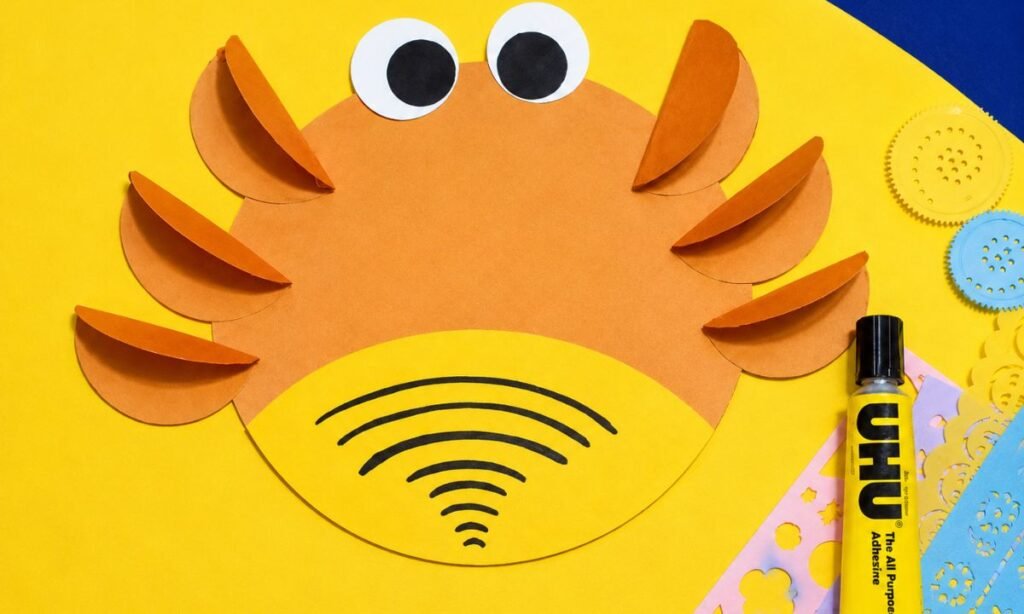
Glue the folded orange semicircles around both sides of the large body circle, arranging three legs and one claw on each side.
Attach two large paper eyes along the upper edge, positioning the black centers slightly inward to create a friendly crab face.
Add a yellow semicircle across the lower body and draw curved black lines to create the crab’s striped belly pattern.
5. Smiling Paper Crab
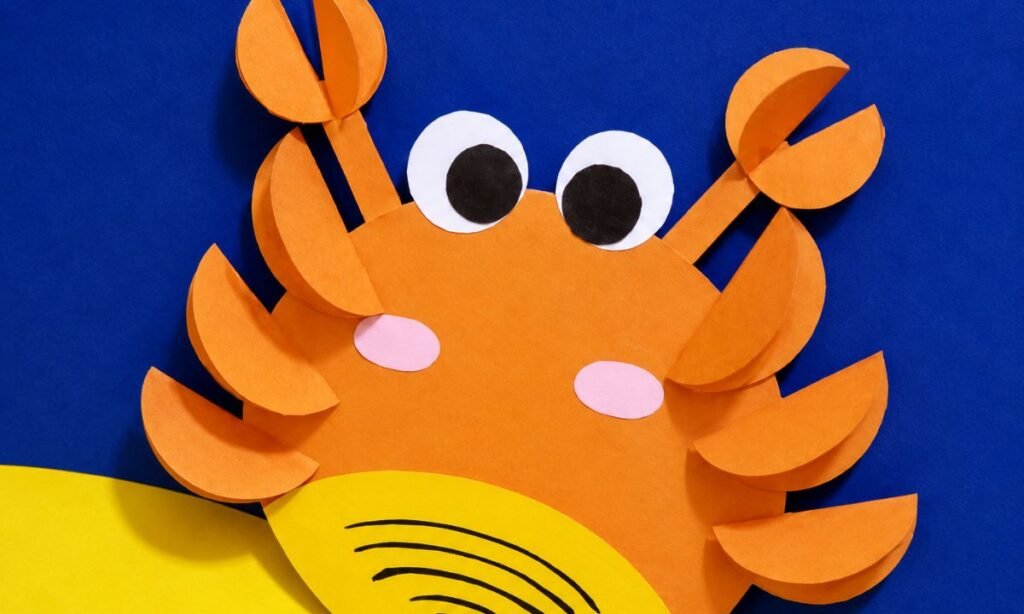
Attach two orange paper strips behind the upper body, then glue folded paper claws onto their ends to create raised pincers.
Add two pink oval cheeks beneath the large eyes, placing them evenly on both sides of the crab’s orange face.
Arrange the finished crab against a blue paper background with yellow sand, allowing its folded legs and claws to stand out.
Fun Facts About Crabs
- Crabs have a hard outer shell called an exoskeleton that helps protect their softer body underneath.
- Many crabs can regrow a lost claw or leg over time after injury or damage.
- Crabs use their claws for feeding, defense, communication, and sometimes competing with other crabs.
- Different crab species can live in oceans, freshwater areas, mangroves, beaches, and even on land.
- A crab grows by shedding its old shell and forming a larger one during a process called molting.
Why Crabs Have So Many Legs
Crabs usually have ten limbs, including the front pair that develops into strong claws called chelae.
The remaining walking legs help support the wide body and keep the crab stable on uneven ground.
Having several legs also helps them move across sand, rocks, and shallow water with better balance.
This wide-legged shape is one reason crab crafts look especially recognizable even with very simple paper pieces.
Easy Ways to Customize
Change the crab’s body color, claw size, eye style, or leg shape if you want each version to look a little different.
You can add spots, stripes, tiny dots, or simple shell-like patterns across the body for extra decoration.
Try giving the crab a funny expression, rosy cheeks, or a small bow to make the face feel more playful.
You can also change the leg spacing or add a small paper shell nearby to make the finished scene feel more detailed.
FAQs
Can I Make This Crab Craft Without Drawing the Body Freehand?
Yes, you can trace a round bowl, cup, or simple crab template if drawing the main body shape feels difficult by hand.
Choose a shape large enough to leave enough room for the eyes, claws, legs, and other smaller paper details afterward.
This option works especially well for younger kids who may struggle with keeping the main crab body smooth and evenly shaped.
Can I Turn This Crab Craft Into a Beach Display?
Yes, you can place the finished crab with paper sand, shells, waves, seaweed, or small fish to create a beach scene.
Keep the extra decorations around the crab so its claws, legs, eyes, and main body remain clearly visible from the front.
This display works nicely for a classroom board, kids’ room, summer activity, or any simple ocean-themed craft project for children.
You may also like to make!