A few days ago, I was traveling by car when I noticed a long row of bright sunflowers growing beside the road.
The yellow flowers looked so beautiful together that I kept looking at them until they slowly disappeared behind us.
Right there, I decided that once I got home, I was definitely going to try making my own sunflower with paper.
I wanted to recreate that same bright, cheerful look in a craft that I could keep for much longer.
Let’s make this sunflower craft.
- Why Sunflowers Follow the Sun
- Materials Needed:
- Step-by-Step Guide
- 1. Draw Cutting Lines
- 2. Cut Yellow Strips
- 3. Form Petal Loops
- 4. Prepare Flower Base
- 5. Attach Outer Petals
- 6. Add Inner Petals
- 7. Build Petal Layers
- 8. Finish Sunflower Center
- 9. Attach Stem Leaves
- Sunflower Craft Challenges
- Fun Facts About Sunflowers
- FAQs
- Can I Turn This Sunflower Craft Into a Wall Hanging?
- Can I Make More Than One Sunflower for a Bouquet?
Why Sunflowers Follow the Sun
Young sunflowers slowly turn during the day so their flower heads can follow the movement of sunlight across the sky.
This movement helps growing plants receive more light, which supports healthy development while the stem is still flexible and young.
As sunflowers mature, many flower heads stop moving and usually face east instead of continuing to follow the sun.
Facing east can also help the flower warm up earlier in the morning, which may attract more pollinating insects.
Materials Needed:
- Yellow craft paper
- Green craft paper
- White cardboard
- Glue
- Pencil
- Coffee powder
- Paper stick
Step-by-Step Guide
1. Draw Cutting Lines
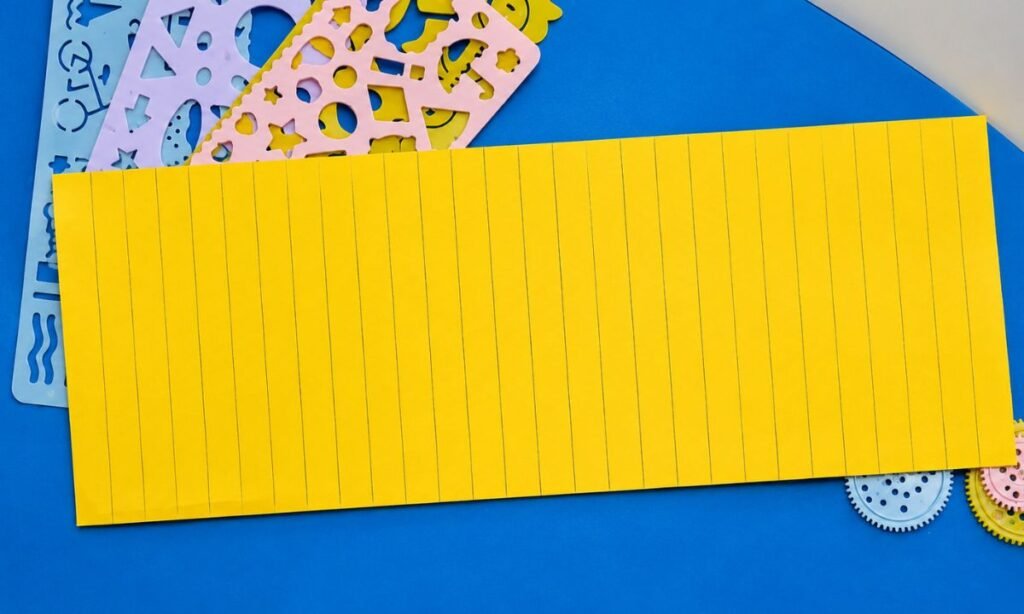
Draw many straight vertical lines across the yellow paper, keeping the spacing similar so the strips will look neat and even.
Start each line near the top edge and extend it downward, leaving enough room at the bottom to keep the sheet connected.
Check the spacing before cutting, because uneven lines can make the sunflower petals look different in width once the strips are shaped.
2. Cut Yellow Strips
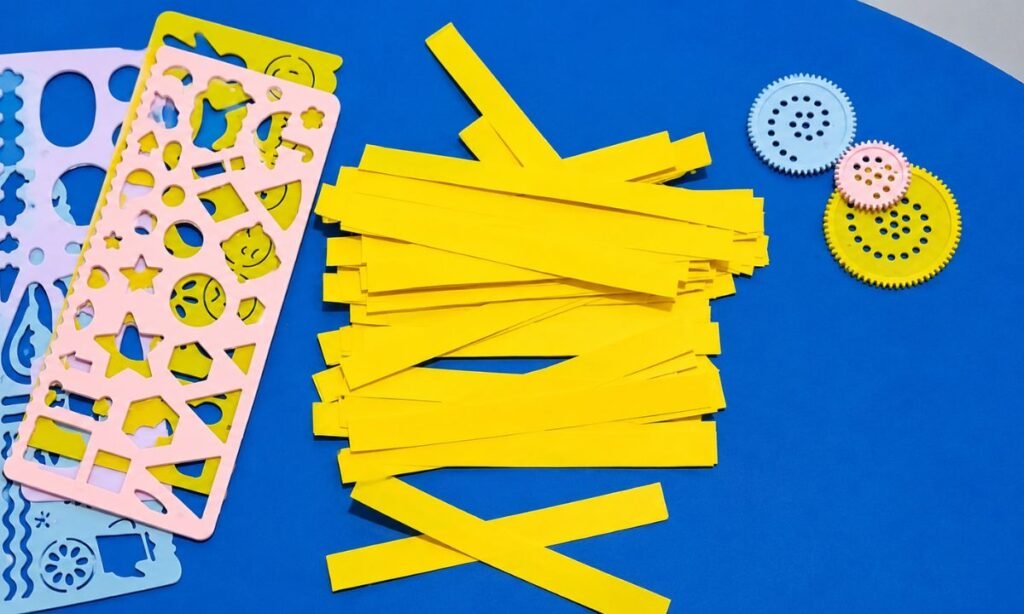
Cut carefully along each vertical line to create many long yellow strips, keeping the widths as similar as possible throughout.
Stop cutting before reaching the bottom edge, leaving one connected section so the strips stay together instead of becoming separate pieces.
Spread the finished strips slightly on the work surface and trim any uneven edges that look noticeably wider or narrower than the others.
3. Form Petal Loops
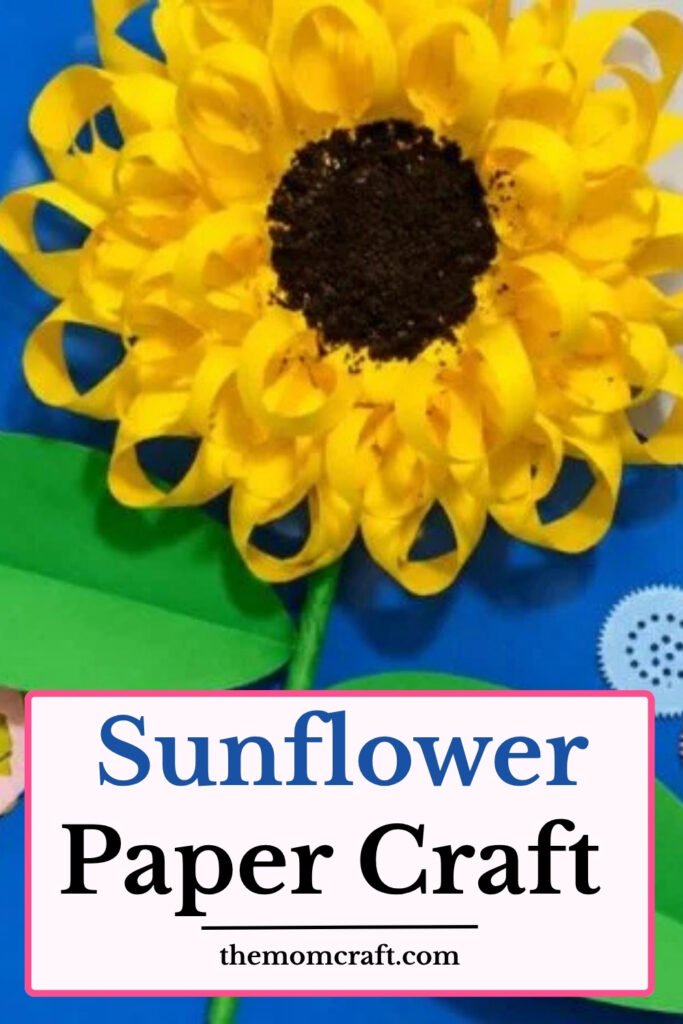
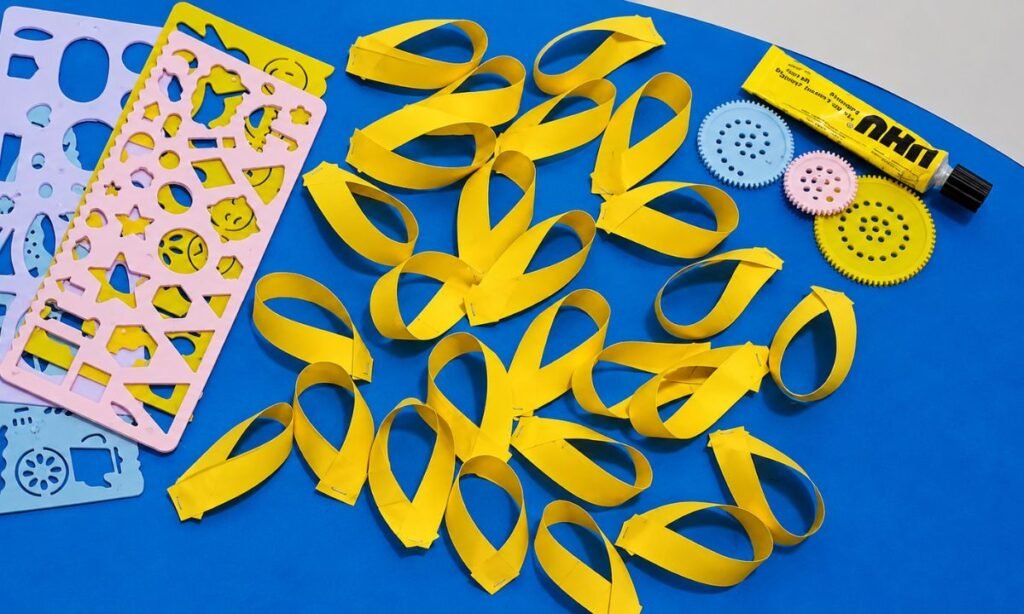
Bring the ends of each yellow strip together and glue them, creating small looped petals with rounded openings at the center.
Keep every loop similar in size, pressing the glued ends firmly so the petals hold their curved shape without opening again.
Prepare enough loops to build several petal layers, keeping them grouped nearby so the sunflower shape can be arranged evenly later.
4. Prepare Flower Base
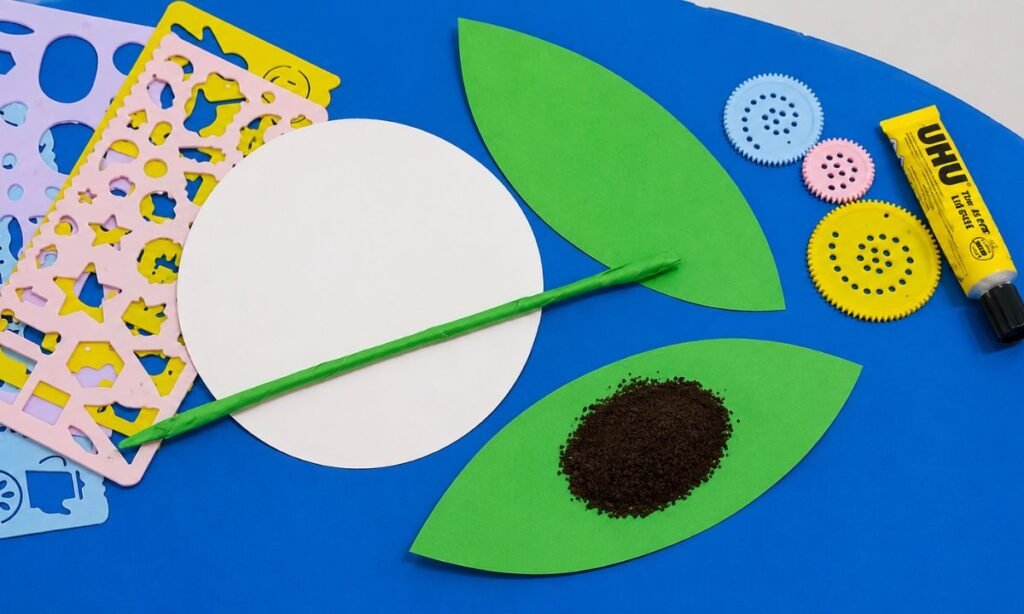
Cut a large white circle for the flower base, then prepare two green leaf shapes and one long green stem.
Keep the leaves wide and pointed, pressing a light center crease so each piece has a little more shape and texture.
Place the stem, leaves, and circle together on the work surface, checking their sizes before attaching the yellow petal loops.
5. Attach Outer Petals
Glue the first row of yellow looped petals around the white circle, keeping each loop pointed outward from the center.
Space the petals evenly around the edge, overlapping their glued ends slightly so the ring looks full and balanced all around.
Press each petal base firmly onto the circle, checking that the loops stay open and similar in height around the edge.
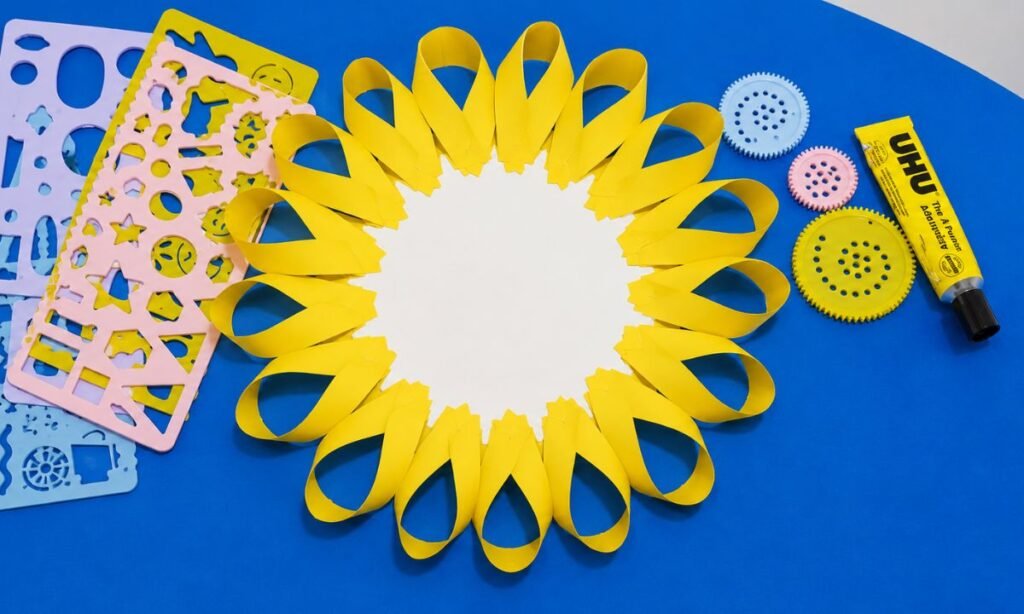
6. Add Inner Petals
Glue a second row of smaller yellow loops inside the first ring, placing them closer together around the white center.
Overlap the new petals slightly with the outer row, helping the flower look fuller without leaving wide gaps between layers.
Keep each loop standing upright as you glue, pressing only the lower ends so the curved tops remain open and rounded.
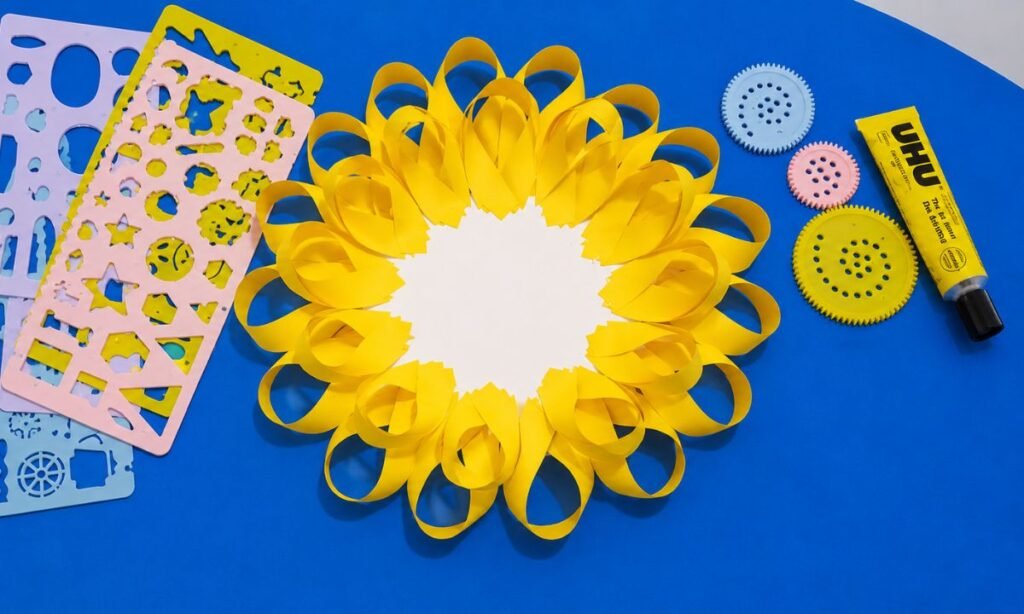
7. Build Petal Layers
Continue adding yellow looped petals toward the center, using tighter rows so the flower becomes fuller with every layer you add.
Arrange the loops close together without flattening them, allowing the curved petals to rise naturally around the remaining white center.
Check the flower from above as you work, filling visible gaps with extra loops while keeping the circular shape neat.
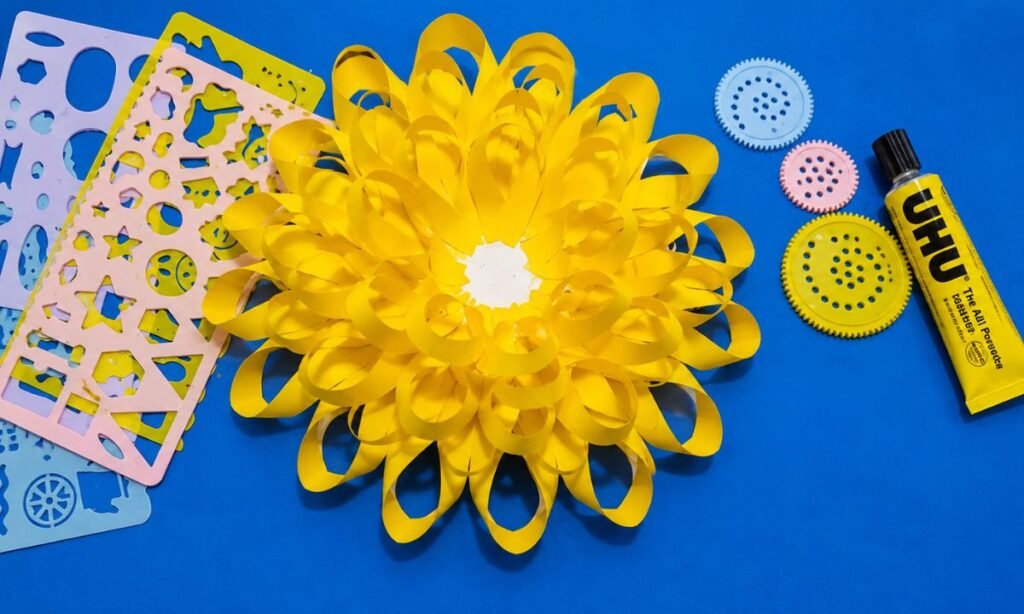
8. Finish Sunflower Center
Apply glue across the remaining white center, keeping the adhesive inside the circle so it does not spread onto the yellow petals.
Sprinkle coffee powder over the glued area, covering the white surface evenly until the center looks dark, textured, and completely filled.
Press the powder gently into place, then shake away any loose pieces once the glue begins holding everything securely together.
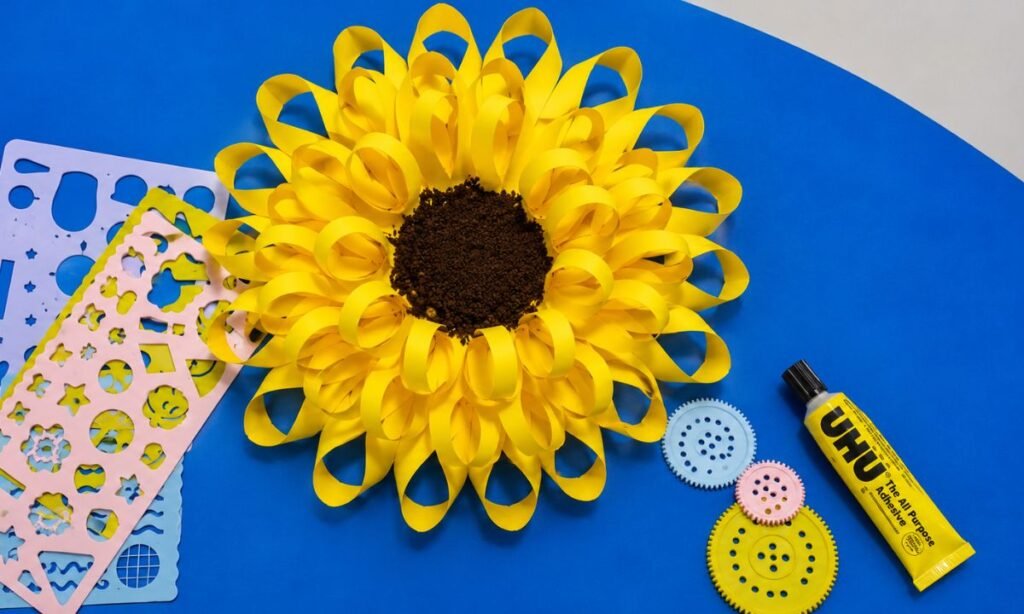
9. Attach Stem Leaves
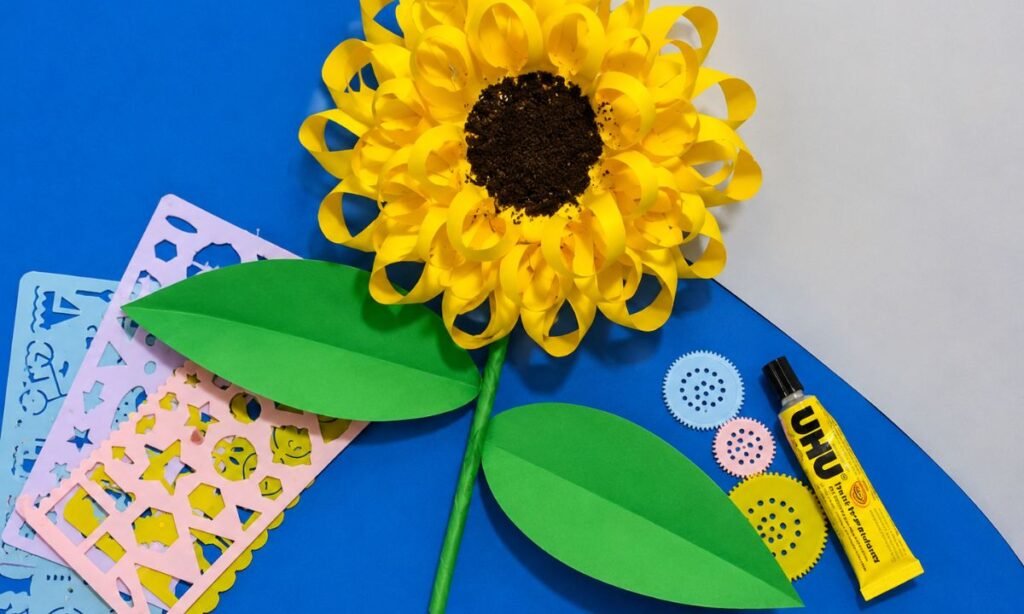
Glue the sunflower head onto the green stem, keeping the flower centered so the stalk sits directly beneath the brown middle.
Attach one folded green leaf on each side of the stem, spacing them apart so both shapes remain clearly visible.
Press the flower base and leaves firmly after gluing, checking that the stem stays straight and every piece holds securely.
Sunflower Craft Challenges
Keeping all the looped petals similar in size can be difficult, especially when several layers are added around the center.
The loops may flatten if too much glue is used, so pressing only the lower ends helps them keep their shape.
The flower head can also feel heavy once complete, which means the stem needs to be attached firmly and kept straight.
Working slowly through each petal row makes the final sunflower look fuller, cleaner, and more evenly shaped.
Fun Facts About Sunflowers
- A sunflower head is actually made of many tiny flowers packed closely together in the dark center.
- Sunflowers can grow very tall, and some varieties reach heights much taller than an average person.
- Their seeds are eaten by people, birds, and other animals, and they can also be pressed to make sunflower oil.
- Bees and other pollinators are attracted to sunflowers because the large flower heads provide plenty of pollen and nectar.
- Sunflowers come in more colors than yellow, including orange, red, cream, and darker shades depending on the variety.
- The tiny flowers in a sunflower’s center grow in spiral patterns, which helps pack many seeds into a small space.
FAQs
Can I Turn This Sunflower Craft Into a Wall Hanging?
Yes, you can attach the finished sunflower to a larger paper background and use it as a simple wall decoration.
Add a small string loop at the top if you want to hang it instead of sticking it directly onto the wall.
This works especially well for summer decor, classroom displays, or brightening a plain corner with something handmade.
Can I Make More Than One Sunflower for a Bouquet?
Yes, you can make several sunflowers and join them together to create a colorful handmade bouquet for display or gifting.
Use different flower sizes and slightly different yellow shades so the bouquet looks fuller and less repetitive.
Tie the stems together with ribbon or place them in a small vase to turn the separate crafts into one arrangement.
You may also like to make!