

One evening, I was out for a walk when I noticed a small caterpillar slowly moving across the side of the road.
It was tiny, but the way its little body sections moved one after another immediately caught my attention.
I stopped for a moment to watch it and liked how such a simple shape could look so interesting in motion.
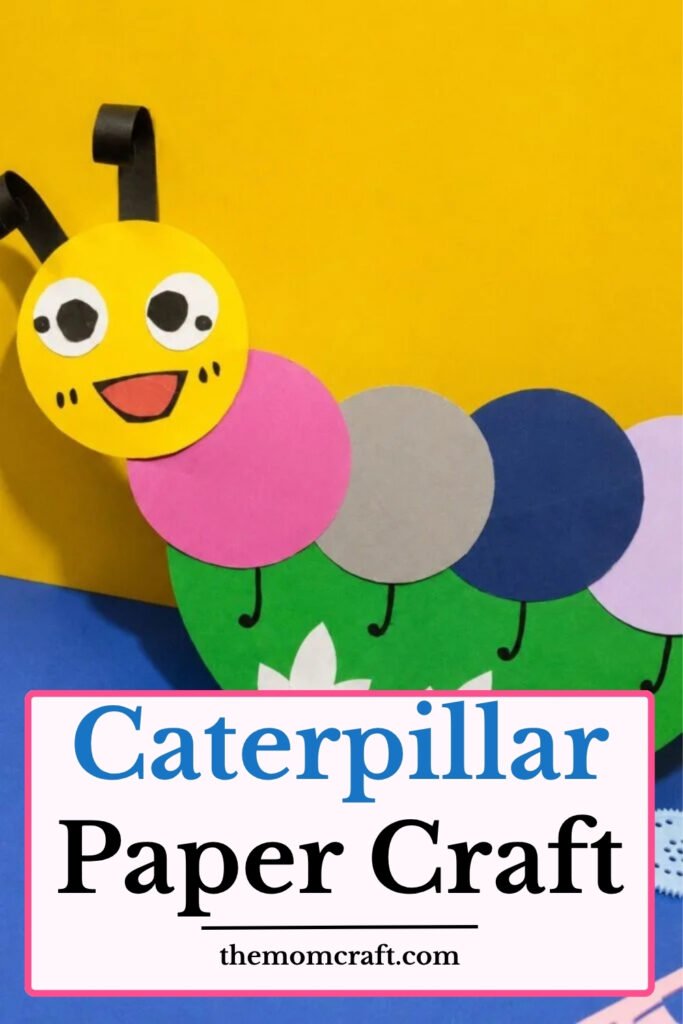
That quick roadside moment inspired this colorful paper caterpillar with repeated body sections and a playful little face.
Let’s make this caterpillar paper craft.
- How Caterpillars Turn Into Butterflies
- Materials Needed:
- Step-By-Step Guide
- 1. Green Paper Circle
- 2. Folded Paper Base
- 3. Colorful Paper Circles
- 4. Paper Caterpillar Body
- 5. Smiling Caterpillar Craft
- Fun Facts About Caterpillars
- Why the Segmented Body Works
- Easy Ways to Customize
- FAQs
- Can I Make This Caterpillar Craft With Different Body Colors?
- Can I Turn This Caterpillar Craft Into a Learning Activity?
How Caterpillars Turn Into Butterflies
A caterpillar is the larval stage of a butterfly or moth and spends much of its time eating and growing.
When it is ready, it forms a chrysalis or cocoon-like protective stage before changing into its adult form.
That transformation is one of the most interesting parts of a caterpillar’s life cycle.
This craft can be a simple way to introduce that change while kids work with colorful body sections.
Materials Needed:
- Green craft paper
- Colorful craft paper
- Yellow craft paper
- White craft paper
- Orange craft paper
- Black craft paper or black marker
- Pencil
- Scissors
- Glue
- Round plate or circular tracing objects
Step-By-Step Guide
1. Green Paper Circle
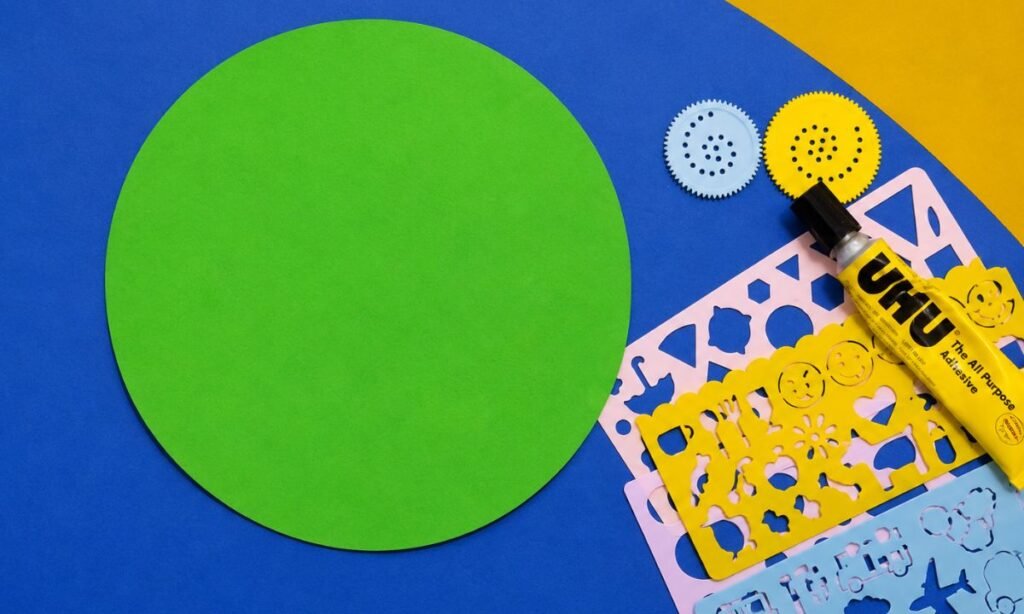
Start by cutting a large circle from green construction paper, using a round plate to get the shape right.
Choose slightly thick paper so the circle stays firm and doesn’t bend easily while children work on their craft.
Make sure the edges are smooth before moving to the next step, as uneven cuts can affect the final shape.
2. Folded Paper Base
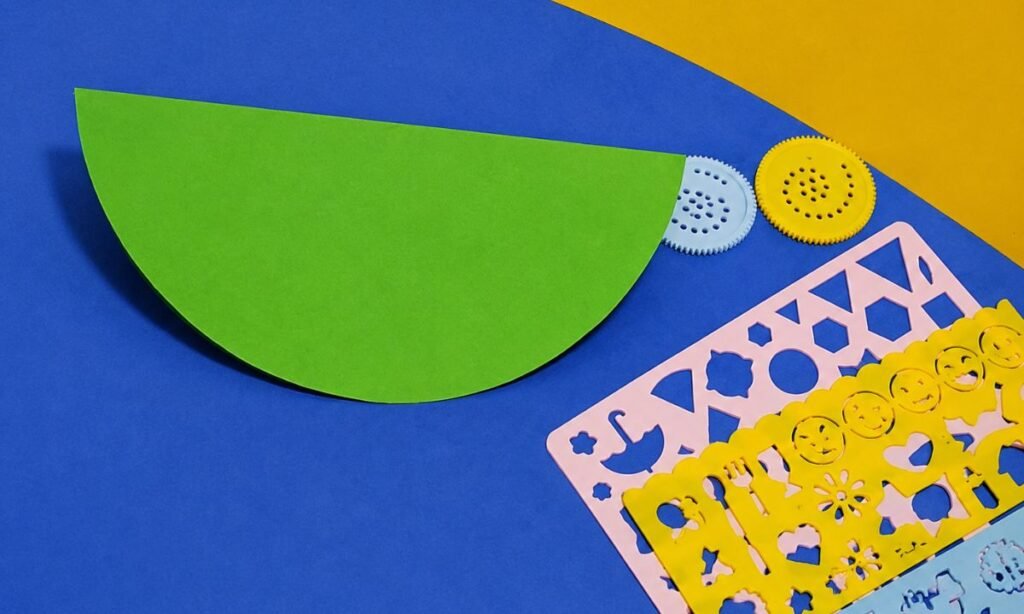
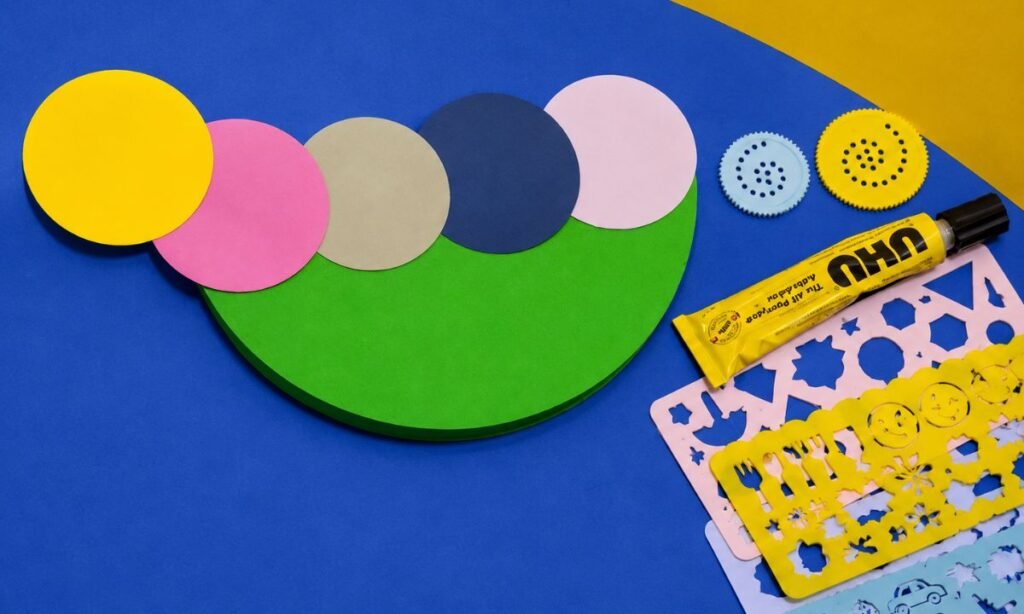
Fold your green paper circle in half carefully, bringing both sides together to create a neat semicircle for the base.
Press gently along the folded edge with your fingers so the paper holds its shape without opening again.
Place the folded piece on a flat surface, leaving enough space along the straight edge for colorful paper circles.
3. Colorful Paper Circles
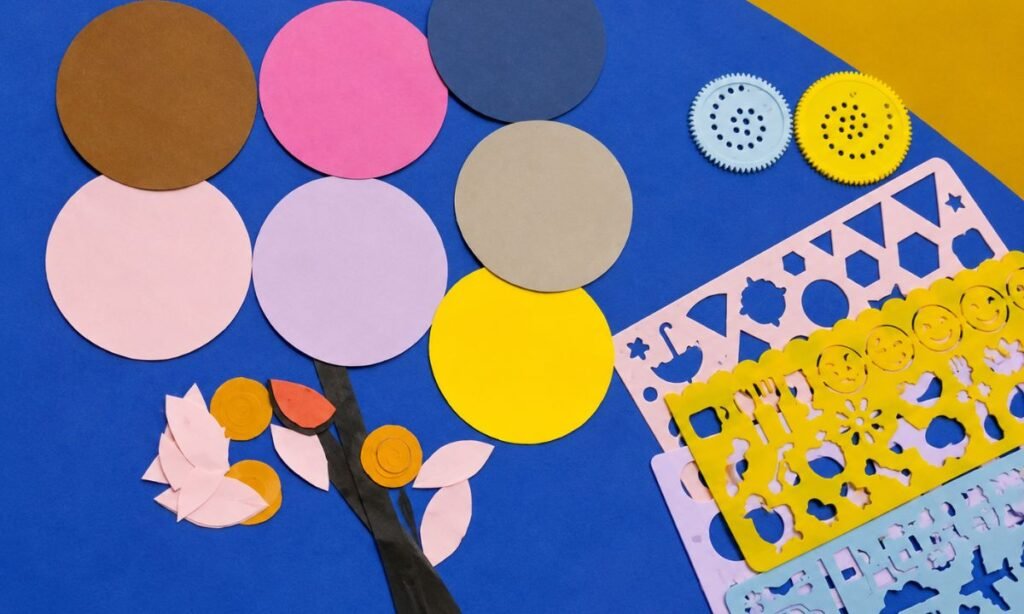
Pick five or six different construction paper colors and cut matching circles to create a bright caterpillar body.
Use a small round lid to trace each circle, making the cutting process easier for preschoolers who need guidance.
Arrange the circles in your preferred color order before gluing them, so children can practice recognizing and matching different colors.
4. Paper Caterpillar Body
Attach the colorful circles along the straight edge of your folded green base, overlapping them slightly to form the caterpillar.
Apply a small amount of glue behind each circle and press gently so every piece stays attached without slipping.
Once the body is secure, add paper eyes and antennae to complete the caterpillar before displaying it on a classroom wall.
5. Smiling Caterpillar Craft
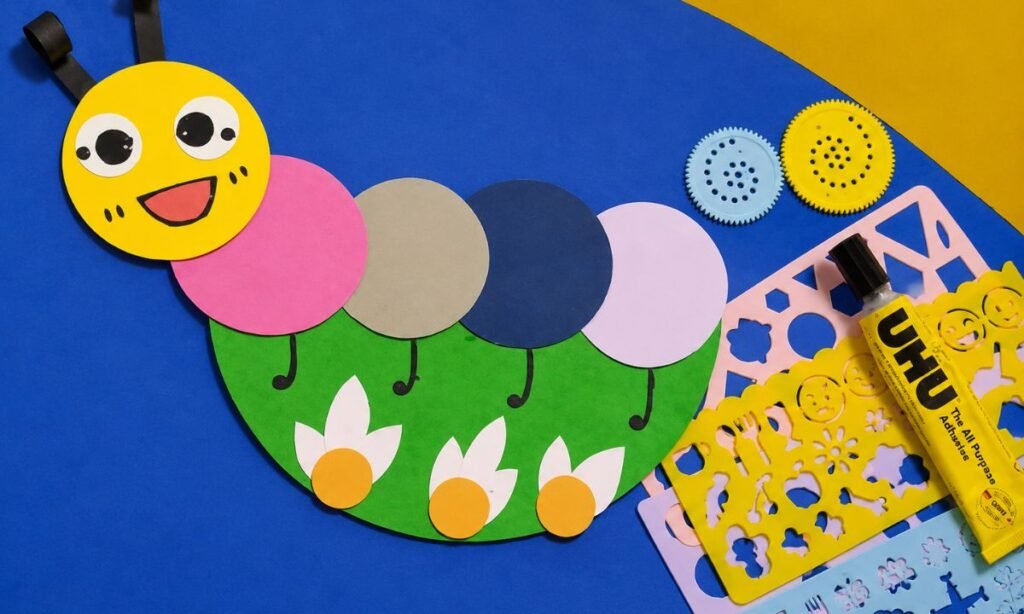
Give your caterpillar a cheerful face by attaching a yellow paper circle with large eyes, a smiling mouth, and black antennae.
Draw small curved legs beneath each colorful body circle using a black marker, making sure they extend onto the green base.
Finish by gluing white paper flowers with yellow centers along the bottom, creating a playful garden scene for your caterpillar.
Fun Facts About Caterpillars
- Caterpillars can grow very quickly and may shed their skin several times as they become larger.
- Many caterpillars have tiny bristles or markings that help them blend into leaves and plants.
- They use strong jaws to chew leaves, which provide most of the energy needed for growth.
- Some caterpillars have bright colors that can warn predators to stay away.
- Caterpillars have several small legs along their bodies that help them grip leaves and stems.
Why the Segmented Body Works
A caterpillar’s body is naturally divided into sections, so repeated paper pieces suit the shape really well.
Using separate circles or loops makes the body look longer without needing one complicated cutout.
The repeated sections also make it easy to change colors, patterns, or sizes across the caterpillar.
Keeping the pieces evenly spaced helps the finished craft look balanced instead of crowded or uneven.
Easy Ways to Customize
Change the antenna shape, facial expression, decorative details, or body arrangement to give each caterpillar a different look.
You can add spots, stripes, tiny hearts, or simple stickers across the body sections for extra decoration.
Try changing the antenna shape, facial expression, or eye size to give the caterpillar more personality.
You can also make the body longer or shorter by adding or removing a few paper sections.
FAQs
Can I Make This Caterpillar Craft With Different Body Colors?
Yes, you can use green, yellow, pink, blue, or mixed paper colors instead of keeping every body section the same shade.
Try repeating two or three colors across the body if you want the caterpillar to look brighter without making it too busy.
Keep the head slightly different from the body sections so the face remains easy to notice in the finished craft.
Can I Turn This Caterpillar Craft Into a Learning Activity?
Yes, you can write numbers, letters, colors, or simple sight words on the body sections before joining the caterpillar together.
Arrange the pieces in order so kids can practice recognizing a sequence while they complete the craft.
This makes the project useful for preschool or classroom activities without changing the basic caterpillar design.
You may also like to make!



