Bright paper stars can turn an ordinary crafting afternoon into something colorful without needing a complicated setup.
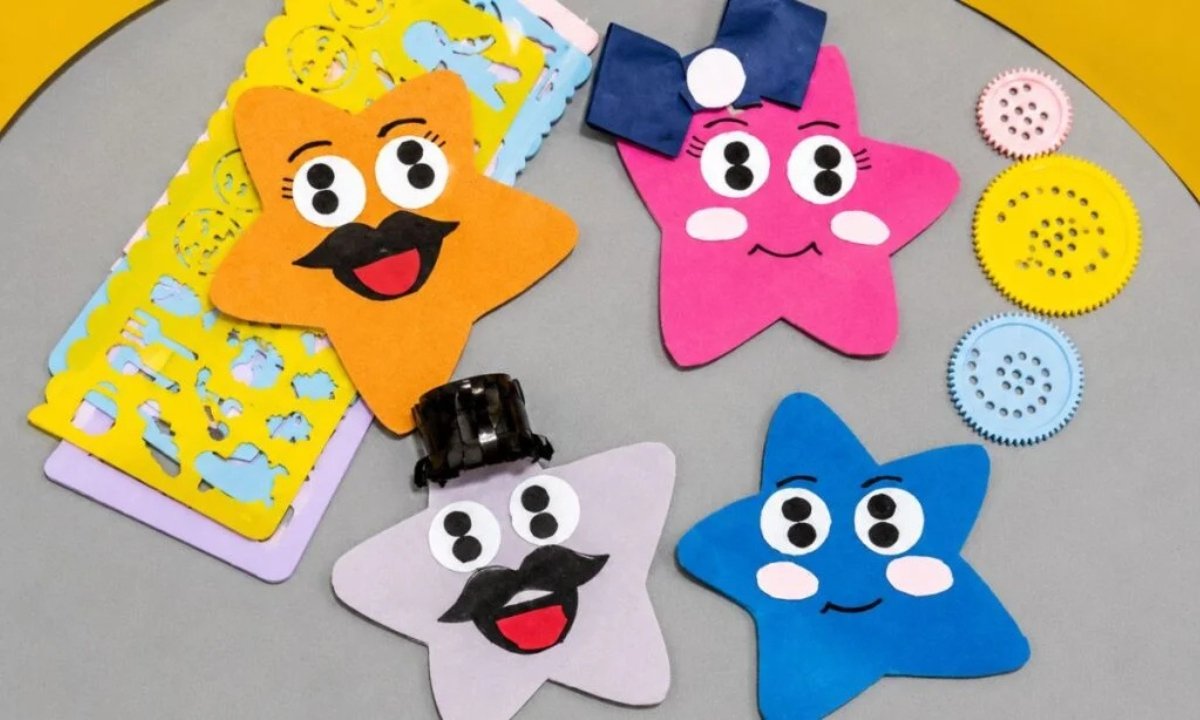
Start with colored paper, then give each star personality with smiling faces, tiny bows, ribbons, and playful little details.
The steps are simple enough for beginners and kids, while still leaving plenty of freedom to experiment with different designs.
At the end, you will have a cheerful collection of handmade stars, with every little face showing its own character.
Let’s jump in!
- Where Can You Use Paper Star Crafts Around the House?
- Material Needed:
- Step-by-Step Guide
- 1. Prepare Colorful Paper
- 2. Draw Star Shape
- 3. Cut Star Pieces
- 4. Add Decoration Pieces
- 5. Glue Cute Faces
- How Can You Make Paper Stars Faster for Party Decor or Class Projects?
- Why Does My Paper Star Keep Losing Its Shape?
- FAQs
- Can I Make Paper Stars Without Colored Craft Paper?
- How Do You Store Paper Star Crafts Without Damaging Them?
Where Can You Use Paper Star Crafts Around the House?
One of the best things about this paper star craft is that you can easily use these little stars pretty much anywhere around your house, and you can really make your space feel more alive with them.
You might even end up creating extra because you would see how cute they look when everything is finished.
You can stick them on your bedroom walls, or you can decorate your study table, and if you want.
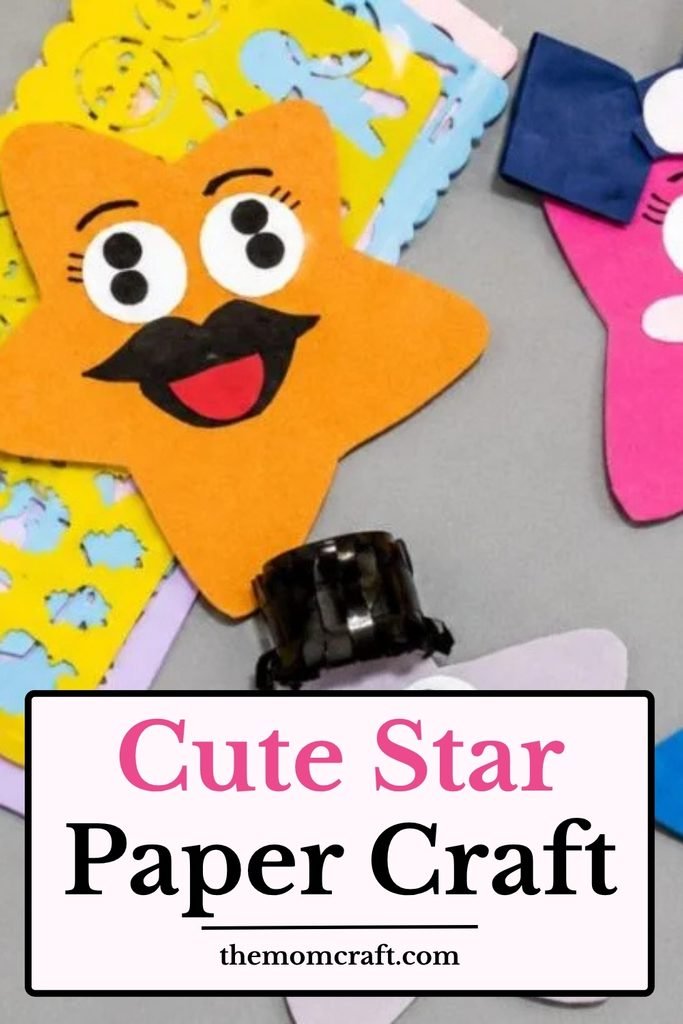
You can hang them by the window with ribbon so you can create a bright little display that you would enjoy seeing every day.
These stars can also be perfect when you use them for birthday party decorations.
When you place them on school boards, or even when you add them to handwritten greeting cards to make them feel more special.
I even put a few in gift bags, and you can instantly feel how it makes everything more personal and more enjoyable for you.
Material Needed:
- Colorful paper sheets
- Pencil
- Scissors
- Glue
- Black and white paper
- Ribbon or bow piece
Step-by-Step Guide
1. Prepare Colorful Paper
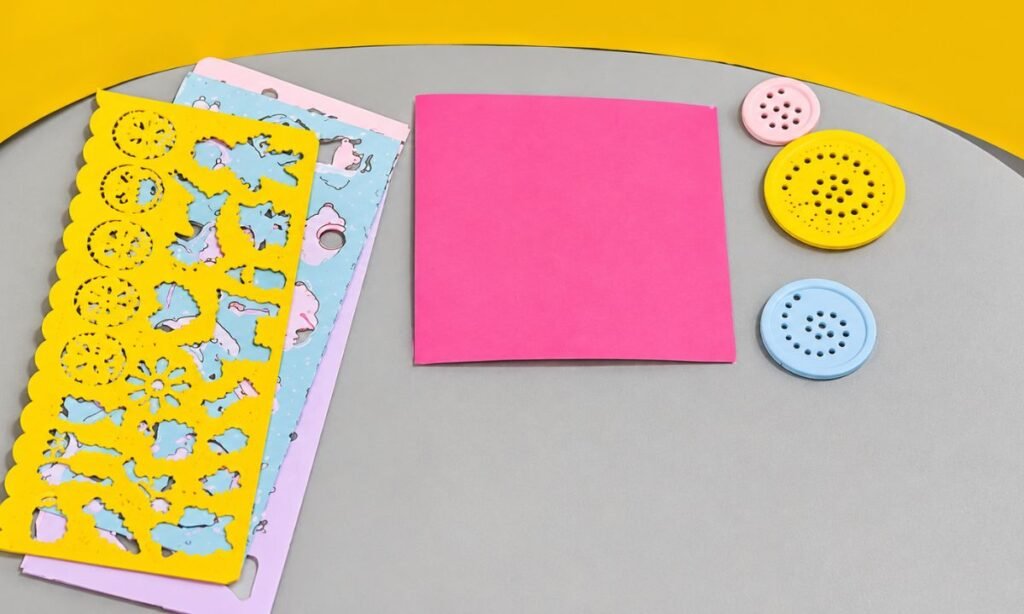
To begin, you can pick a colorful square piece of paper for your star project, and you should choose something that already feels fun to you.
You can go for bright colors because you would notice how your finished stars can look much happier and more alive.
Especially if you are making them for party decor, or when you are doing a kids craft activity, you can really see how color can change the whole vibe.
You can use craft paper, or you can use construction paper, or even any paper that isn’t too thin, so your star can hold its shape better.
Before you start, you should lay the paper on the table, and you can smooth it out with your hand so you can make sure everything is neat before you begin.
2. Draw Star Shape
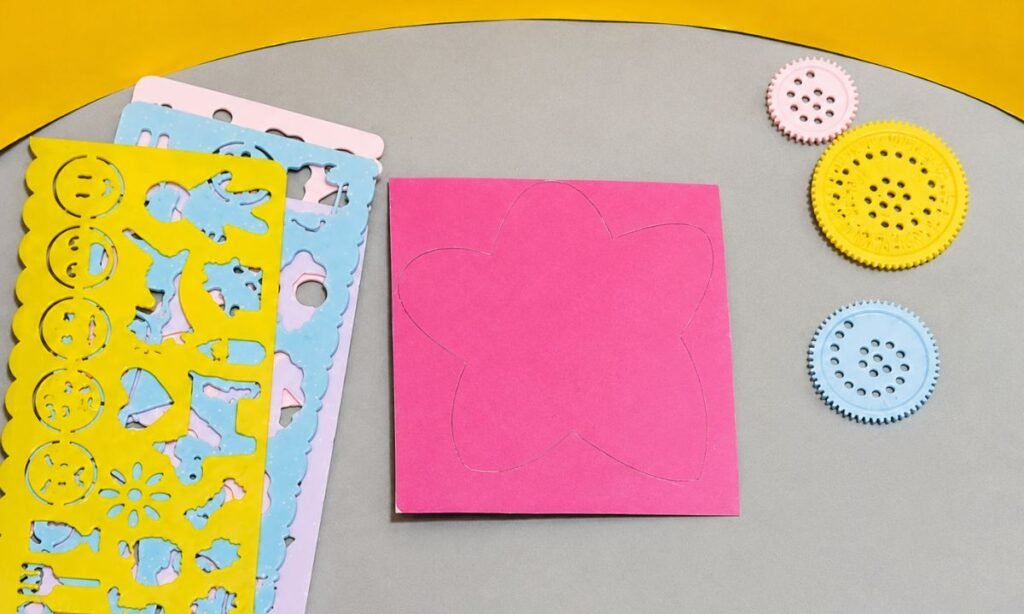
Now you can take a pencil and you should lightly sketch a star shape on your sheet of paper, and you can guide your hand slowly so you stay in control.
You don’t need to worry if it’s not perfect the first time, because you should remember this craft is meant to be fun for you, not stressful for you.
If you feel like you are a slow drawer, you can keep your lines soft, so you can easily erase any uneven parts whenever you want.
If you want all your stars to look the same size, you may also use a star template, and you can make your work much more consistent this way.
This phase can feel a lot easier for kids when you use a template. You should make sure the points of the star are wide enough so they don’t tear when you cut.
If freehand drawing feels tricky for you, you can fold a small paper once. Then you can draw half a star, and you can cut it out, so you can reuse it as your own simple template again and again.
3. Cut Star Pieces
After you have your star shape, you should carefully cut it out with scissors, and you need to go slowly so you don’t ruin the edges.
You might spend a little extra time around the points because you can really see that’s when your star form starts to come alive.
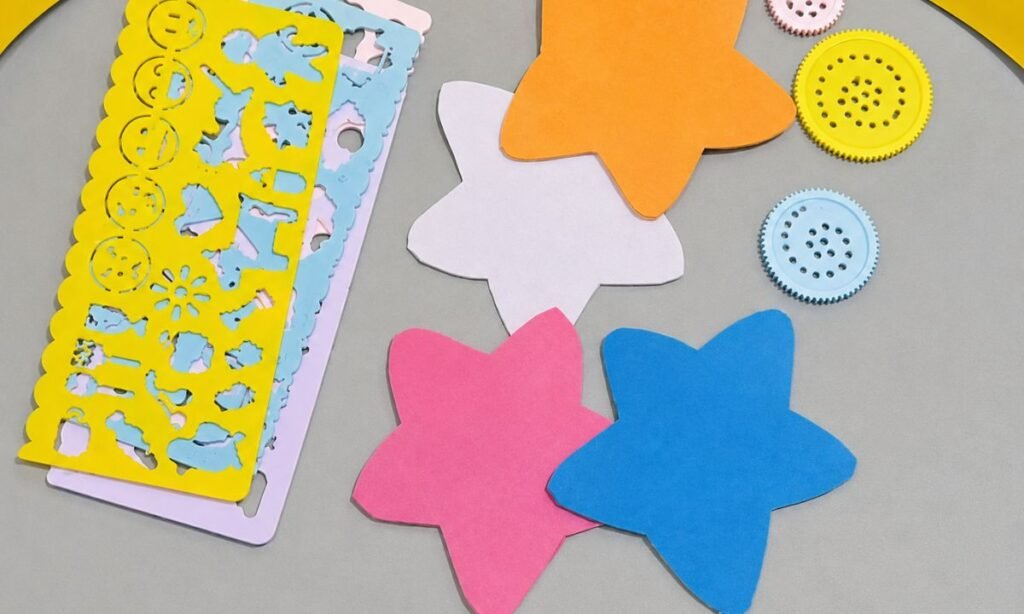
Once you cut out your first star, you can trace it on other pieces of colored paper, and you can quickly make more stars without much effort.
I liked mixing colors for this craft because you can instantly make everything feel more lively and bright, and you might enjoy that effect too.
You can create giant stars, or you can make small stars, or you can even mix both sizes depending on what you want to do later.
Based on your future use, you should keep all your cut stars together, so you don’t bend them or lose them while you are working.
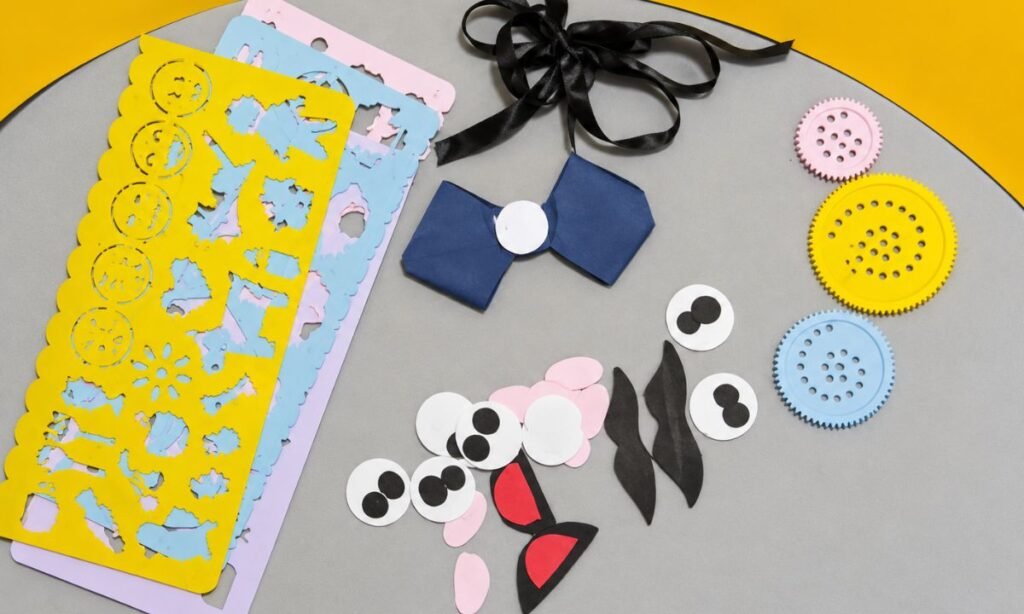
4. Add Decoration Pieces
Now you can move to the prettiest part, and you should really enjoy this step because you can create all the small decorative bits for your stars.
You can cut out little eyes, mouths, cheeks, bows, and ribbons, and you can choose any fun shapes you like to make your stars feel more alive.
If you want, you can use different colored paper for these pieces so your stars can stand out more attractively.
You might notice that when you add these details, the faces can start showing up in a really cute and noticeable way.
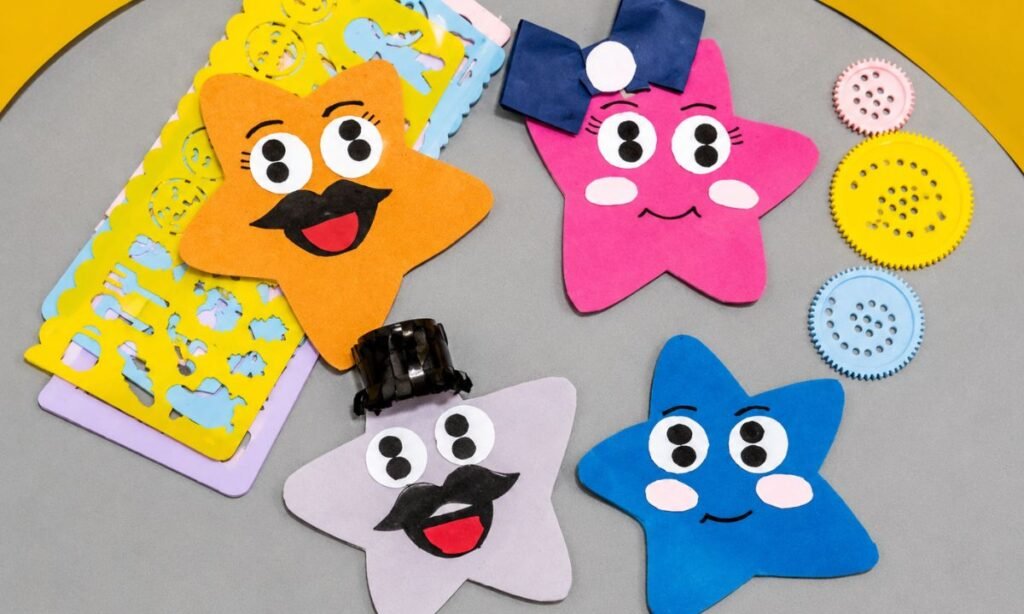
I made some stars with ribbons, and I made some with simple happy faces, and you can also try mixing both styles.
And honestly, each one can feel like it has its own little personality, and you might actually enjoy how different they all turn out.
5. Glue Cute Faces
Finally, you can glue the eyes, mouth, cheeks, bow, ribbon, and other ornaments onto each star, and you should place everything carefully so you can control the final look.
You should use only a little bit of glue because if you use too much, you might notice the paper can wrinkle and lose its neat shape.
I like to first place everything on the star without fully sticking it, so you can see how the face will look before you commit.
When you feel happy with the design, you can gently stick everything down, and you should press it for a few seconds so it holds properly.
You should let the stars dry flat on the table so they can stay smooth and don’t bend while drying.
How Can You Make Paper Stars Faster for Party Decor or Class Projects?
If you need to produce a bunch of paper stars for a party, a classroom activity, or a school project.
You can really make things easier for yourself if you work in batches, and you should plan it in a smart way from the start.
You might find it much faster if you draw one clean, flawless star template and then you can use it again and again instead of sketching each star separately.
If you use that method, you can simply trace the same shape on many pieces of paper, and you can save a lot of time and effort while still keeping everything neat.
You can also cut two or three thin sheets at once if you want, and you might notice that this can help you finish your stars much more quickly.
It also helps if you keep all the small embellishments like eyes, bows, and ribbons ready in one little container, so you can easily reach them whenever you need.
If kids are helping you, you can divide the tasks, and you should let one person cut out the stars while another person decorates them.
So you can finish everything faster and in a more fun way together.
Why Does My Paper Star Keep Losing Its Shape?
The most common reason your paper star keeps bending, folding, or losing its shape is actually the type of paper you are using, and you might notice this problem more than you expect.
If you are using very thin paper, you can see it wrinkles very easily, especially when you start adding glue and decorations on top of it.
I found that my stars held their shape much better when I switched to slightly thicker craft paper instead of normal notebook paper, and you might also see the same improvement.
Another mistake you can make is using too much glue, and you should avoid it. Because too much glue can soften the paper and make it uneven once it dries.
Instead of spreading a lot of glue, you can try using small dots, and you will notice it keeps everything cleaner and stronger.
It also helps if you place the finished stars under a light book for a few minutes so you can help them stay flat and firm.
If you want to use the stars for decorations or classroom displays, you should follow these steps so they can last longer and look better for you.
FAQs
Can I Make Paper Stars Without Colored Craft Paper?
Yes, definitely, you don’t even need colorful craft paper at home, and you can still make your stars look really beautiful.
If you don’t have craft paper, you can use old magazines, scrapbook paper, or even present wrapping paper, and you can still get great results.
You can also use plain white paper and then color it yourself with markers or crayons, and you might actually enjoy how personal it feels.
I even tried turning some extra wrapping paper into stars, and you can see how they can turn out really nice, bright, and a little sparkling too.
How Do You Store Paper Star Crafts Without Damaging Them?
The easiest way to store your paper stars is to keep them flat inside a folder, a box, or a thick notebook, and you should do this so the points don’t bend or flex over time.
If your stars have bows or raised decorations, you can place a sheet of tissue paper between each layer, and you might notice how much better they stay protected.
This helps you prevent the decorations from getting crushed, and you can keep your stars looking neat and fresh for future use or seasonal decor whenever you want to bring them out again.
You may also like to make!