My niece has been fascinated with space lately, and she keeps asking me what it would feel like to ride in a rocket.
So instead of giving her another space video to watch, I thought it would be more fun to make a little rocket she could build herself.
She was more interested in putting the rocket pieces together than I expected, especially once it started looking ready for launch.
By the time we finished, she was already pretending the little rocket had its own mission waiting in space.
Let’s jump in and make this little rocket ready for its next space adventure.
- Material Needed:
- Step-by-Step Guide
- 1. Prepare Blue Base
- 2. Roll Blue Paper
- 3. Prepare Rocket Pieces
- 4. Attach Rocket Windows
- 5. Attach Final Pieces
- From Paper to Space
- A Craft That Sparks Imagination
- Fun Rocket Facts
- Fun Ways to Customize
- FAQs
- Can I Make This Rocket Craft Without a Paper Tube?
- What Age Is Best for Making a Rocket Paper Craft?
Material Needed:
- Blue craft paper
- Orange craft paper
- Yellow craft paper
- White paper (for windows)
- Black marker pen
- Glue
- Scissors
Step-by-Step Guide
1. Prepare Blue Base
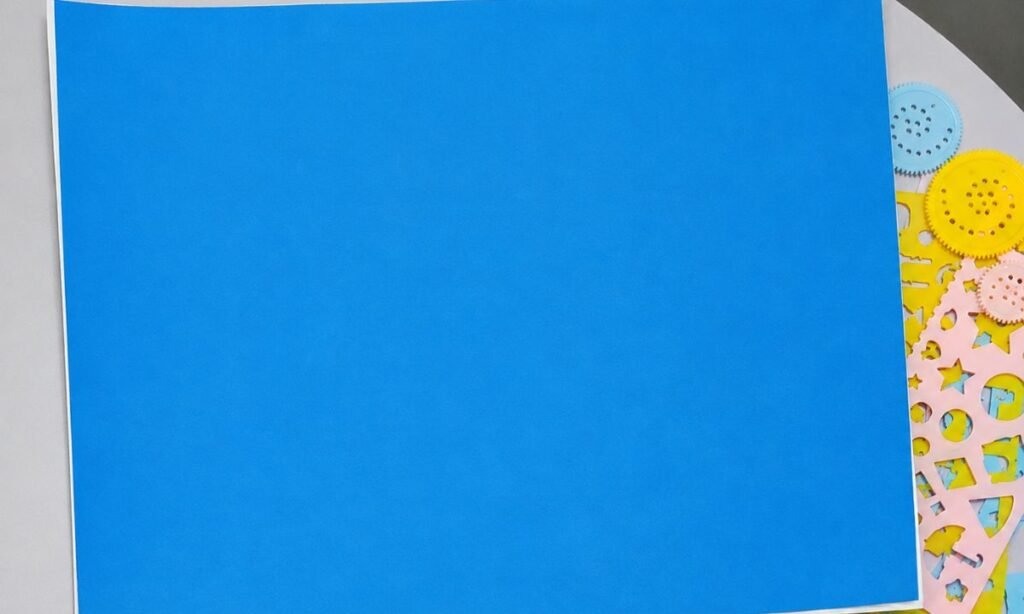
Start by placing a large blue sheet flat on the work surface, which will be used to form the main body of the rocket.
Keep the paper smooth and straight because all the rocket pieces will be attached to this base in the next steps.
Make sure the sheet is large enough to form a full tube without leaving a wide gap between the edges.
2. Roll Blue Paper
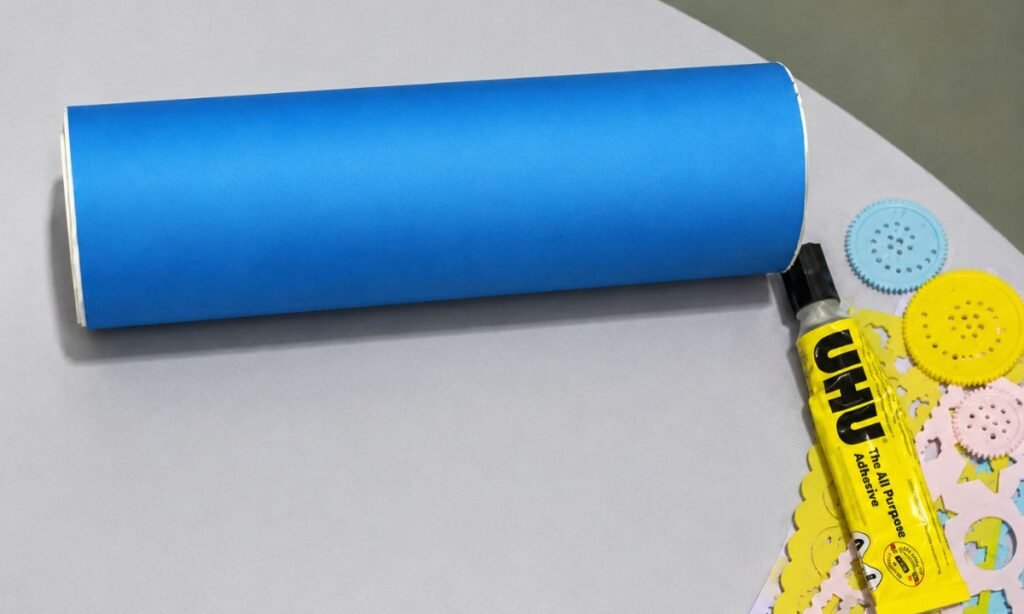
Now, roll the blue sheet into a tube shape and bring both long edges together so the rocket body starts taking form.
Apply glue along the overlapping edge and press it down firmly so the paper holds its rounded shape without opening.
Keep the tube as even as possible from end to end, because this will make the remaining rocket pieces easier to attach.
3. Prepare Rocket Pieces
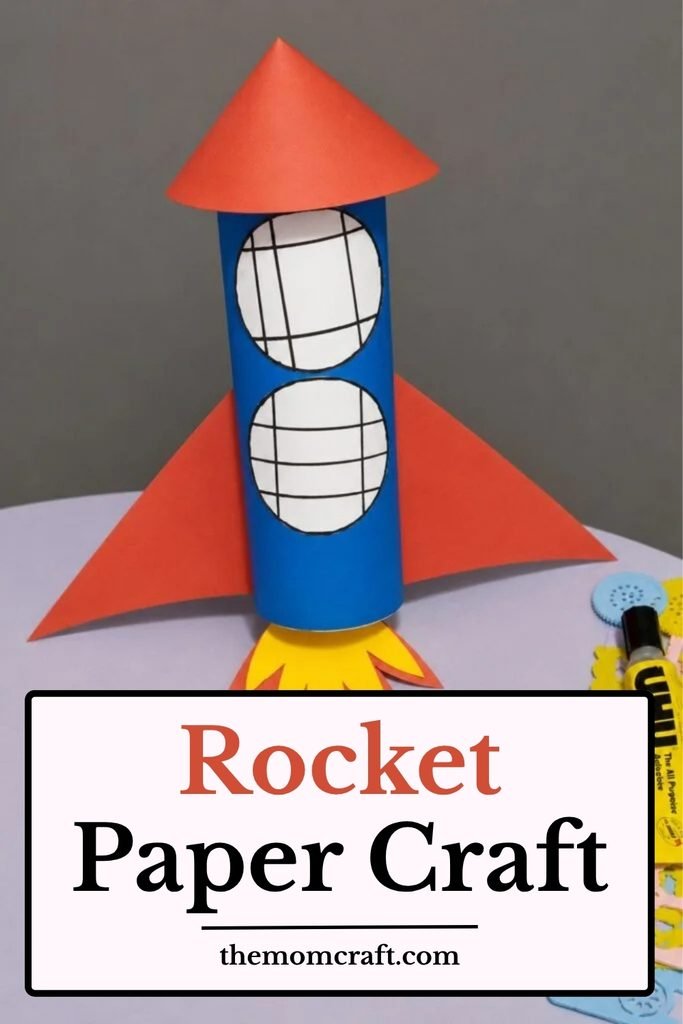
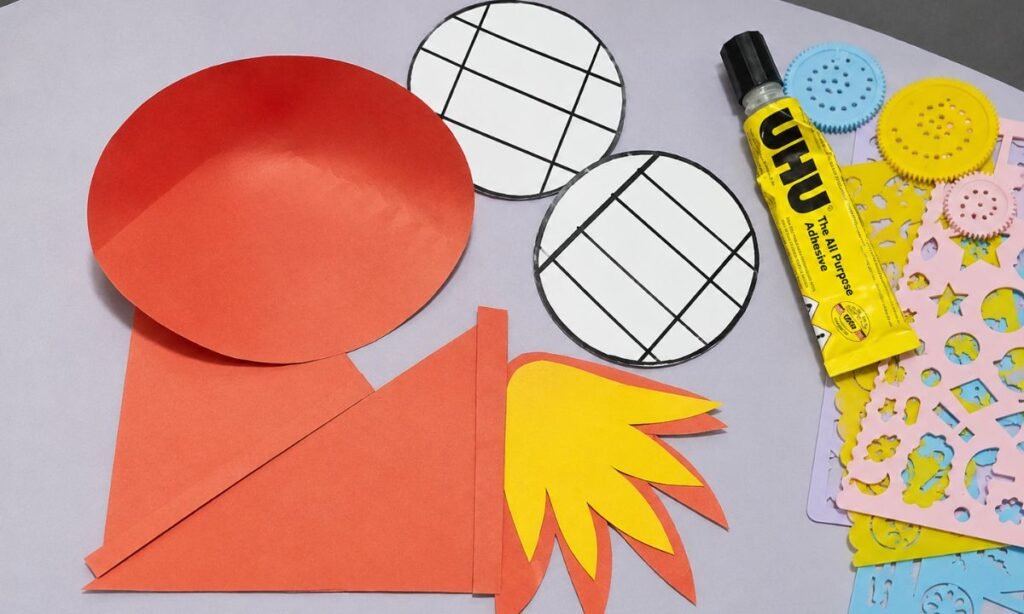
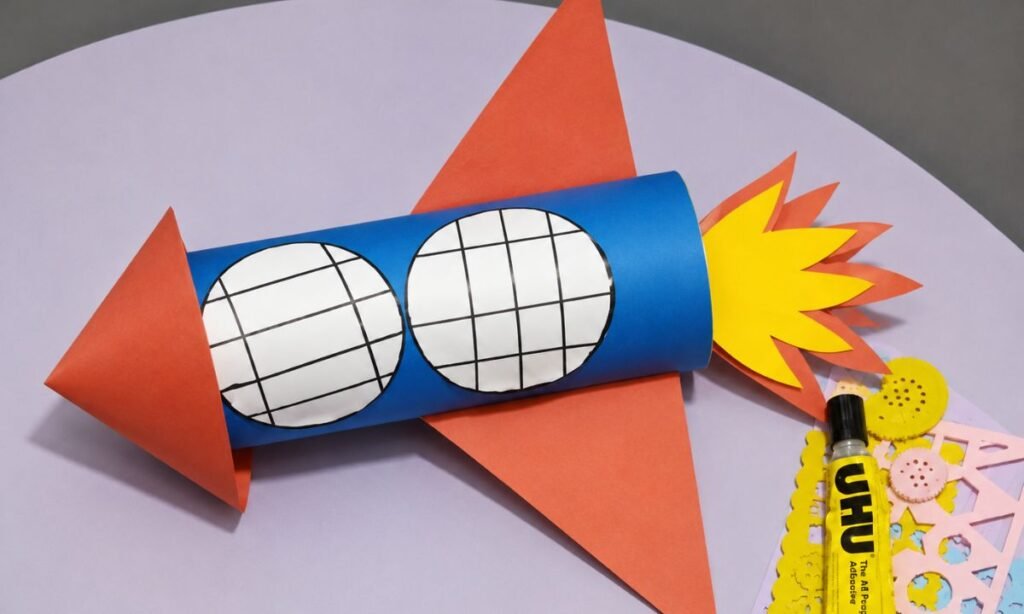
Cut out the main rocket pieces, including the red cone, side fins, two round windows, and the layered flame shape.
Keep the window circles similar in size and make the flame pieces slightly different so both colors remain visible when stacked together.
Lay all the cut pieces beside the blue tube first so you can check that everything is ready before attaching them.
4. Attach Rocket Windows
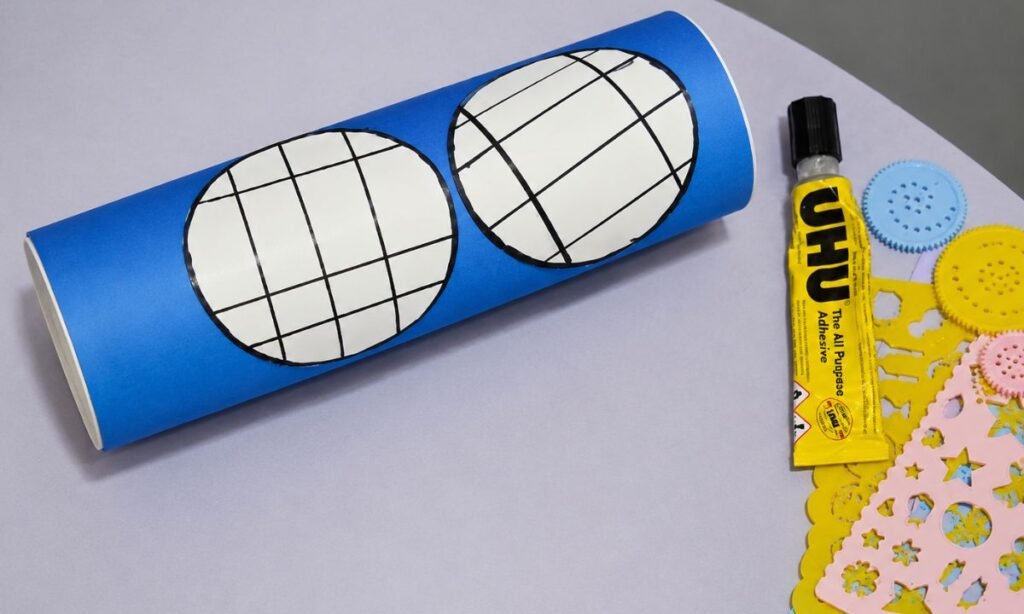
Glue the two round white windows onto the blue tube, keeping a little space between them along the center.
Press each circle down carefully so the edges stay flat and the windows sit neatly against the curved rocket body.
Make sure both windows face the same direction before moving on, because they will guide the placement of the remaining pieces.
5. Attach Final Pieces
Attach the red cone and side fins around the blue tube so the rocket starts taking its final shape.
Place the layered yellow and red flame pieces at the back, keeping both colors visible instead of covering one completely.
Press each piece firmly into place and check the rocket from the side so the fins and flame stay balanced.
From Paper to Space
Kids get to see how a few flat paper pieces slowly come together and start looking like a real little rocket.
The tube, cone, windows, fins, and flame each add one clear part, so the final shape is easy for them to recognize.
That makes the craft a simple way to connect basic shapes with something they already know and find exciting.
It also gives kids a simple way to notice how each rocket part has a different shape and purpose.
A Craft That Sparks Imagination
Kids can turn the finished rocket into part of their own space story instead of stopping once the craft is complete.
They can imagine where the rocket is flying, what planet it might visit, or who is sitting inside during the trip.
That extra pretend-play element gives the craft more purpose and keeps kids interested even after the paper pieces are glued together.
It also makes the activity easy to connect with space books, astronaut play, or a simple learning theme at home.
Fun Rocket Facts
Rockets move by pushing hot gases downward at high speed, which creates the force needed to lift them upward.
A rocket has to travel extremely fast to reach orbit and keep moving around Earth without falling straight back down.
Some rockets carry astronauts, while others launch satellites, scientific equipment, or supplies into orbit.
Most rockets are built in separate stages, and each stage can drop away once its fuel has been used.
Fun Ways to Customize
- Change the Colors: Let kids choose different paper colors for the rocket body, cone, fins, or flame.
- Add More Windows: Extra paper circles can make the rocket look bigger or give it a different design.
- Use Space Stickers: Small stars, planets, or astronaut stickers can add more detail without making the craft difficult.
- Draw Extra Details: Kids can add lines, dots, names, or simple patterns with markers once the rocket is finished.
- Try Shiny Paper: Metallic or glitter paper can be used for small parts to give the rocket a more space-themed look.
FAQs
Can I Make This Rocket Craft Without a Paper Tube?
Yes, you can make a flatter version by gluing the rocket pieces directly onto a sheet of cardstock instead of rolling the blue paper.
This option can be easier for younger kids who may find shaping and gluing a paper tube difficult.
Keep the same cone, windows, fins, and flame pieces so the finished craft still looks like a rocket.
What Age Is Best for Making a Rocket Paper Craft?
This rocket paper craft works best for preschool and early elementary-age kids who can handle simple cutting, gluing, and paper rolling.
Younger kids may need help cutting the cone, fins, and smaller pieces, especially if they are still learning to use scissors safely.
Older kids can usually complete most of the craft on their own and spend more time adding extra details or decorations.
You may also like to make!