

My little sister has always been interested in animals, and one day I found her watching different bird videos on YouTube.
She stopped on a turkey video and kept pointing out its big colorful tail and the funny way it moved around.
That made me think it would be fun to recreate the same look with simple paper shapes and bright feather colors.
So we turned that little animal-video moment into an easy turkey craft with a wide fan-shaped tail.
Let’s make this turkey craft.
- Why Turkeys Spread Their Tail Feathers
- Materials Needed
- Step-by-Step Guide
- 1. Cut Brown Circles
- 2. Prepare Turkey Pieces
- 3. Assemble Turkey Body
- 4. Add Turkey Details
- 5. Arrange Tail Feathers
- 6. Finish Turkey Craft
- Fun Facts About Turkeys
- Why the Colorful Tail Works
- Turkey Craft Challenges
- FAQs
- Can I Make This Turkey Craft With Fewer Tail Feathers?
- Can I Use Cardstock for This Turkey Craft?
Why Turkeys Spread Their Tail Feathers
Male turkeys often spread their tail feathers into a wide fan during courtship displays or when trying to appear larger.
The raised feathers make the bird look much more noticeable, especially when the colors and patterns catch the light.
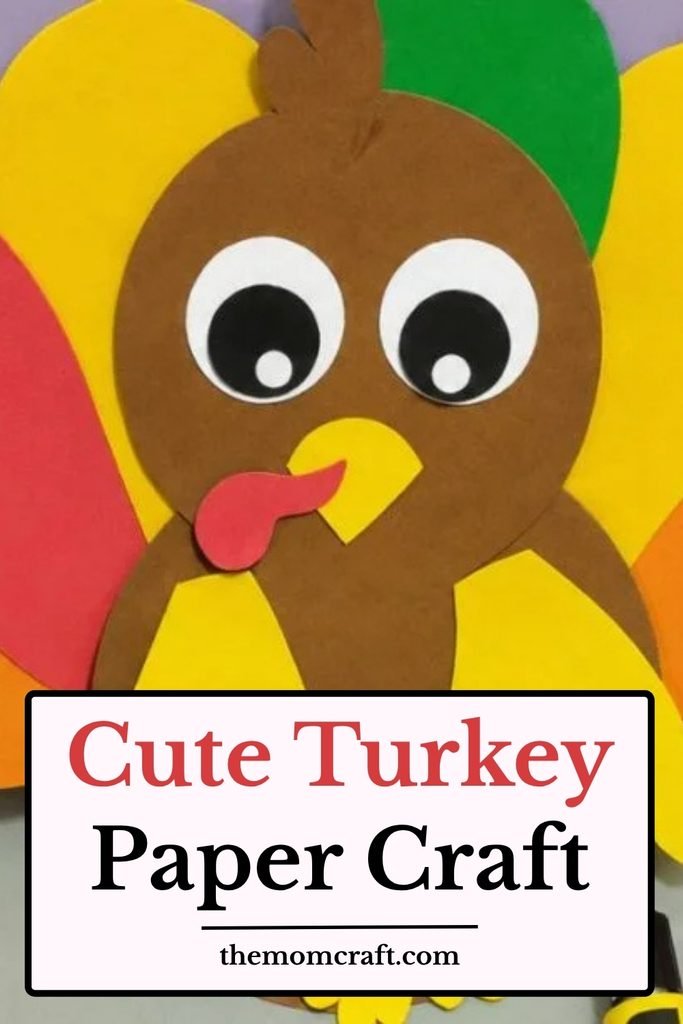
That wide fan shape is also what gives this paper craft most of its visual impact.
Using several large paper feathers helps recreate the same bold silhouette without needing complicated cutting.
Materials Needed
- Brown craft paper
- Yellow craft paper
- Red craft paper
- Orange craft paper
- Green craft paper
- White and black craft paper or googly eyes
- Scissors
- Glue
Step-by-Step Guide
1. Cut Brown Circles
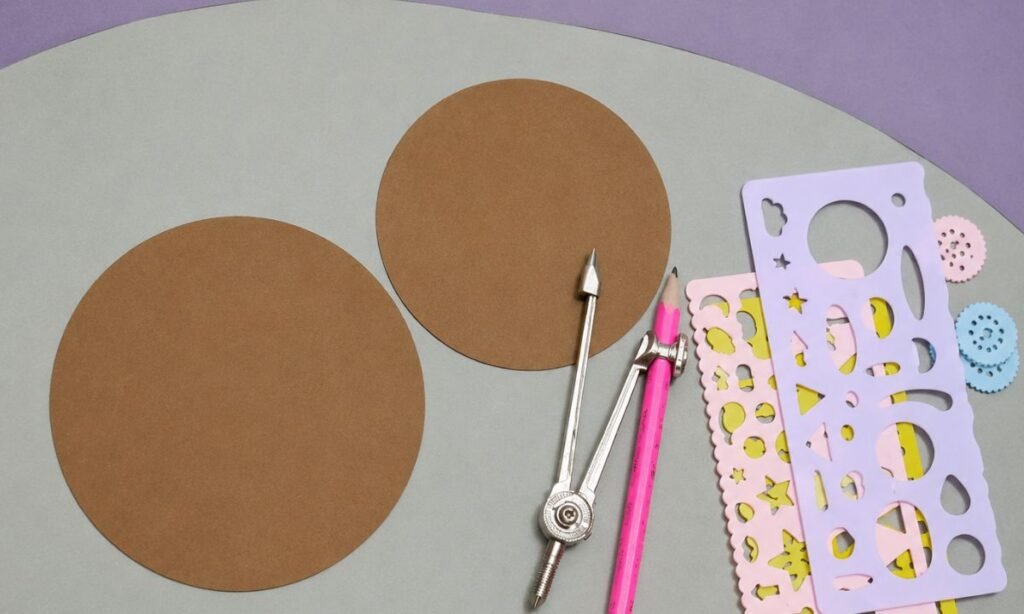
Cut two brown paper circles in different sizes, keeping both edges smooth so they can form the turkey’s head and body.
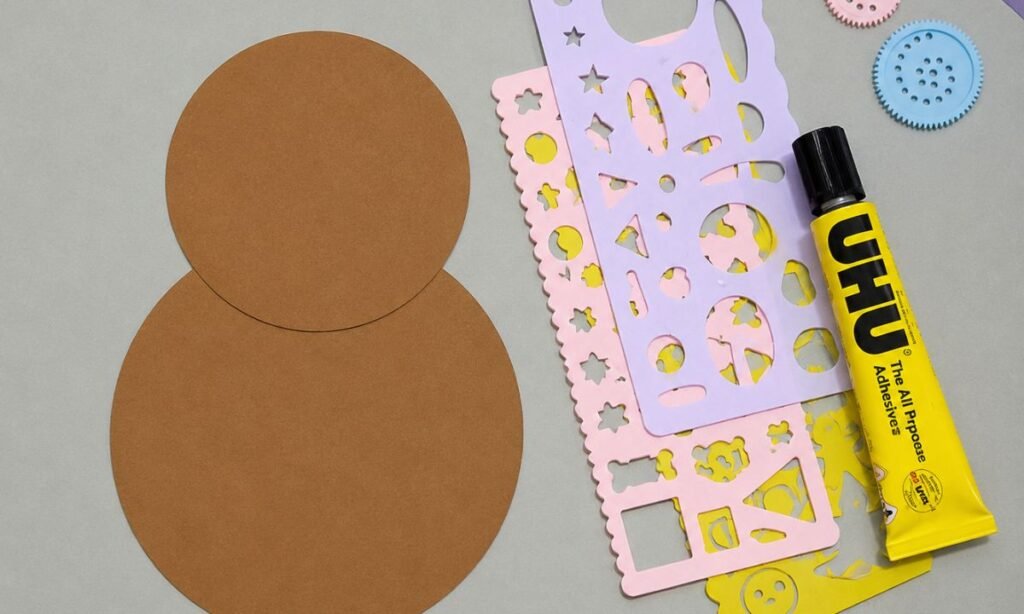
Place the smaller circle above the larger one, slightly overlapping the edges to create a simple stacked turkey shape.
Glue both circles together firmly, keeping the head centered so the base stays balanced before adding the colorful details.
2. Prepare Turkey Pieces
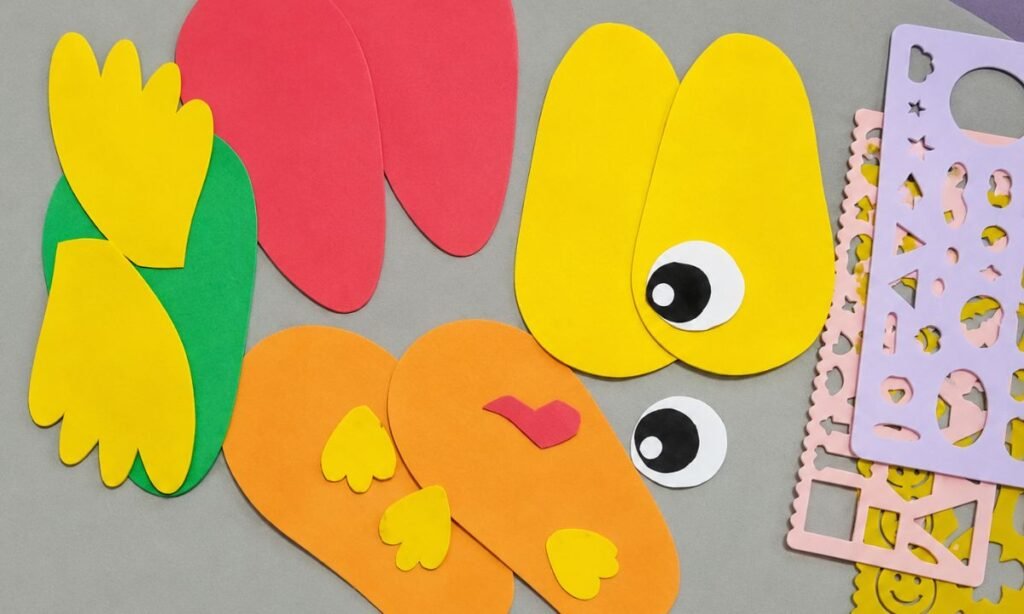
Cut colorful paper pieces for the wings, feet, tail feathers, eyes, beak, and red wattle using simple rounded shapes.
Keep the yellow, orange, red, green, white, and black pieces grouped together so the matching parts remain easy to identify.
Arrange everything beside the brown body first, checking the sizes before attaching the smaller facial and feather details.
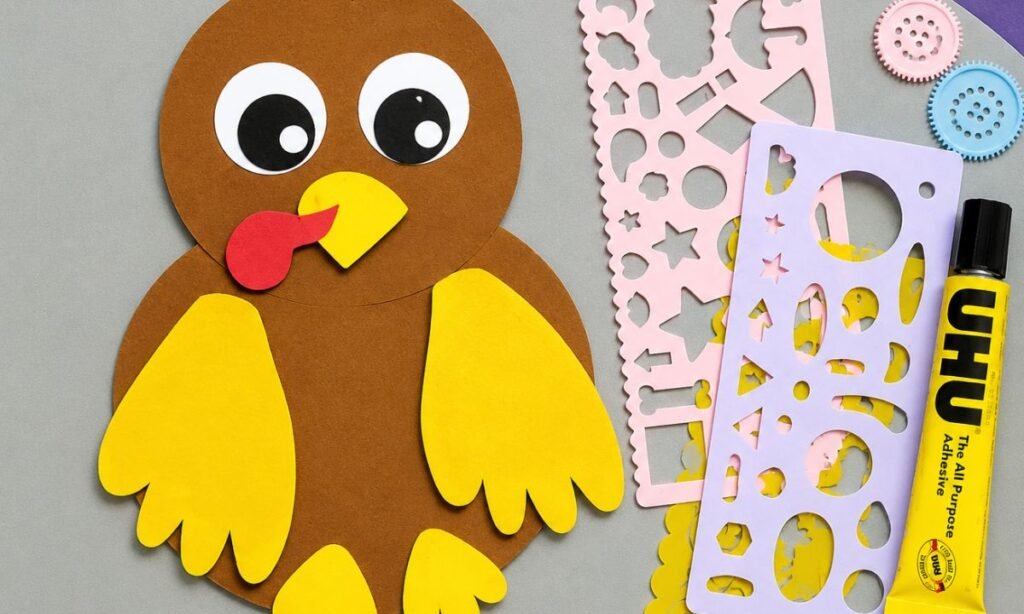
3. Assemble Turkey Body
Glue the large paper eyes onto the brown head, then attach the yellow beak and red wattle underneath the face.
Place the yellow wings on both sides of the larger brown body, keeping their positions even and slightly angled outward.
Attach the small yellow feet near the bottom edge, pressing every piece gently so the turkey body stays neat and balanced.
4. Add Turkey Details
Attach the white and black paper eyes to the brown head, keeping both sides even and clearly visible.
Glue the yellow beak and red wattle below the eyes, then press the small pieces gently so they stay secure.
Check the wings, feet, eyes, beak, and wattle before moving on to the separate tail assembly.
5. Arrange Tail Feathers
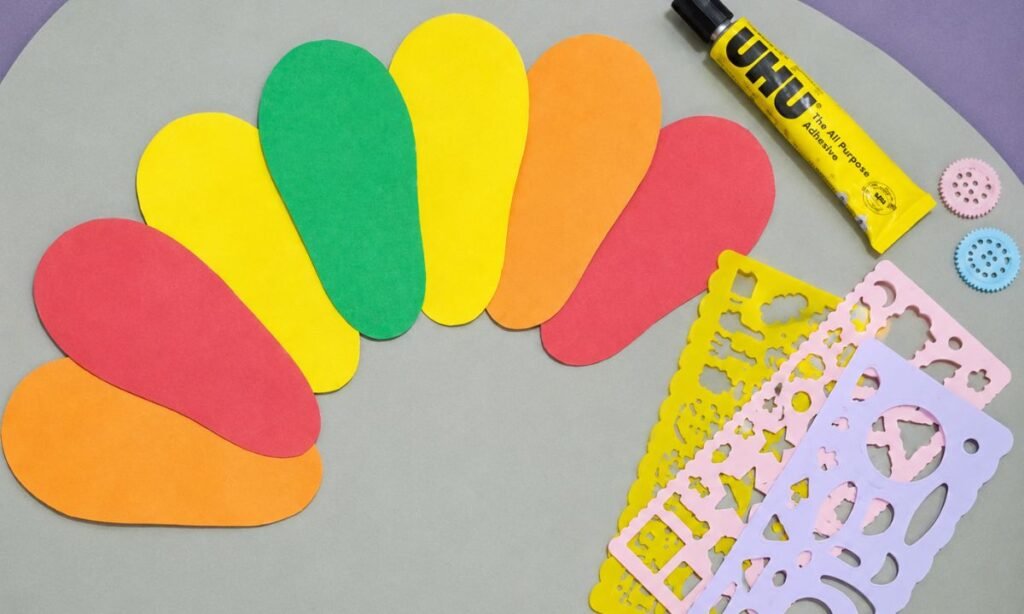
Arrange the red, yellow, green, and orange feather pieces in a wide fan, overlapping them slightly to build the turkey tail.
Keep the colors alternating across the row so the tail looks balanced, bright, and evenly spread from one side to another.
Glue each feather securely where the edges overlap, then press them gently so the full fan keeps its curved shape.
6. Finish Turkey Craft
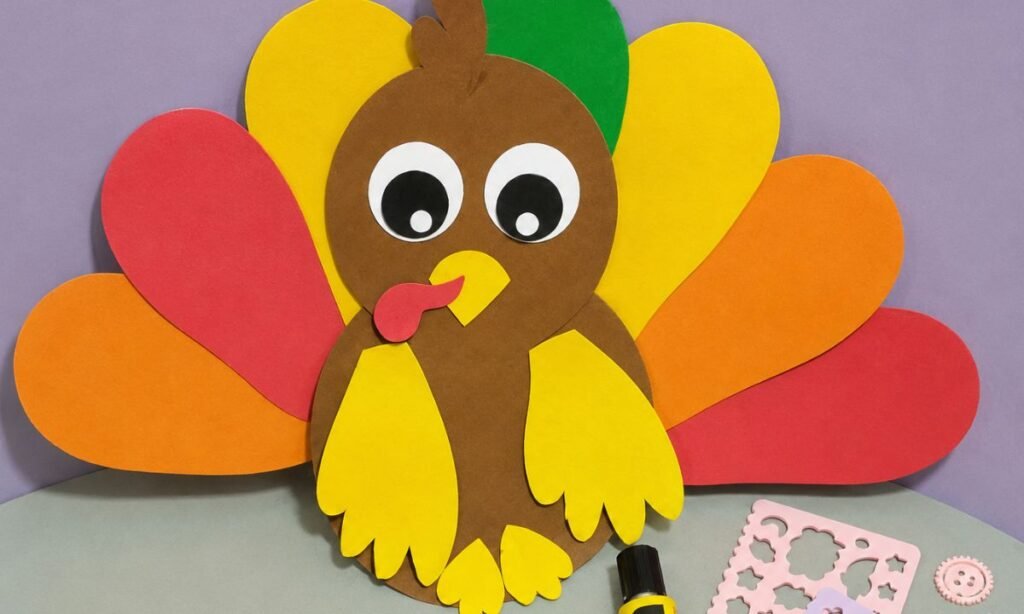
Position the completed brown turkey body in front of the colorful feather fan, keeping the head centered above the tail.
Glue the body firmly onto the middle section, making sure the wings, feet, beak, eyes, and face remain fully visible.
Press the center gently and adjust any uneven feathers until the finished turkey looks balanced, colorful, and ready to display.
Fun Facts About Turkeys
- Male turkeys are called toms, while adult females are called hens.
- Wild turkeys can fly short distances even though they spend much of their time walking on the ground.
- Turkeys have excellent eyesight and can notice movement from a surprisingly long distance.
- Their heads can change color depending on excitement, stress, or social display.
- Young turkeys are called poults and usually stay close to the hen while growing.
Why the Colorful Tail Works
The red, yellow, orange, and green feathers create strong contrast behind the simple brown turkey body.
Spreading the pieces in a wide arc also makes the finished craft look fuller without adding too many separate parts.
Slightly overlapping the feathers helps the fan feel connected instead of looking like individual pieces placed side by side.
This makes the tail the main feature while still keeping the face and body easy to see.
Turkey Craft Challenges
Keeping the large feather pieces evenly spaced can be tricky, especially when several colors need to stay balanced across the fan.
The tail may also look uneven if one side has more overlap or the feather angles are noticeably different.
Attaching the body in the exact center takes a little patience because the wide tail can shift while gluing.
Checking the placement before pressing everything down helps the finished turkey stay neat and symmetrical.
FAQs
Can I Make This Turkey Craft With Fewer Tail Feathers?
Yes, you can use fewer paper feathers if you want a smaller turkey or a quicker version for younger kids.
Keep the remaining feathers spread evenly behind the body so the tail still looks balanced instead of crowded on one side.
Using three or four colors is enough to keep the finished craft bright without making the fan too wide.
Can I Use Cardstock for This Turkey Craft?
Yes, lightweight cardstock works well for the body and tail because it holds the larger paper shapes more firmly.
Avoid very thick card since the feather pieces can become harder to overlap, position, and glue neatly behind the body.
Regular craft paper is still a good option if you want the turkey to stay lighter and easier to cut.
You may also like to make!



