

A few evenings ago, I was walking outside when I noticed a small pile of dry leaves moving near the edge of the path.
For a second, I thought the wind was pushing them, but then a tiny hedgehog came out and disappeared again almost immediately.
Its round body and spiky back looked so different from the other small animals I usually notice around outdoors.
That quick little sighting stayed in my mind and inspired this colorful paper hedgehog with raised folded spines.
Let’s make this hedgehog paper craft.
- Why the Folded Spines Stand Out
- Materials Needed:
- Step-by-Step Guide
- 1. Prepare Yellow Paper
- 2. Draw Hedgehog Shape
- 3. Cut Body Shape
- 4. Prepare Hedgehog Pieces
- 5. Fold Paper Spines
- 6. Finish Hedgehog Craft
- Fun Facts About Hedgehogs
- How Hedgehogs Protect Themselves
- FAQs
- Can I Make This Hedgehog Craft With Cardstock?
- Can I Turn This Hedgehog Craft Into Wall Decor?
Why the Folded Spines Stand Out
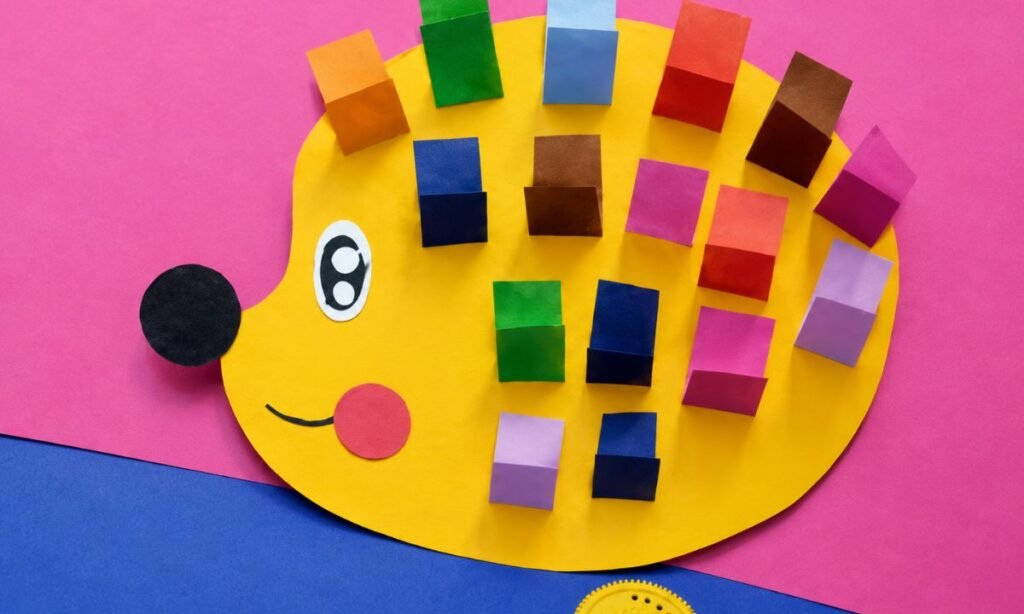
The small folded paper pieces lift away from the yellow body instead of staying completely flat against the surface.
That creates extra depth and shadow, making the back look fuller without needing to cut dozens of pointed paper shapes.
Using several colors also keeps the craft playful while still showing where the hedgehog’s spiny coat would normally appear.
Spacing the folded pieces apart helps each one stay visible instead of blending into one large paper layer.
Materials Needed:
- Yellow craft paper
- Colored craft paper strips
- Black craft paper
- White craft paper
- Pink or red craft paper
- Pencil
- Compass
- Scissors
- Glue
- Black marker
Step-by-Step Guide
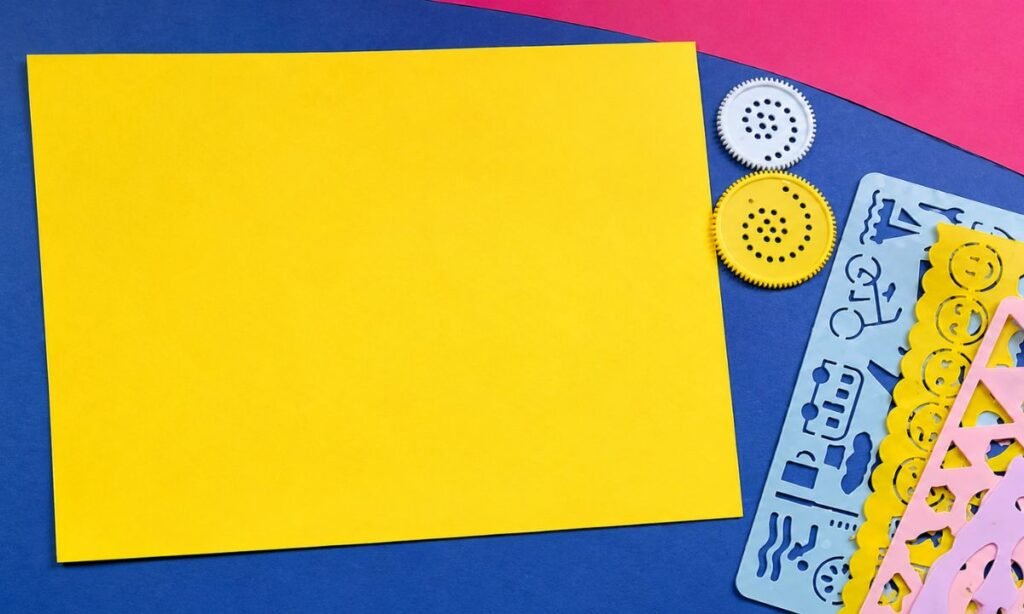
1. Prepare Yellow Paper
Place a clean yellow craft paper sheet flat on your work surface, keeping the edges straight and the surface completely smooth.
Choose paper large enough to draw the full hedgehog body without needing to join several smaller pieces together later.
Keep a pencil, compass, and scissors nearby so the outline can be measured, drawn, and cut neatly in the next steps.
2. Draw Hedgehog Shape
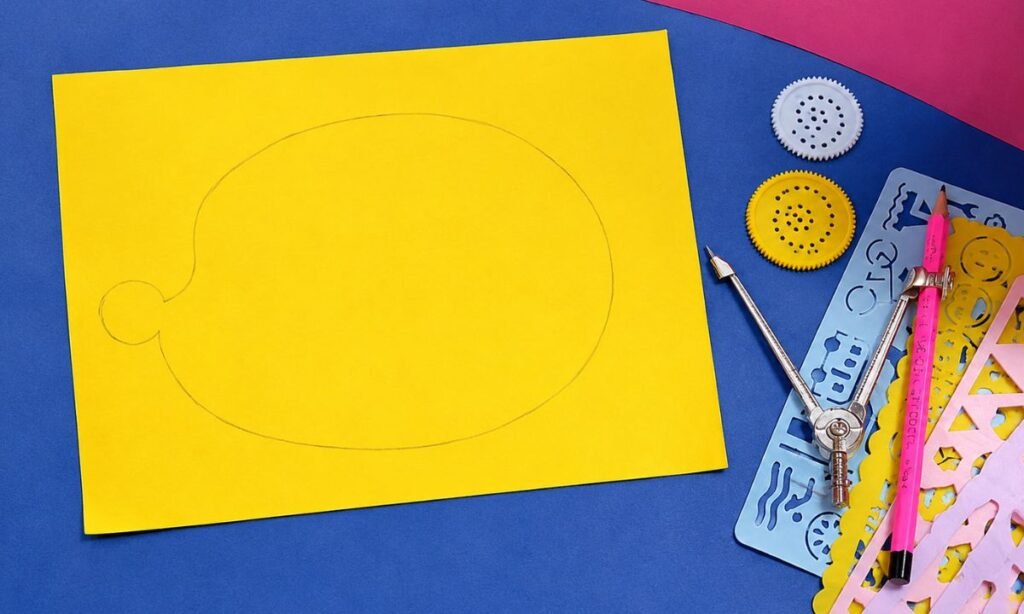
Draw one large rounded body shape on the yellow paper, then add a smaller circular section at one side for the head.
Keep the body outline smooth and slightly wider through the middle so the finished hedgehog has enough space for its paper spines.
Check the full outline before cutting, adjusting any uneven curves so the head and body connect cleanly without awkward corners.
3. Cut Body Shape
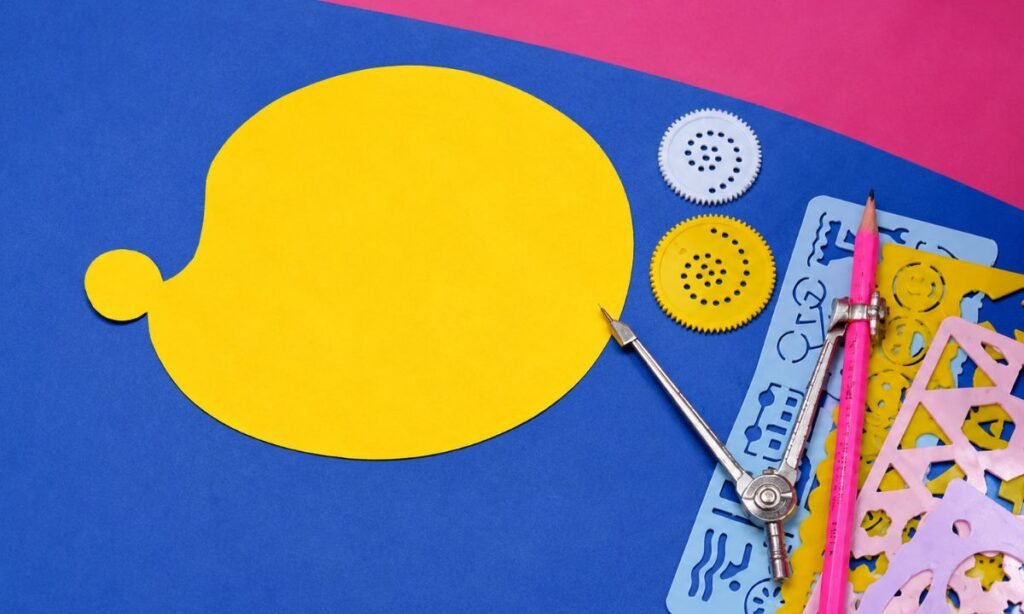
Cut carefully around the pencil outline, following the rounded body and smaller head section while keeping the edges smooth and even.
Turn the paper slowly around the tighter curves so the head connection stays neat instead of becoming sharp or uneven.
Place the finished yellow base flat on the work surface and trim any rough edges before preparing the colorful decorative pieces.
4. Prepare Hedgehog Pieces
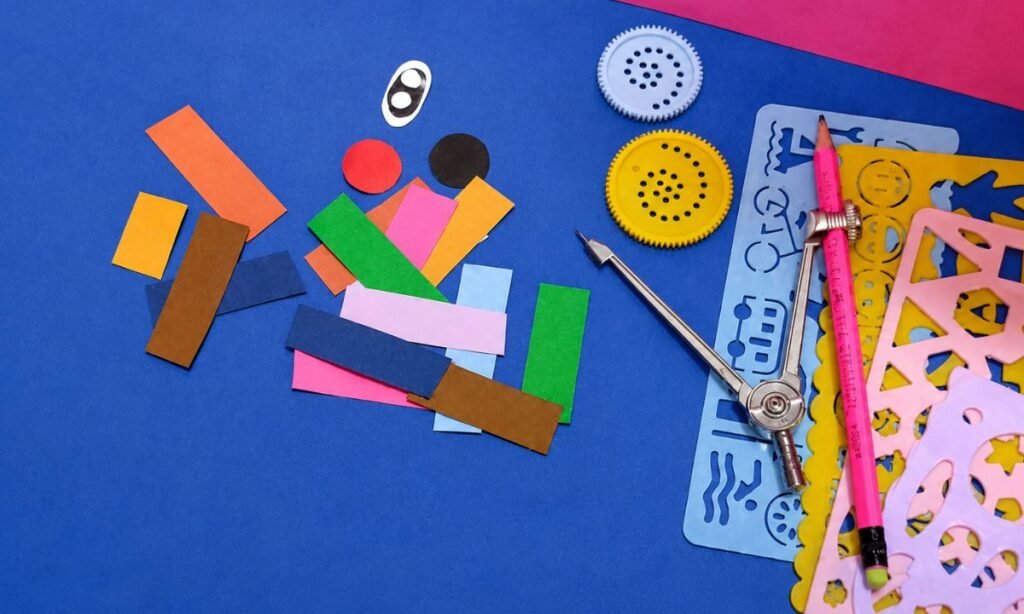
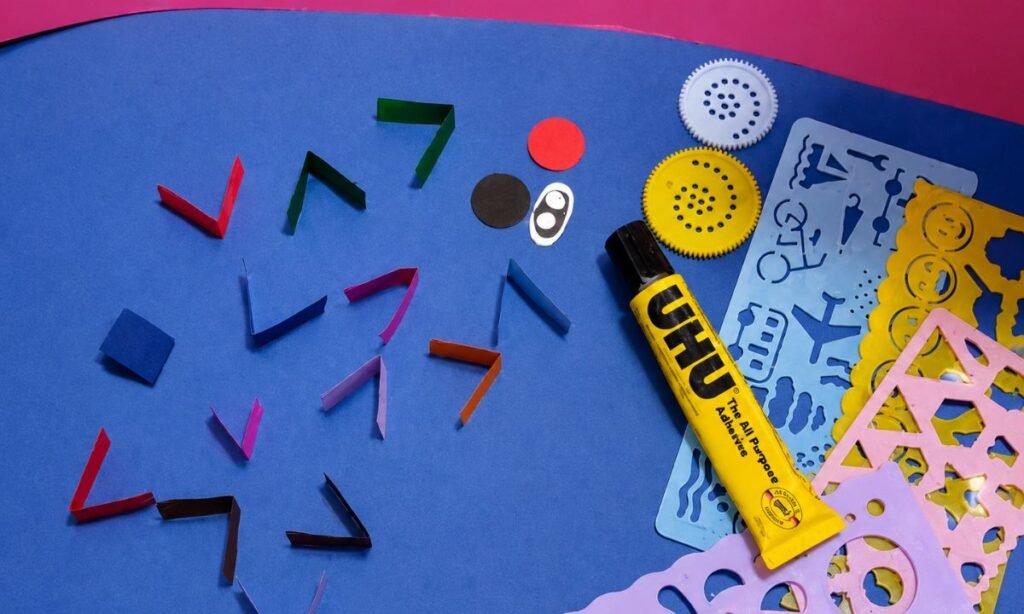
Cut several narrow paper strips in different colors, then prepare the eye, nose, cheek, and other small facial details.
Keep the strips similar in width while varying their colors so the hedgehog spines look bright without becoming too uneven.
Arrange the small pieces beside the yellow body first, checking their sizes before you begin attaching them to the craft.
5. Fold Paper Spines
Fold each narrow paper strip into a small angular shape, pressing the center crease firmly so every piece keeps its form.
Repeat the same fold with all the different colors, keeping the bends similar so the paper spines look neat and consistent.
Place the folded pieces together on your work surface, checking that none are too flat or uneven before attaching them.
6. Finish Hedgehog Craft
Glue the folded colorful pieces across the yellow body, spacing them apart so the raised paper spines cover the back evenly.
Attach the black nose, paper eye, and round cheek detail near the smaller head section, keeping the face simple and clear.
Add a small curved smile, then check the spacing of every spine until the finished hedgehog looks balanced and playful.
Fun Facts About Hedgehogs
- Hedgehogs are mainly active at night, which means they usually spend much of the daytime resting.
- They use their strong sense of smell and hearing to help find food and move around after dark.
- Hedgehogs eat insects, worms, and other small creatures, although their diet can vary by species.
- Baby hedgehogs are called hoglets and are born with soft spines beneath the skin.
- Hedgehogs have five toes on their front feet, while some species have only four toes on their back feet.
How Hedgehogs Protect Themselves
When a hedgehog senses danger, it can tighten special muscles and curl its body into a compact ball.
This position hides the softer face, belly, and legs while leaving the protective spines facing outward toward possible threats.
It is one of the most recognizable hedgehog behaviors and explains why their rounded body shape is so useful in nature.
The broad curved base in this craft also gives that same compact, rounded look without making the design complicated.
FAQs
Can I Make This Hedgehog Craft With Cardstock?
Yes, lightweight cardstock can work well for the yellow body because it gives the finished hedgehog a firmer and more stable base.
Use regular craft paper for the folded spines so the narrow strips remain easy to bend, crease, and arrange across the back.
Avoid very thick card because it can make cutting the rounded body shape harder, especially around the smaller head section.
Can I Turn This Hedgehog Craft Into Wall Decor?
Yes, you can attach the finished hedgehog to a wall, classroom board, or craft display using removable adhesive or tape.
Keep the folded paper spines slightly raised so their colorful three-dimensional effect remains visible instead of becoming completely flattened.
You can also add paper leaves or grass around the hedgehog to create a simple woodland-themed display for kids.
You may also like to make!



