Last summer, I saw a small turtle near the edge of a pond while spending some time outdoors with my family.
It moved slowly across the ground, and the patterned shell was the first thing that made me stop and look more closely.
I liked how such a simple rounded shape could make the turtle easy to recognize before even noticing its head or legs.
That little pond-side moment inspired this paper turtle craft with a colorful shell and simple body pieces.
Let’s make this turtle paper craft.
- Why Turtles Pull Into Their Shells
- Materials Needed:
- Step-By-Step Guide
- 1. Blue Paper Shell
- 2. Turtle Body Shape
- 3. Paper Turtle Pieces
- 4. Turtle Body Assembly
- 5. Colorful Turtle Shell
- Fun Facts About Turtles
- How Turtle Flippers Help in Water
- Why Shell Patterns Look Different
- FAQs
- Can I Make This Turtle Craft Stand Upright?
- Can I Add Moving Legs to This Turtle Craft?
Why Turtles Pull Into Their Shells
Many turtles can pull their head, legs, and tail partly or fully inside the shell when they feel threatened.
The hard shell acts like built-in protection around the softer parts of the body.
This defense is one of the most recognizable turtle behaviors and explains why the shell is such an important body feature.
It also makes the shell the main visual part to focus on when creating a simple paper turtle craft.
Materials Needed:
- Blue craft paper
- Pink craft paper
- White craft paper
- Black craft paper or black marker
- Red or pink craft paper
- Pencil
- Scissors
- Glue
- Round plate or circular tracing object
Step-By-Step Guide
1. Blue Paper Shell
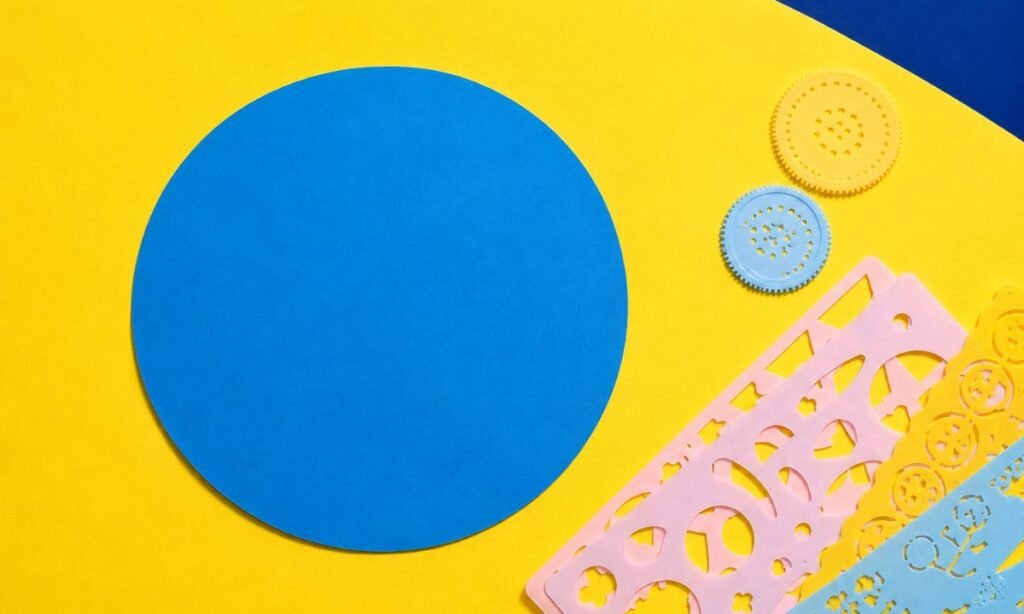
Start by cutting a large circle from blue construction paper, using a round plate to trace an even outline for your turtle’s shell.
Choose a slightly thick sheet of paper so the shell stays firm when you attach the legs, head, and other decorations later.
Cut carefully around the traced line, turning the paper as you go to get smooth edges without leaving any uneven corners.
2. Turtle Body Shape
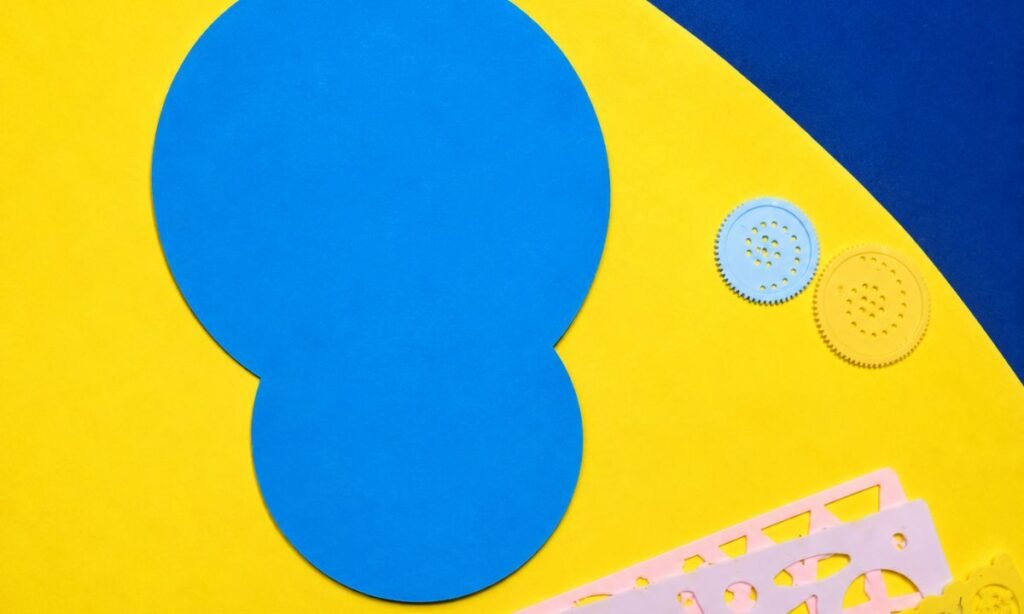
Cut a smaller blue circle and attach it slightly behind the larger circle, allowing enough space for the turtle’s head to show.
Position both circles on a flat surface before gluing, making sure the smaller head sits neatly below the larger shell.
Apply glue where the two circles overlap and press them together gently, creating a connected turtle body ready for the remaining pieces.
3. Paper Turtle Pieces
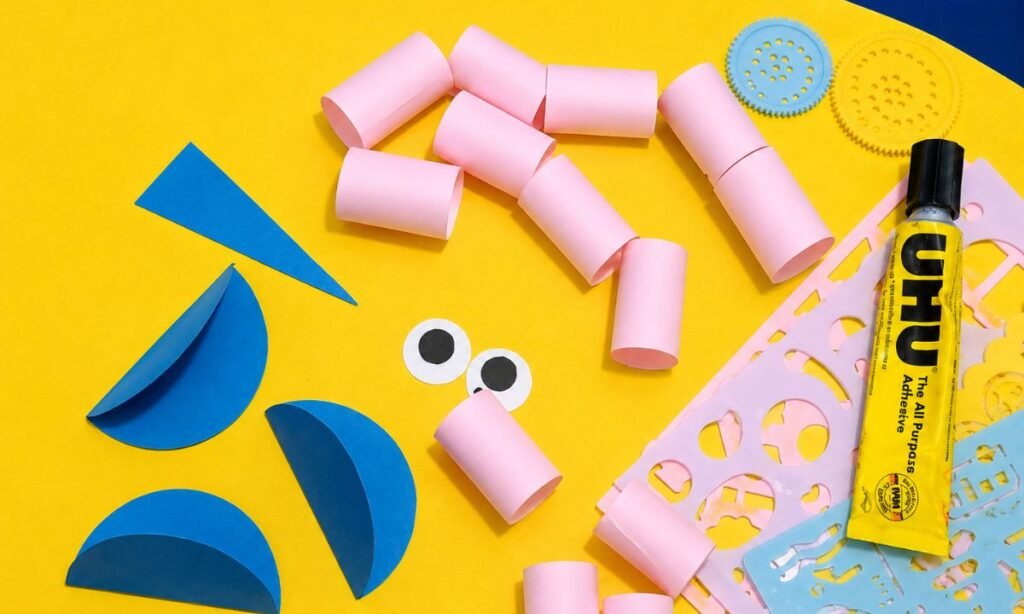
Cut four blue semicircles for the turtle’s legs and a small triangle for its tail, using matching construction paper for every piece.
Prepare several short pink paper strips and glue their ends together to create small loops for decorating the turtle’s shell.
Cut two white paper circles with black centers for the eyes, making them large enough to stand out on the blue head.
4. Turtle Body Assembly
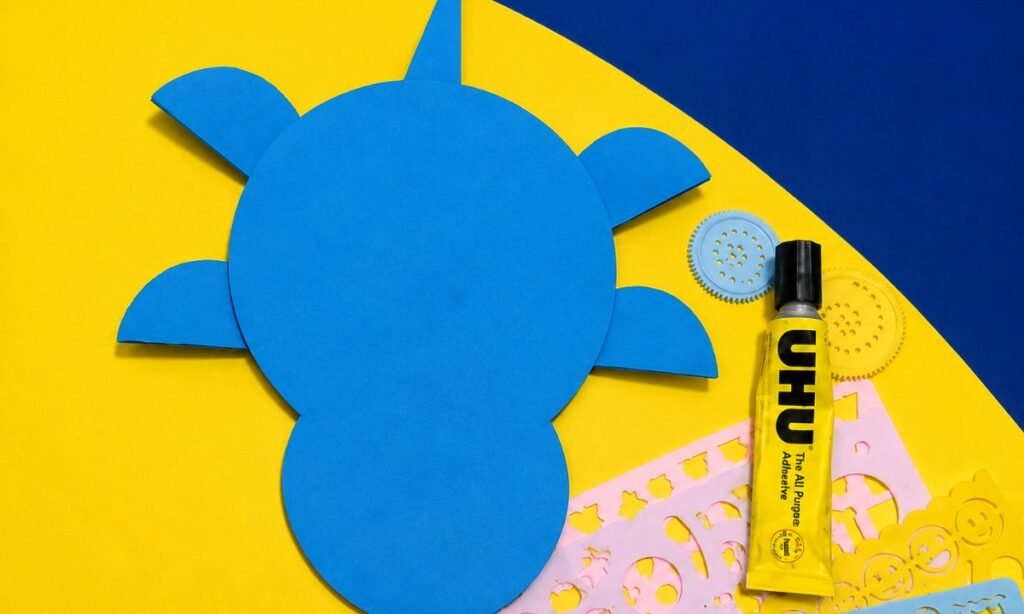
Attach the four folded blue semicircles behind the large shell, placing two on each side to form the turtle’s legs.
Glue the small blue triangle behind the upper edge of the shell, leaving its pointed end visible as the turtle’s tail.
Press each attached piece gently and allow the glue to dry before adding the pink paper loops and facial details.
5. Colorful Turtle Shell
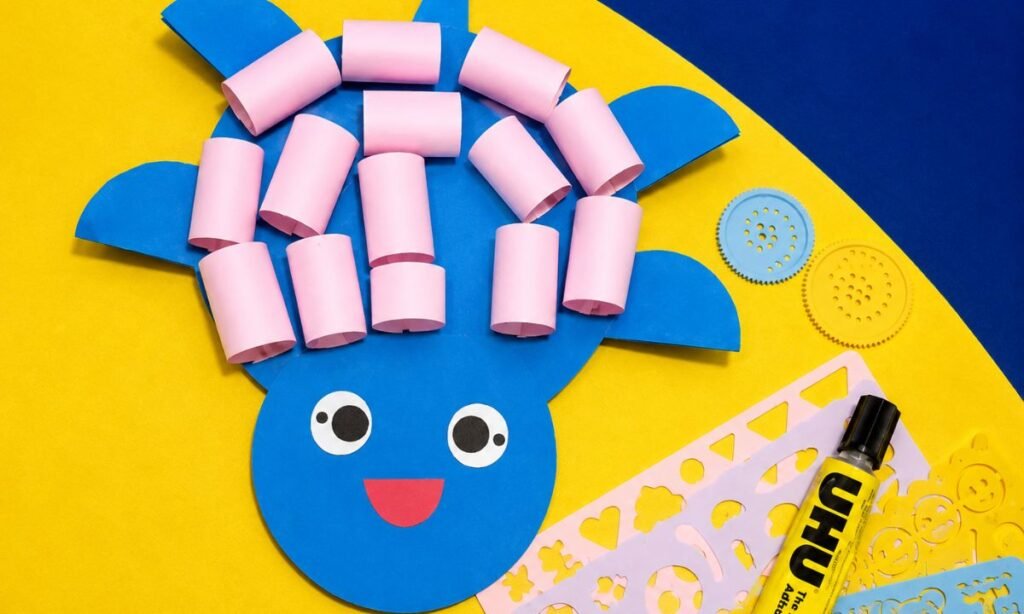
Arrange the pink paper loops across the blue turtle shell, leaving small gaps between them to create a raised pattern.
Apply glue beneath each loop and press both ends firmly against the shell so the decorations stay attached without flattening.
Finish by gluing two large paper eyes and a red smiling mouth onto the head, giving your turtle a cheerful face.
Fun Facts About Turtles
- Turtles have existed for more than 200 million years, making them one of the oldest reptile groups still living today.
- Some turtle species spend most of their lives in water, while others live mainly on land.
- A turtle’s shell is connected to its skeleton and is not something the animal can leave behind.
- Different turtle species can have very different diets, including plants, insects, fish, and other small animals.
- Sea turtles can travel long distances across oceans and often return to nesting areas near where they hatched.
How Turtle Flippers Help in Water
Sea turtles have broad flippers that work like paddles, helping them push through water with smooth, powerful movements.
The front flippers provide most of the forward motion, while the rear flippers help with steering and control.
This makes their swimming style very different from the way land turtles move using shorter legs.
Adding wide paper limbs to an ocean-style turtle craft can help show that difference in a simple visual way.
Why Shell Patterns Look Different
Turtle shells can vary in color, markings, texture, and shape depending on the species and where the turtle lives.
Some have bold sections or spots, while others have smoother patterns that blend more naturally with their surroundings.
Those differences make the shell a useful area for adding creative patterns without changing the basic turtle shape.
Kids can copy natural markings or create completely playful designs while still keeping the animal easy to recognize.
FAQs
Can I Make This Turtle Craft Stand Upright?
Yes, you can glue a small folded paper support behind the shell so the finished turtle stands more securely on display.
Keep the support short enough to stay hidden from the front while still holding the body at a comfortable angle.
This works especially well when using slightly thicker paper, which gives the shell and attached parts more stability overall during display.
Can I Add Moving Legs to This Turtle Craft?
Yes, you can attach the legs with small paper fasteners instead of glue if you want them to move gently.
Make small holes carefully near the body edges, then connect each leg loosely enough to rotate without tearing the paper.
Moving legs can make the finished turtle more interactive while keeping the original shell, face, and overall body design unchanged.
You may also like to make!