

Last Sunday, my family went to the zoo, and my niece was completely focused on the panda.
Even after we came home, she kept talking about what the panda was doing, how it was sitting, and how it was eating.
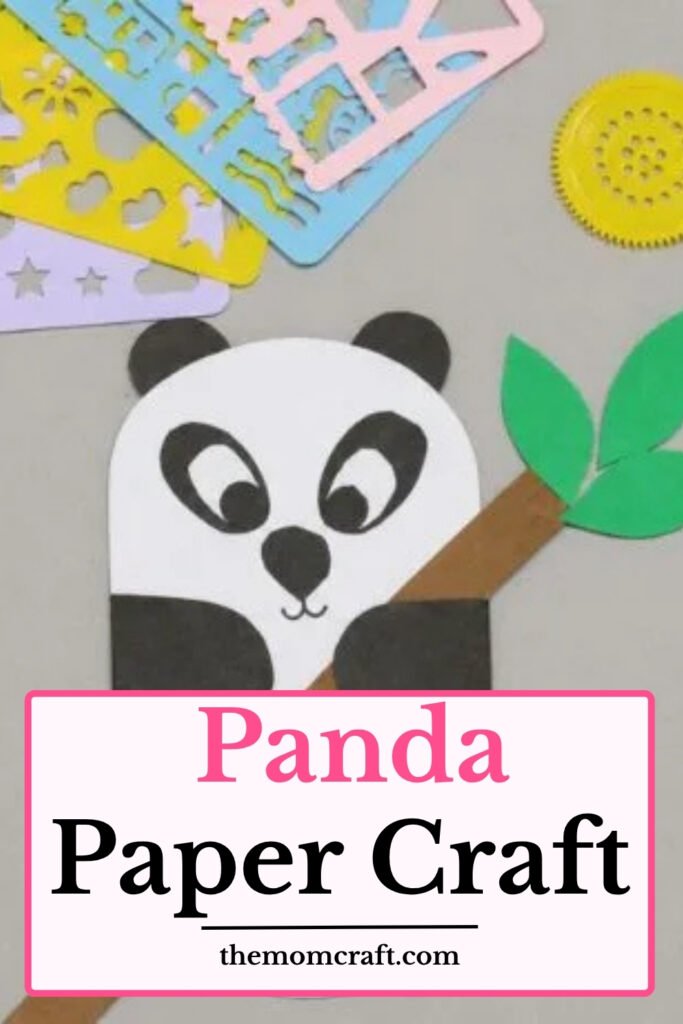
She mentioned it so many times that I thought it would be fun to surprise her with a little panda craft.
I wanted to make something that would remind her of the panda she enjoyed seeing at the zoo that day.
Let’s make this panda craft.
- Why Do Pandas Eat So Much Bamboo?
- Materials Needed :
- Step-by-Step Guide
- 1. Prepare White Paper
- 2. Cut Body Shape
- 3. Prepare Panda Pieces
- 4. Attach Panda Limbs
- 5. Add Panda Face
- 6. Add Bamboo Branch
- Fun Facts About Pandas
- Panda Craft Challenges
- FAQs
- Can I Turn This Panda Craft Into Wall Decor?
- What Paper Works Best for This Panda Craft?
Why Do Pandas Eat So Much Bamboo?
Pandas eat large amounts of bamboo because it makes up most of their diet, even though it does not provide much energy.
Since bamboo is low in calories and nutrients, pandas need to spend many hours each day eating enough to stay full.
Their strong jaws and teeth help them crush tough bamboo stems, while their paws make it easier to hold the stalks.
Even though pandas belong to the bear family, their bodies have adapted over time to depend heavily on bamboo for food.
Materials Needed :
- White paper sheet
- Black paper
- Brown paper
- Green paper
- Pencil
- Glue
Step-by-Step Guide
1. Prepare White Paper
Place a clean white paper sheet flat on your work surface, keeping the edges straight and the paper smooth before starting the craft.
Choose a sheet without folds or wrinkles, because a smooth surface makes drawing and cutting the panda pieces much easier later.
Keep the paper centered in front of you with enough open space around it for tracing, shaping, and cutting comfortably.
2. Cut Body Shape
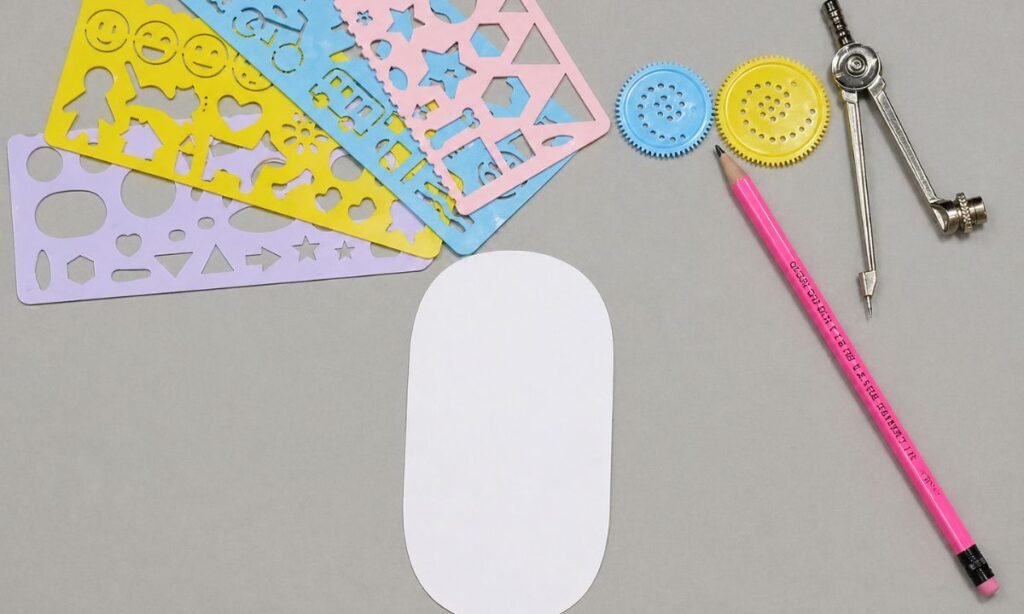
Draw a tall rounded rectangle on the white paper, then cut carefully around the outline to create the panda body base.
Keep the top and bottom softly curved, while leaving both sides straight enough to give the body a neat shape.
Check the cut piece from every side and trim any uneven edges so the rounded body looks smooth and balanced.
3. Prepare Panda Pieces
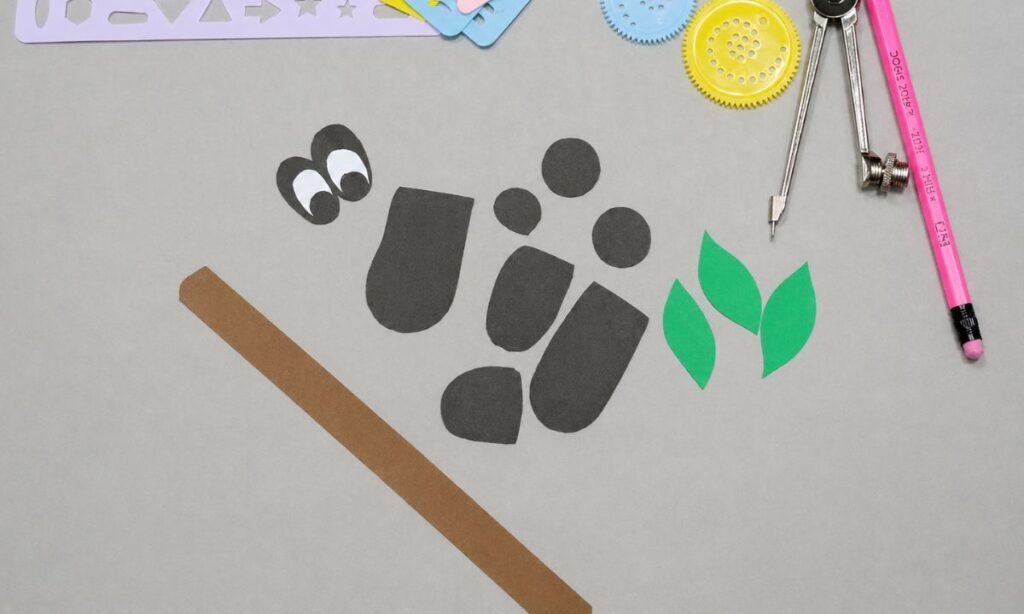
Cut black paper pieces for the ears, arms, legs, eye patches, and nose, keeping the shapes simple and easy to arrange.
Prepare two white eye pieces and place them over the black eye patches so the panda face will look clear and expressive.
Cut a long brown strip for bamboo and three green leaf shapes, keeping all decorative pieces grouped neatly before assembly.
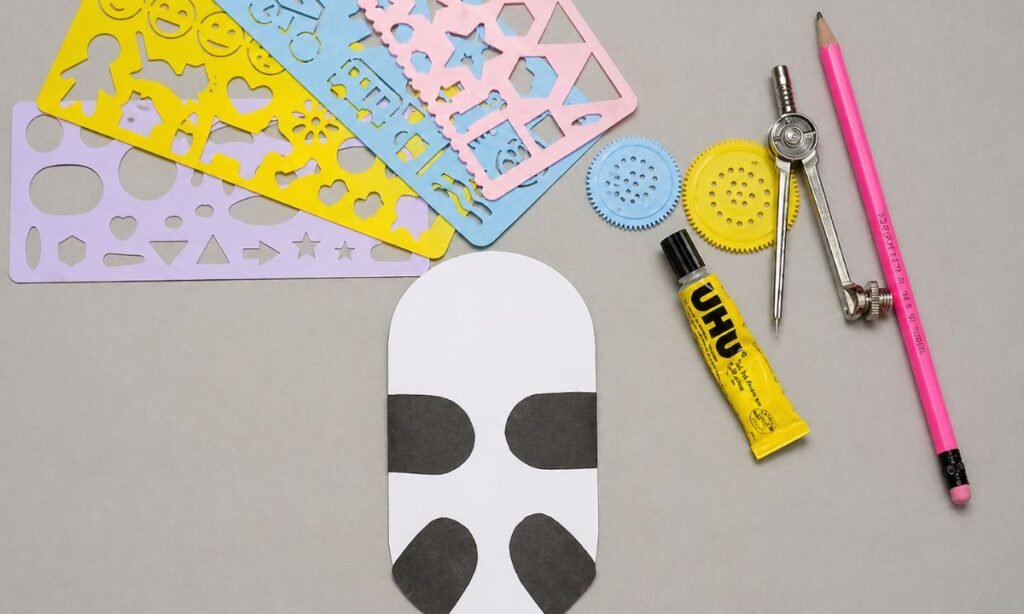
4. Attach Panda Limbs
Glue the two black arm pieces across the middle of the white body, keeping both sides level and evenly placed.
Attach the two black leg pieces near the bottom edge, angling them slightly outward so the lower body looks balanced.
Press each piece firmly after gluing, checking that the arms and legs sit neatly without covering too much white space.
5. Add Panda Face
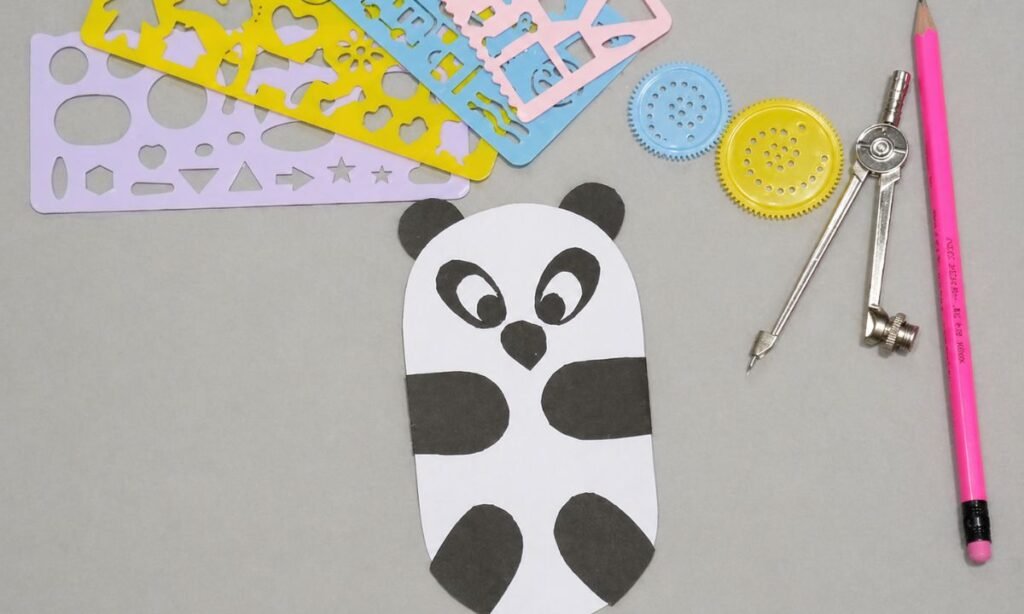
Glue the black ears near the top of the white body, keeping both sides even and slightly rounded above the head.
Place the black eye patches below the ears, then add the white eye pieces inside each patch for a clear face.
Attach the small black nose in the center, checking that the eyes, ears, and nose stay balanced and neatly aligned.
6. Add Bamboo Branch
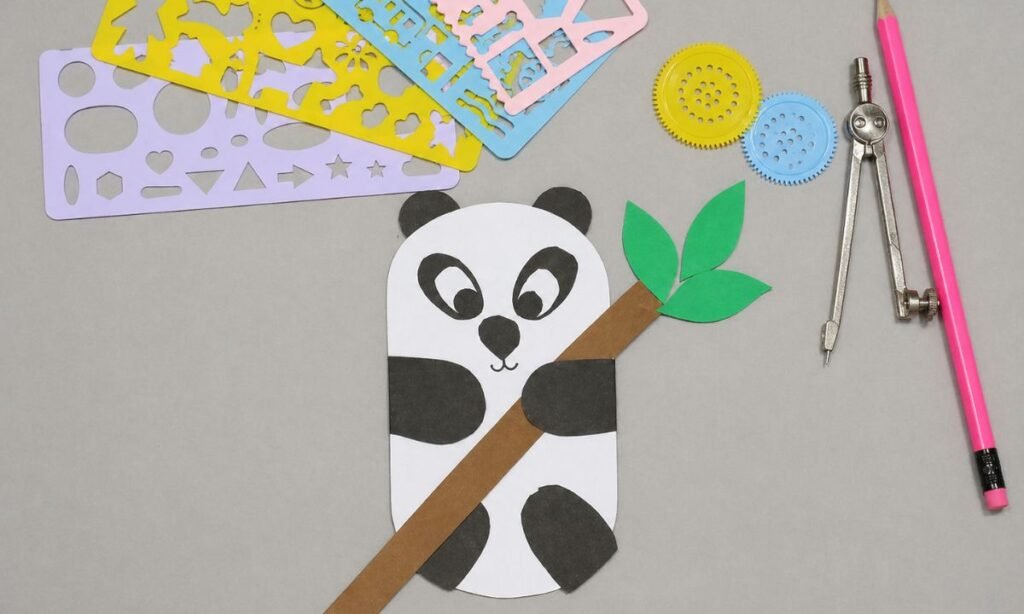
Place the brown paper strip diagonally across the panda body, positioning it between both arms so the panda appears to hold it.
Glue the three green leaves near the upper end of the branch, spreading them slightly so each leaf remains clearly visible.
Press the branch and leaves firmly in place, then check that both arms still look balanced around the finished bamboo piece.
Fun Facts About Pandas
- Giant pandas are excellent climbers and can climb trees, especially when they are young.
- Their black-and-white fur may help them blend into snowy areas, forests, and shaded mountain environments.
- Pandas have a special wrist bone that works like a thumb and helps them grip bamboo while eating.
- Giant pandas can swim, although they spend much more time on land and in trees.
- Panda cubs are extremely small when they are born compared with the size of an adult panda.
- Even though pandas look calm and slow, they are still strong bears with powerful jaws and sharp teeth.
Panda Craft Challenges
The rounded body can bend or lose its shape if the paper is too thin, especially while attaching the arms and legs.
Small eye and nose pieces can be tricky to place evenly, so using tweezers or a glue stick can make positioning easier.
The bamboo branch may slide before the glue dries, so hold it in place for a few seconds after attaching it.
Keeping both sides balanced can also be difficult, especially when the arms, legs, and facial pieces are not cut in matching sizes.
FAQs
Can I Turn This Panda Craft Into Wall Decor?
Yes, you can attach the finished panda to a larger sheet of cardstock and use it as a simple wall decoration.
Add a few paper bamboo leaves around the panda if you want the display to feel fuller without changing the main craft.
Because the craft stays flat and lightweight, it is easy to hang on a bedroom wall, classroom board, or craft display.
What Paper Works Best for This Panda Craft?
Lightweight cardstock works well because it keeps the panda body firm while still being easy to cut into rounded shapes.
Regular craft paper also works, but it may bend more easily if the arms, legs, or bamboo pieces are too large.
For the eyes and smaller details, thinner paper is usually easier to layer without making the panda face look bulky.
You may also like to make!



