

My niece always notices whenever a dog passes by our street and usually stops whatever she is doing just to watch it for a few seconds.
She especially notices the floppy ears and keeps asking why some dogs look so different from others.
That gave me the idea to make a simple paper dog using the features she already pays attention to most.
It turned into an easy little craft that felt familiar to her before we had even finished making it.
Let’s make this dog craft.
- Why Dogs Have Such a Strong Sense of Smell
- Materials Needed:
- Step-by-Step Guide
- 1. Square Paper Base
- 2. Triangle Paper Fold
- 3. Folded Dog Ears
- 4. Dog Face Pieces
- 5. Folded Dog Face
- 6. Finish Dog Details
- Fun Facts About Dogs
- How Dogs Help in the Military
- Fun Ways to Customize
- FAQs
- Can I Make This Dog Craft Stand Upright?
- Can I Use This Dog Craft for a Classroom Animal Project?
Why Dogs Have Such a Strong Sense of Smell
Dogs rely heavily on their sense of smell to understand their surroundings, recognize people, and notice other animals nearby.
Their noses contain far more scent receptors than human noses, allowing them to detect smells that people would completely miss.
That strong sense of smell is also why dogs often sniff the ground, objects, and new places so carefully.
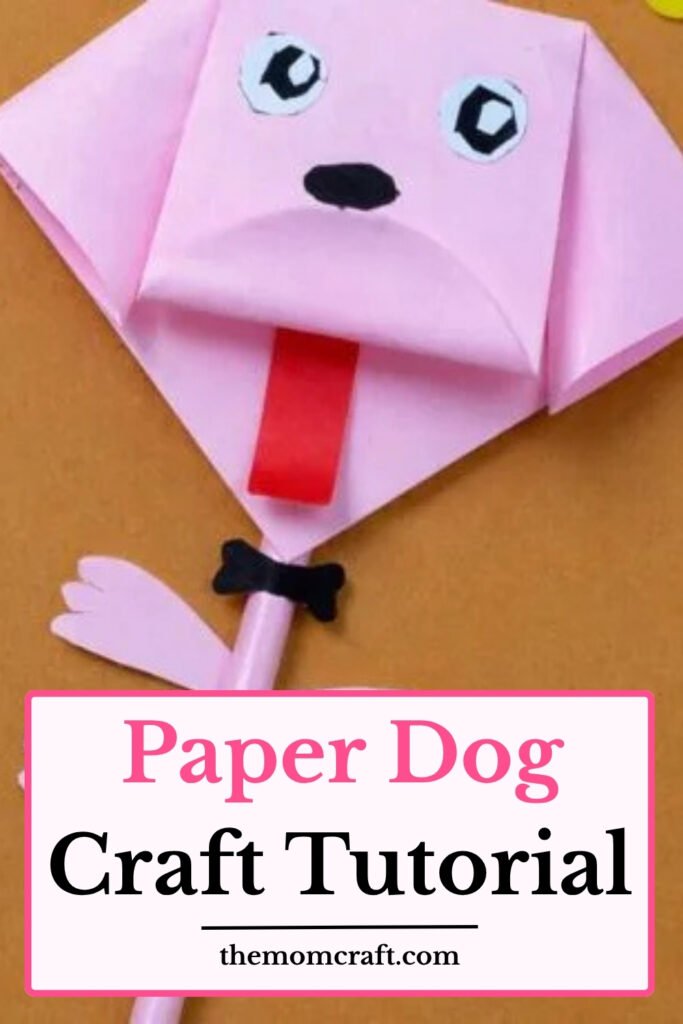
Adding a clear nose to the craft helps highlight one of the most important features dogs use every day.
Materials Needed:
- Light purple craft paper
- White craft paper
- Red craft paper
- Pink craft paper
- Black craft paper
- Scissors
- Glue
Step-by-Step Guide
1. Square Paper Base
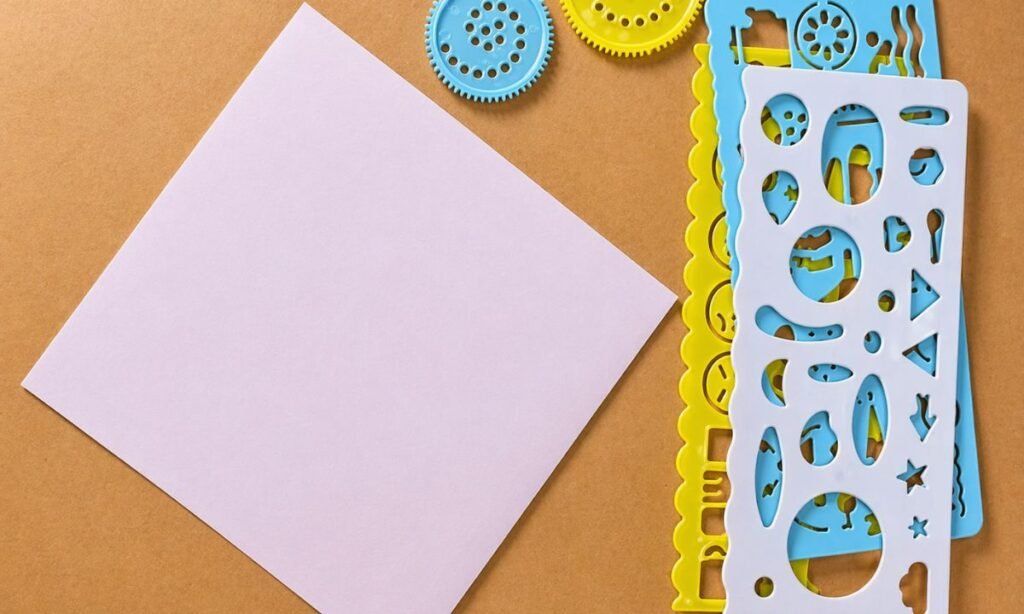
Place a square sheet of light purple paper on a flat surface, with one corner pointing upward like a diamond.
Align the paper edges before folding, making sure the square has four even sides and no bent or curled corners.
Use the plain paper as the starting piece for the folded dog face, without cutting or drawing anything yet.
2. Triangle Paper Fold
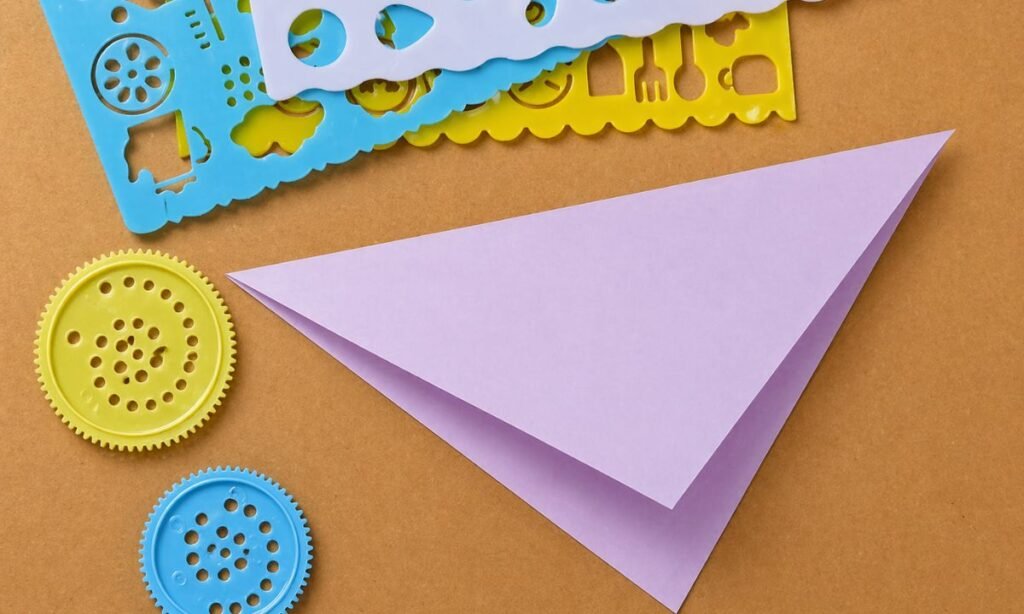
Fold the square purple paper diagonally, bringing one corner toward the opposite corner to form a large triangle shape.
Press along the folded edge with your fingers, making the crease straight while aligning both pointed corners of the triangle.
Place the folded triangle with its longest edge facing upward, leaving the pointed bottom corner ready for the next fold.
3. Folded Dog Ears
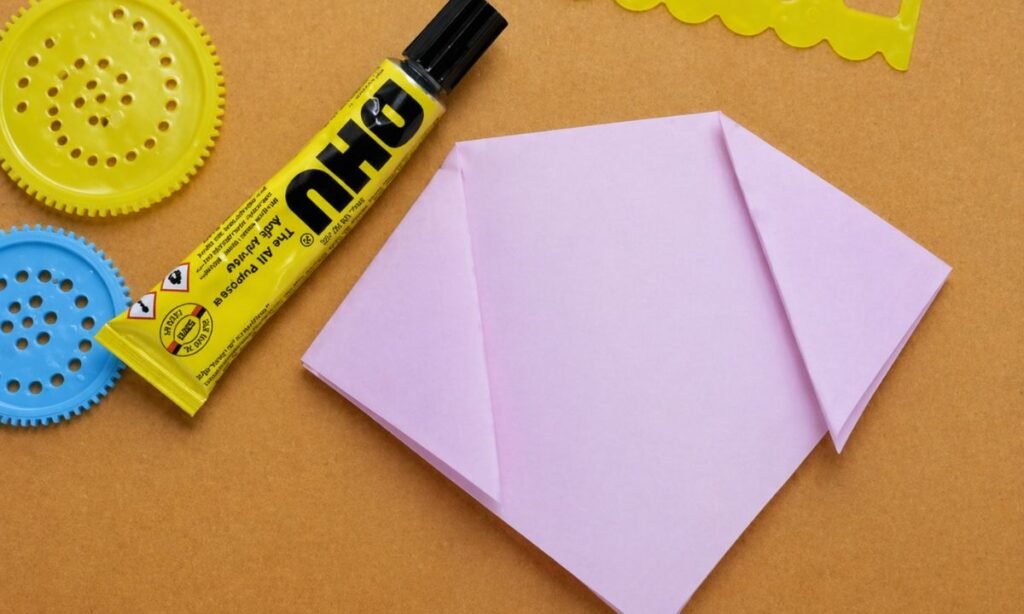
Fold both upper corners of the purple triangle downward, creating two pointed ears on either side of the dog face.
Press the diagonal folds firmly so the ears stay angled outward while the center section forms a flat face.
Adjust both folded corners to make the ears similar in size, leaving the lower pointed section visible beneath the face.
4. Dog Face Pieces
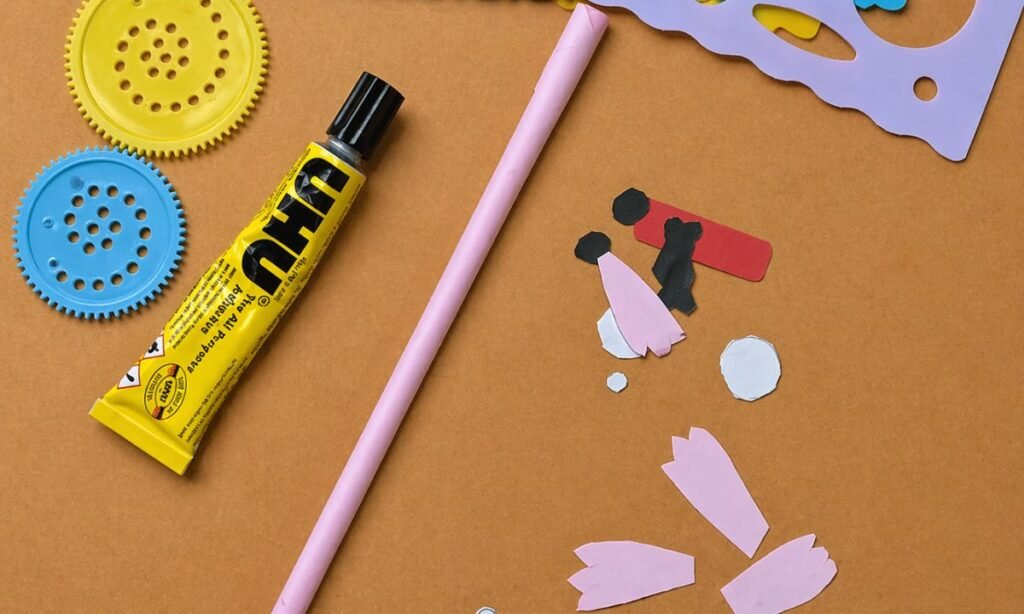
Roll a narrow strip of purple paper into a long tube, securing the loose edge with glue to hold its shape.
Cut small shapes from black, red, white, and pink paper for the dog’s eyes, nose, tongue, and other facial details.
Prepare four purple paw cutouts with notched ends, along with small white circles and black pieces for the remaining features.
5. Folded Dog Face
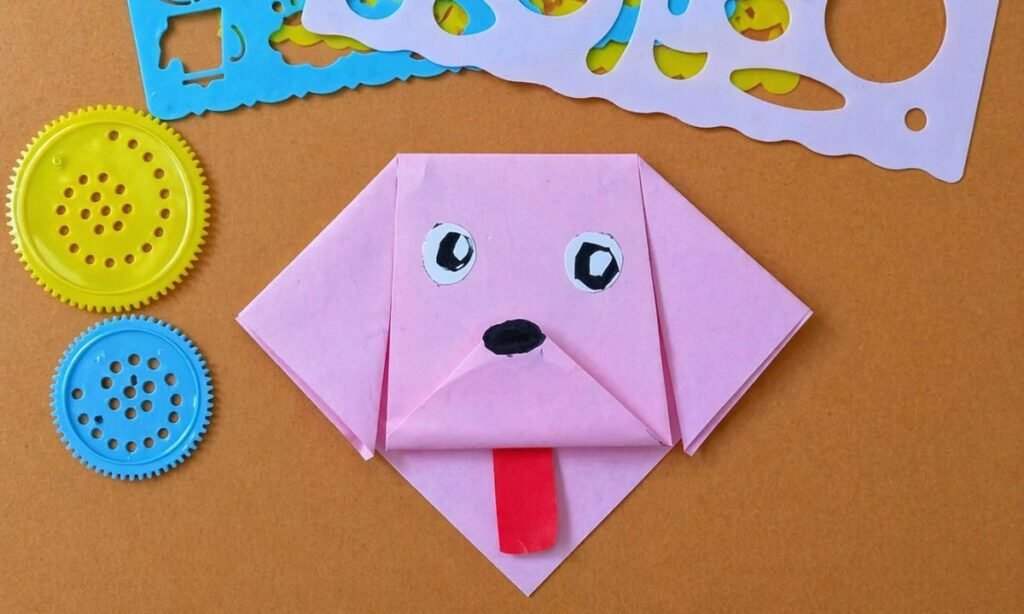
Fold the bottom corner of the purple paper upward to form the dog’s muzzle, leaving both triangular ears pointing outward.
Glue two white paper eyes with black pupils above the muzzle, then attach a small black oval nose.
Secure a red paper tongue beneath the folded muzzle, allowing it to hang down over the lower triangular section.
6. Finish Dog Details
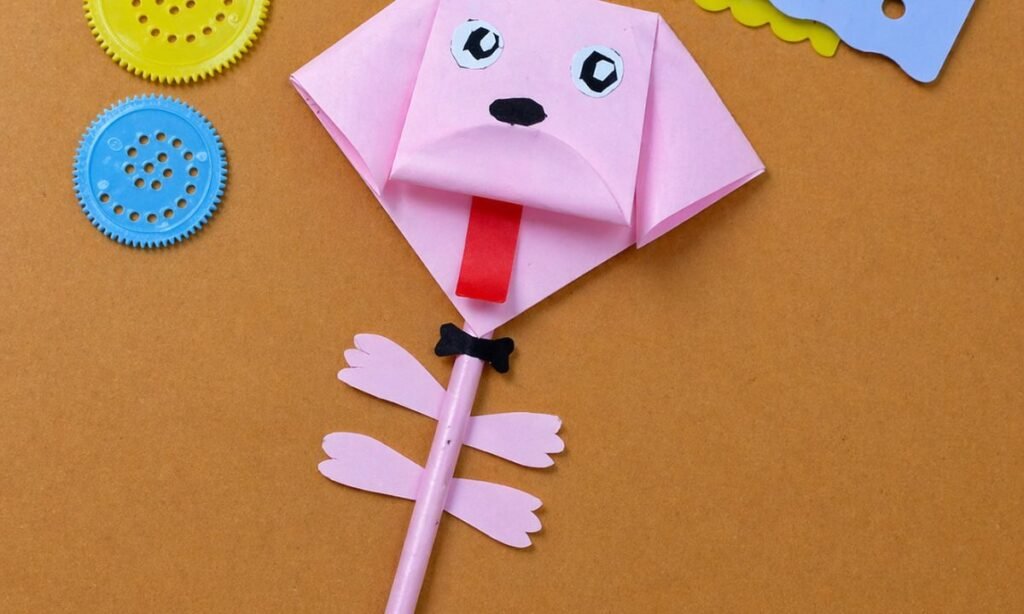
Attach the completed purple dog face to the top of the rolled paper tube, positioning the red tongue above the stick.
Glue a small black paper bone beneath the head, then attach four purple paw cutouts along the tube.
Arrange two paws near the upper section and two near the bottom, with their notched ends pointing outward.
Fun Facts About Dogs
Here are some fun facts you can teach your kids along with this cute craft for their learning.
- Dogs have lived alongside humans for thousands of years and have been bred for many different jobs and roles.
- Some dogs are trained to guide people, search for missing persons, detect scents, or help with rescue work.
- Dogs communicate through barking, body posture, facial expressions, tail movement, and scent.
- Puppies are born with their eyes and ears closed and gradually become more aware of their surroundings.
- A dog’s nose print has a unique pattern, much like fingerprints are unique to people.
- Dogs can learn many words, commands, and routines when they are trained consistently.
How Dogs Help in the Military
Military dogs are trained to work alongside soldiers and help with important tasks that require a strong sense of smell.
They may be used to detect explosives, search areas, track people, or warn handlers about possible danger nearby.
Their speed, hearing, and scent abilities can make them useful in situations where humans may need extra support.
These dogs go through special training so they can follow commands carefully and stay focused while working in difficult environments.
Fun Ways to Customize
Change the dog’s coat color, ear shape, spots, or face markings to make the finished craft look like a different breed.
You can add a paper collar, name tag, small bow, or tiny bandana to give the dog a more personal look.
Try using brown, black, white, tan, or mixed colors instead of keeping every version the same.
Kids can also copy the colors and markings of a pet dog they know, which makes the craft feel more familiar and special.
FAQs
Can I Make This Dog Craft Stand Upright?
Yes, you can flatten the bottom of the rolled paper body slightly so the finished dog sits more steadily on a table.
Make sure the paws are attached evenly and do not extend too far below the base, which can make the craft wobble.
Using slightly thicker paper for the body also helps the finished dog hold its shape and stay upright for display.
Can I Use This Dog Craft for a Classroom Animal Project?
Yes, this craft can work well for a classroom display, pet theme, or simple animal lesson.
You can place the finished dog beside a few short facts about breeds, senses, training, or working dogs.
Using a sturdy paper base will help the craft stay neat if it needs to be displayed for several days.
You may also like to make!



