I wasn’t planning to make anything that day, but right after the rain stopped, I noticed a really pretty rainbow in the sky.
The colors looked so nice together that I stood there for a moment, and then the craft idea just clicked. I thought, why not try making a little rainbow with paper?
That was enough to get me started, so I pulled out a few bright craft sheets and began turning the idea into a paper rainbow.
Let’s make this rainbow paper craft.
- From Sky to Craft
- Material Needed:
- How to Make Rainbow Craft Step By Step?
- 1. Choose Rainbow Colors
- 2. Roll Pink Paper
- 3. Shape Paper Loop
- 4. Arrange Rainbow Loops
- 5. Cut Cloud Shapes
- 6. Add Cloud Faces
- Colors After the Rain
- Fun Ways to Customize
- Easy Ways to Use It
- FAQs
- What Type of Paper Works Best for a Rainbow Paper Craft?
- How Can I Keep a Rainbow Paper Craft From Getting Crushed or Bent?
From Sky to Craft
This rainbow paper craft keeps the idea simple enough to turn into a quick project without making the setup feel complicated. You only need a few basic supplies, so there is not much to prepare before you begin.
Once the pieces are ready, the rainbow begins taking shape quite quickly as each color is added one after another.
Before we get into the steps, gather everything you need so you can make the whole craft without stopping halfway.
Material Needed:
- Colored craft papers
- Glue stick or craft glue
- Scissors
- Black marker or sketch pen
- Cloud shape template or freehand drawing
How to Make Rainbow Craft Step By Step?
1. Choose Rainbow Colors
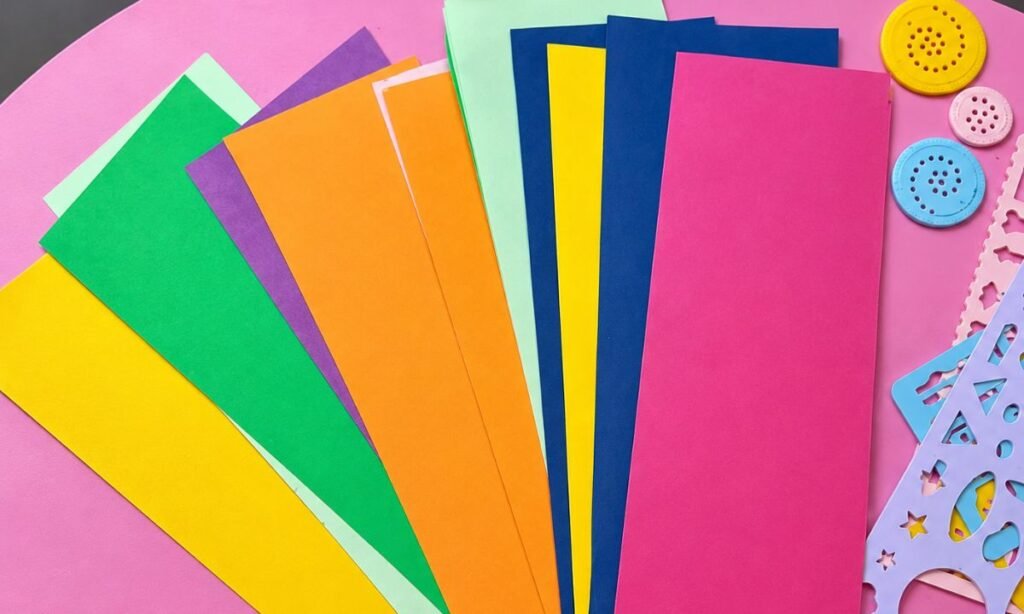
Start by laying out the different craft sheets together so you can clearly see each shade you have available.
Keep the colors spread out instead of stacking them, which makes it easier to compare the combinations side by side.
Choose a balanced mix of bright shades so the finished rainbow looks colorful without one color taking over the rest.
2. Roll Pink Paper
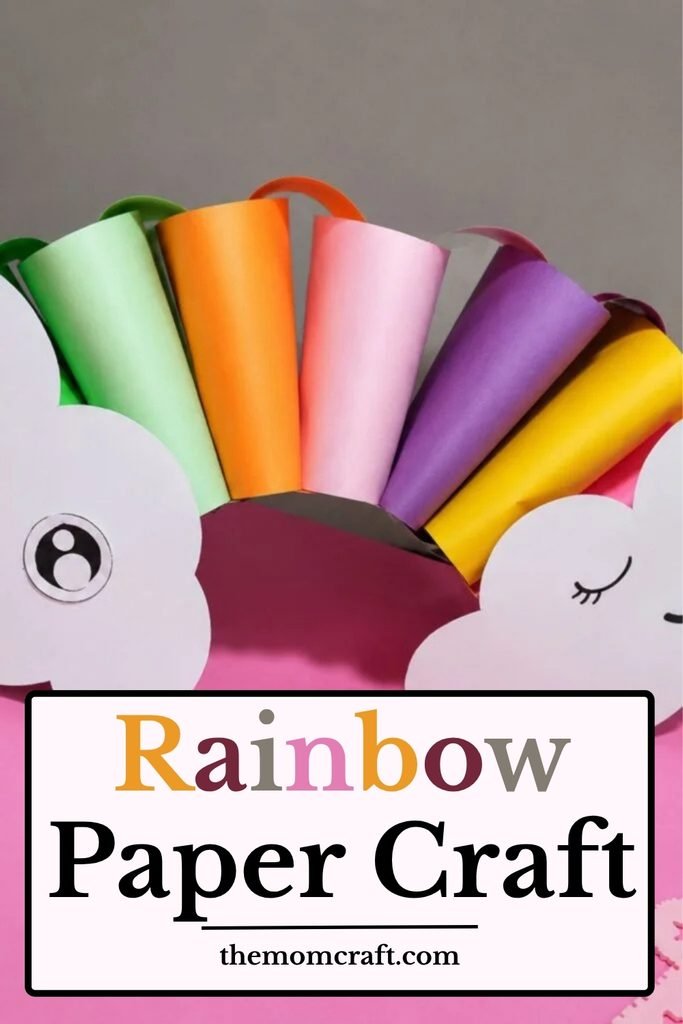
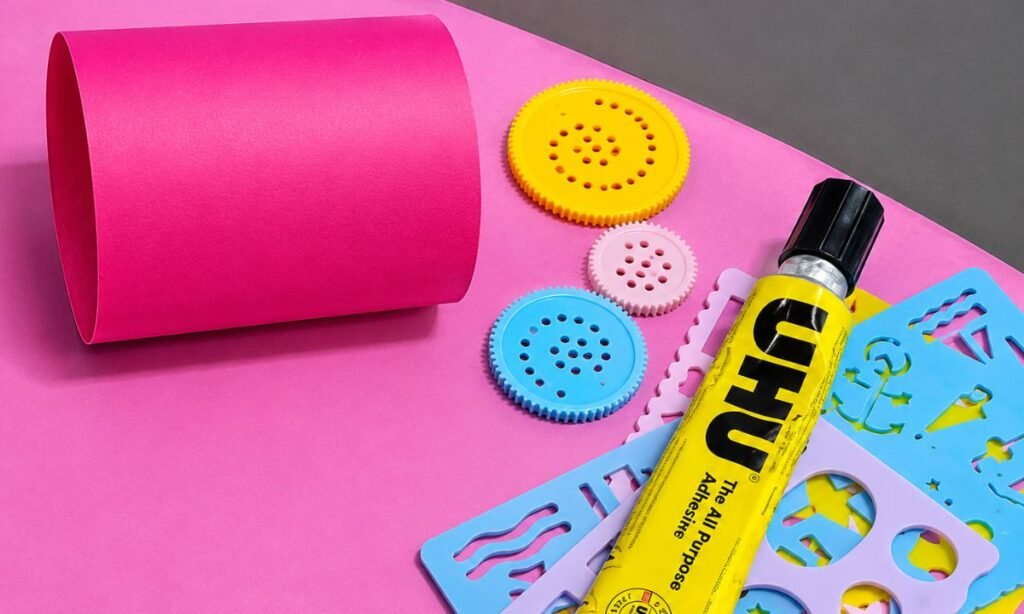
Roll the pink craft sheet into a wide cylinder, keeping both ends open and the curved shape as even as possible.
Bring the paper edges close together without flattening the tube so the rounded form stays smooth and easy to handle.
Keep the roll firm enough to hold its shape, but avoid pressing too hard or creating sharp creases in the paper.
3. Shape Paper Loop
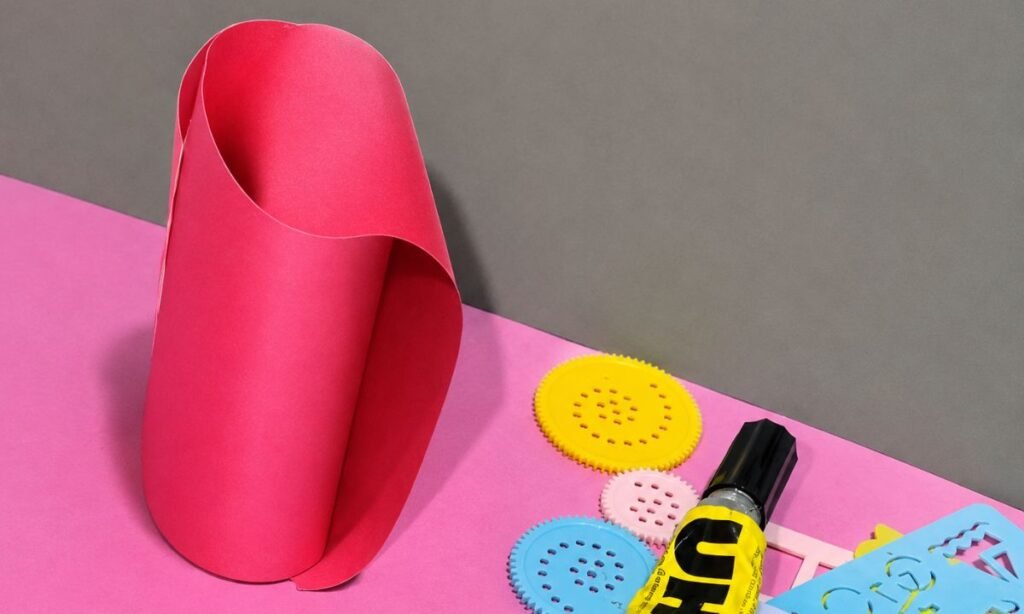
Stand the rolled pink paper upright and bring the loose end around so it starts forming a taller looped shape.
Keep the curve smooth while overlapping the paper slightly, making sure the sides stay rounded instead of folding inward.
Adjust the loop gently until it holds an even shape and both open sections remain clearly visible.
4. Arrange Rainbow Loops
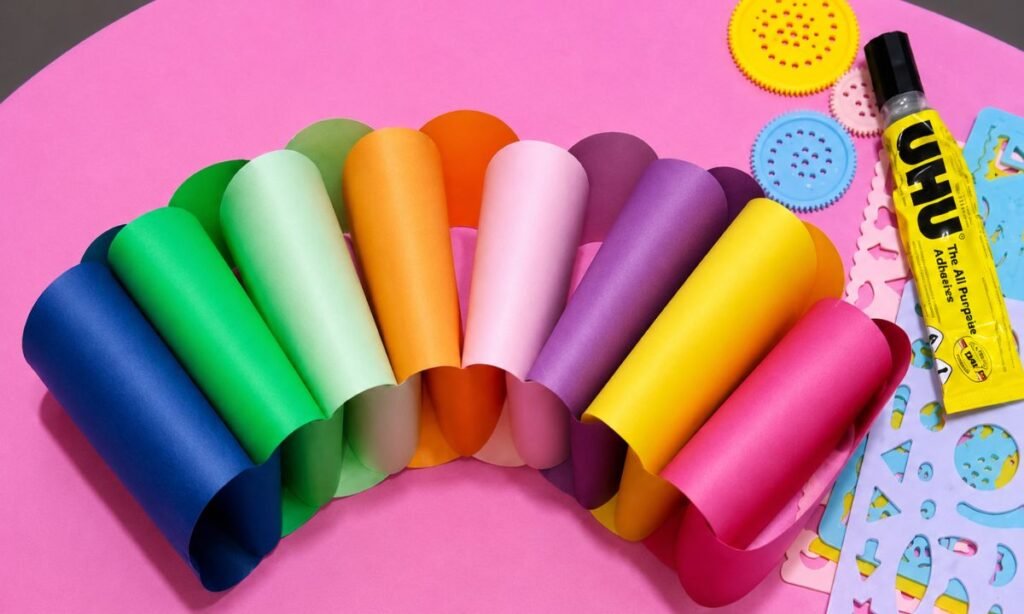
Arrange the rolled paper loops side by side in a curved row so the rainbow shape starts forming across the surface.
Keep each color slightly overlapping the next one so there are no large gaps between the paper loops.
Adjust the spacing gently until the arch looks even and all the colors stay clearly visible from one side to the other.
5. Cut Cloud Shapes
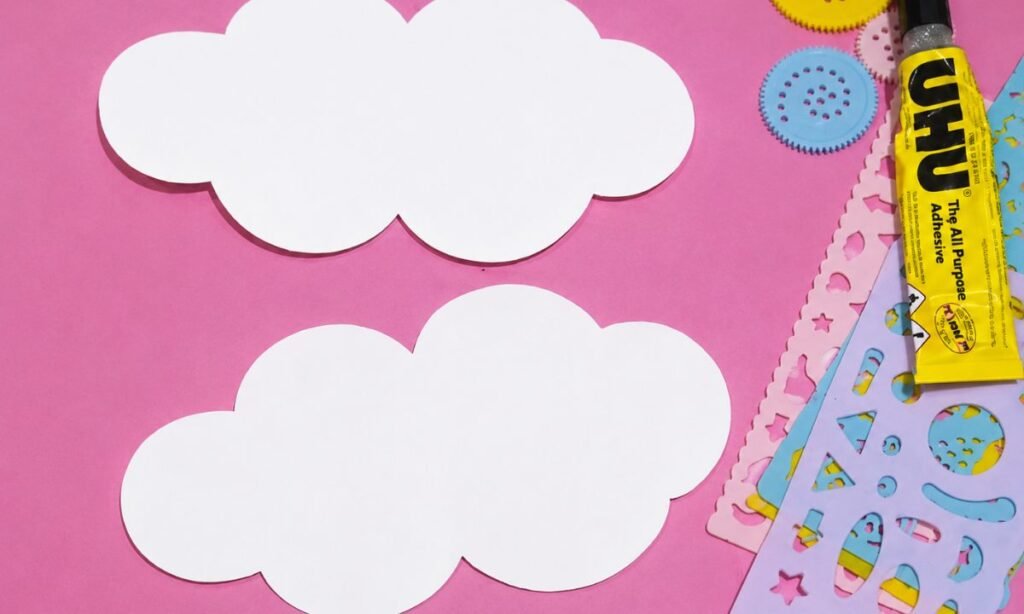
Cut two matching cloud shapes from white paper, keeping the rounded sections smooth and similar on both pieces.
Make both clouds large enough to sit comfortably at the ends of the rainbow without looking too small.
Check the edges after cutting and trim any uneven curves so both pieces look neat and balanced.
6. Add Cloud Faces
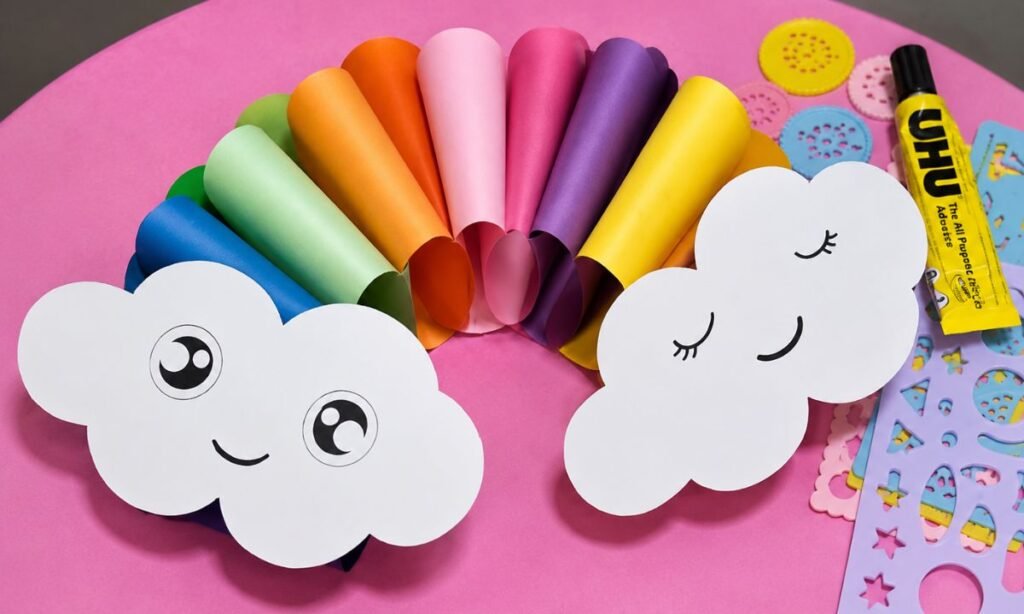
Attach one cloud to each end of the rainbow so both sides look finished and the arch stays balanced.
Add simple facial details to the clouds, using open eyes on one side and closed lashes on the other.
Keep the expressions small and centered so the faces stay clear without covering too much of the white cloud shapes.
Colors After the Rain
A rainbow appears when sunlight passes through tiny water droplets that are still floating in the air after the rain ends.
The light bends inside those droplets and separates into several colors, which is what creates the rainbow we see.
Red, orange, yellow, green, blue, indigo, and violet usually appear in the same order across the sky.
Rainbows are easiest to spot when sunlight shines through water droplets while the sun is behind you.
Fun Ways to Customize
Try changing the rainbow colors if you want the finished craft to match a room theme, favorite color palette, or season.
You can give each cloud a different face, expression, or cheek color so the two ends do not look exactly the same.
Small stars, hearts, raindrops, or simple dots can be added around the clouds to give the craft a little more detail.
Metallic, patterned, or glitter paper can also be used for a few pieces if you want the rainbow to stand out more.
Easy Ways to Use It
- Hang the finished rainbow in a kids’ room or playroom where the bright colors can become part of the everyday decor.
- Add it to a classroom board during a weather, color, spring, or rainbow-themed lesson to make the display more playful.
- Use it as a handmade decoration for a rainbow birthday setup, nursery corner, or small party table at home.
- Pair it with cloud, sun, or raindrop crafts to create a simple weather-themed display kids can help arrange themselves.
- Keep it in a craft corner with other finished projects so kids can see and enjoy something they made themselves.
FAQs
What Type of Paper Works Best for a Rainbow Paper Craft?
Lightweight craft paper works well because it is easy to roll, shape, and glue without becoming too stiff.
Cardstock can also be used for the clouds or other flat pieces that need a little more support.
Avoid very thick paper for the rainbow loops, because it can be harder to curve smoothly and may spring back open.
How Can I Keep a Rainbow Paper Craft From Getting Crushed or Bent?
Keep the finished rainbow on a flat surface or hang it somewhere the paper loops will not be pressed against other objects.
Avoid stacking books or heavier crafts on top because the curved paper pieces can flatten and lose their shape.
If you need to store it, place it in a box with enough space around the loops and clouds so nothing gets pressed flat.
You may also like to make!