My niece was watching cartoons when a volcano suddenly erupted on the screen, and of course, the questions started right away.
She kept asking how the lava comes out, so I thought a craft might make it easier to explain.
Instead of just telling her, I decided to build a simple volcano with paper and use each part to show her what she was asking about.
She kept pointing at each new piece as we added it, which made it easier to keep answering her questions along the way.
Let’s make this volcano paper craft.
- A Simple Way to Explain Eruptions
- Material Needed:
- How to Make Volcano Craft Step By Step?
- 1. Cut Black Circle
- 2. Form Volcano Cone
- 3. Prepare Volcano Base
- 4. Place Volcano Cone
- 5. Finish Volcano Scene
- What Makes Volcanoes Erupt
- Make the Eruption Pop
- Fun Ways to Customize
- FAQs
- Can I Make a Volcano Paper Craft for a School Science Project?
- How Can I Keep the Volcano Paper Craft Standing Upright?
A Simple Way to Explain Eruptions
The paper model gives kids a clear volcano shape they can look at while learning where the opening and lava appear.
Instead of imagining everything from words alone, they can point to different parts while you explain the basic volcano structure.
The cone shape and bright lava make the main features easy to notice without adding too much scientific information at once.
This keeps the learning visual and manageable, especially for younger kids who understand new ideas better when they can see them.
Material Needed:
- Black craft paper
- Green craft paper (light and dark green)
- Yellow craft paper
- Orange craft paper
- Scissors
- Pencil
- Glue or craft adhesive
- Compass
How to Make Volcano Craft Step By Step?
1. Cut Black Circle
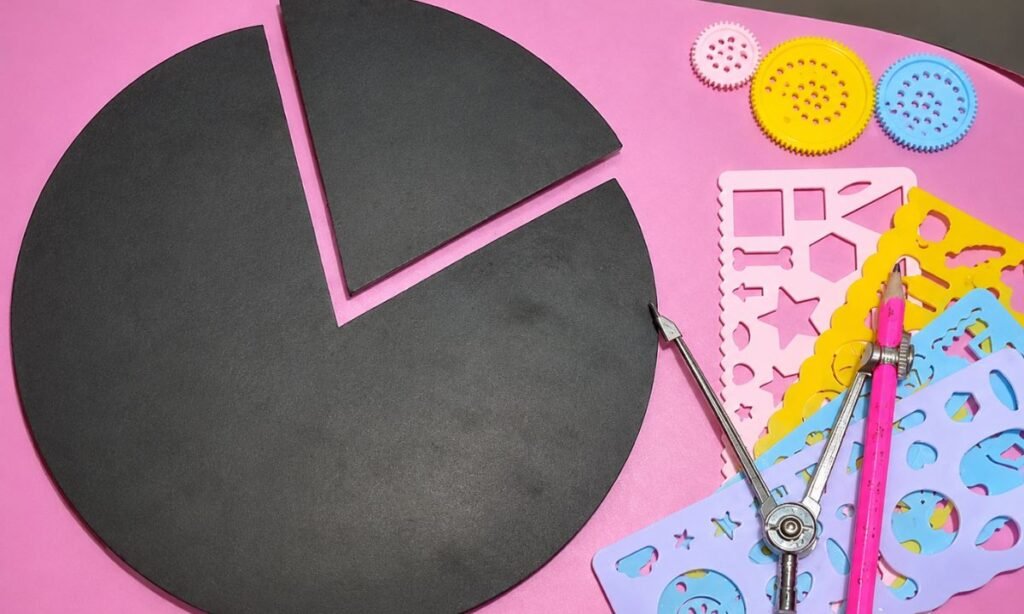
Start by cutting a large circle from black paper, then remove one triangular section to create the opening shown in the base.
Keep the cut edges straight and clean so the separate black section fits neatly beside the larger circular piece without gaps.
Use the compass and pencil to keep the circle even, especially around the outer edge where the shape should stay smooth.
2. Form Volcano Cone
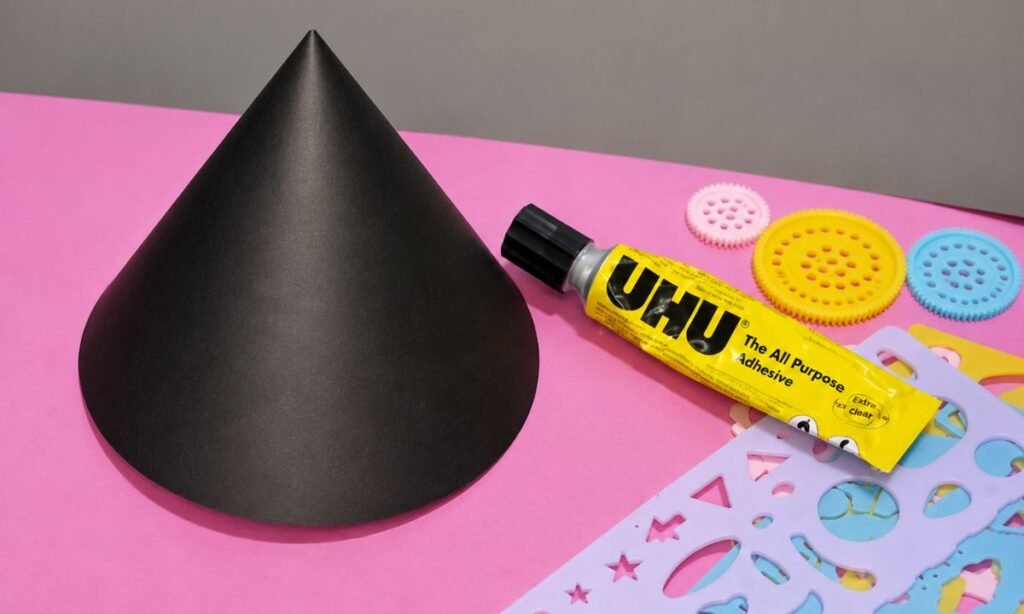
Now, bring the cut edges of the black paper together and overlap them slightly to form a tall cone shape.
Apply glue along the overlapping edge, then press it firmly so the cone holds its shape without opening back up.
Keep the pointed top centered and the bottom edge even, because both help the volcano look more balanced and stable.
3. Prepare Volcano Base
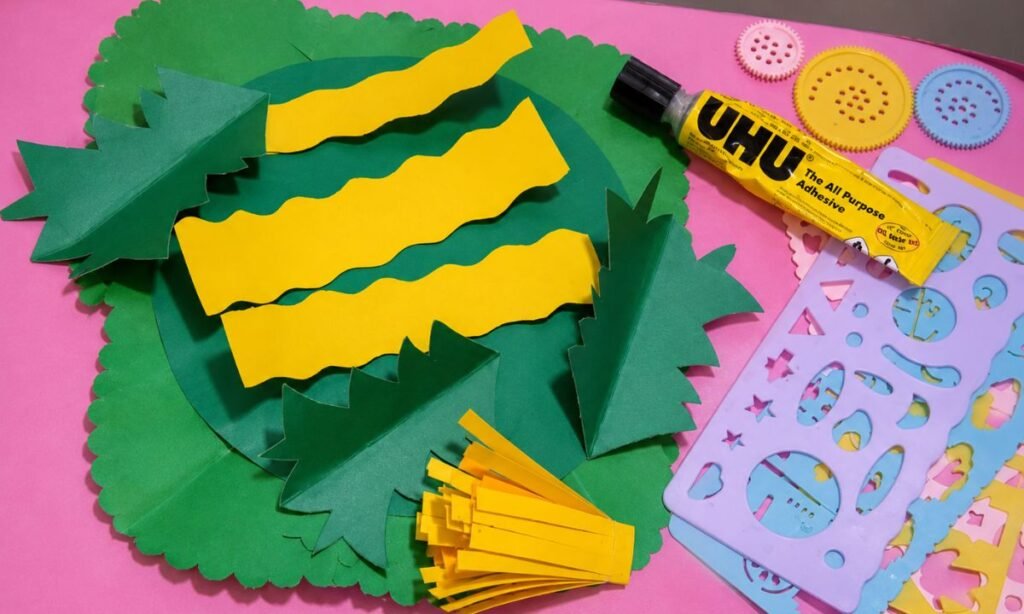
Cut a large green paper circle for the ground, then add a second green layer with uneven edges for extra texture.
Prepare several folded green tree shapes and place them around the base so the volcano area begins to look more natural.
Prepare the yellow paper pieces beside the green base so they are ready to use when the volcano scene is assembled.
4. Place Volcano Cone
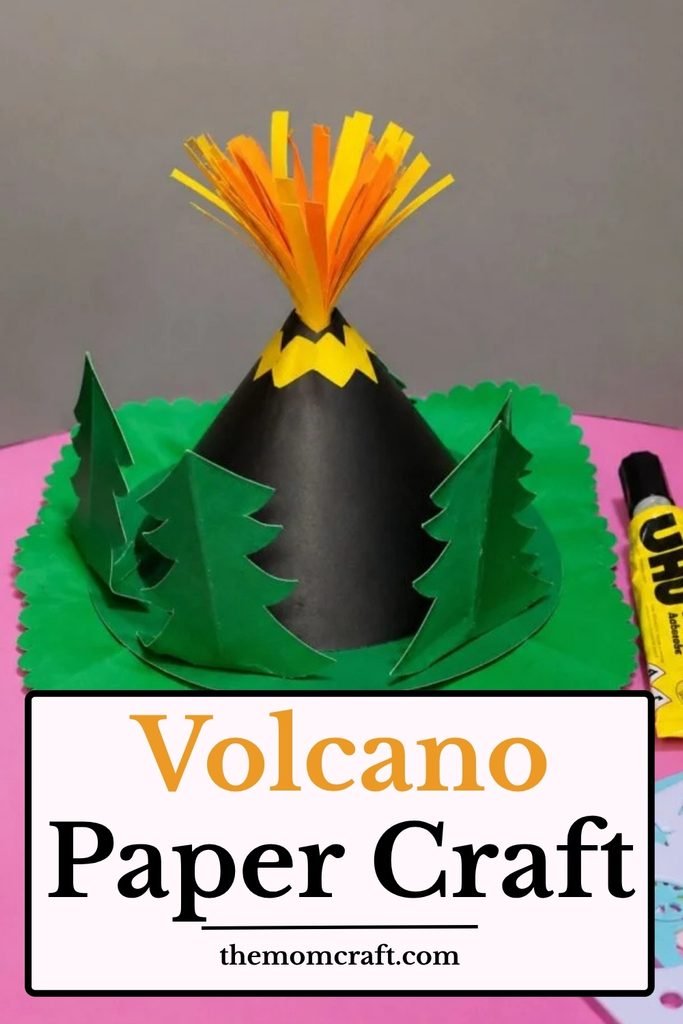
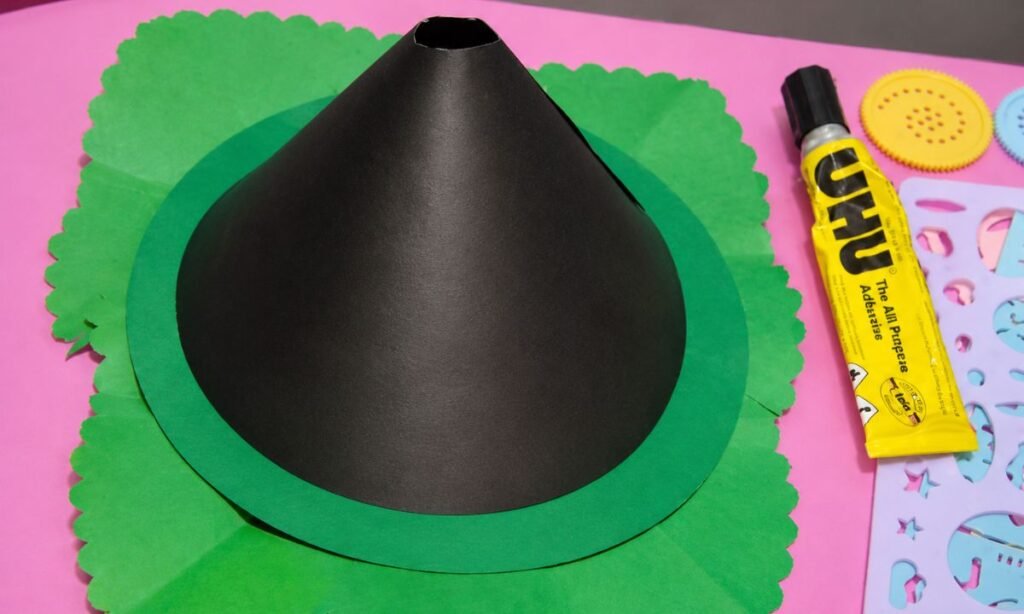
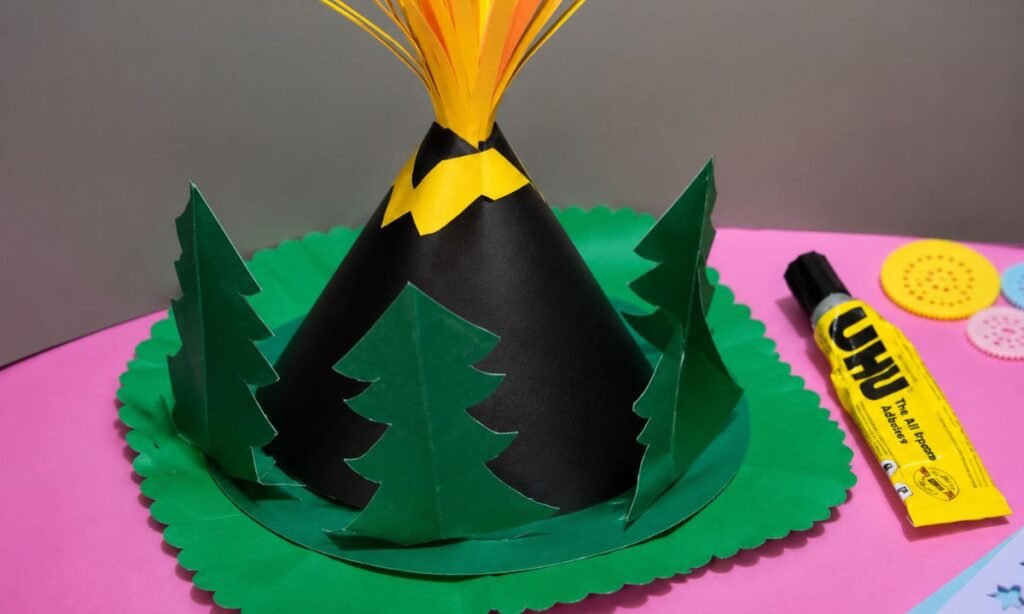
Place the black volcano cone in the center of the green circular base, keeping the opening at the top clearly visible.
Press the cone down gently so the bottom edge sits flat against the green paper without tilting to either side.
Check the volcano from the front and adjust its position until the cone looks centered and balanced on the base.
5. Finish Volcano Scene
Attach the folded green trees around the volcano base, spacing them so the black cone still stays clearly visible from the front.
Add the yellow paper around the top opening, letting the pointed edges fall slightly over the cone to suggest flowing lava.
Place the orange paper strips inside the opening so they rise upward and make the eruption look taller and more dramatic.
What Makes Volcanoes Erupt
Deep below Earth’s surface, melted rock called magma collects in chambers while gases build pressure inside the surrounding rock layers.
When that pressure becomes stronger than the rock above can hold, magma starts pushing upward through cracks toward the surface.
As magma reaches the opening, trapped gases expand quickly and can force lava, ash, and rock out of the volcano.
Some eruptions are gentle and flowing, while others are explosive because magma thickness and gas pressure can vary from volcano to volcano.
Make the Eruption Pop
The bright paper lava instantly draws attention to the top of the volcano and gives the finished craft a stronger focal point.
Layering yellow and orange pieces around the opening helps the eruption look fuller without adding too many extra details around it.
The upright orange strips create height above the cone, while the flowing pieces make the lava appear to spill downward naturally.
Keeping the trees and green base visible around the volcano makes the bright eruption stand out even more in the scene.
Fun Ways to Customize
Change the volcano color with brown, gray, or mixed paper shades if you want the cone to look a little different.
Try changing the green base into brown or gray ground if you want the volcano scene to have a different setting.
Add small paper rocks, signs, or extra trees in different sizes to give the base more detail around the volcano.
You can also add a simple background or labels if kids want to turn the craft into a fuller display.
FAQs
Can I Make a Volcano Paper Craft for a School Science Project?
Yes, this craft can work well for a simple school project because it gives kids a clear model they can point to.
They can use the cone, opening, lava, and surrounding base to explain the basic parts of a volcano during a presentation.
For a stronger science connection, add a few short labels or facts beside the model instead of covering the craft with too much text.
How Can I Keep the Volcano Paper Craft Standing Upright?
Use slightly thicker paper for the cone so it keeps its shape better after the edges are glued together.
Make sure the bottom of the cone sits flat on the base instead of leaning more heavily toward one side.
If needed, add a small paper support inside the cone to help it stay upright during display or a school presentation.
You may also like to make!