

Last week, I was helping decorate a small kid’s corner at home when the plain wall started looking a little too empty.
I wanted to add something bright and playful, but did not want another framed picture or store-bought decoration.
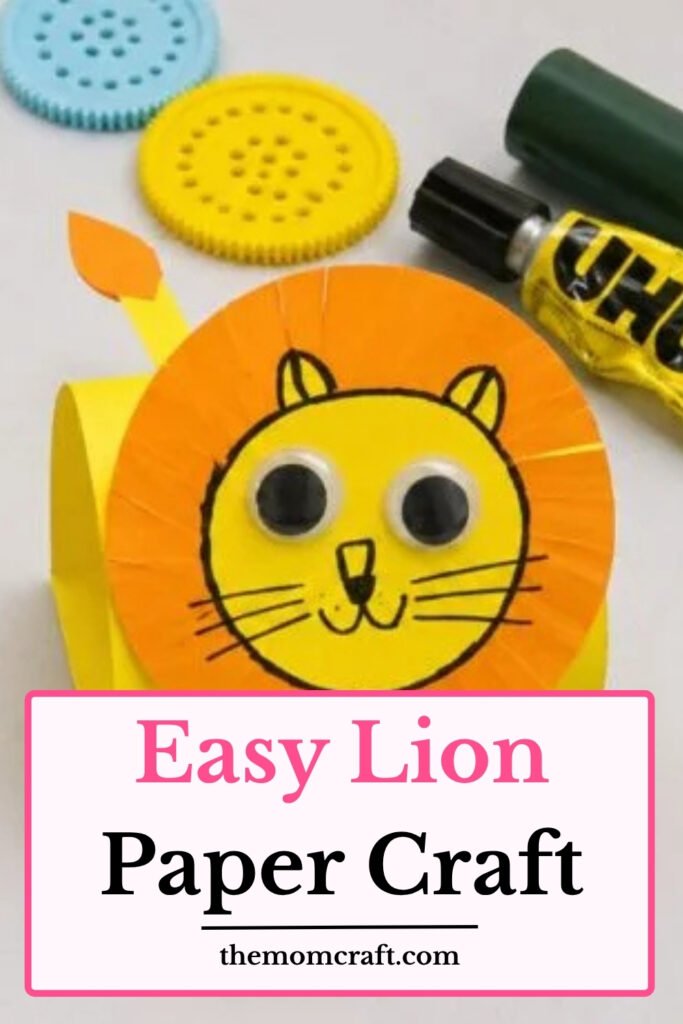
A lion felt perfect because the round face and big mane could fill the space without needing a complicated design.
So I turned that idea into a simple paper lion craft that could work as both an activity and a cheerful little decoration.
Let’s make this lion craft.
- Why Lions Live in Groups
- Materials Needed:
- Step-by-Step Guide
- 1. Yellow Paper Strip
- 2. Drawing Lion Legs
- 3. Cutting Lion Legs
- 4. Folding Lion Body
- 5. Lion Face Cutouts
- 6. Lion Face Assembly
- How Lions Communicate
- How to Make the Lion Look More Playful
- How to Keep the Lion Face Balanced
- FAQs
- Can I Make This Lion Craft Without Googly Eyes?
- Can I Turn This Lion Craft Into a Mask?
Why Lions Live in Groups
Unlike most big cats, lions often live together in family groups called prides.
A pride usually includes related females, their cubs, and a smaller number of adult males.
Living in groups helps lions protect territory, care for young cubs, and hunt larger animals more effectively.
This social behavior is one of the main things that makes lions different from many other wild cats.
Materials Needed:
- Yellow craft paper
- Orange craft paper
- Pencil
- Scissors
- Glue
- Black marker
- Ruler
- Googly eyes
Step-by-Step Guide
1. Yellow Paper Strip
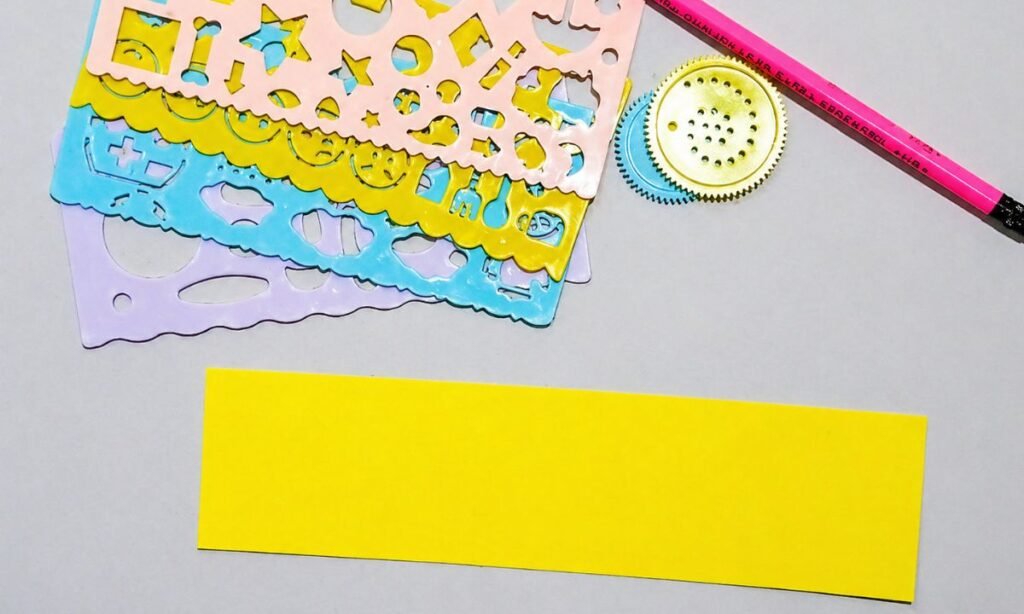
Cut a long rectangular strip from yellow craft paper, making sure both sides are straight and the width remains even.
Place the strip horizontally on a flat surface and fold one end upward to create a short rectangular section.
Press the folded edge firmly with your fingers, leaving the remaining paper long enough to fold over the front later.
2. Drawing Lion Legs
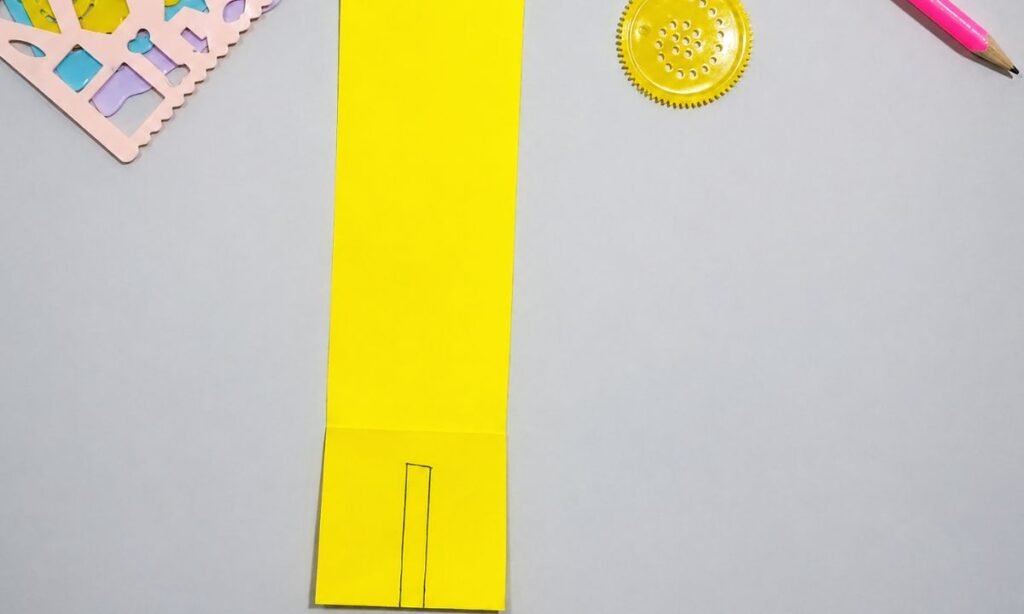
Turn the yellow paper vertically and draw two narrow parallel lines near the center of the folded bottom section.
Use a pencil to mark the opening between the legs, making sure the lines stop before reaching the bottom edge.
Leave enough paper on both sides of the marked opening so the two legs remain attached to the main body.
3. Cutting Lion Legs
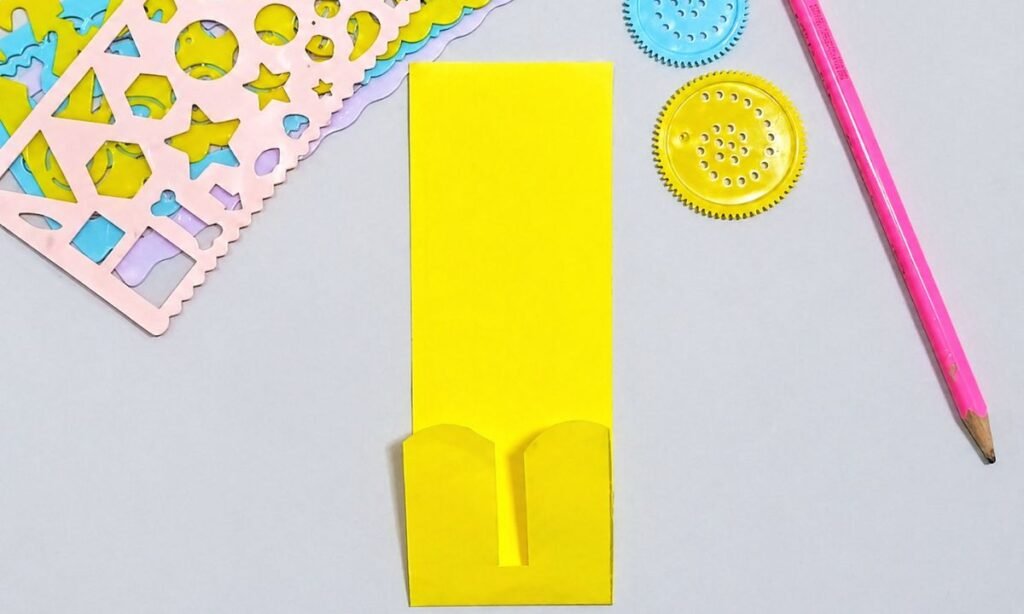
Cut along the two pencil lines to create a narrow opening between the lion’s legs without separating the folded paper.
Round the upper corners of both leg shapes with scissors, giving each yellow paper leg a smooth curved top.
Fold the two cut sections forward slightly, leaving the longer rectangular strip standing upright behind the newly shaped legs.
4. Folding Lion Body
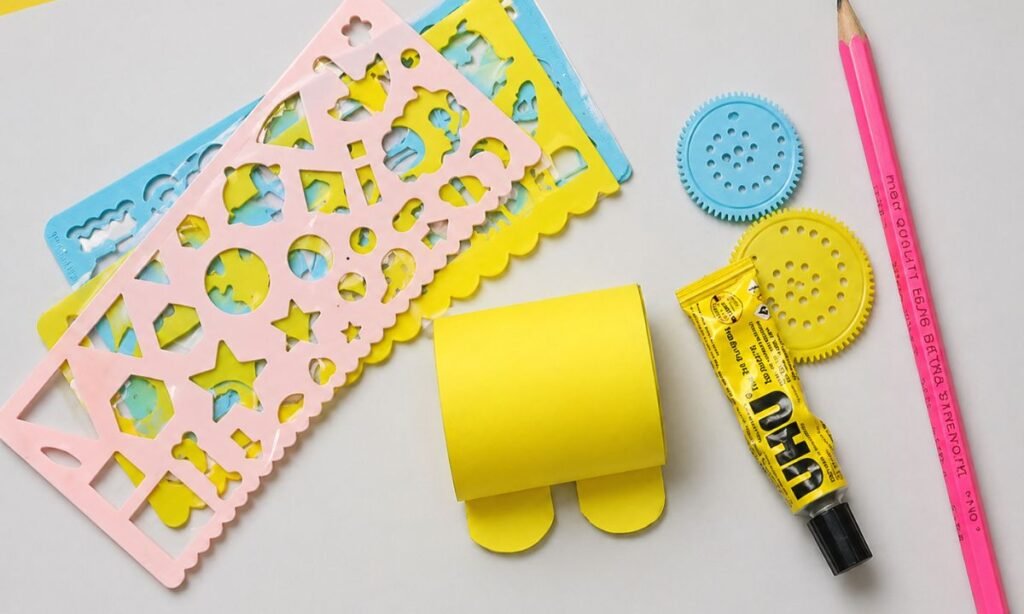
Fold the long yellow paper strip downward over the front, forming a rectangular body with two rounded legs underneath.
Align the folded paper edges carefully so the front section sits straight and both yellow legs remain visible below.
Apply glue beneath the folded section to secure the rectangular body while leaving the two rounded legs extending from the bottom.
5. Lion Face Cutouts
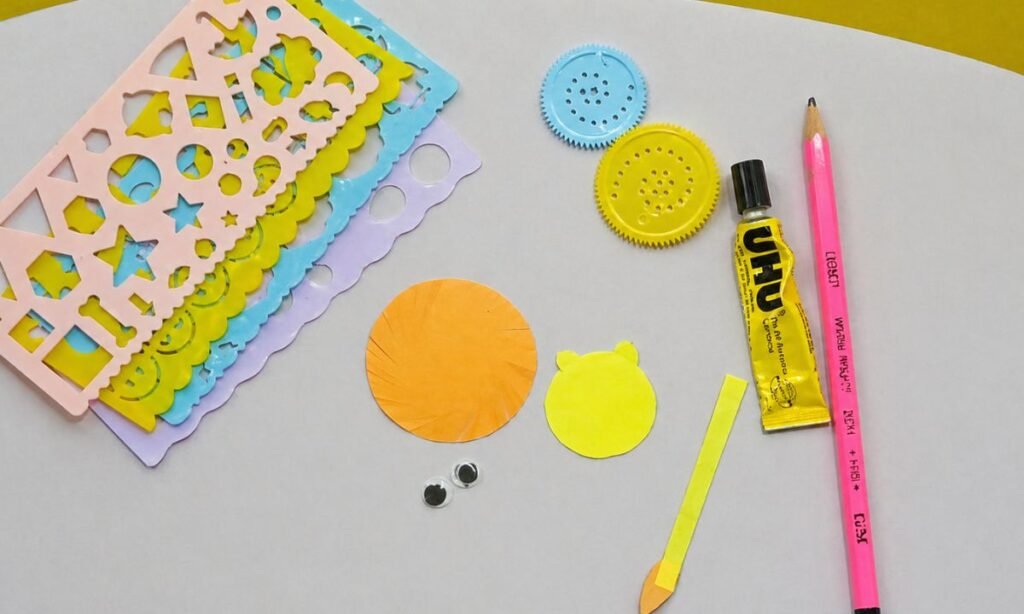
Cut a large orange paper circle for the mane, then make small cuts around its edges to create narrow strips.
Cut a smaller yellow circle with two rounded ears, and set aside two googly eyes for the lion’s face.
Cut a thin yellow paper strip for the tail and attach a small orange pointed shape to its end.
6. Lion Face Assembly
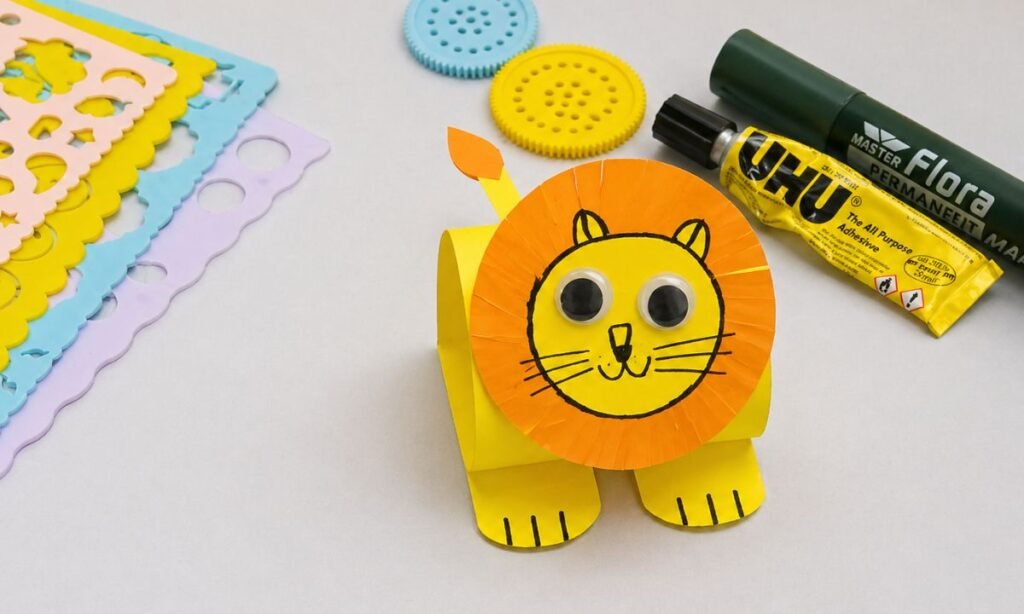
Glue the yellow face onto the orange paper mane and attach two googly eyes above the drawn nose and mouth.
Draw black whiskers on both cheeks, outline the ears, and make short cuts around the orange mane.
Attach the finished face to the folded yellow body, add the paper tail, and draw black claws on both feet.
How Lions Communicate
Lions communicate through roars, growls, body movements, scent marking, and physical contact with other members of the pride.
Their roar can travel across long distances, helping lions communicate even when they are far apart.
They also rub their heads against one another, which can help strengthen social bonds within the group.
These different signals help lions protect territory, find each other, and stay connected as a pride.
How to Make the Lion Look More Playful
Small changes to the eyes and mouth can completely change the expression of the finished paper lion.
Round eyes and a curved smile create a friendly look that works especially well for younger kids.
You can also add rosy cheeks, small eyebrows, or simple whisker lines without covering the main facial features.
Keeping these details small allows the mane and face shape to remain the strongest parts of the design.
How to Keep the Lion Face Balanced
Place the eyes at the same height and keep the nose centered before attaching any facial pieces permanently.
Leaving similar space on both sides of the face helps the finished lion look neat instead of tilted.
Arrange the pieces first without glue so you can easily move anything that looks uneven.
Once the main features are positioned correctly, the smaller mouth and whisker details become much easier to add.
FAQs
Can I Make This Lion Craft Without Googly Eyes?
Yes, you can cut simple eyes from white and black paper instead of using googly eyes.
Keep both eyes similar in size and place them evenly so the lion’s face stays balanced.
Paper eyes also make the craft easier to complete when you want to use only basic supplies already at home.
Can I Turn This Lion Craft Into a Mask?
Yes, you can make the lion face slightly larger and attach it to sturdy cardstock before turning it into a mask.
Cut small eye holes carefully and add an elastic string or paper handle so kids can hold or wear it.
Make sure the mane is firmly attached around the edges so the pieces do not come loose during play.
You may also like to make!



