I really like the look of small cactus plants, especially the ones people keep on shelves, desks, and windowsills.
The only problem is that their sharp spines are not always the best thing to have around kids during playtime.
That made a paper cactus feel like a much easier way to enjoy the same look without worrying about anyone touching the spikes.
It also works as a small decoration that can stay in the room without needing water, sunlight, or any plant care.
Let’s make this cactus craft.
- Why Cactus Plants Need Less Water
- Material Needed:
- Step-by-Step Guide
- 1. Trace Cactus Base
- 2. Cut Rounded Shape
- 3. Divide Cactus Body
- 4. Prepare Cactus Details
- 5. Draw Cactus Lines
- 6. Attach Cactus Arms
- 7. Build Funny Face
- 8. Finish Cactus Character
- Fun Ways to Customize
- Cactus Craft Challenges
- Fun Facts About Cacti
- FAQs
- Can I Turn This Cactus Craft Into Desk Decor?
- Can I Make a Cactus Garden With Several Crafts?
Why Cactus Plants Need Less Water
Cactus plants store water inside their thick stems, which helps them survive for long periods in dry places.
Their waxy outer surface also slows water loss, so the plant can hold moisture for much longer than many other plants.
Most cacti have spines instead of large leaves, which reduces the amount of water that escapes into the air.
These features make cactus plants well suited to hot environments where rain may be limited for long stretches.
Material Needed:
- Green colored paper
- Black colored paper
- Orange/pink colored paper
- Scissors
- Glue
- Black marker
- Pencil
Step-by-Step Guide
1. Trace Cactus Base
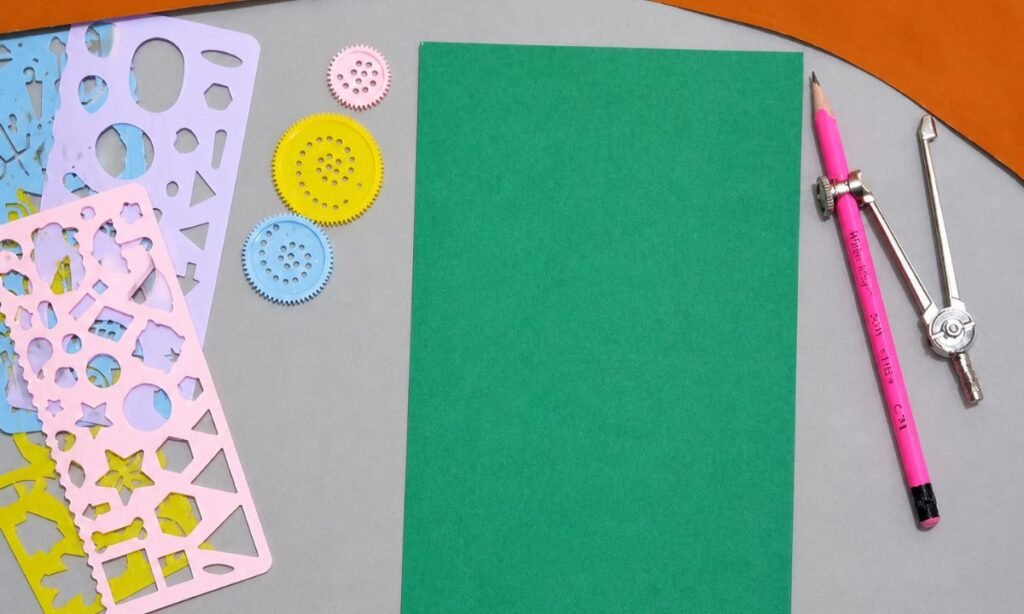
Start with green craft paper and use a compass or round object to trace a wide curved top for the cactus body.
Cut carefully along the curved outline, leaving the bottom edge straight so the cactus sits evenly when assembled.
Use thicker paper if possible, since it gives the finished craft more structure and makes gluing easier.
2. Cut Rounded Shape
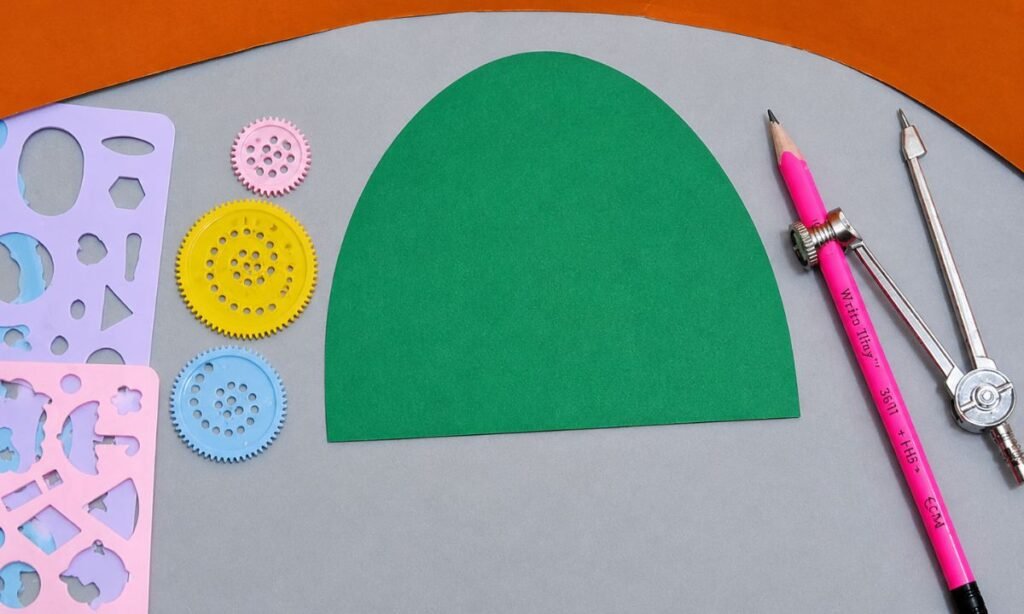
Trim around the pencil outline slowly to create a smooth dome without rough corners or uneven edges.
A simple rounded shape works well for younger kids because it avoids complicated cutting while still forming the cactus clearly.
Check both sides after cutting and trim any uneven spots before moving on to the smaller decorative pieces.
3. Divide Cactus Body
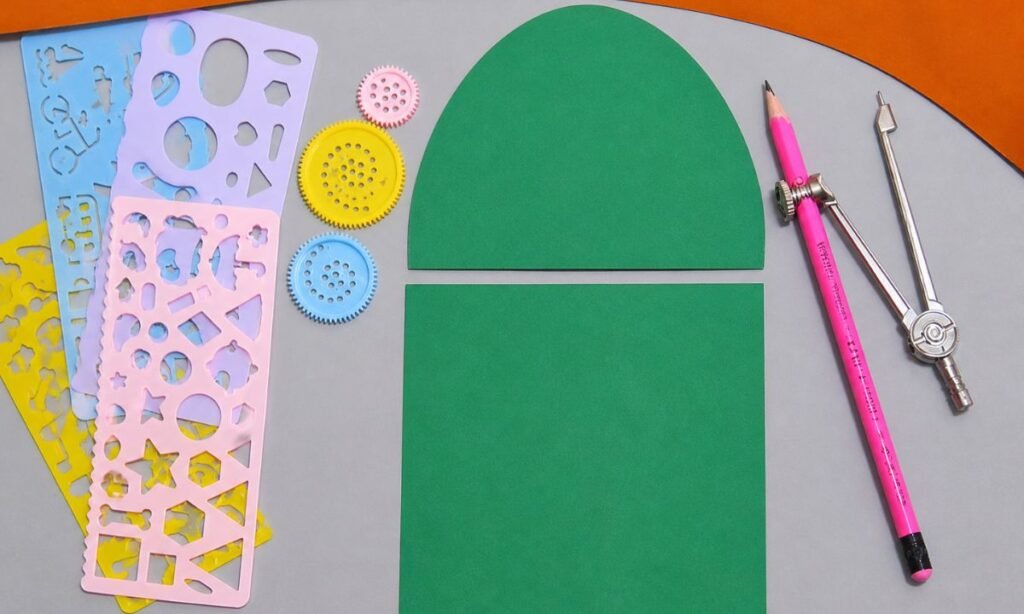
Cut the rounded green piece horizontally, separating the curved cactus top from a rectangular lower section.
Make the cut straight across so both pieces can be positioned neatly when building the final cactus design.
Set both green sections aside together to avoid mixing them with the smaller facial and decorative paper pieces.
4. Prepare Cactus Details
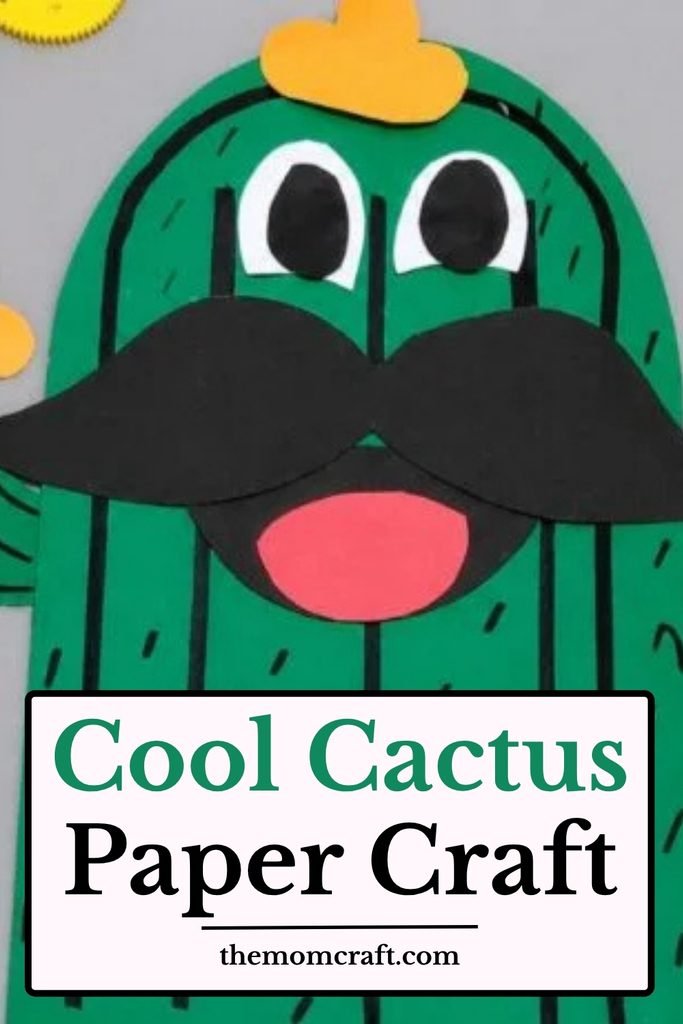
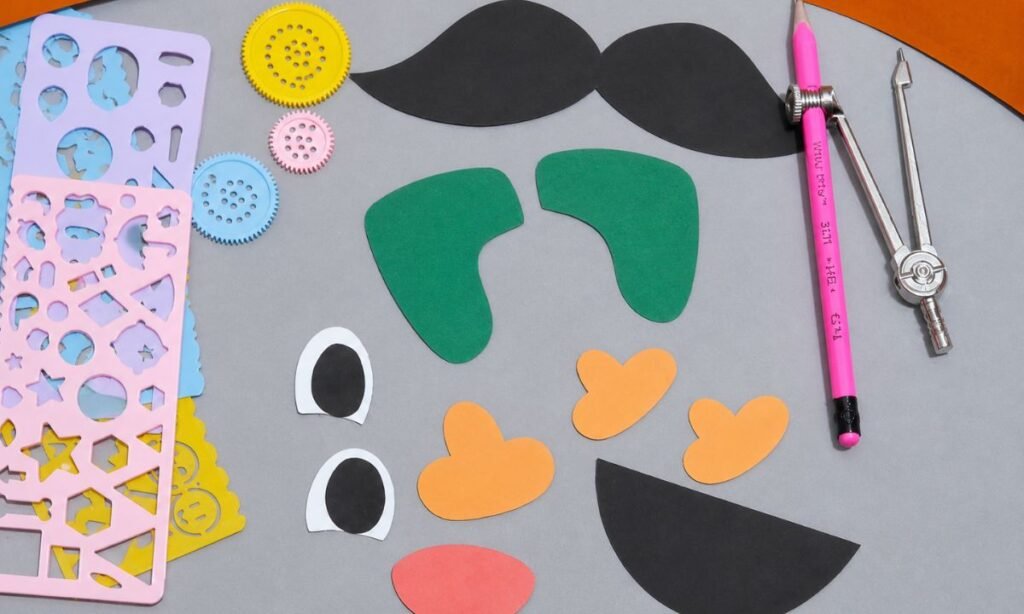
Cut green arms, black moustache and mouth pieces, white eyes, orange accents, and a small red paper detail.
Make matching pieces similar in size so the finished cactus face looks balanced rather than crowded on one side.
Arrange every piece before gluing, making small adjustments until the eyes, moustache, arms, and details fit properly.
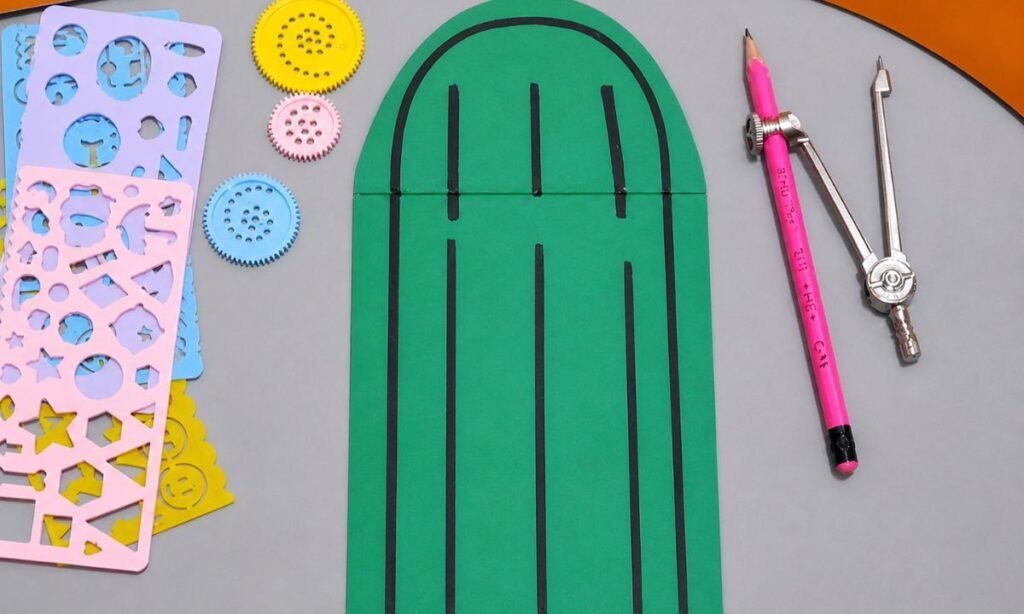
5. Draw Cactus Lines
Use a black marker to outline the rounded cactus body, then add long vertical lines across the green paper.
Space the lines evenly so the simple cactus texture stays neat and leaves enough room for facial details.
Stop shorter lines near the curved top, while longer strokes can run down toward the bottom edge.
6. Attach Cactus Arms
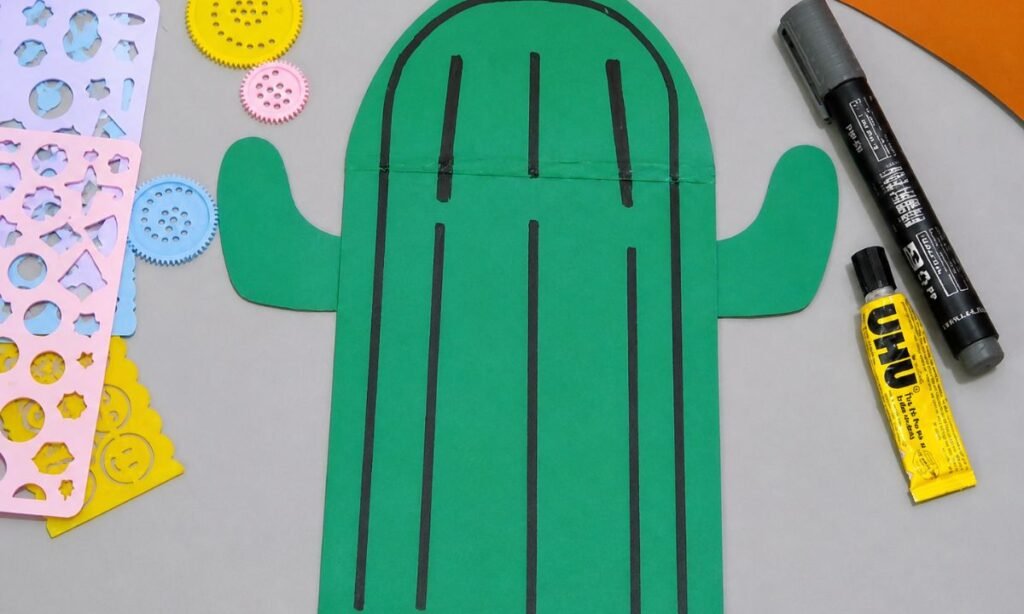
Glue one curved green arm onto each side of the cactus, positioning both at roughly the same height.
Press the joined edges firmly so the arms stay flat and do not separate while adding the remaining details.
Add a few curved black strokes to each arm to match the line pattern already drawn on the body.
7. Build Funny Face
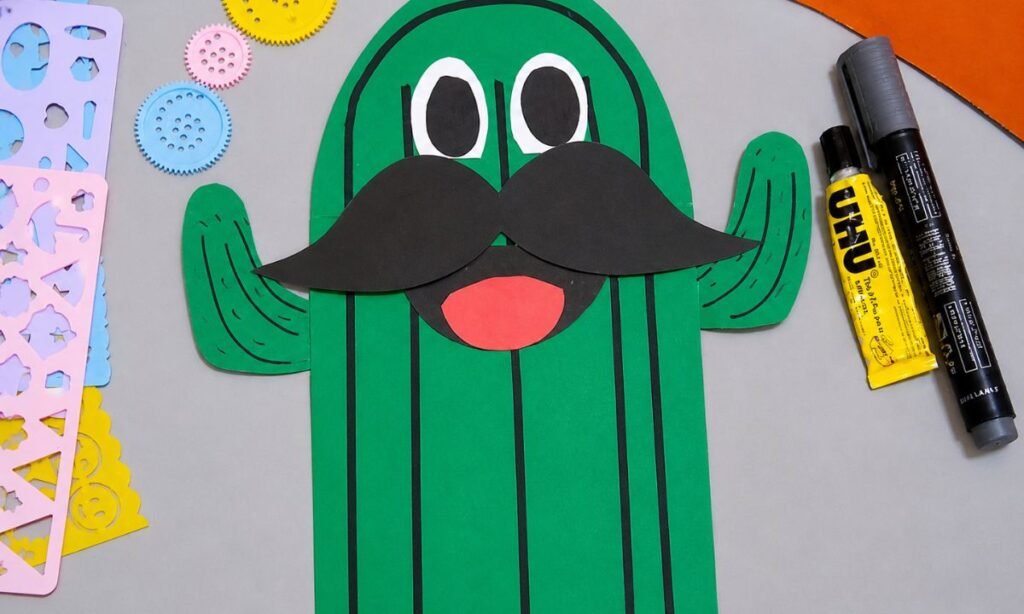
Glue large paper eyes near the top, then place the oversized black moustache directly underneath for a playful expression.
Add the black mouth beneath the moustache and layer the red tongue inside for a brighter contrasting detail.
Draw small texture marks around both arms so the plain green sections blend naturally with the cactus body.
8. Finish Cactus Character
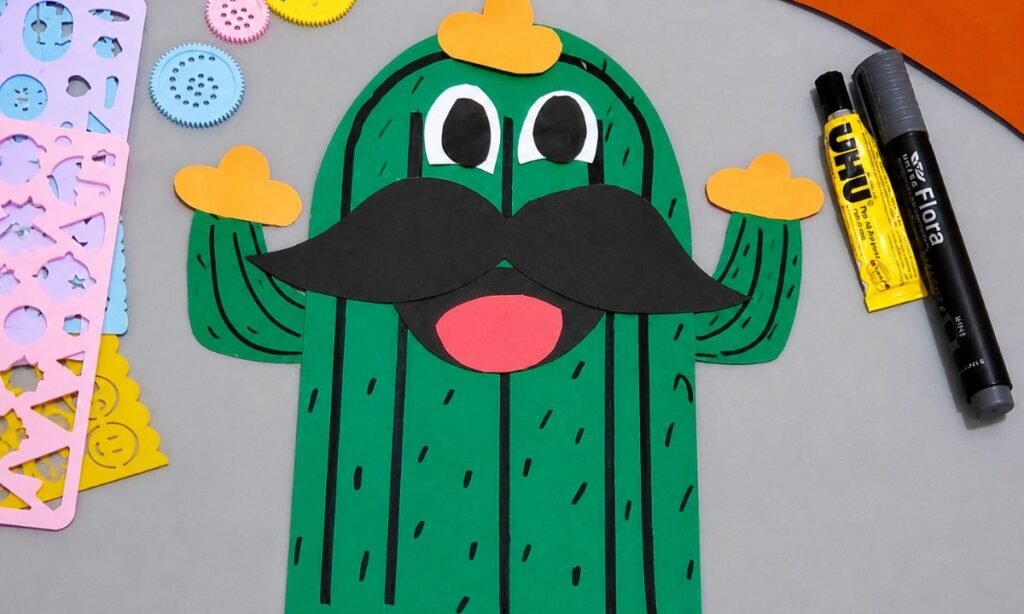
Add orange paper pieces to the top and both raised arms, giving the cactus a colorful finishing touch.
Fill empty green areas with short black strokes, spreading them loosely instead of making the pattern overly crowded.
Check every glued piece once finished, pressing loose corners down so the completed cactus character stays neat and secure.
Fun Ways to Customize
Change the cactus color, flower shade, or pot design to create a version that matches your room or craft theme.
You can add small paper dots, lines, or tiny flowers to make the cactus look more detailed without making it too busy.
Try using patterned paper for the pot or adding a small name label if you want the finished craft to feel more personal.
Making several cactus designs in different shapes can also create a cute little paper plant collection for display.
Cactus Craft Challenges
Keeping the cactus shape even can be tricky if the paper shifts while drawing or cutting the main outline.
Small flower or spine details may also be harder to place neatly, especially when the pieces are very tiny.
Using slightly thicker paper helps the cactus stay firm and prevents the body from bending after the decorations are attached.
Laying all the pieces out before gluing can also make the final craft look cleaner and more balanced.
Fun Facts About Cacti
- Cacti are native to the Americas, where many species grow naturally in deserts, mountains, grasslands, and other dry environments.
- Some cactus species bloom only for a short time, and certain flowers may stay open for just one day or night.
- Cacti can have shallow root systems that spread widely, helping them absorb rainwater quickly when it reaches the soil.
- Some cactus flowers can be very large and colorful, even though the plants themselves may look simple and prickly.
- Many cacti grow slowly, and some species can live for many decades when conditions are suitable.
- Certain cacti can produce edible fruits, while others are mainly valued for their unusual shapes and flowers.
FAQs
Can I Turn This Cactus Craft Into Desk Decor?
Yes, you can place the finished cactus on a small paper base and use it as a simple decoration for a desk or shelf.
Add a small paper pot underneath if you want the craft to look more like a real potted cactus.
Because the craft is lightweight, it is easy to move around whenever you want to change the display.
Can I Make a Cactus Garden With Several Crafts?
Yes, you can make several cactus shapes in different sizes and arrange them together like a small paper cactus garden.
Use different flowers, pot colors, and cactus shapes so the group looks varied instead of repeating the same design.
This works well for classroom displays, room decor, or a larger craft project made from several separate cactus pieces.
You may also like to make!