


Layering colorful paper leaves is a simple way to slow down and enjoy a creative project without spending hours at the craft table.
Mix warm fall shades or unexpected colors to give each leaf more character while creating a full, textured seasonal design.
Only a few basic craft tools are needed, keeping the project approachable for kids, beginners, and classroom crafting sessions.
The fun comes from arranging every leaf differently until a handful of paper pieces becomes a fall design that feels completely your own.
Let’s jump in!
- Can You Use Leaf Paper Crafts for Kids’ School Projects?
- Material Needed:
- Step-by-Step Guide
- 1. Fold Yellow Paper
- 2. Draw Straight Lines
- 3. Cut Paper Strips
- 4. Make Leaf Shape
- 5. Cut More Leaves
- 6. Fold Each Leaf
- 7. Arrange Leaf Branch
- 8. Glue Leaves Together
- What Type of Paper Works Best for Leaf Paper Crafts?
- How Do You Make Leaf Crafts with Kids Without the Mess?
- FAQs
- Can I Make Leaf Paper Crafts Without Colored Paper?
- How Long Does a Paper Leaf Craft Take to Make?
Can You Use Leaf Paper Crafts for Kids’ School Projects?
Leaf paper crafts are one of those easy things that you can use and you would find them just wonderful for kids’ school assignments.
If you try them, you’ll see they are colorful, inexpensive, and easy to create, and you can easily use them for fall-themed lessons.
When you look at nature activities and classroom art sessions, you will notice they often include leaf crafts.
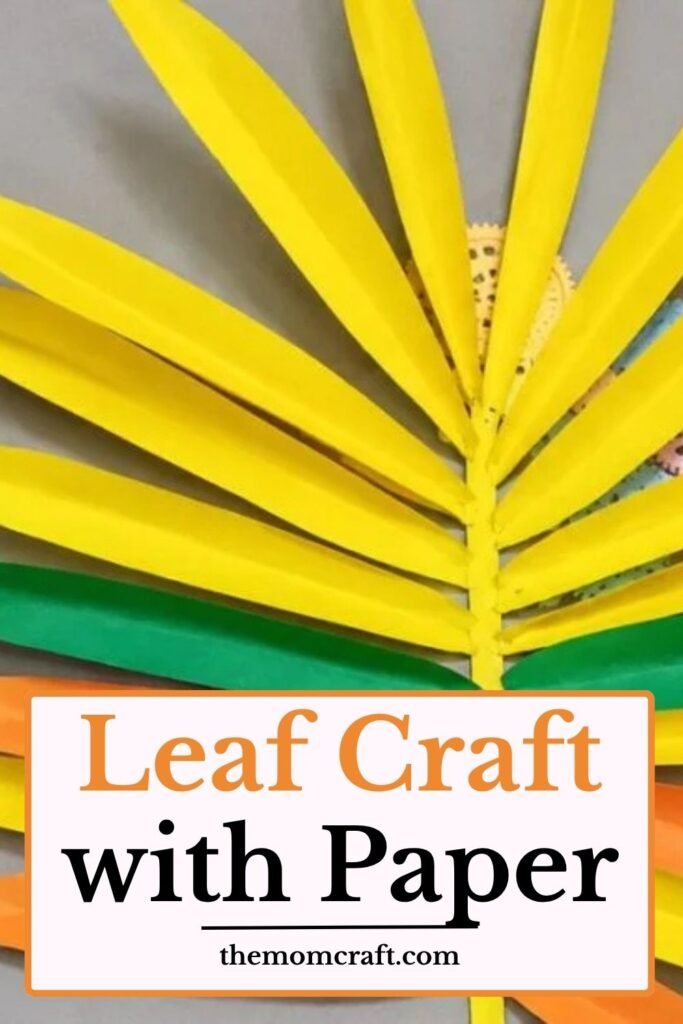
Because you can let kids practice cutting, folding, and arranging shapes in imaginative ways all at once.
If you use this craft, you’ll love that it doesn’t require fancy equipment, so you can feel far less stressed as a parent during busy school weeks.
When your project topic changes, you can still adapt it because you can make leaves in varying sizes and colors.
You might even turn them into charts, greeting cards, or school displays.
Material Needed:
- Yellow craft paper
- Green craft paper
- Orange craft paper
- Glue
- Scissors
- Pencil
Step-by-Step Guide
1. Fold Yellow Paper
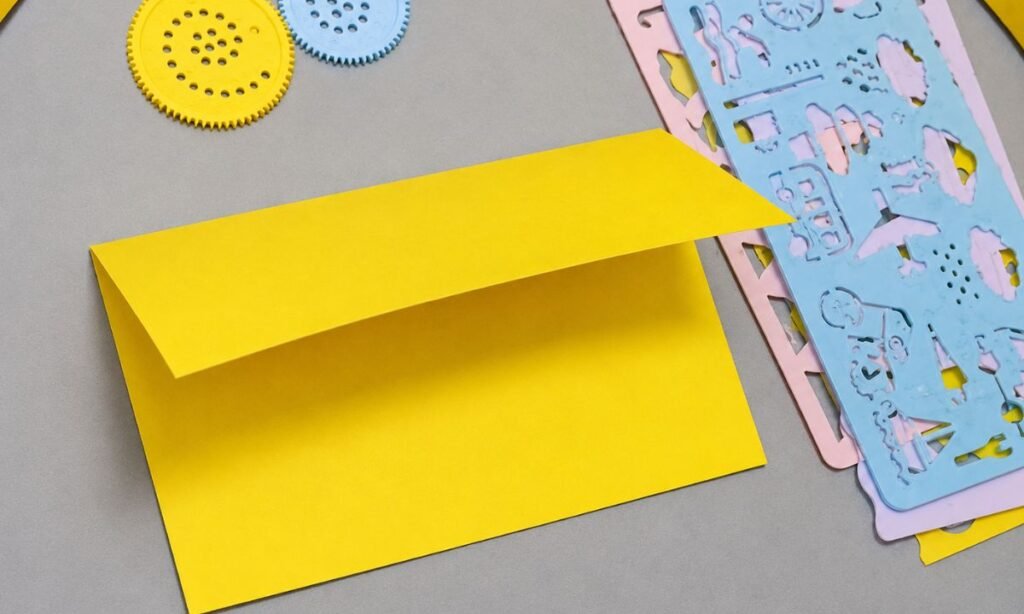
When you start, you can take a yellow piece of paper and you can fold one side in to create a long strip.
If you do this carefully, you can use this folded part as the middle base where you will later join all your paper leaves.
You should try to keep the fold straight, but if it isn’t perfect.
You don’t need to worry because when you make it by hand, you can still get that sweet, natural beauty.
When you choose yellow as your base, you might notice how well it can match fall shades like orange and green, and you can feel the whole look coming together.
If you complete this first step, you’ll see it may look simple, but it can help you build a neat, branch-like shape for your leaf craft.
2. Draw Straight Lines
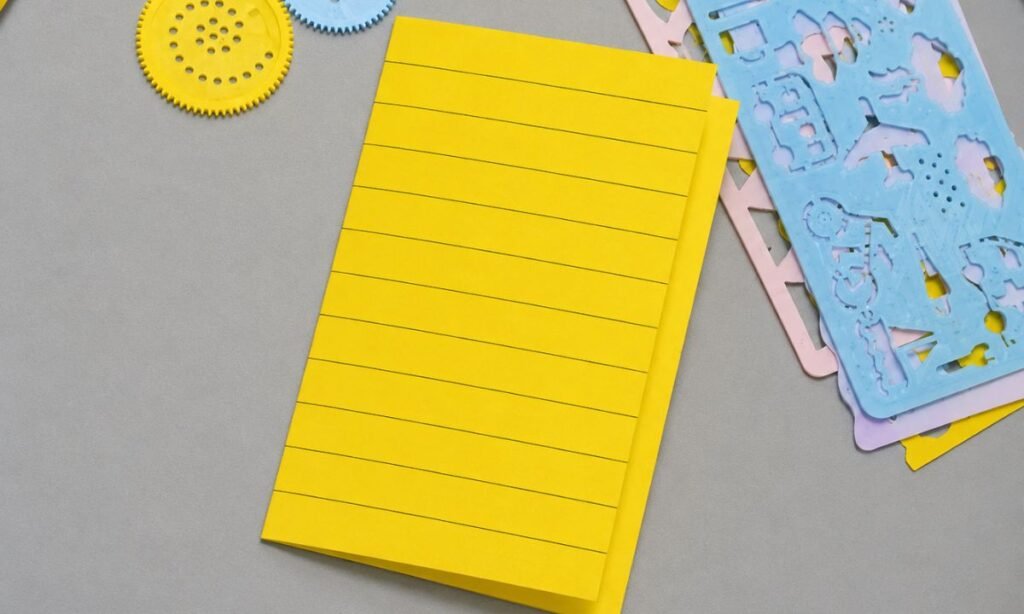
Now you can take a pencil and you can draw straight lines on the folded yellow paper, and these lines can help you when you start cutting the strips.
If you space them out evenly, you can get a more balanced look, but if you want a more casual handmade style, you don’t really need to use a ruler.
When you prefer things neat and tidy, you can use a ruler because it can help you keep everything straight and organized.
I usually draw very light pencil lines so you can easily hide them or erase them later without affecting the final look.
If children are doing this step, it can make things easier for them because they can follow clear cutting lines and you can make the project feel less complicated.
If you follow this pro tip, you can draw the lines lightly so any extra marks don’t show too much on your finished craft.
3. Cut Paper Strips
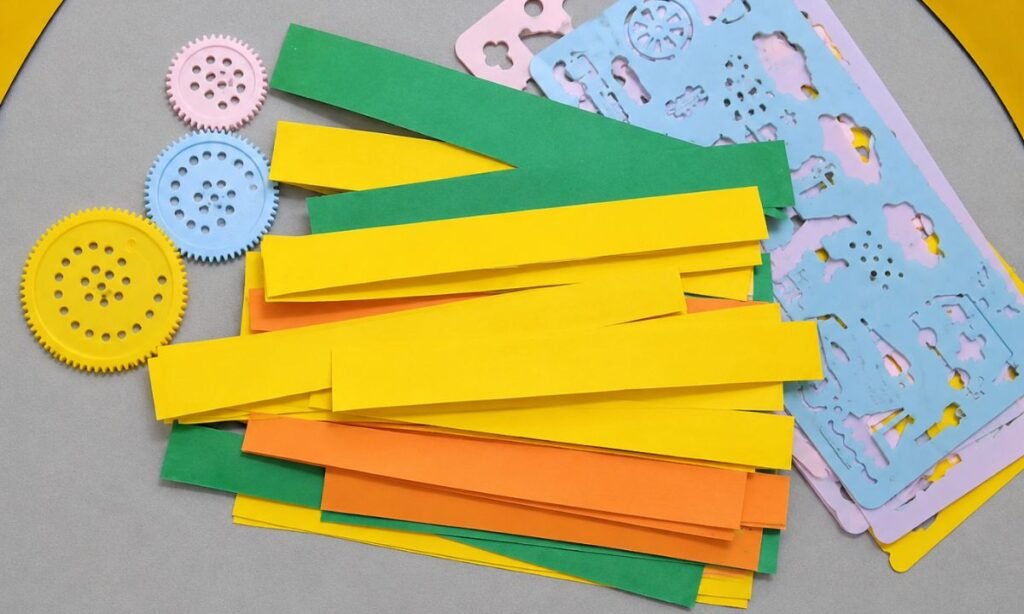
Then you can cut long strips of yellow, green, and orange paper, and you can see how these colors work beautifully together and give your craft a cozy, lush vibe like a small fall branch.
You can make the strips the same width, or you can slightly vary the widths if you want your leaves to look more natural and real.
When you mix different sizes, you might notice how it feels more organic because real leaves are never exactly the same size, and you can actually reflect that in your craft.
As you work, you can keep all the strips in small color stacks so your table doesn’t get too messy, and you can stay more organized.
If kids are helping, you can make it easier for them because they can quickly choose the colors they like without confusion.
If tiny hands are involved at this stage, you should use safety scissors so you can keep everything safe and simple.
4. Make Leaf Shape
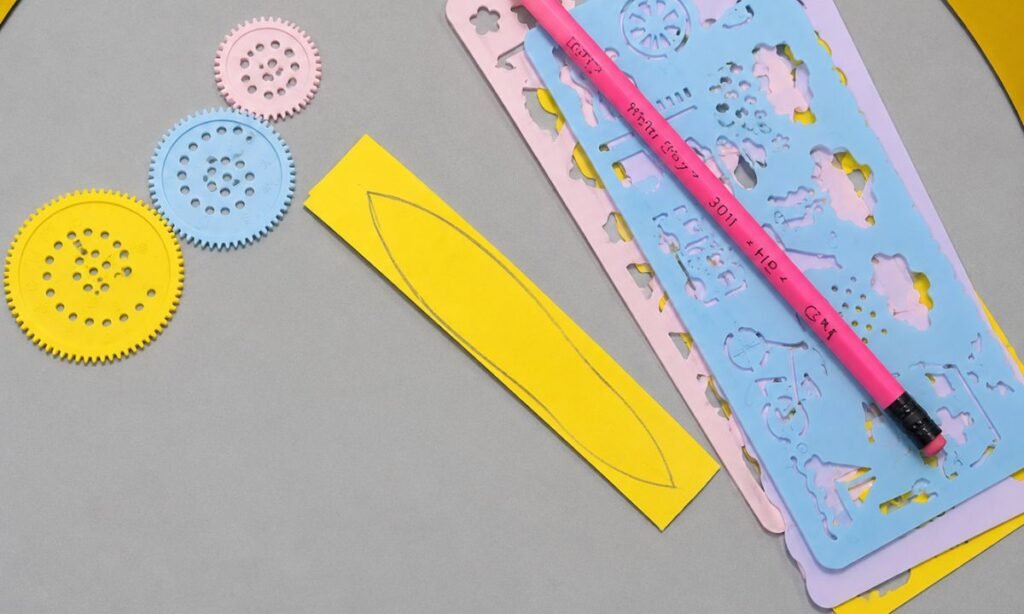
When you take a yellow strip, you can sketch a simple leaf shape on it, and you can decide if you want it long and pointed like a petal or a bit rounded if you’re going for a softer look.
If you draw the first leaf carefully, you can cut it out, and you can use it as a small template for the rest of the leaves so you can save time and keep all the shapes more consistent.
When you start repeating the shape, you don’t need to worry if every leaf is perfect because those slightly rough edges can actually make your craft look more natural and handmade.
If you notice closely, you might even like those small imperfections because they can give your work a more real, crafted feel.
Once you get your first leaf ready, you can better understand the size you want to aim for, and you can continue more confidently from there.
5. Cut More Leaves
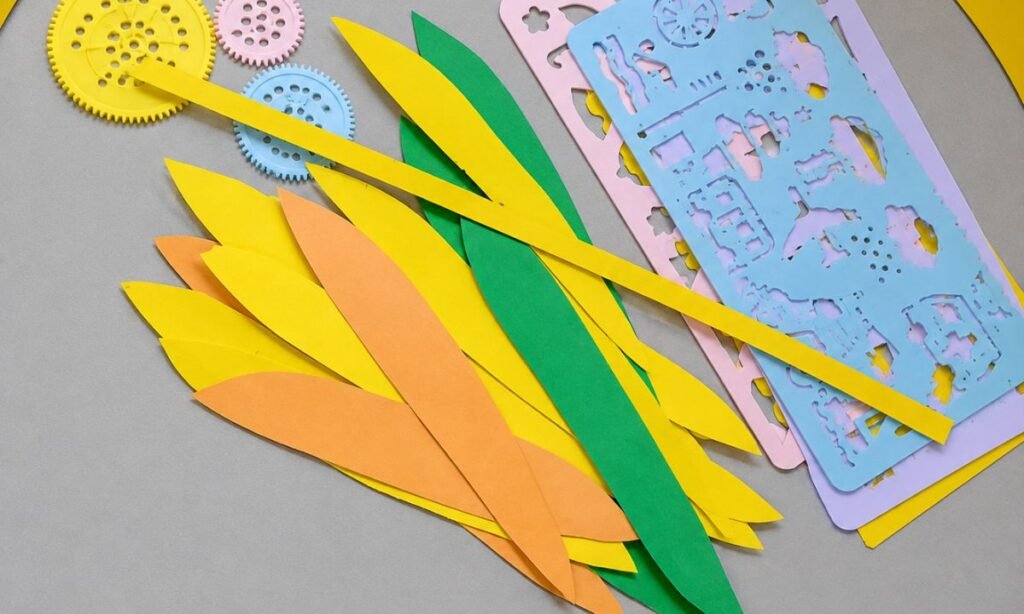
When you use the initial leaf shape as your reference, you can cut several leaves from the yellow, green, and orange paper strips, and you can slowly see your craft start coming alive.
If you work through this stage, you might feel it takes a little time, but you can also enjoy it because you get to watch all those beautiful colors come together.
When your paper isn’t too thick, you can even stack a few strips and you can cut several leaves at once, so you can save time and make the process easier.
If you like being prepared, you can keep some extra leaves ready because it can be quicker to add more later instead of stopping in the middle and cutting again.
If you follow this pro tip, you should cut a few extra leaves in each color so you can easily fill any empty spaces when you arrange your final branch.
6. Fold Each Leaf
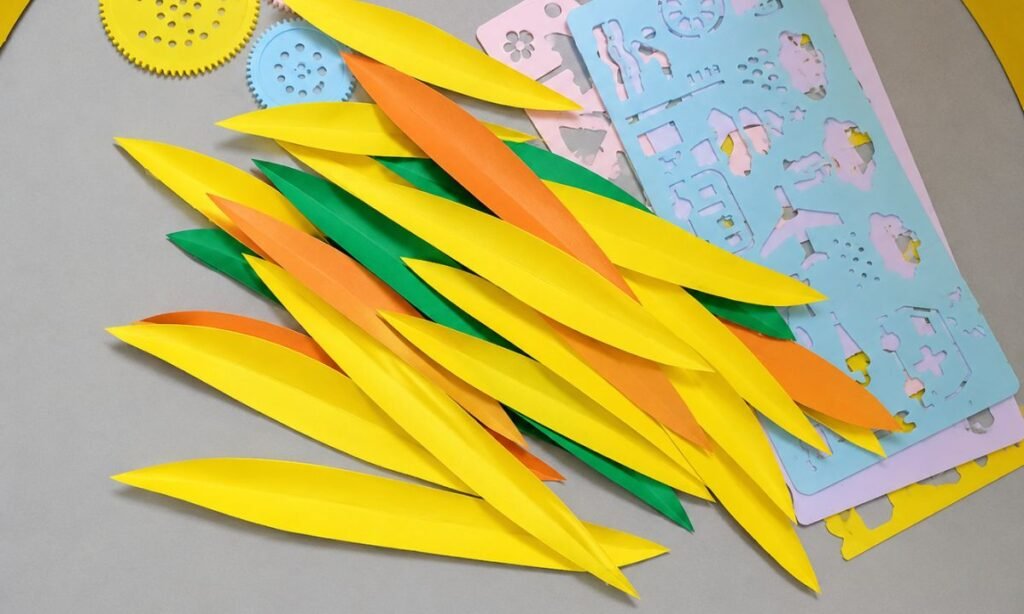
When you cut out all the paper leaves, you can then fold each one gently in the middle, and you can start seeing them take a more natural shape.
If you do this small fold, you can give each leaf a soft contour so it doesn’t look flat anymore, and it can feel more realistic.
When you line up both sides, you can simply press them together and then you can lightly press down the middle with your finger.
You don’t need a perfect fold here because a soft, smooth crease is enough to make your leaf look more attractive.
If you complete this simple step, you might notice how something so easy can make a big difference in the final look of your craft.
7. Arrange Leaf Branch
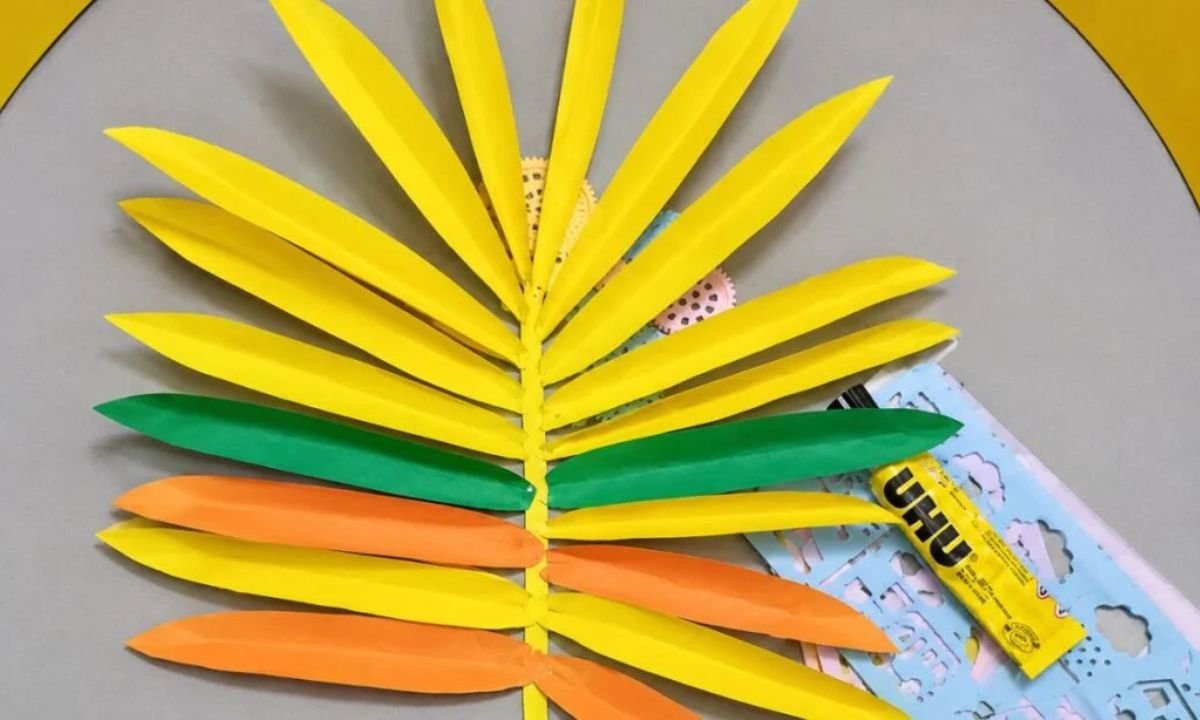
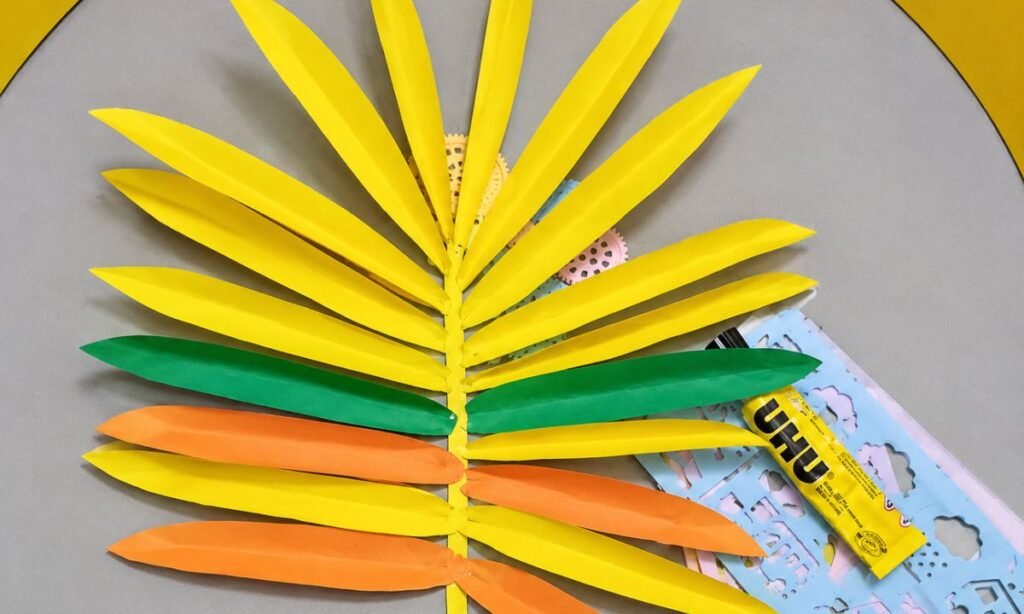
Now you can start placing the folded leaves one by one on the central strip, and you can slowly see a branch-like form start to build in your hands.
If you arrange them gradually, you can layer the leaves in a way that makes your creation look more complete and naturally beautiful.
You can easily swap the colors around, or you can group similar shades together depending on the style you want to create.
When I work on this, I like to place green leaves between yellow and orange ones so you can get a more lively and balanced look overall.
If something doesn’t feel right, you can simply shuffle the leaves around until you’re fully comfortable with the design before you even think about glue.
This small trial-and-error stage can actually feel quite fun, and you can avoid mistakes before anything becomes permanent with glue.
8. Glue Leaves Together
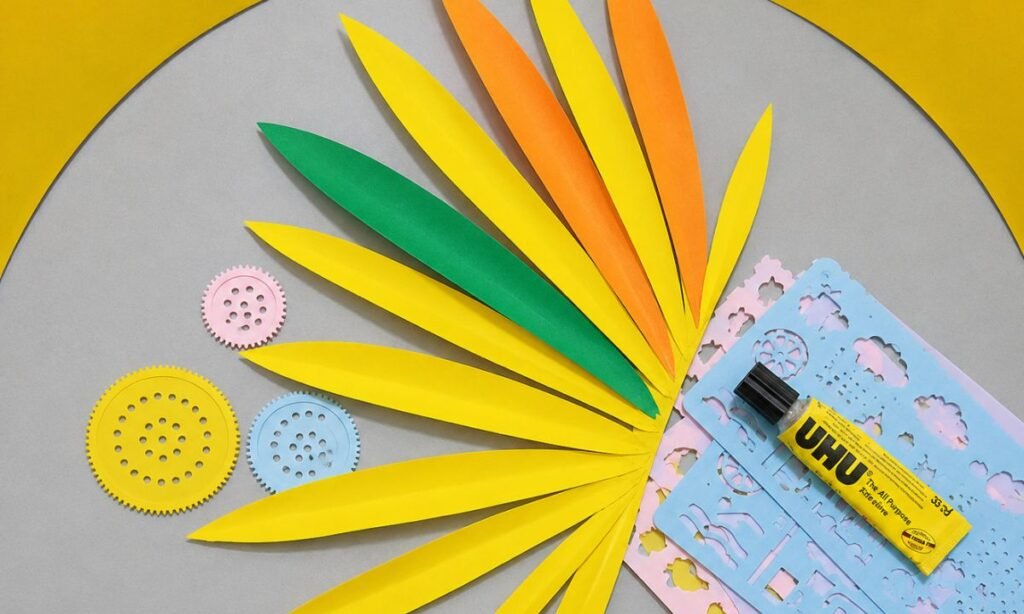
And finally, you can paste all the leaves on the central folded strip to complete your paper leaf craft, and you can start from one end so you can build it step by step.
If you add the leaves gradually, you can press each one lightly so it sticks properly and stays in place.
You should not use too much glue because if you do, you might notice thin paper can wrinkle when it gets too wet.
When everything is fixed, you can let your craft dry flat for a few minutes so it can settle properly.
If it dries well, you can then use it for your school project, or you can display it on a wall, or you can even turn it into a greeting card or seasonal decoration.
What Type of Paper Works Best for Leaf Paper Crafts?
The great thing about when you make leaf paper crafts is that you don’t need expensive supplies, and you can still make them look really nice.
If you choose colored construction paper, you can find it lightweight, easy to fold, and simple for youngsters to cut with scissors.
When you want brighter colors and sturdier leaves, you can use construction paper because it can give you a stronger and more vibrant result.
If you are making this craft for wall décor or classroom presentations, you might prefer a slightly thicker cardstock so you can help the leaves keep their shape better.
You should avoid very thin paper because it can tear easily when you fold or glue it, and you would want your craft to stay neat and lasting.
How Do You Make Leaf Crafts with Kids Without the Mess?
Leaf crafts with kids can be fun and stress-free if you do a little prep work before you start.
When you set everything out on a tray or even an old newspaper, you can make the whole process cleaner before you even bring out paper and glue.
If you divide paper strips, scissors, and glue into small containers, you can avoid that big messy pile of supplies spreading all over the table.
When you’re working with younger kids, you can pre-cut a few leaf templates beforehand, and it can make the activity go a lot smoother and faster.
If you use washable glue sticks instead of liquid glue, you can keep things far less messy and much easier to handle.
I’ve also noticed that if you give each kid their own color pile, you can reduce arguments and keep craft time more peaceful and organized.
FAQs
Can I Make Leaf Paper Crafts Without Colored Paper?
Yes, of course, you can if you don’t have colorful paper at home, you can easily use plain white paper and you can color it yourself.
If you want, you can use crayons, markers, watercolor paints, or colored pencils, and you can turn simple sheets into something bright and creative.
When you do this, it can feel even more fun for youngsters because you can make your own colored leaves instead of relying on ready-made paper.
If you want more variety, you can also use old magazines, scrapbook paper, or even recycled wrapping paper, and you can still create beautiful results with what you already have at home.
How Long Does a Paper Leaf Craft Take to Make?
This craft is super beginner-friendly, and you can usually complete it in about 30 to 45 minutes depending on how many leaves you decide to add.
If you are doing this with kids, it might take a bit longer because you can let them explore different ways to decorate and arrange the leaves in their own creative style.
When you prepare everything beforehand, you can save a lot of time, so having the paper pieces ready before you start can be a really helpful time saver.
You may also like to make!