

One afternoon, I pulled our some color paper to make a quick craft with kids. I want something simple, a little spooky, and fun to keep everyone interested.
So, I stop thinking and choose a paper spider craft. I cut our the pieces, added the wiggly legs and gave my spider a pair of silly eyes.
In this tutorial I am going to teach you how I do that step by step along with my orignal craft images that are not too perfect but still fun.
Let’s jump in!
- Can This Spider Paper Craft Be a Fun Summer Activity for Kids?
- Materials Needed:
- Step-By-Step Guide
- 1. Cut Paper Pieces
- 2. Paste Spider Legs
- 3. Flip Body Over
- 4. Fold Paper Legs
- 5. Add Face Circle
- 6. Draw Cute Face
- Can You Make This Spider Craft Using Only Supplies at Home?
- How Can You Make Your Spider Craft Look More Cute Than Scary?
- FAQs
- What Can Kids Learn From This Spider Paper Craft?
- How Do You Store or Use This Spider Craft After Making It?
Can This Spider Paper Craft Be a Fun Summer Activity for Kids?
Yes, of course, you can really use this spider paper craft whenever youngsters tell you “I’m bored,” and you can instantly turn that moment into something fun.
If you’re spending summer breaks or even dull weekends at home, you can rely on this idea. Because you don’t need a lot of setup, and you can keep things simple for you and the kids.
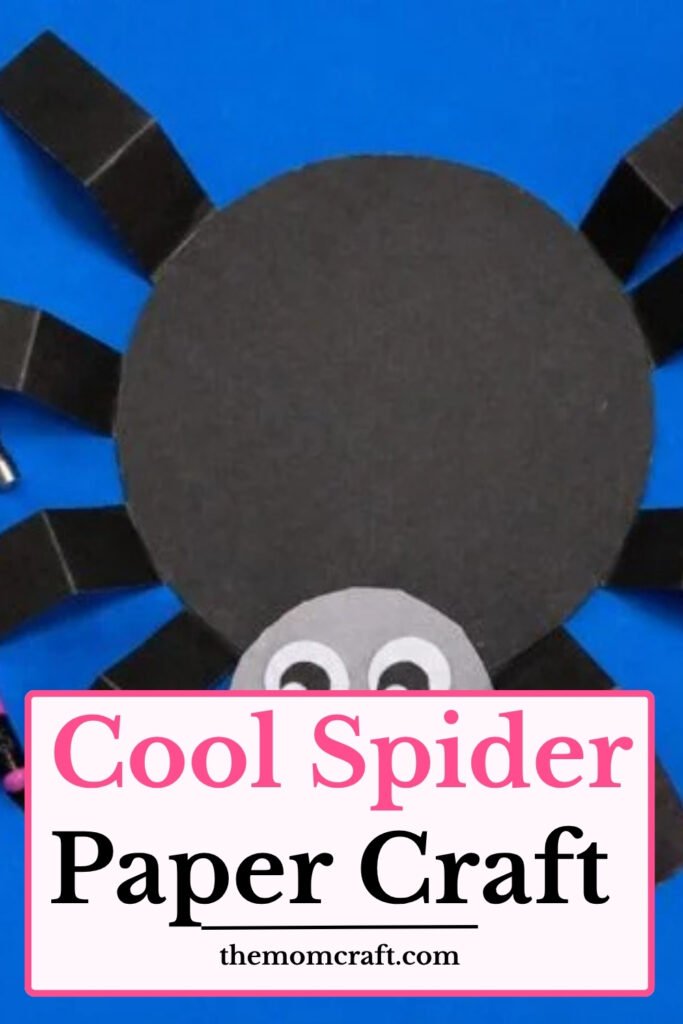
And you can start it in just a few minutes, which you will find really helpful on hectic days when you just want something quick and easy to do with them.
I’ve done it as a quick afternoon activity, and you can see how the kids stay happy doing it without devices, which for you is usually a big win.
The best part is that you can keep it so easy that youngsters can understand it. And you can still make it enjoyable enough that you won’t feel it’s boring at all.
Materials Needed:
- Black colored paper
- White or grey paper
- Glue
- Scissors
- Pencil
- Black marker
Step-By-Step Guide
1. Cut Paper Pieces
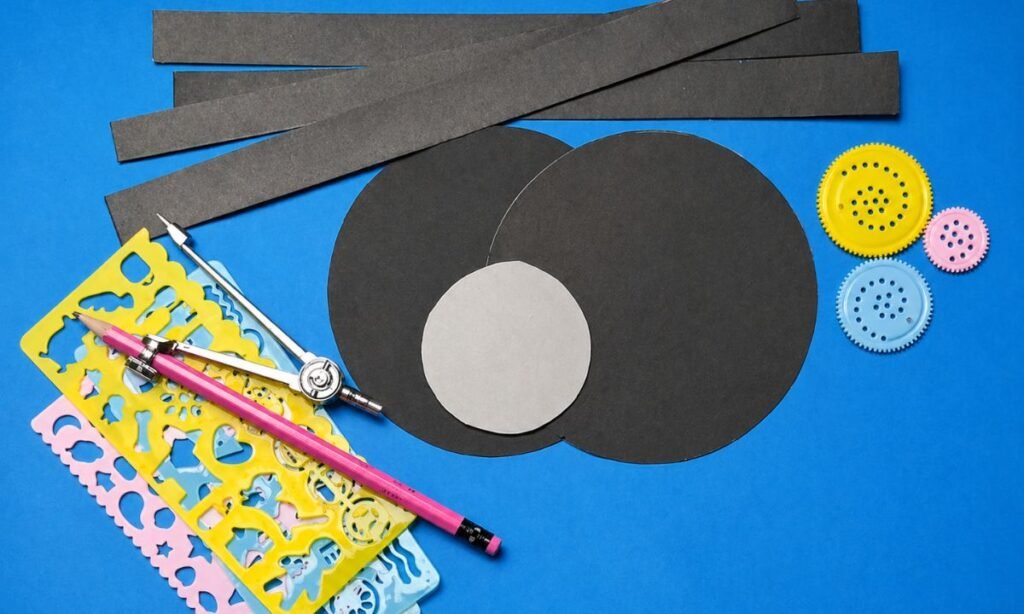
You can start by cutting out a big black circle for the spider’s body, and you will see this becomes the main part of your whole creation.
If you want your spider to look balanced, you should make sure you keep the circle big enough so the legs and face can fit nicely, and you can easily adjust it as you go.
When you need a perfect circle, you can simply trace around a lid, bowl, or cup, and you will get a clean shape without any stress.
After that, you can cut long black strips of paper to make the spider’s legs, and you will see how quickly your craft starts to come alive.
You can try to keep the strips the same size, but if they are not perfect, you don’t have to worry because it will still look great.
If kids are helping you, you can let them join this stage too, especially. When they are old enough to safely use scissors, and you will notice they enjoy being part of it.
2. Paste Spider Legs
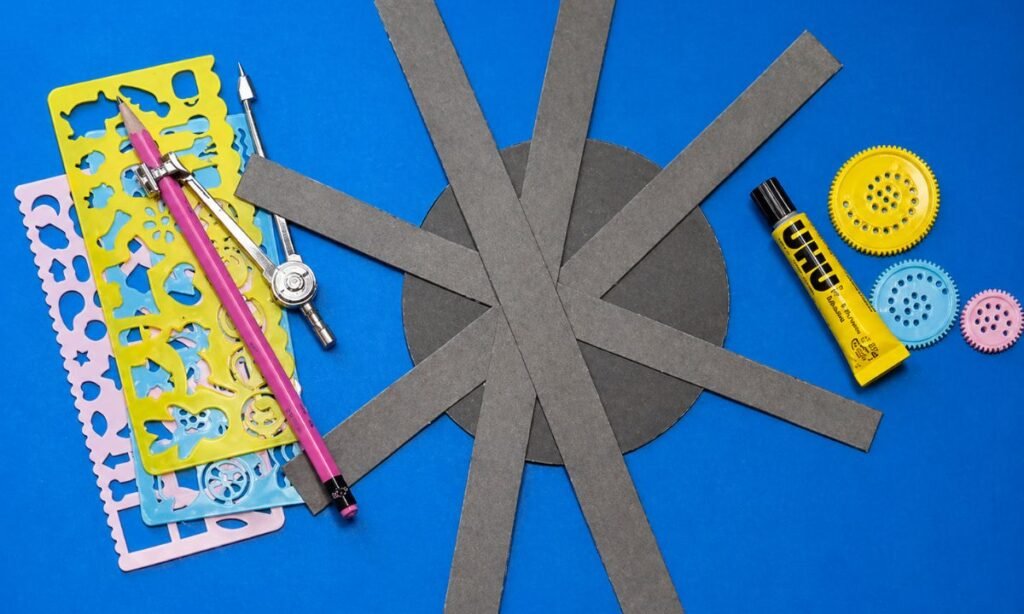
Next, you can place the black paper strips behind the large black circle, and you can position them carefully on the sides so they start to look like spider legs coming out of the body.
You can add four strips on each side if you want a fuller look, or you can use fewer if you want to keep it simple for younger kids, and you can easily adjust it to match what you feel is right.
If you like a cleaner result, you can first place the strips in position without gluing them, and you can check how you want them to look before fixing anything.
Once you feel comfortable with the placement, you can glue them down properly and let them sit for a minute so everything stays in place.
If you want less mess, you can use a glue stick instead of liquid glue, and you will find it much easier to handle.
3. Flip Body Over
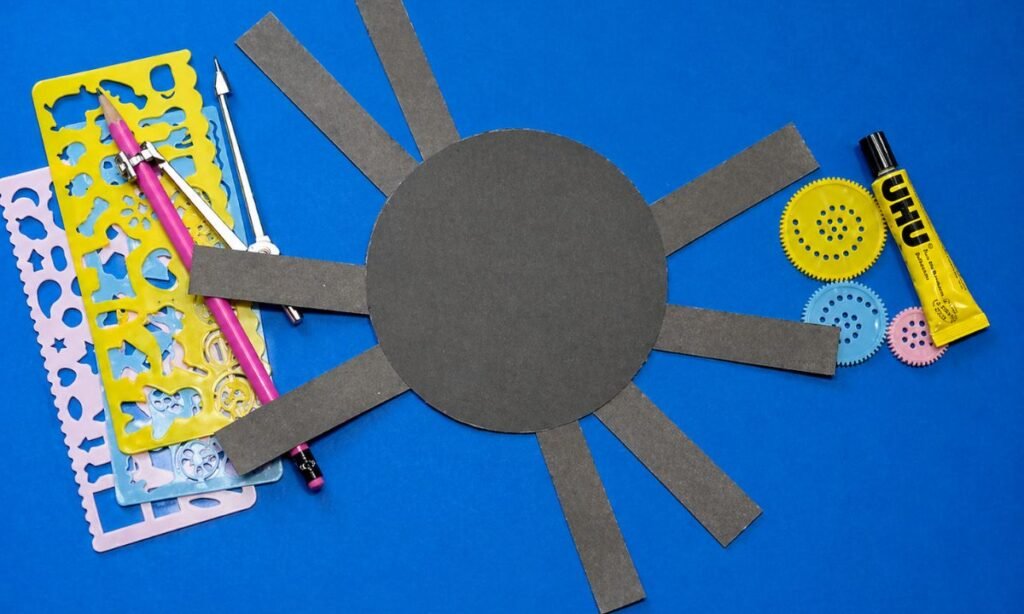
After you glue the legs in place, you can flip the spider over so the big black circle is now facing up on top.
This small step can make a big difference for you because it helps your craft look much cleaner, and you can keep the joined ends of the legs hidden at the back.
When you do this, you will notice the front of your spider looks more neat, more finished, and you can actually feel it coming together nicely.
At this stage, your spider will already start to look a bit funny and even a little silly, and you might find that kids really enjoy that playful look.
If you see any legs looking uneven, you can gently adjust them while the glue is still wet, and you should fix them quickly so everything stays in place the way you want.
4. Fold Paper Legs
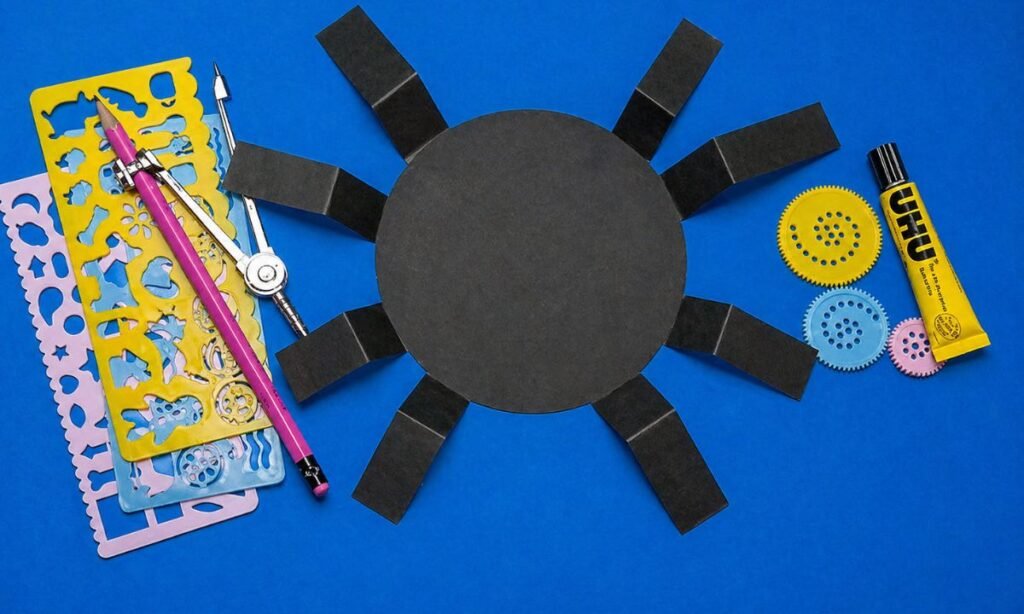
Now you can fold a little bit of each paper leg so it starts to look a bit bent and more 3D, and you can instantly see the spider come to life in your hands.
You don’t have to fold them fully, you can just give each strip a small bend, and you will notice how your spider starts looking like it is actually standing or crawling.
If kids are working with you, you will see they really enjoy this part because you can literally watch a flat paper spider turn into something with shape and movement.
You can fold the legs in different directions up, down, or even in a zigzag style, depending on how you want your spider to look, and you can make it your own way.
If you are folding gently, you can avoid tearing the paper, especially when kids are using thinner craft sheets, so you should take your time and bend softly.
5. Add Face Circle
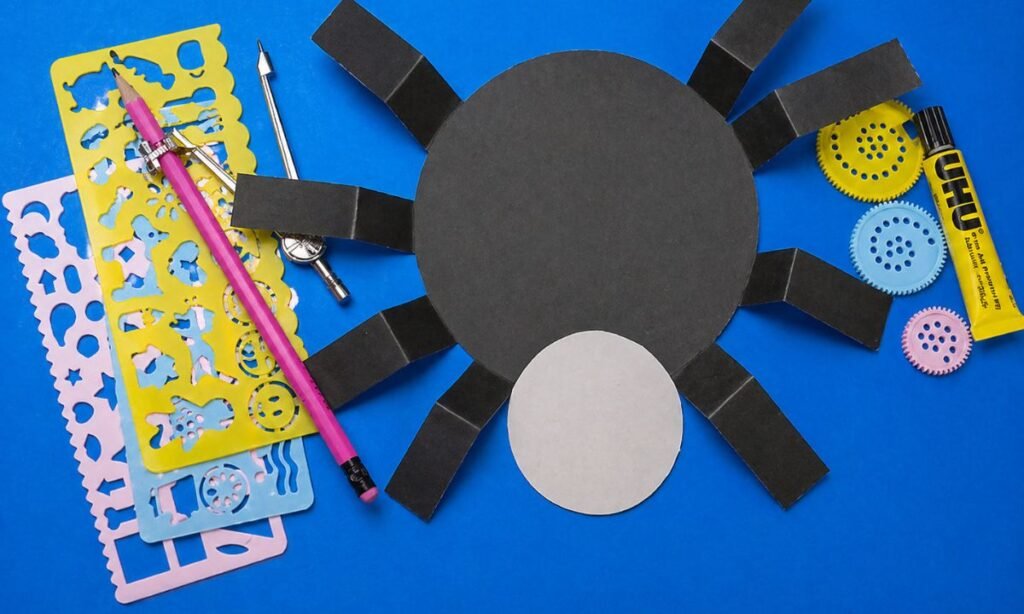
Next, you can cut a tiny grey or white circle, and you can place it close to the bottom of the big black circle so it starts forming the spider’s face.
You will see how this small detail changes everything, because you can give your spider a cute little personality just with this step.
If you want the shape to be perfect, you can simply trace around a small lid or bottle cap, and you can get a neat round circle without any struggle.
You might prefer using a lighter shade here because you can make the smile and eyes stand out more clearly, and you will notice the contrast looks much better.
Once your small circle is ready, you can glue it onto the black body, and you should press it down gently so it sticks properly and stays in place.
6. Draw Cute Face
And now you can move on to the best part, you can create the face, and you can really make your spider come alive here.
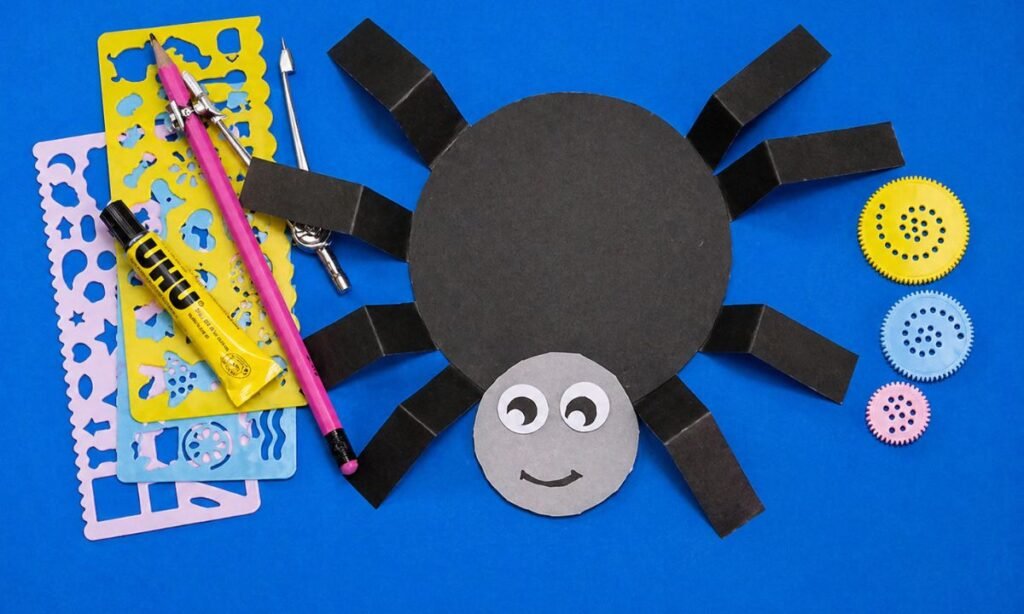
You can either cut small pieces of paper for the eyes, or you can simply use a marker, and you can draw them in your own style.
If you add just a small smile, you will notice how your spider instantly looks charming instead of scary, and you can completely change its whole personality with that one detail.
This is the stage where kids can really enjoy themselves, because you can let them design their spider however they want, and you will see each one turning out different and unique.
If some people want a happy, joyful spider and others want a funny or silly one, you can allow that freedom, and it still works perfectly.
You can even go further if you want a more playful look, you can add cheeks, eyelashes, or even tiny teeth, and you will see how creative your spider can become.
Can You Make This Spider Craft Using Only Supplies at Home?
Yes, and you can really see that this is one of the nicest parts of this spider craft, because you don’t need anything fancy or hard to find to make it work.
You can usually just use simple things like colored paper, glue, scissors, and a marker. And you’ll often find that you already have them lying around at home without even trying.
If you don’t have black paper, you can still make it work by coloring white paper, or you can reuse old craft sheets, and you can still get a great result.
I’ve made it myself using just whatever I had at home, and you can do the same, and you’ll be surprised how it still turns out really cute and adorable.
How Can You Make Your Spider Craft Look More Cute Than Scary?
If you’re making this with kids, you can easily guide it so the spider looks cute instead of scary, and you’ll notice how much more fun it becomes for you and them.
You can do this really easily because the trick is all in the small details that you choose while building it.
If you make the eyes wide and friendly, you will instantly see the spider look more soft and playful. And you can either draw them big or cut them from paper depending on what you prefer.
A tiny smile can completely change the whole personality of the spider, and you can see how quickly it turns from scary to adorable.
You can even go a bit creative with colors, you don’t have to stick to black only, and you can add pink cheeks or colorful legs, and you will notice how much more lively your spider starts to look.
FAQs
What Can Kids Learn From This Spider Paper Craft?
This easy spider project can actually be a really great way to learn without you even realizing it.
When you’re cutting, pasting, and folding, you can see youngsters naturally building their fine motor skills and improving their hand-eye coordination as they work with each piece.
And you’ll notice they don’t even think of it as “learning” while they’re doing it.
It also helps you encourage creativity, especially when kids start adding their own little touches, like funny faces or colorful legs, and you can see how freely they express themselves.
If you watch closely, you’ll see kids becoming really proud of what they’ve made. And you can feel how much confidence they get from such a simple craft.
How Do You Store or Use This Spider Craft After Making It?
There are so many interesting ways you can use your spider once it’s ready, and you can really turn it into something fun instead of just a simple craft.
You can put it on a wall, or you can use it to decorate a bulletin board, or you can even turn it into a little puppet that you can play with whenever you want.
If you want to save it, you can simply keep it inside a folder or a craft box so it doesn’t get crushed, and you can easily bring it out again later.
We even used ours in a small Halloween display, and you can imagine how cute it looked when you placed it with other decorations.
You may also like to make!



