

Those tiny masked faces and fluffy striped tails make raccoons a playful choice when kids want an animal craft with plenty of character.
Paper, scissors, and glue are enough to build the main features, keeping the project manageable without complicated instructions or specialty materials.
Let kids arrange the face and tail pieces themselves, giving them an easy way to practice cutting, matching shapes, and making creative choices.
Add the raccoon to a handmade forest scene afterward, where kids can create trees, leaves, and a few woodland friends to keep it company.
Let’s jump in!
- Can I Use a Raccoon Paper Craft for School Projects or Classroom Displays?
- Material Needed
- Step-by-Step Guide
- 1. Prepare Gray Paper
- 2. Draw Raccoon Shape
- 3. Cut Body Shape
- 4. Cut Detail Pieces
- 5. Add Face Pieces
- 6. Create Facial Expression
- 7. Attach Final Details
- How Can I Make a Raccoon Paper Craft Using Simple Supplies at Home?
- Why Does My Raccoon Paper Craft Look Too Plain or Boring?
- FAQs
- Can I Make a Raccoon Paper Craft With Preschoolers?
- What Colors Work Best for a Raccoon Paper Craft?
Can I Use a Raccoon Paper Craft for School Projects or Classroom Displays?
Absolutely, you can actually find that a raccoon paper craft can work really well for you in school projects or classroom displays.
Especially when you are working on themes like woodland animals, forests, recycling, or wildlife, you can easily use it in a way that fits your lesson.
When you choose raccoons, you can notice how their little masked faces might instantly grab attention for you.
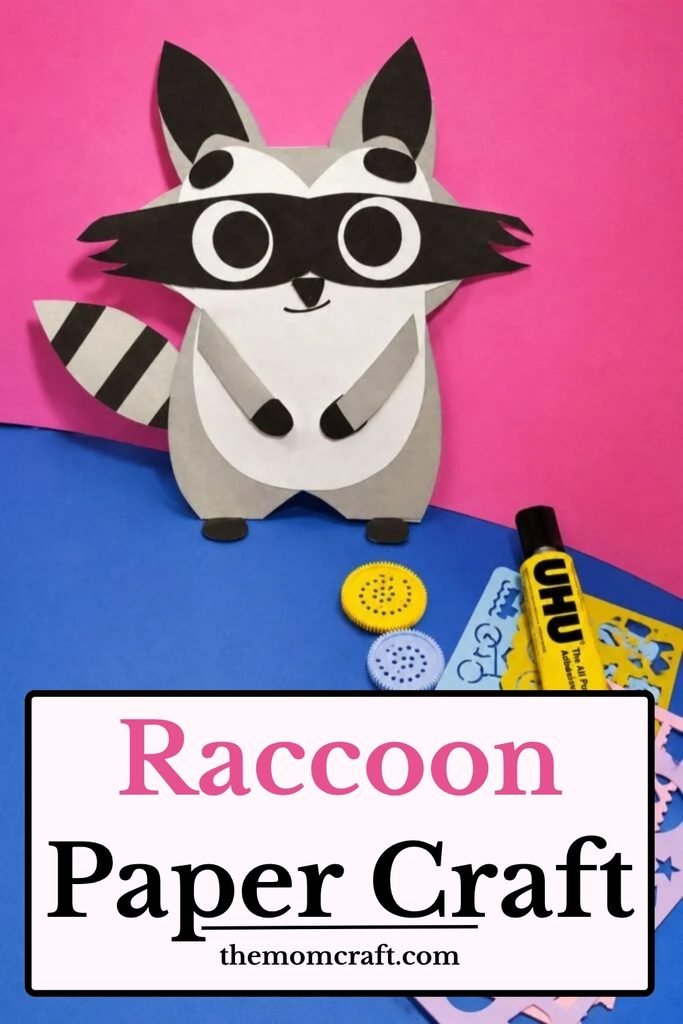
And you might see kids getting more excited because you are letting them create something instead of just doing another worksheet.
If you are in a classroom setting, you can clearly observe how this kind of craft can help you keep children more engaged during animal learning lessons.
Because you are giving them something they can build with their own hands, they will likely stay more focused and involved.
Material Needed
- Gray craft paper
- White craft paper
- Black craft paper
- Scissors
- White and black paper or googly eyes
Step-by-Step Guide
1. Prepare Gray Paper
You can start by taking a gray sheet of craft paper and you can place it flat right on your table, because this gray sheet is going to become the main base for your raccoon body for you.
When you are choosing the shade, you should pick a soft, natural gray so your raccoon can look more real and pleasing to you.
If you smooth the paper with your hands first, you can make things easier for yourself, because you might notice that little folds can make drawing or cutting harder for you later on.
You should keep your pencil, scissors, glue, and colored paper close to you before you even begin. Because when everything is already near you, the whole craft process can feel much smoother for you.
If kids are joining you, you will find that having all your tools in one place can make the activity feel more organized and a lot easier for you to manage.
2. Draw Raccoon Shape
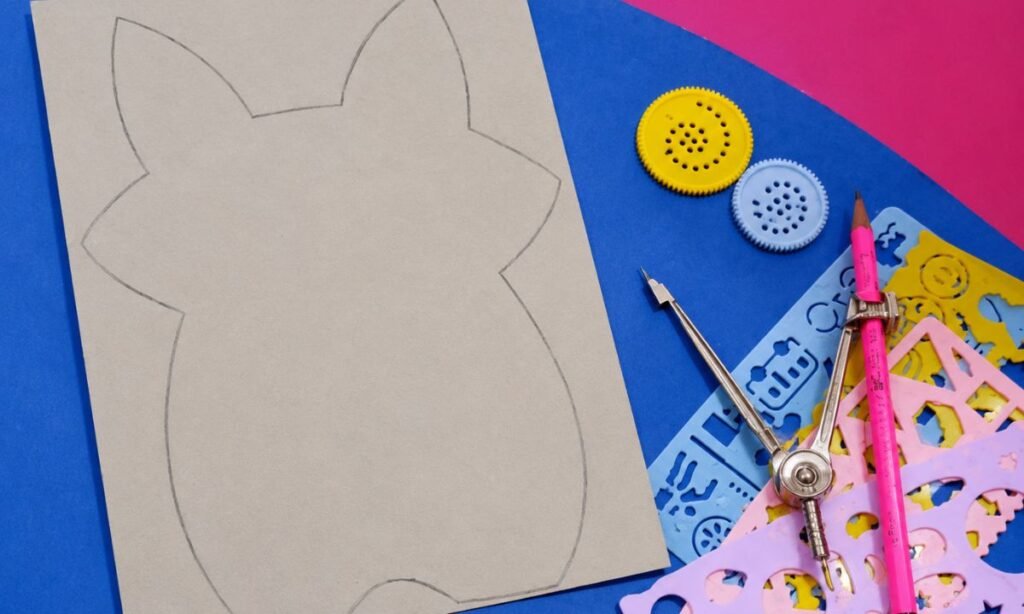
You can now draw the raccoon body shape on the gray paper using your pencil, and you should keep it simple and relaxed while you do it for yourself.
If you make a rounded body with two small ears at the top, you can easily get that soft teddy-bear kind of shape that still feels cute for you.
You don’t need to stress about perfection because you will notice that paper crafts often look more charming when you allow that handmade touch to stay in for you.
When you are drawing, you should keep the body a little wide so you can later add the face, mask, paws, and small details without feeling cramped for yourself.
3. Cut Body Shape
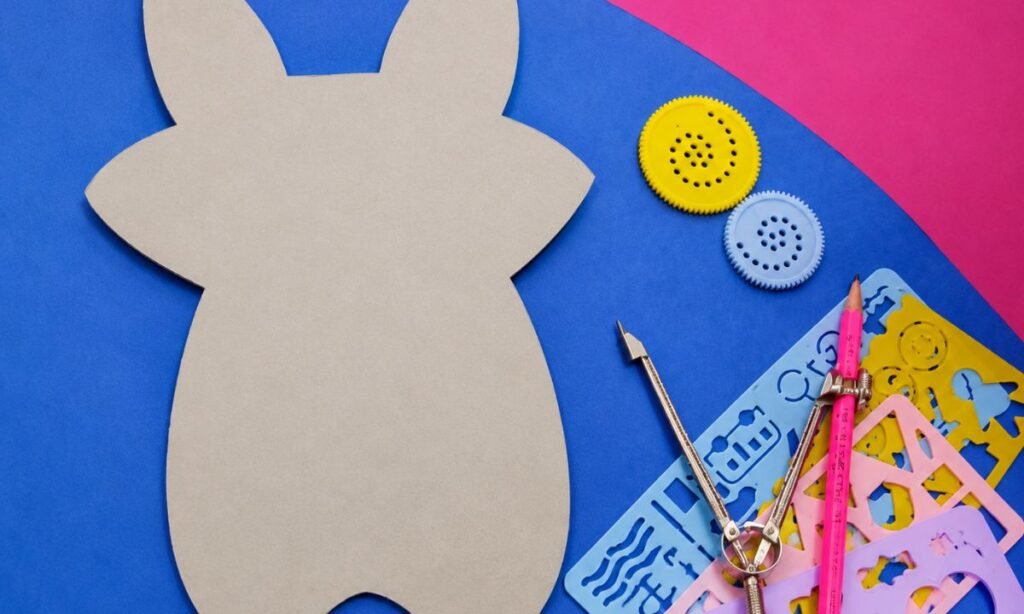
Once you are happy with your raccoon outline, you can carefully start cutting along the pencil lines, and you should take your time so you don’t rush through it for yourself.
If you go slowly around the ears and curved edges, you can keep the body shape neat and clean-looking for yourself.
If kids are making this craft with you, you might want an adult to help you here, especially when you are handling the smaller or trickier parts.
After you finish cutting, you can place the body flat on your table and you should take a moment to check it, because you might notice small edges that need a tiny trim for yourself.
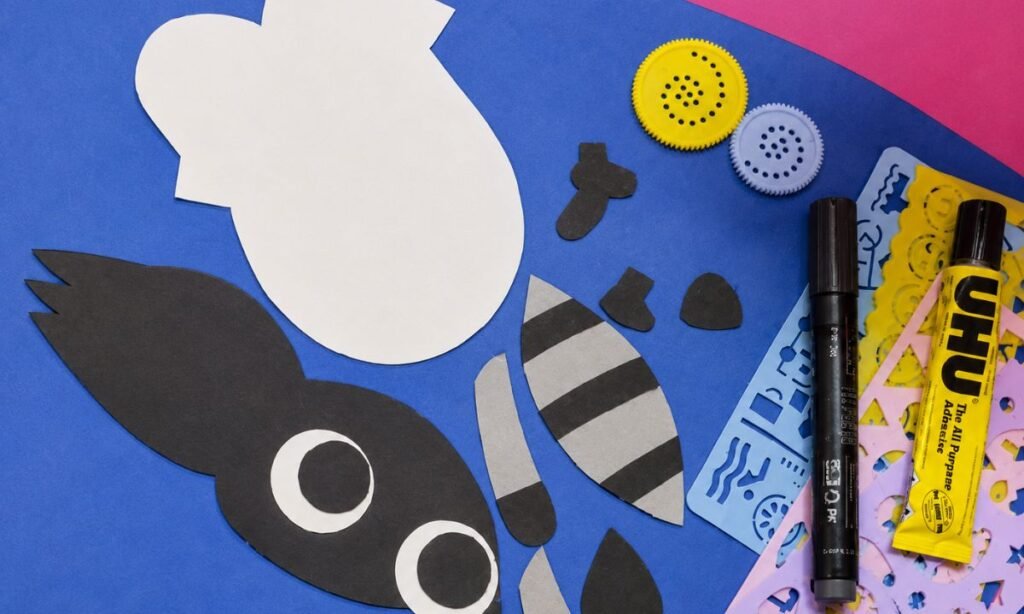
4. Cut Detail Pieces
Next, you can start cutting out all the smaller raccoon pieces from colored paper, and you should take your time so each part feels neat for you.
You will need a white face piece, a black or dark gray mask, eyes, a nose, tail, paws, feet, and even small ear details for yourself.
And when you prepare all of these, you can see how your raccoon slowly starts coming together for you.
The tail can be shaped as a curved gray piece, and you can add darker stripes on top so it feels more real and recognizable for you.
If you handle each piece carefully, you can make the whole craft look more clean and finished in your own way. I usually like to lay all the pieces around the body before I start gluing.
5. Add Face Pieces
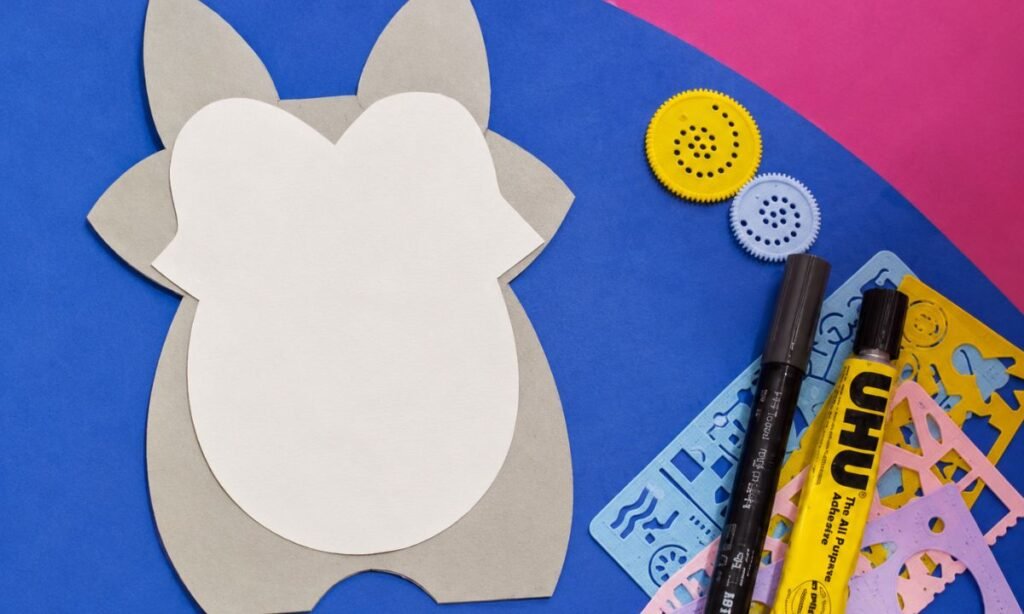
Now you can glue the white face piece onto the top part of the raccoon body, and you should press it gently so it sticks flat without any wrinkles forming for you.
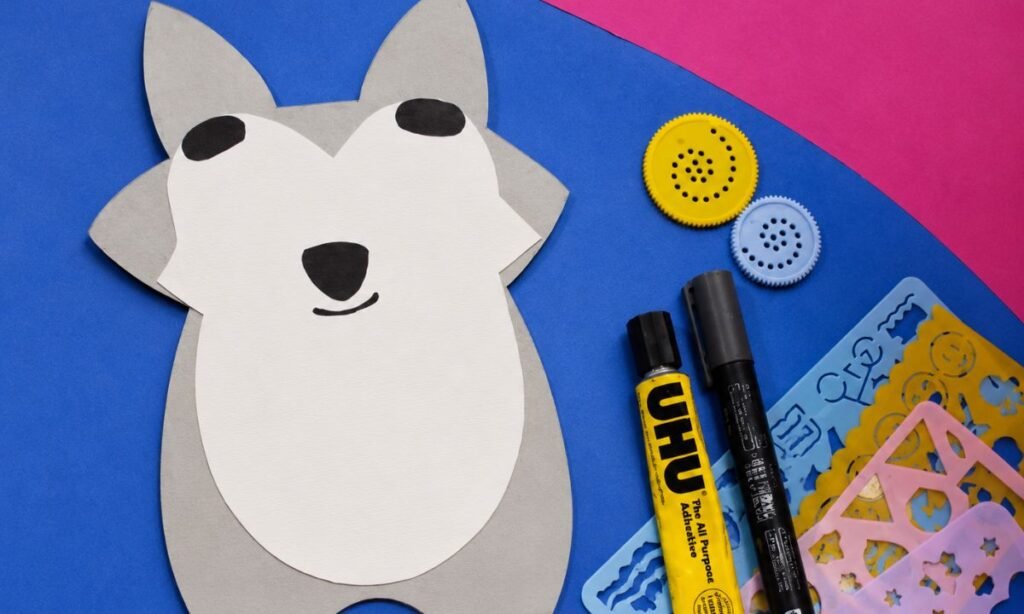
After that, you can add the nose and eye details in the right spots, and if you adjust them carefully before the glue dries, you can actually shape the whole personality of your raccoon for yourself.
When you are working on the face, you will notice how this is the part that really brings your craft to life for you, so you should take a moment and place everything in a way that feels right for you.
You can keep the eyes simple and round, or you can make them slightly bigger if you want a cuter look for your raccoon.
6. Create Facial Expression
After you get the main face pieces in place, you can start drawing or attaching the small facial features, and you should use a black marker so you can control the details easily for yourself.
You can add a smile, tiny whisker dots, or little lines around the nose, and when you do this, you might notice how such small touches can completely change the look of your raccoon for you.
If you want a playful expression, you can draw a tiny curved smile, and you will see how it instantly makes your craft feel more lively for you.
If you want a shy and soft look, you can keep the mouth smaller, and it will give your raccoon a gentle personality that you control.
When kids are making it, you should let them choose the expression because you will find that it makes their craft feel more personal and special for them.
7. Attach Final Details
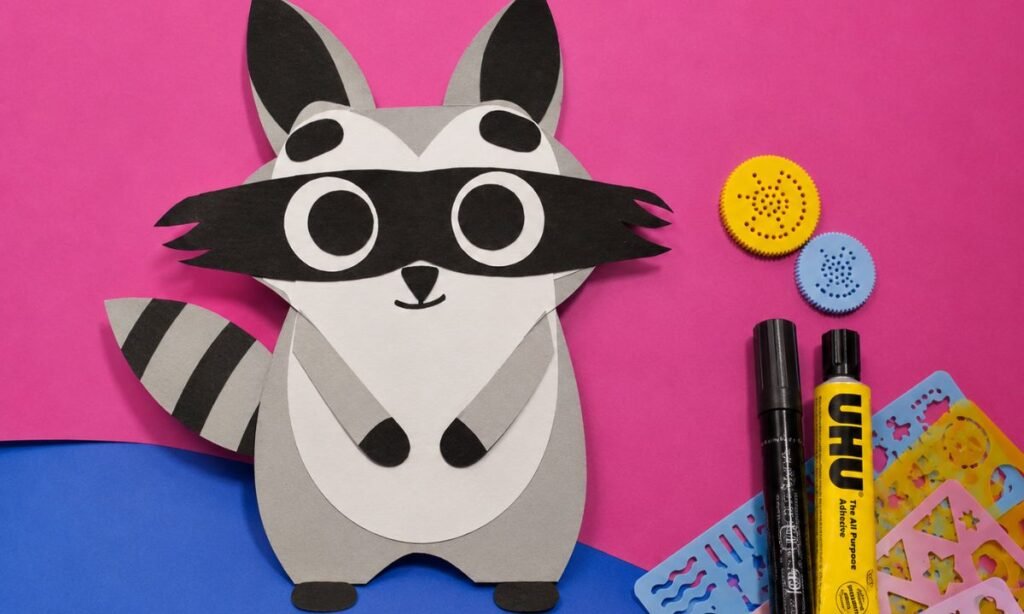
Finally, you can glue the raccoon’s face mask, tail, paws, feet, and ear details onto the body, and you should take your time so everything feels properly placed for you.
When you position the mask around the eyes, you will notice how it instantly gives your craft that classic raccoon look that you are aiming for.
You can add the tail to one side or even behind the body, and when you do that, you can decide what style you want your raccoon to have for yourself.
If you attach the paws and feet near the bottom, you will see your raccoon start to feel complete in your hands.
You should press each piece gently for a few seconds so everything sticks properly for you, and once the glue dries, you can finally see your raccoon paper craft fully finished.
How Can I Make a Raccoon Paper Craft Using Simple Supplies at Home?
You can make a raccoon paper craft with basic supplies that you probably already have in your craft drawer, and you will notice how easy it feels when you don’t need anything fancy for yourself.
When you use gray paper for the body, you can get that soft natural base, and then you can use white, black, and light gray paper for the face, mask, paws, and tail details so your raccoon actually starts taking shape for you.
You will also need simple tools like scissors, glue, a pencil, and a black marker, and when you have them ready, you can easily add eyes, nose, and tiny facial expressions that bring your raccoon to life for you.
If you like simple crafts, you will probably enjoy this because you don’t have to go on a big shopping trip, and you can even use leftover paper scraps for the smaller details for yourself.
When you are doing this with kids, you can cut the tiny pieces first, and then you can let them help you with gluing and arranging the raccoon face so they feel more involved in the process with you.
Why Does My Raccoon Paper Craft Look Too Plain or Boring?
If your raccoon paper craft feels a little plain for you, you really don’t need to worry because you can completely change the final look with just a few small details for yourself.
When you start adding tiny touches, you will notice how much difference they make, even if they seem simple at first for you.
If you add soft stripes to the tail, rosy cheeks, tiny eyebrows, or a small cute smile, you can instantly give your raccoon more personality that feels alive for you.
You can also layer different shades of gray paper, and when you do that, you will see the body stop looking flat and start feeling more detailed for you.
If you want to take it further, you can glue your raccoon onto green paper, and you can draw little trees, grass, or leaves around it so it feels like a full woodland scene that you create for yourself.
FAQs
Can I Make a Raccoon Paper Craft With Preschoolers?
Yes, you definitely can, but you will notice that keeping the design simple works best when you are working with little kids.
If you pre-cut the smaller pieces like the mask, tail, and paws beforehand, you can make things much easier for them.
And then you can let them focus more on gluing everything together.
When you guide preschoolers, you will often see how much they enjoy adding funny eyes or silly smiles, and that is where you can really let their creativity come out.
If you allow them to choose those small details, you will find that the craft feels more personal and fun for them, and they will stay more engaged in what they are making.
What Colors Work Best for a Raccoon Paper Craft?
Gray, black, and white are the classic raccoon colors, and you will notice how they instantly make your craft look more realistic when you stick to them.
If you want to try a more playful version for yourself, you can also use light blue, silver, or even patterned paper.
And you might be surprised at how cute the result can look with that small twist.
When you mix different shades of gray, you can actually make your raccoon look more detailed without doing much extra work.
And you will see how those subtle changes bring more depth to your craft.
You may also like to make!



