

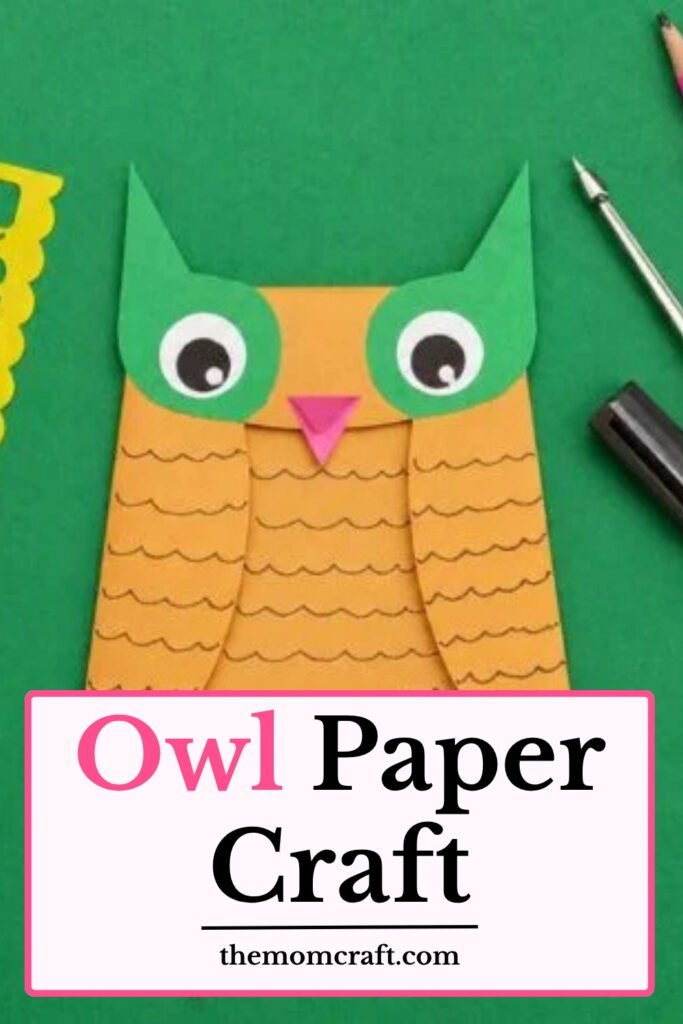
My little sister came home from school with a task to make one animal craft and learn a few facts about it for class.
She also had to stand in front of everyone and explain the animal’s main features in her own words.
So, an owl felt like a good choice because its big eyes, wings, beak, and nighttime habits are easy to remember and talk about.
I helped her make the owl craft, and I’m sharing the same project here so you can make it too.
Let’s make this owl craft.
- Why Do Owls Have Big Eyes?
- Materials Needed:
- Step-By-Step Guide
- 1. Cut Owl Circle
- 2. Fold Owl Body
- 3. Fold Top Flap
- 4. Add Owl Horns
- 5. Finish Owl Details
- Fun Facts About Owls
- How Owls Fly So Quietly
- Owl Craft Challenges
- FAQs
- Can I Make This Owl Craft With Different Colors?
- Can I Turn This Owl Craft Into a Hanging Decoration?
Why Do Owls Have Big Eyes?
Owls have large eyes because they need to collect as much light as possible, especially when hunting in dim conditions at night.
Their eyes are shaped more like tubes than round balls, which helps them focus clearly on objects far away.
Because owl eyes cannot move much inside their sockets, owls turn their heads to look in different directions.
The large eye size also gives them strong depth perception, which helps judge distance when spotting or catching prey.
Materials Needed:
- Orange paper
- Green paper
- Pink paper
- White paper
- Black paper
- Pencil
- Compass
- Scissors
- Glue
- Black marker
Step-By-Step Guide
1. Cut Owl Circle
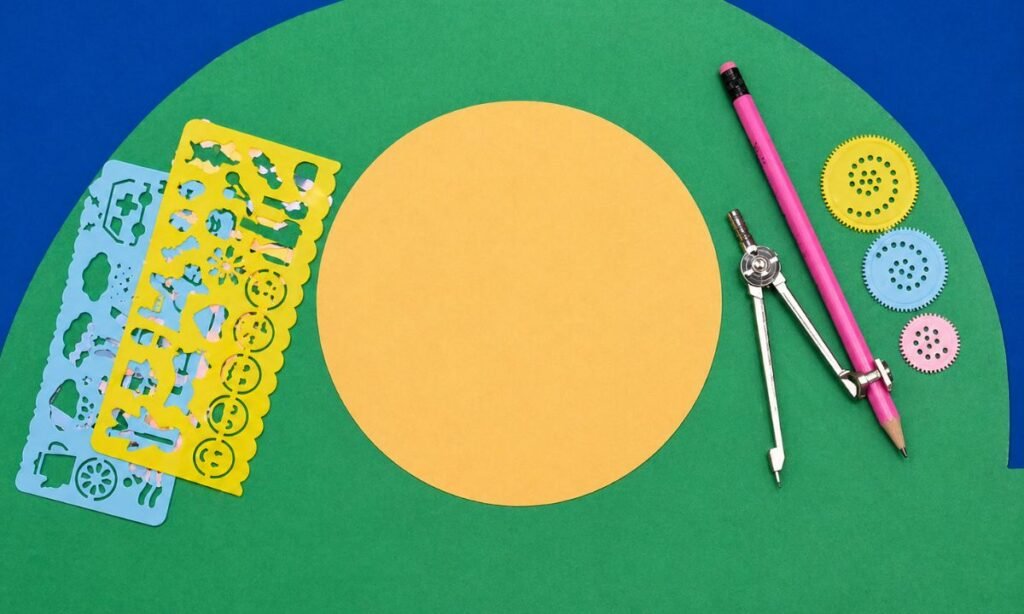
Draw a large circle on orange paper using a compass, keeping the outline smooth and wide enough for the owl body.
Cut carefully around the circle edge, turning the paper slowly so the rounded shape stays even without rough or flat sections.
Place the finished circle flat on your work surface and check the edges, trimming any uneven spots before continuing with decoration.
2. Fold Owl Body
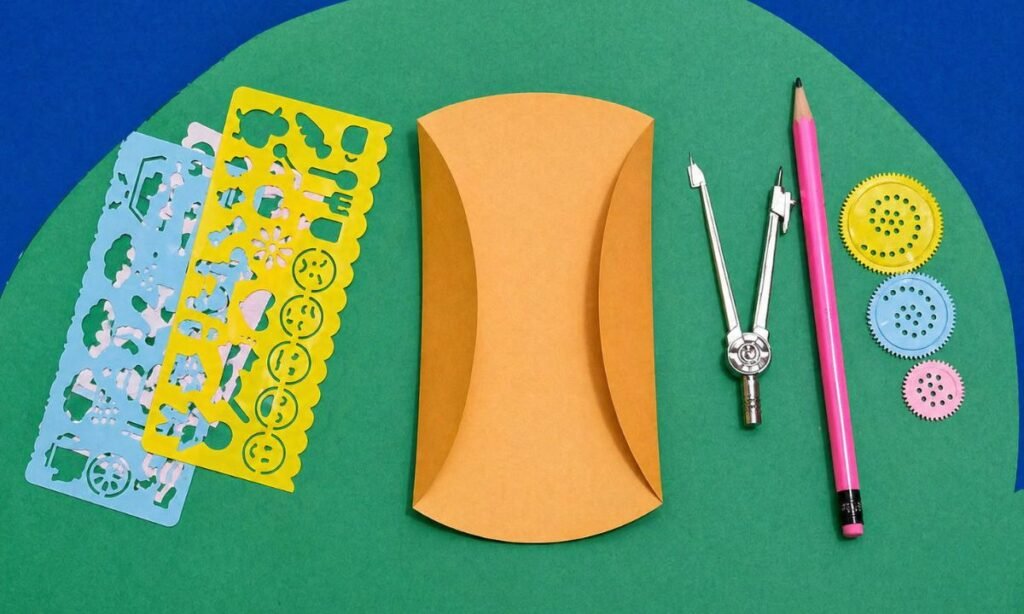
Fold both sides of the orange circle inward, bringing the curved edges toward the center to create a narrow owl body.
Press each fold firmly from top to bottom, keeping both sides even so the body stays straight and balanced throughout.
Leave the upper and lower curves visible, because these rounded sections help keep the folded shape neat and symmetrical overall.
3. Fold Top Flap
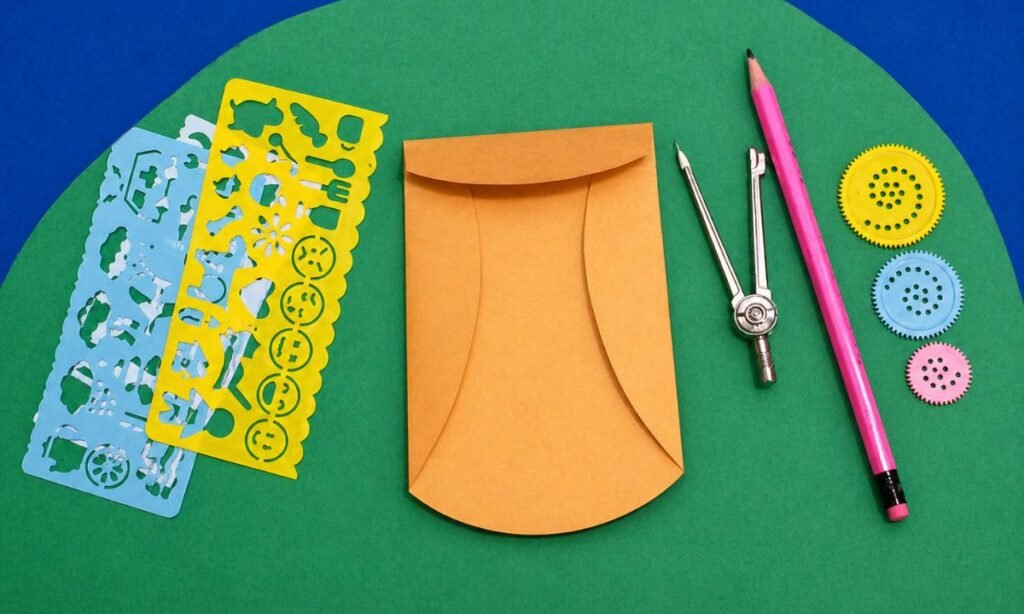
Fold the top curved section downward over the two side folds, creating a neat flap across the upper part of the owl body.
Press the fold firmly from one side to the other, keeping the flap straight and evenly aligned across the body.
Check that both side folds remain tucked underneath, so the orange shape stays compact and ready for the owl details.
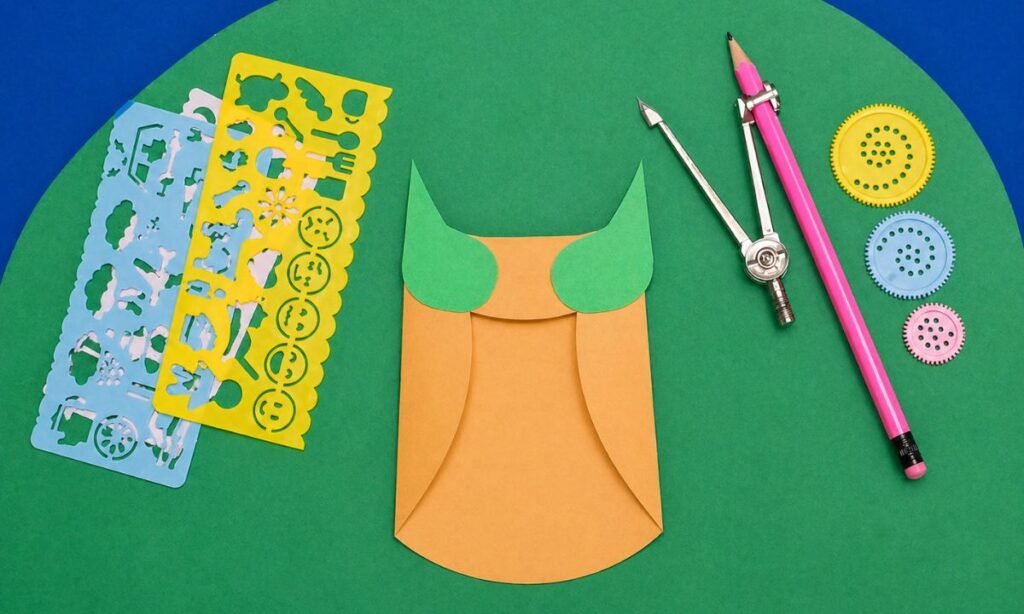
4. Add Owl Horns
Cut two matching green horn shapes and place them across the top flap, keeping the pointed ends facing upward on both sides.
Glue each green piece near the upper corners, leaving a small orange section visible between them at the center clearly.
Press both pieces firmly in place and check that the pointed tips sit at similar heights for a balanced owl shape.
5. Finish Owl Details
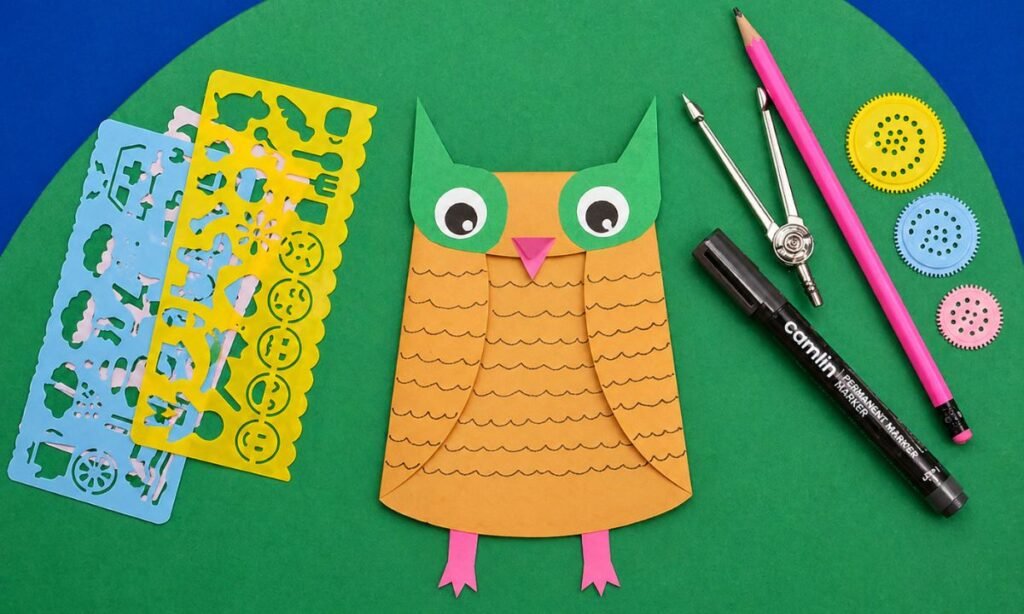
Add the large layered eyes to the green upper pieces, then place a small pink beak neatly between them at the center.
Draw several curved feather lines across the orange body, keeping the rows evenly spaced from top to bottom for texture.
Glue two pink feet under the lower edge, then press every piece firmly so the finished owl looks neat and balanced.
Fun Facts About Owls
- Owls can turn their heads much farther than humans because their necks have extra flexibility and more vertebrae.
- Many owls are active at night, which helps them hunt when small animals are easier to find.
- Owls cannot chew their food, so they usually swallow small prey whole or tear larger food into smaller pieces.
- Some owl species have one ear opening slightly higher than the other, which helps them locate sounds more accurately.
- Different owl species make different sounds, including hoots, whistles, screeches, and clicking noises.
- An owl’s sharp talons help it catch and hold prey, while its hooked beak helps tear food into smaller pieces.
How Owls Fly So Quietly
Owls have special soft feathers with fringed edges that help reduce the sound made as air moves across their wings.
This quiet flight makes it easier for them to approach prey without being heard, especially in dark or low-light conditions.
Their broad wings also help them glide smoothly and slowly, which gives them better control while moving through trees and open spaces.
Flying quietly is one of the reasons owls can hunt so successfully at night without giving away their position too early.
Owl Craft Challenges
The folded body can open or lose its shape if the creases are not pressed firmly enough during the early steps.
Large eye pieces may look uneven if they are placed at different heights, so check their position before gluing them down.
The top flap and side folds also need to stay balanced, otherwise the owl body can look slightly tilted or uneven.
Using slightly thicker paper can help the finished owl hold its folded shape better while still remaining easy to decorate.
FAQs
Can I Make This Owl Craft With Different Colors?
Yes, you can change the orange, green, and pink paper to any colors that match your theme or classroom activity.
Try using contrasting shades for the eyes, beak, and feet so the smaller owl details remain easy to notice.
Making several owls in different colors can also create a fun seasonal display for fall, classrooms, or kids’ rooms.
Can I Turn This Owl Craft Into a Hanging Decoration?
Yes, you can attach a small loop of string or ribbon to the back and use the finished owl as a hanging decoration.
Make sure the loop is fixed near the top center so the owl hangs straight instead of tilting toward one side.
This works well for bedroom walls, classroom displays, or seasonal decor where you want the owl to stay lightweight and easy to hang.
You may also like to make!



