
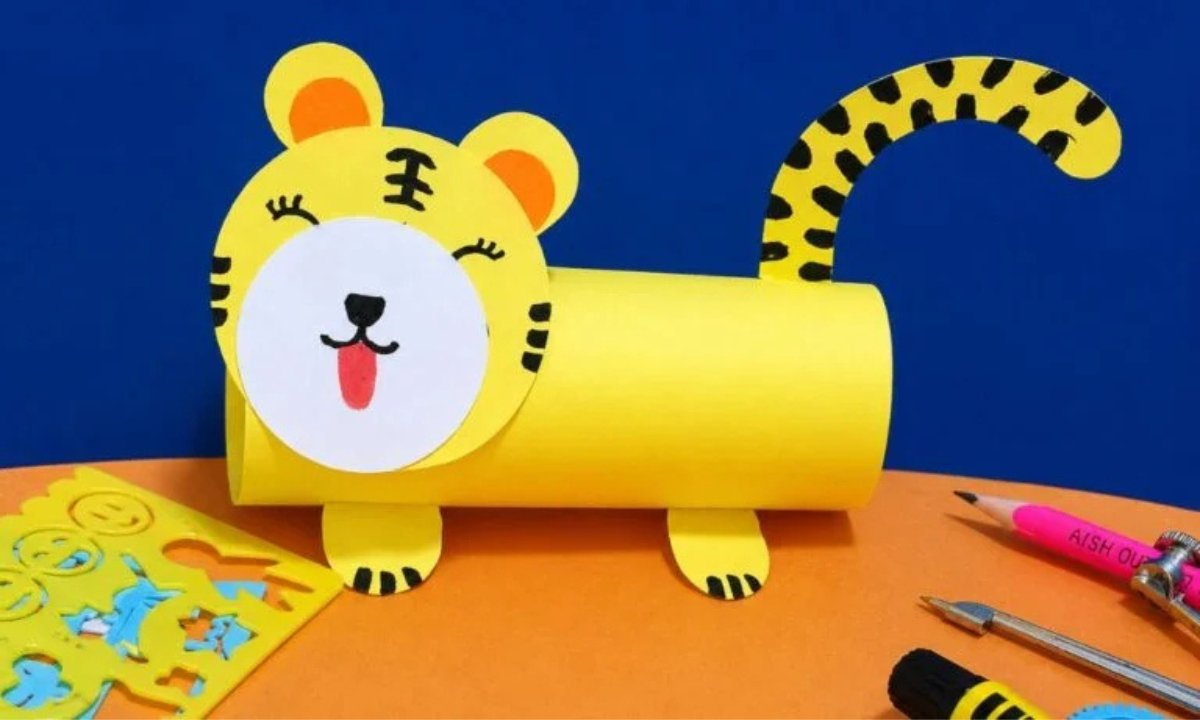
There’s just something about simple paper crafts that you can really enjoy, and you can feel that little spark of delight when you start making them.
Especially when you can turn them into cute tiny animals, you can instantly feel more excited. You might try this tiger paper craft, and you will feel it complicated at first.
But you can quickly realize it’s actually fun and easy for you. With just a few simple things like colored paper, glue, and a marker.
You can easily make a lovely tiger, and you can see how much kids can really love what you create.
If you try it, you will notice how simple it is to bring it together step by step, and you can enjoy the process without any stress.
When you sit down for this kind of craft, you can use it for a peaceful afternoon.
Or you can even turn it into a school project, or you can share that creative bonding time with someone, and it can feel really special for you.
- How Can This Tiger Craft Turn Into A Fun Storytelling Or Playtime Activity?
- Materials Needed:
- Step-By-Step Guide
- 1. Roll Tiger Body
- 2. Cut Tiger Pieces
- 3. Draw Tiger Stripes
- 4. Make Tiger Face
- 5. Attach Tiger Head
- 6. Add Legs Tail
- Why Is My Paper Tiger Not Standing Properly Or Losing Its Shape?
- What Type Of Paper Works Best For Making A Tiger Paper Craft?
- FAQs
- Can I make this tiger paper craft without using glue?
- How long does it take to make this tiger paper craft?
How Can This Tiger Craft Turn Into A Fun Storytelling Or Playtime Activity?
What you can really love about this tiger paper craft is that for you it’s not just something you place on a shelf, it actually becomes a cute little character that you can play with.
Once you make it, you will notice how you and youngsters automatically start naming the tiger, giving it a voice, and even building a small story around it.
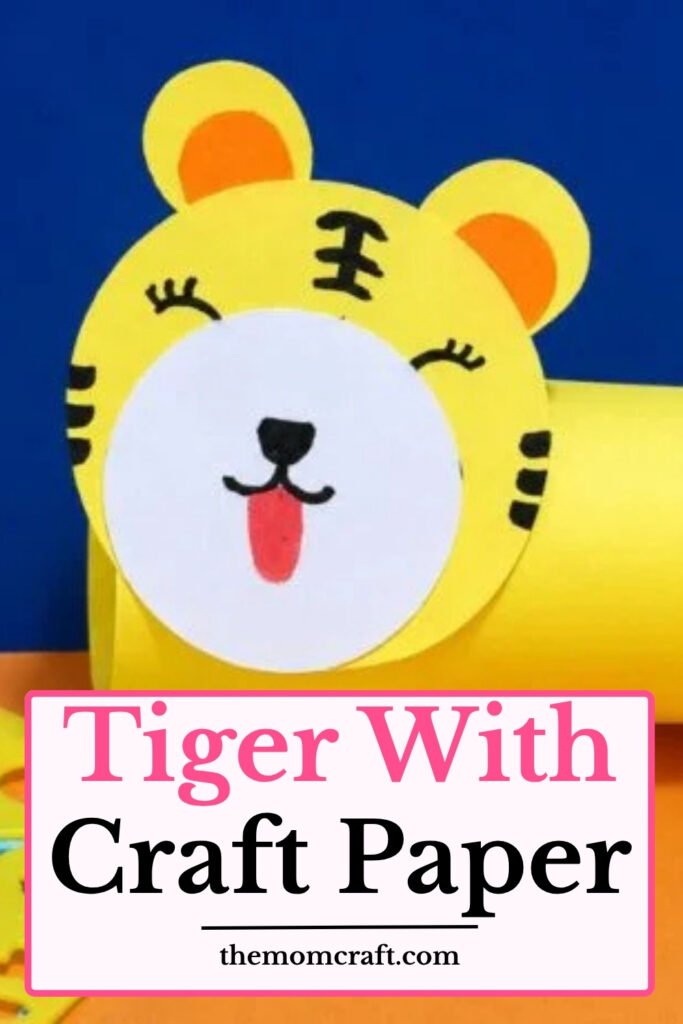
You can take it into jungle adventures, or you can use it as a prop when you tell bedtime stories.
Or you can bring it into learning time when you talk about animals, and you can see how easily it becomes part of your play.
When kids create something with their own hands.
You can clearly notice they become more attached to it, and you can feel how storytelling becomes way more fun and natural.
If you want, you can also make more creatures later, and you can build your own full paper jungle, and you will realize it’s such a simple craft but you can get so much joy out of it.
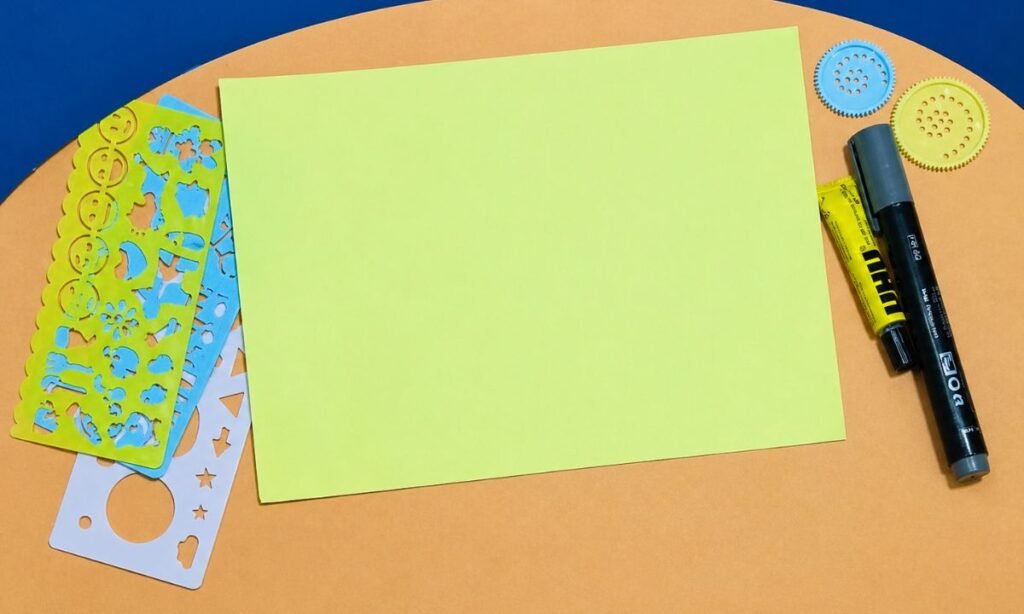
Materials Needed:
- Colored paper (yellow, orange, black and white)
- Glue
- Scissors
- Pencil
- Black marker
- Compass (for circles)
Step-By-Step Guide
1. Roll Tiger Body
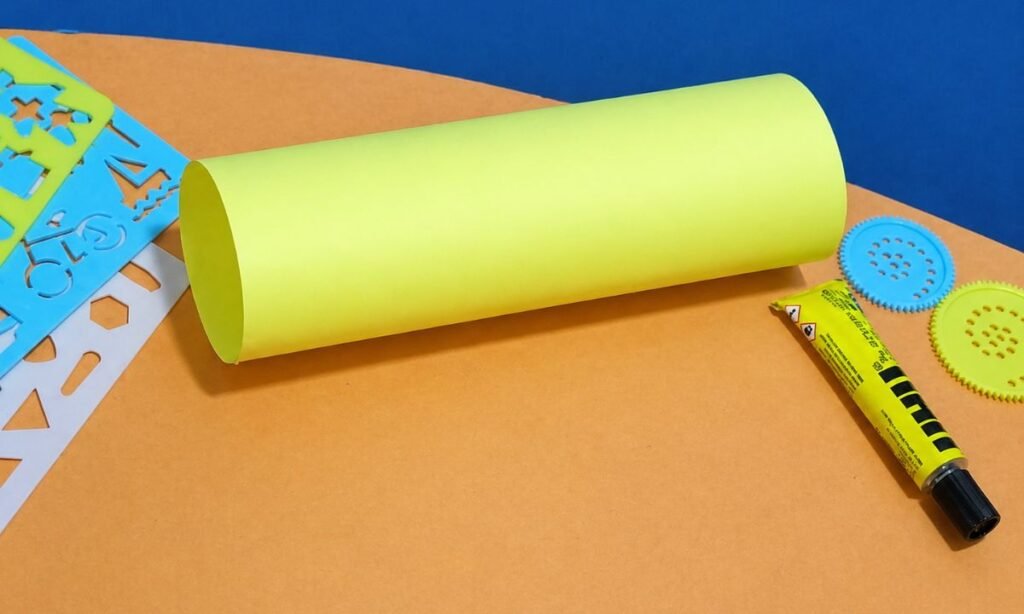
First, you can take a yellow paper sheet, and you can slowly roll it into a tube shape.
And you should make sure you don’t roll it too tightly, because you want it to stay soft and easy to shape.
You want the body to look nice and round, like you can imagine a little upright tiger standing in front of you.
When you feel happy with the shape you’ve made, you can put glue on one edge.
And you can press it down gently, and you should hold it for a few seconds so it sticks properly for you.
If you do it carefully, you can see this coiled paper tube turning into the main body of your tiger.
So you must make sure it feels strong and solid before you move on to the next step.
2. Cut Tiger Pieces
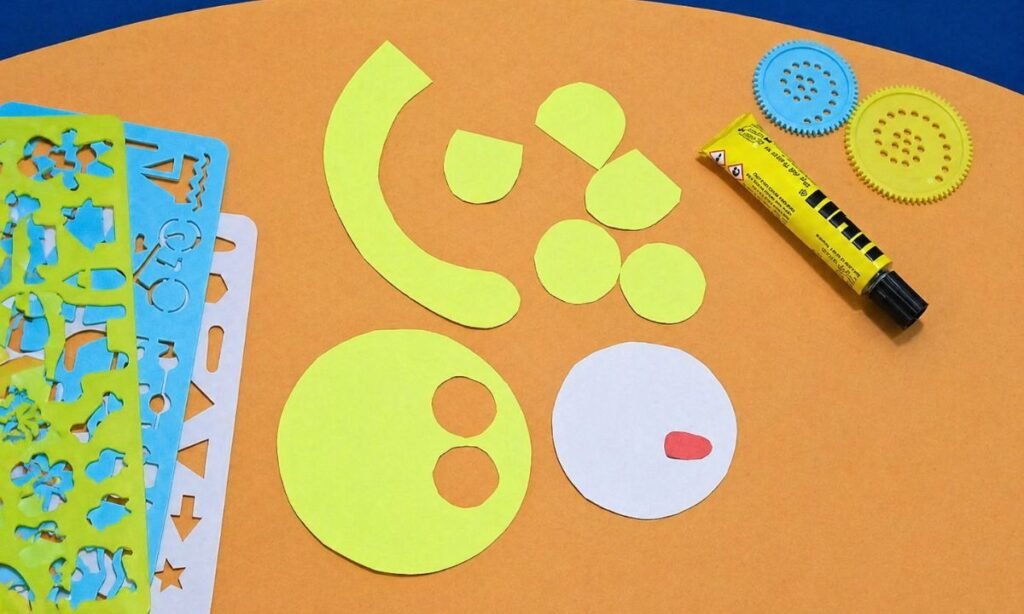
Now you can cut out all the small parts that your tiger will need, and you can start by cutting a head in a round or oval shape so you can decide what looks better for your tiger.
You can then cut two small ears, and you can make four little legs, and you can also cut one tail. A white circle for the face, and a tiny red tongue so your tiger starts to feel complete.
You can prepare all the pieces first before you start gluing, because you will notice it makes your craft feel much easier for you and also less messy when you work step by step.
If you want, you can also place all the parts around the body first.
And you can check how everything looks before you paste anything, so you can feel more confident about your final design.
Pro Tip: If younger kids are making this craft, you can cut the pieces a little bigger so they can handle them more easily and enjoy the process without difficulty.
3. Draw Tiger Stripes
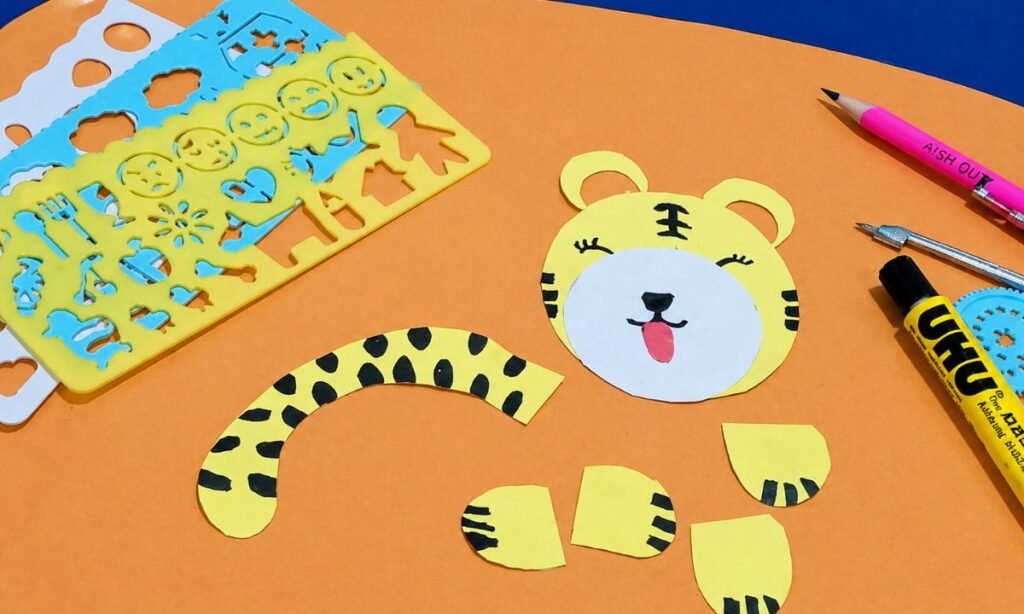
Before you start gluing, you can embellish all the tiger parts with a black marker.
And you can draw little stripes on the face, legs, body, and tail so your tiger slowly starts to come alive.
You don’t have to worry about making every stripe perfect, because you can remember that real tigers don’t even have matching stripes either, so you can just relax and enjoy it.
If you want, you can keep this part fun and loose, and you can make short lines. Or curved lines, or even little triangle-style marks, and you can see how different each tiger becomes.
This is the stage where your tiger can truly start showing personality.
So you can let youngsters add their own creative flair, and you can watch how each tiger turns out unique in its own way.
4. Make Tiger Face
First, you can glue the white circular face onto the tiger’s head, and you can gently press it so it sticks well for you.
Then you can place the little red tongue just underneath it so the face starts coming together. Next, you can sketch or paste the eyes, nose, and lips, and you can slowly add the ears on top.
And you can also draw a few more stripes around the face so you can start seeing the tiger’s full expression forming.
To make it feel more like a real tiger, you can take your time with this step, and you will notice this is usually the nicest part.
Because your tiger suddenly starts showing personality and expression right in front of you. Depending on how you draw the mouth, you can make it look pleased, or goofy, or sleepy.
Or even playful, and you can change the whole mood just with a small line.
5. Attach Tiger Head
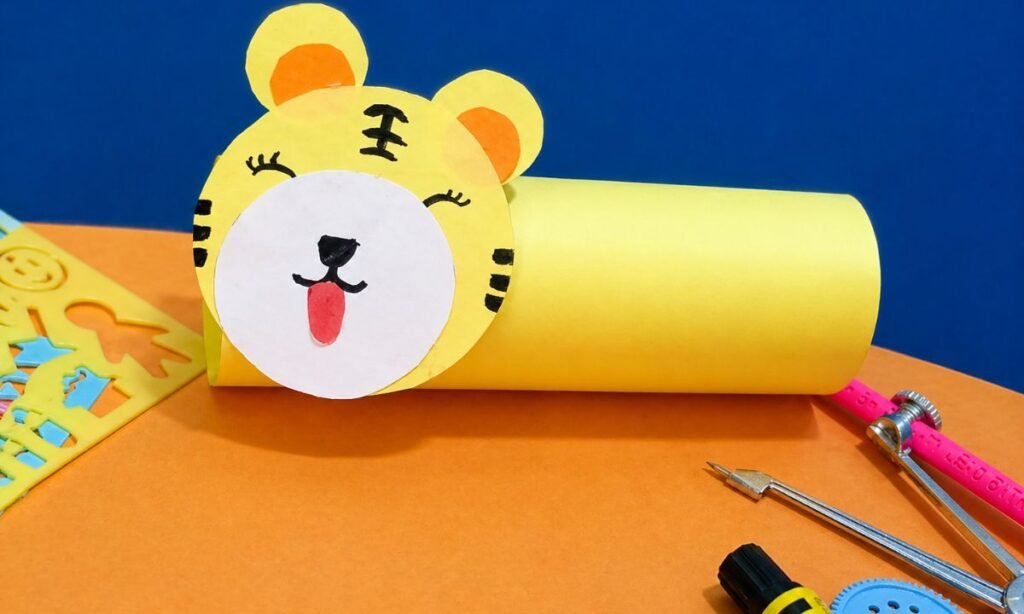
Then you can take the finished tiger head, and you can carefully glue it to the front of the rolled paper body so you can start seeing your tiger really come together.
You can put adhesive on the back of the head, and you can press it lightly onto the tube, and you should try to place it in the middle so your tiger looks balanced and steady for you.
When you do this, you can hold it there for a few seconds so it feels secure, and you will notice it slowly starting to stay in place properly.
If the head feels a little heavy, you can slide a thin piece of paper underneath it so you can give it extra support and stability.
When you’re done, you can let it dry for a little while before you handle it too much, so you don’t disturb the shape you’ve just created.
6. Add Legs Tail
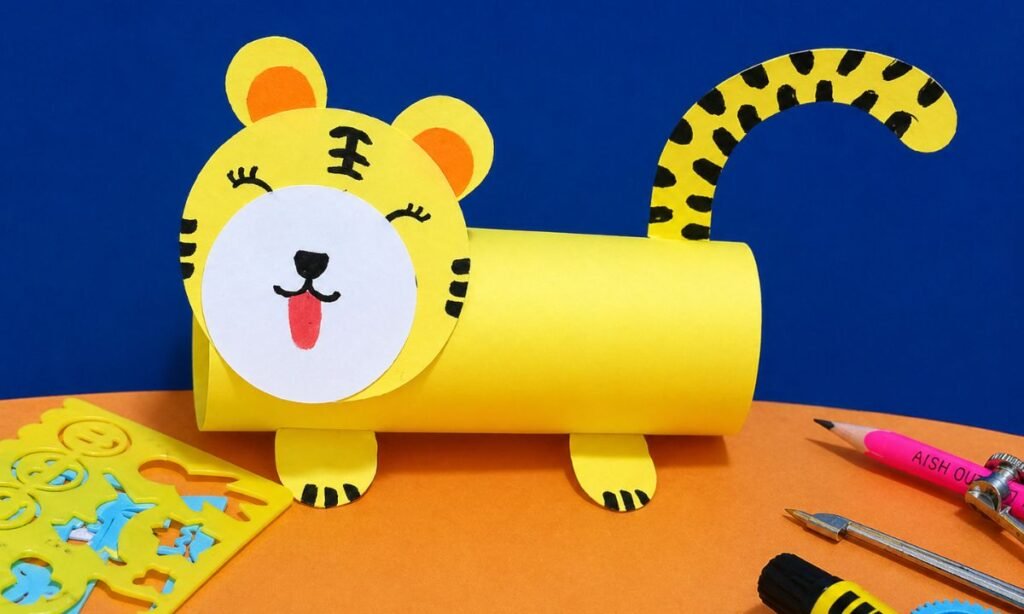
Lastly, you can put the legs at the bottom of the paper tube, and you can stick the tail on the back so you can see your tiger fully taking shape.
You should make sure you space the legs properly so your tiger can stand upright on its own, and you can adjust them if you notice it leaning too much.
If you want to make it a bit more fun, you can curl the tail slightly, and you can give it a playful look that feels more alive.
When everything is attached, you can let the craft dry for a few minutes so you can be sure everything is properly fixed and stable.
And there you have it, your cute little paper tiger is ready for you to display, and you can use it for storytelling. Or you can bring it into fun jungle activities and watch how it becomes part of your play.
Why Is My Paper Tiger Not Standing Properly Or Losing Its Shape?
If your paper tiger keeps falling over, or if it looks a little squashed, you don’t need to panic because you can know this is a very common problem and it happens to many people.
You might even remember I had the same issue the first time I tried it, so you can see it’s not something unusual at all for you. Most often.
This happens when you notice your paper roll is either too loose or not firm enough to hold its shape properly.
If that happens, you can try rolling the paper a little tighter, and you can press it down firmly while gluing so you can keep the structure more solid and stable for you.
Another thing you might notice is that the legs are not equal, or you might have placed them too high above the base.
And then your tiger can easily lose balance. You should make sure the bottom stays flat so your tiger can stand properly.
And you can also let the adhesive dry long enough before you move anything, so you can avoid it shifting or falling over later.
What Type Of Paper Works Best For Making A Tiger Paper Craft?
The paper you choose can really make a difference in how your tiger turns out, and you can notice it right away when you start building it.
In my experience, you can go for a little thicker paper, like construction paper or craft paper, because you can see how it holds its shape better and doesn’t collapse easily for you.
You can still use regular printer paper if that’s what you have, but you might feel it’s a bit too thin. Especially when you’re making the body, and you can notice it becoming less sturdy.
If you want your tiger to sit properly and you want it to last a bit longer, you should choose something more solid so you can enjoy a stronger final result.
If you use colored paper, you can also save yourself time on coloring, and you can directly focus on building and decorating your tiger instead.
FAQs
Can I make this tiger paper craft without using glue?
Yes, you can, and if you don’t want to use glue, you can easily switch to double-sided tape or even small paper tabs to hold everything together.
You can find that tape works really well for the body, especially when you are trying to keep the rolled shape in place, and you can notice how quickly it secures things for you.
It might take you a little more patience, but you can see it’s a great option. Especially if you are working with youngsters who want less mess and a cleaner setup.
If you use this method, you should make sure everything is pressed down firmly, so you can be confident that all the parts are sticking together properly.
How long does it take to make this tiger paper craft?
This is a nice, simple craft, and you can find it perfect for a short, enjoyable activity that doesn’t feel overwhelming for you.
You can usually complete it in about 20 to 30 minutes, depending on how detailed you want your tiger to be.
If you are making it with kids, you can expect it to take a bit longer, especially when you’re cutting and decorating, and you might notice that the pace naturally slows down.
But you can see that’s actually part of the fun for you, because you can go step by step. And you can enjoy every small moment instead of rushing through it.
If you take your time, you can really savor the whole process, and you can make it feel more relaxing and creative for yourself.
You may also like to make!



