My sister’s baby shower was at home, and we were trying to keep the decorations soft, simple, and easy to make ourselves.
While planning the setup, I kept thinking about little moon and star details because they matched the calm nighttime theme we wanted.
That gave me the idea to make a moon craft that could work as part of the baby shower decor and still be easy enough to make by hand.
It turned into a sweet little piece that fit the setup without needing anything complicated or expensive.
Let’s make this moon craft.
- Why Moon and Stars Work Together
- Materials Needed:
- Step-by-Step Guide
- 1. Prepare Moon Circles
- 2. Trace Crescent Curve
- 3. Cut Crescent Moons
- 4. Prepare Hanging Decorations
- 5. Attach Hanging Stars
- 6. Decorate Moon Faces
- Why a Crescent Shape Stands Out
- Why Soft Colors Suit This Craft
- Fun Ways to Customize
- FAQs
- Can I Make This Moon Craft in Different Sizes?
- Can I Hang This Moon Craft Without Damaging It?
Why Moon and Stars Work Together
Moon and star decorations naturally fit the same nighttime theme, so they make a baby shower setup feel more connected.
Using both shapes together also gives the display more variety without needing too many different decorative elements.
Stars can fill the empty spaces around the moon, while the crescent remains the main piece that catches attention first.
This combination works especially well for backdrops, dessert tables, welcome areas, and simple home decorations.
Materials Needed:
- Yellow craft paper
- White craft paper
- Pink craft paper
- Blue craft paper
- Orange craft paper
- Green craft paper
- Black craft paper
- Pencil
- Scissors
- Glue
- Black marker
Step-by-Step Guide
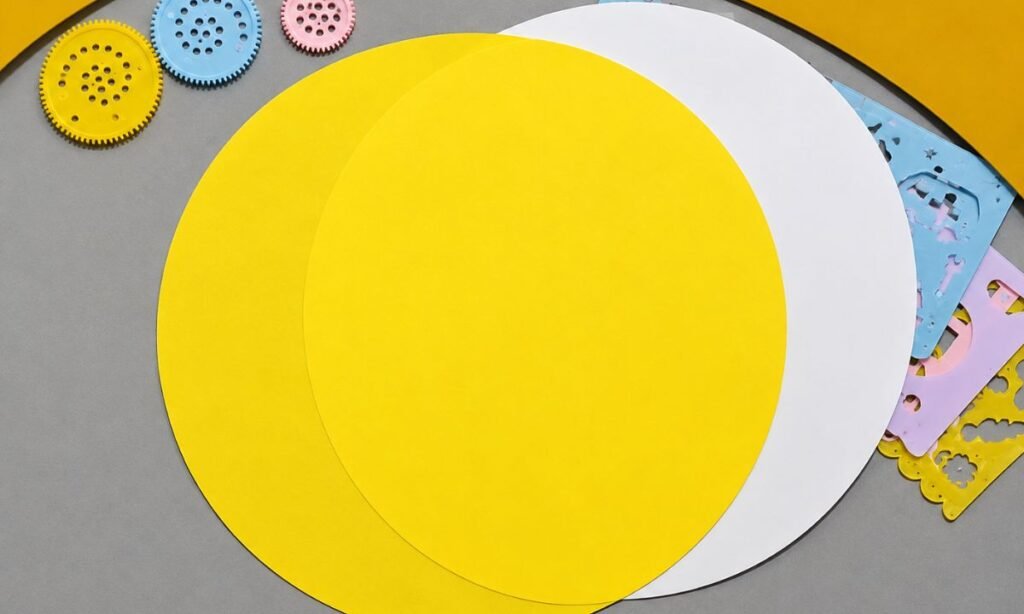
1. Prepare Moon Circles
Cut two large circles from yellow and white craft paper, making sure both are nearly the same size.
Use a round plate as a tracing guide if drawing smooth circles freehand feels difficult for younger kids.
Choose sturdy construction paper so the moon shapes remain flat and are easier to cut without tearing.
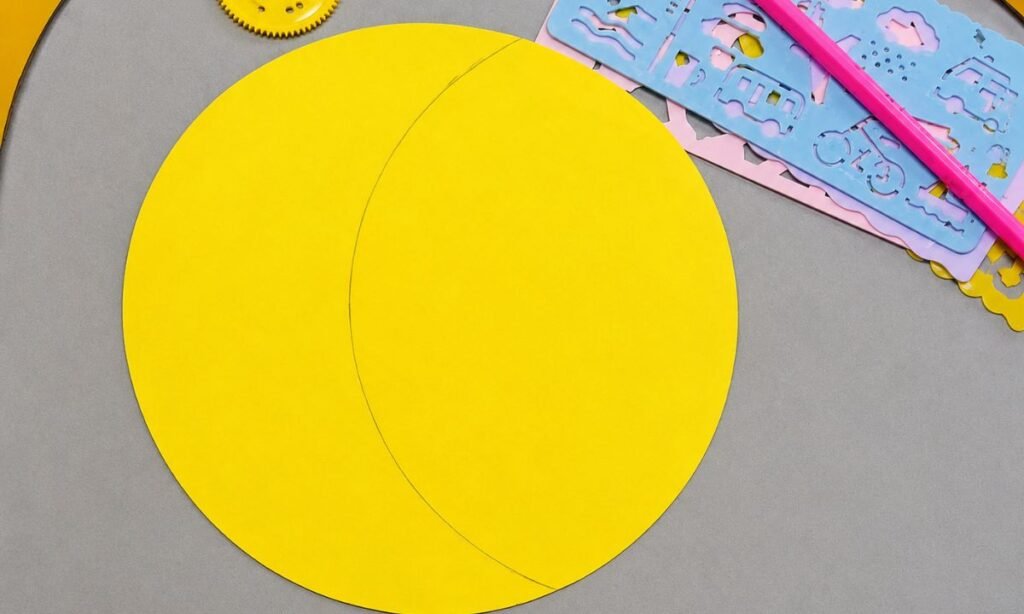
2. Trace Crescent Curve
Place a smaller circular guide over the yellow paper circle, shifting it toward one side to create a crescent outline.
Trace along the curved edge with a pencil, leaving a wider section of yellow paper on the opposite side.
Check the pencil line before cutting so both pointed ends of the moon will have a balanced shape.
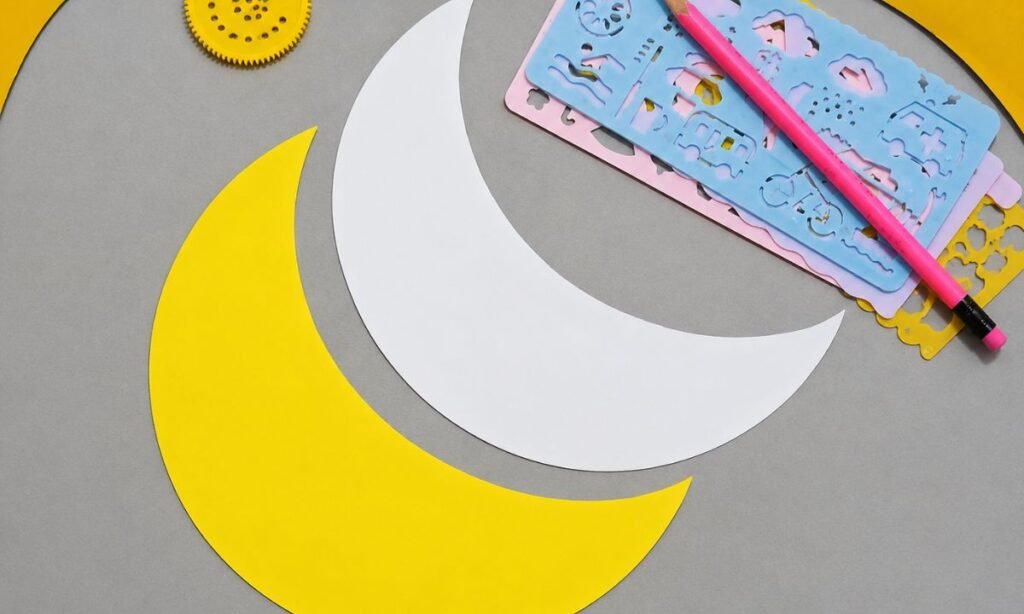
3. Cut Crescent Moons
Follow the curved pencil line with scissors to remove the inner section and create a smooth crescent moon.
Repeat the process with white craft paper, making another crescent that can be used for a separate decoration.
Trim uneven edges carefully, paying attention to the pointed tips so they do not tear during handling.
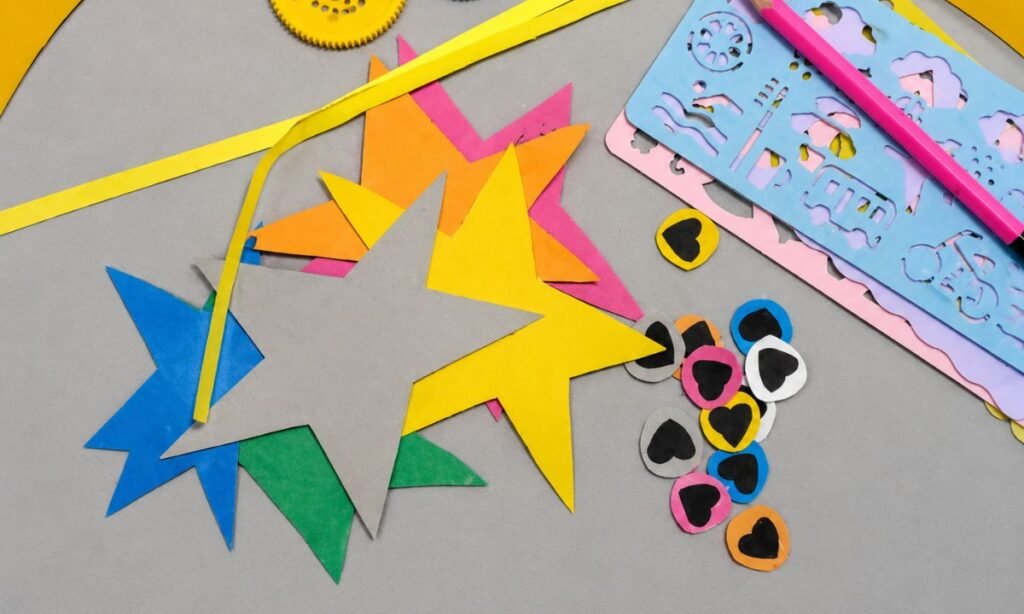
4. Prepare Hanging Decorations
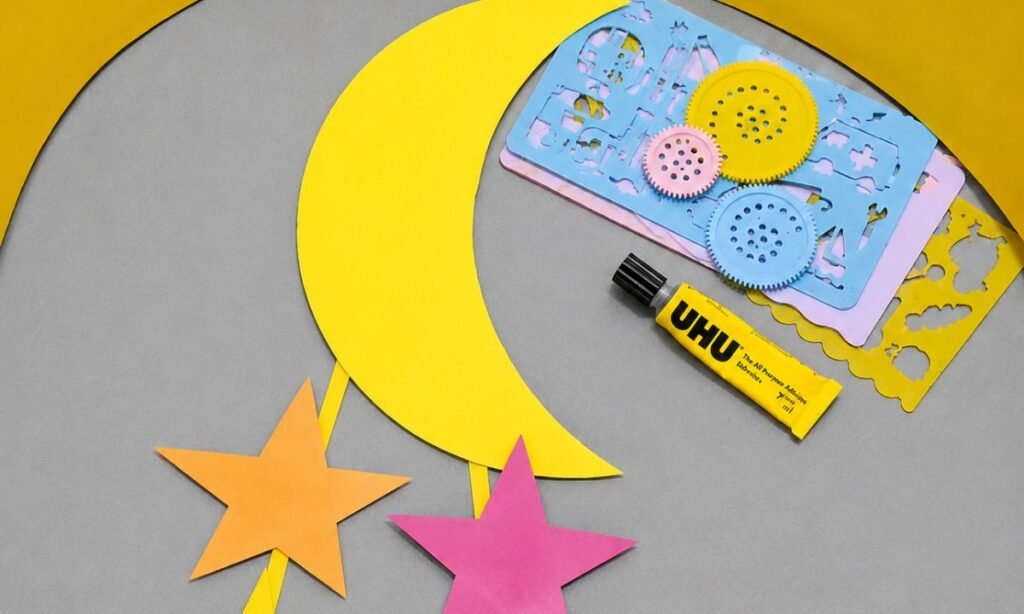
Cut colorful stars from blue, yellow, orange, pink, and green paper, using a stencil for matching shapes.
Make small colored circles and glue black heart shapes onto them to create extra hanging decorations for the moon.
Cut thin yellow paper strips for hanging the stars and hearts beneath the crescent in your finished craft.
5. Attach Hanging Stars
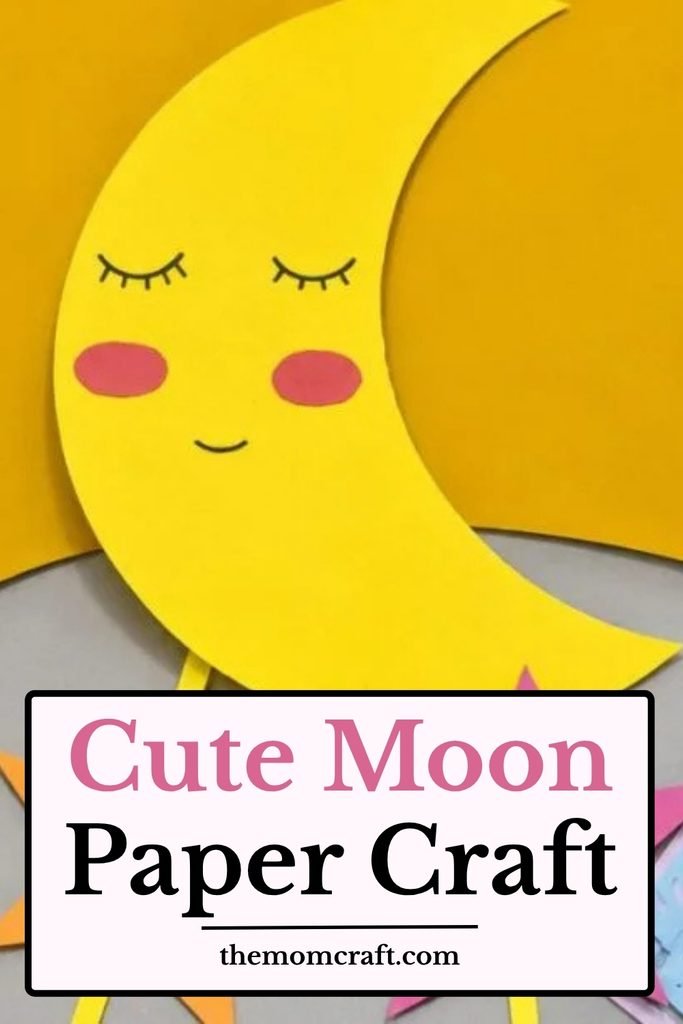
Glue thin yellow paper strips behind the crescent moon, allowing them to hang down at slightly different lengths.
Attach orange and pink paper stars to the ends of the strips, making sure each star faces forward.
Press the glued areas firmly and let them dry before adding facial details to the moon and stars.
6. Decorate Moon Faces
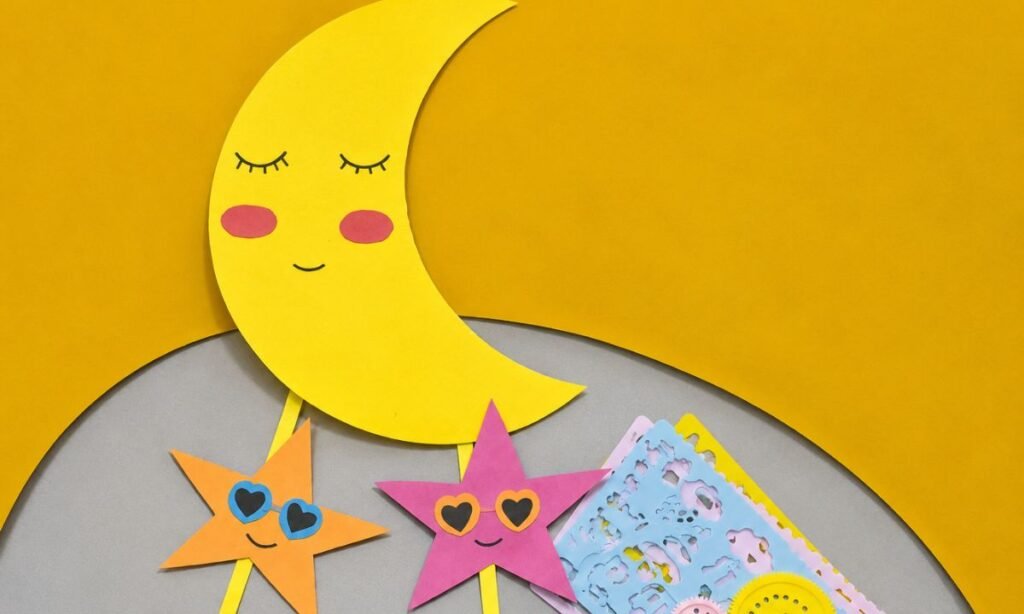
Draw closed eyes, small eyelashes, and a curved smile on the yellow crescent using a fine black marker.
Add pink paper cheeks to the moon, then decorate both hanging stars with heart-shaped sunglasses and smiling mouths.
Use contrasting colors for the sunglasses so each star has a playful expression that stands out against the paper.
Why a Crescent Shape Stands Out
A crescent moon has a simple curved outline that is easy to recognize even from a distance.
Its open center also leaves more visual space than a full circle, which helps nearby stars and hanging details stay visible.
The pointed ends give the craft a more decorative shape without requiring complicated cutting or extra layers.
That makes the crescent a strong choice when you want one main handmade piece in a baby shower display.
Why Soft Colors Suit This Craft
Soft shades help the moon craft match a calm baby shower setup without making the decoration look too bright or busy.
Yellow, white, blush pink, light blue, and cream can all work well with a gentle moon-and-stars theme.
Keeping most colors light also makes small details, like faces or hanging stars, easier to notice.
A limited color palette helps the finished craft blend naturally with the rest of the baby shower decor.
Fun Ways to Customize
Match the moon with the baby shower colors by changing the paper shade, stars, clouds, or other small decorative details.
You can add tiny stars, a smiling face, soft glitter accents, or a short name to make the finished moon feel more personal.
Try using layered paper pieces around the edges if you want the moon to look fuller without making the design too complicated.
For a baby shower display, you can also add the baby’s initial or a small “Welcome Baby” message beside the moon.
FAQs
Can I Make This Moon Craft in Different Sizes?
Yes, you can make a smaller moon for table decor or a larger one for a baby shower backdrop or wall display.
Keep the main shape the same and simply adjust the size of the stars, clouds, or other details around it.
Using thicker paper for larger versions will also help the finished moon stay firm and hold its shape better.
Can I Hang This Moon Craft Without Damaging It?
Yes, you can attach a lightweight string or ribbon behind the top of the crescent and hang it from a removable hook.
Keep the hanging loop short enough to stop the moon from twisting too much when air moves around the room.
For a temporary baby shower setup, removable adhesive hooks make it easier to take the decoration down afterward without leaving marks.
You may also like to make!