I went on a trip to the northern areas with my niece, and she loved seeing the snow more than anything else.
After we came back home, she kept asking when we could go back and see the snowman again.
Since going back right away was not possible, I thought making a little snowman at home would be the easiest way to keep that excitement going.
She got really excited when I told her we could make our own little snowman at home.
Let’s make this easy snowman craft.
- Why Snowmen Have Carrot Noses?
- Material Needed:
- Step-by-Step Guide
- 1. Prepare White Strips
- 2. Arrange White Strips
- 3. Form Center Loop
- 4. Build Rounded Body
- 5. Complete Snowman Body
- 6. Prepare Snowman Details
- 7. Attach Folded Strip
- 8. Attach Snowman Details
- Fun Ways to Customize
- FAQs
- Can I Make This Snowman Paper Craft With Preschoolers?
- What Type of Paper Works Best for a 3D Snowman Craft?
Why Snowmen Have Carrot Noses?
Carrots became a popular choice for snowman noses because they were easy to find during winter and simple to push into packed snow.
Their bright orange color also stands out clearly against white snow, which makes the snowman’s face easier to notice from a distance.
Over time, the carrot nose became one of the most recognizable snowman details, along with coal eyes, buttons, and a winter hat.
That tradition is why so many snowman crafts still use a small orange nose, even when the snowman is made from paper.
Material Needed:
- White paper strips
- Glue
- Pencil
- Pink paper
- Brown paper
- Red paper
Step-by-Step Guide
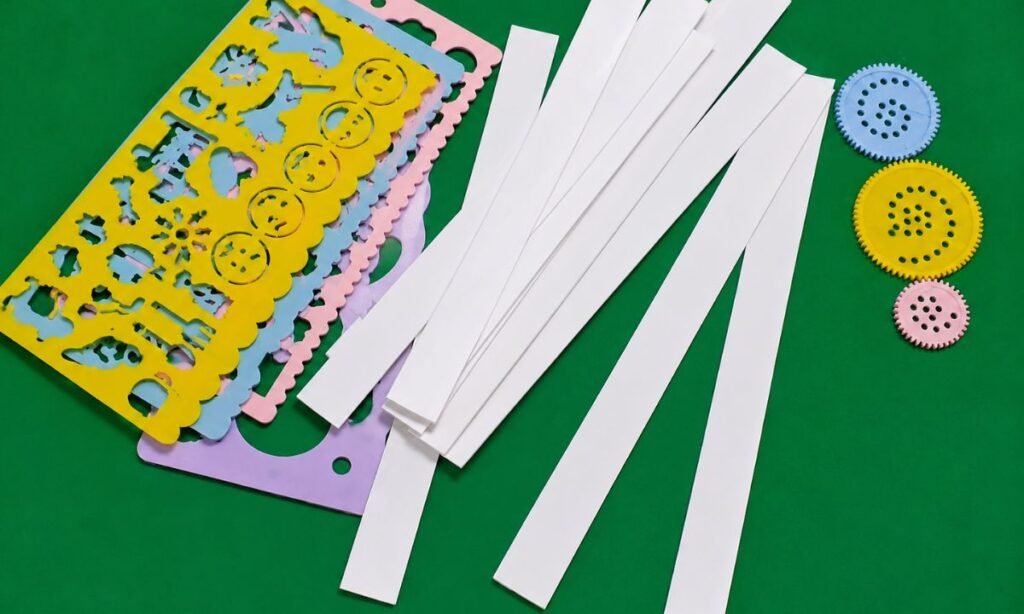
1. Prepare White Strips
Start by cutting several long white paper strips, keeping them similar in width so the snowman pieces look neat and consistent.
Lay the strips flat on the work surface and separate them slightly so each piece stays easy to see and handle.
Check that the strips are straight and evenly cut, trimming any uneven edges before using them for the snowman craft.
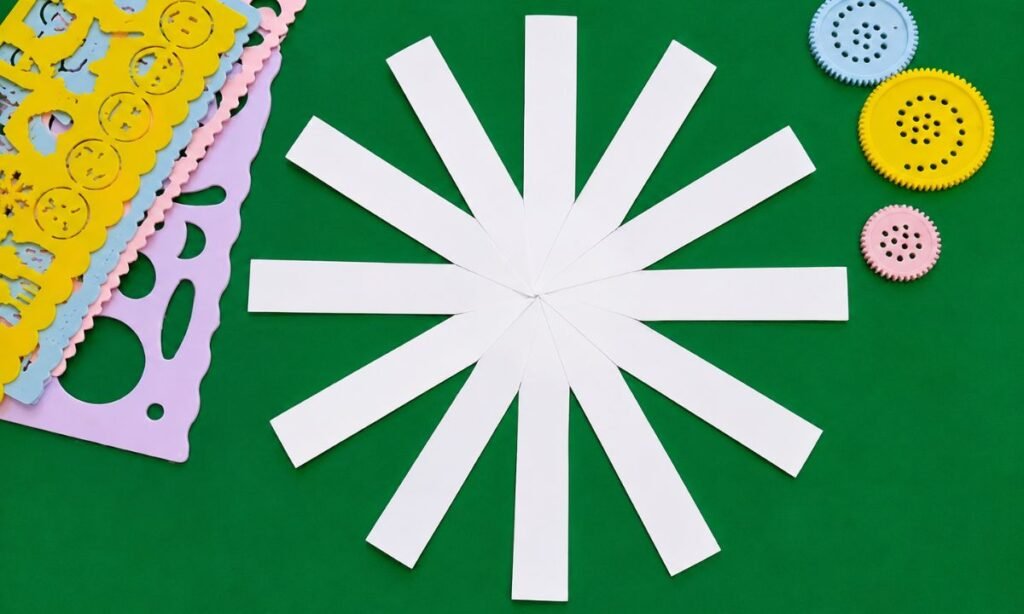
2. Arrange White Strips
Place the white paper strips in a circle, overlapping their inner ends so they meet neatly at one center point.
Spread the strips evenly around the middle, keeping similar gaps between each piece so the round shape looks balanced.
Adjust any crooked strips before gluing, because an even arrangement will help the snowman body look cleaner once the pieces are fixed.
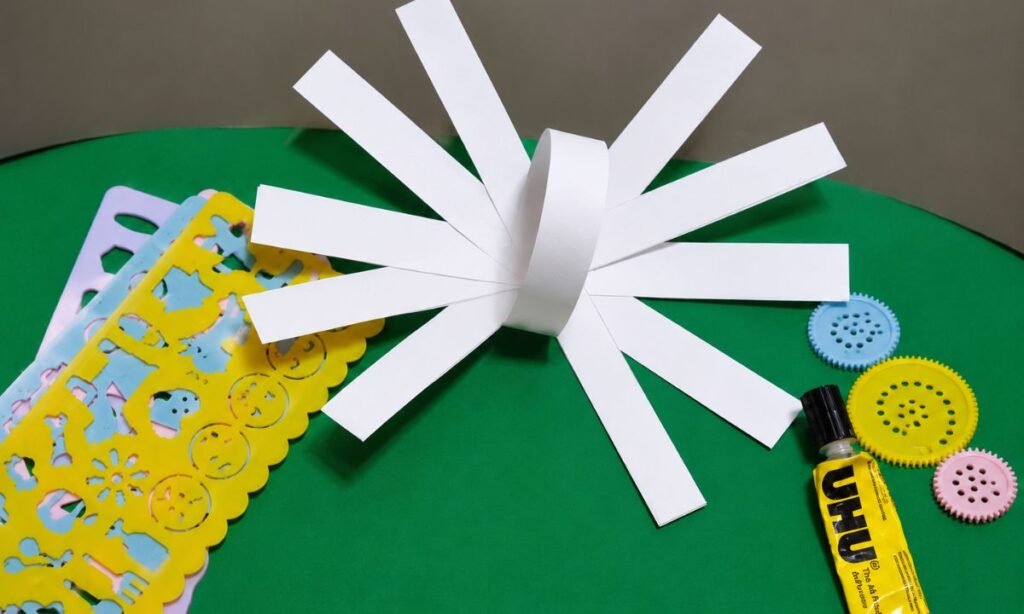
3. Form Center Loop
Bring one white strip upward from the center and curve it into a loop, keeping the remaining strips spread around the base.
Glue the loop where its ends meet near the middle, making sure it stands upright without pulling nearby strips out of place.
Keep the loop rounded and centered, because this raised shape will help the paper structure hold its form more evenly.
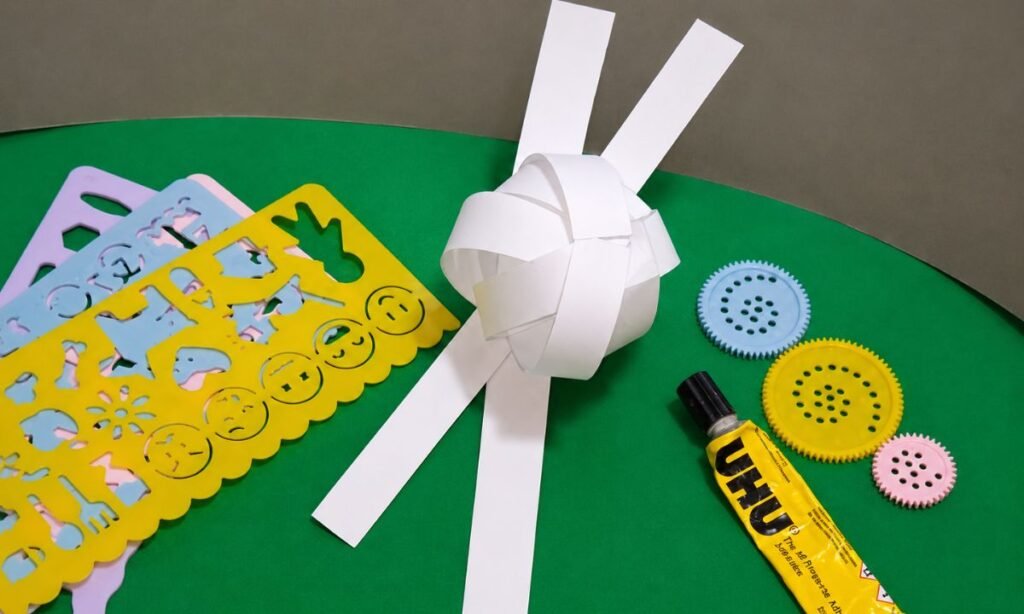
4. Build Rounded Body
Continue bringing the remaining white strips upward and curve them over the center so the shape begins forming a rounded ball.
Overlap each strip slightly as you glue it down, keeping the paper curves loose enough to create an open, airy structure.
Work around the shape evenly and leave the last few strips loose until the round body looks balanced from every side.
5. Complete Snowman Body
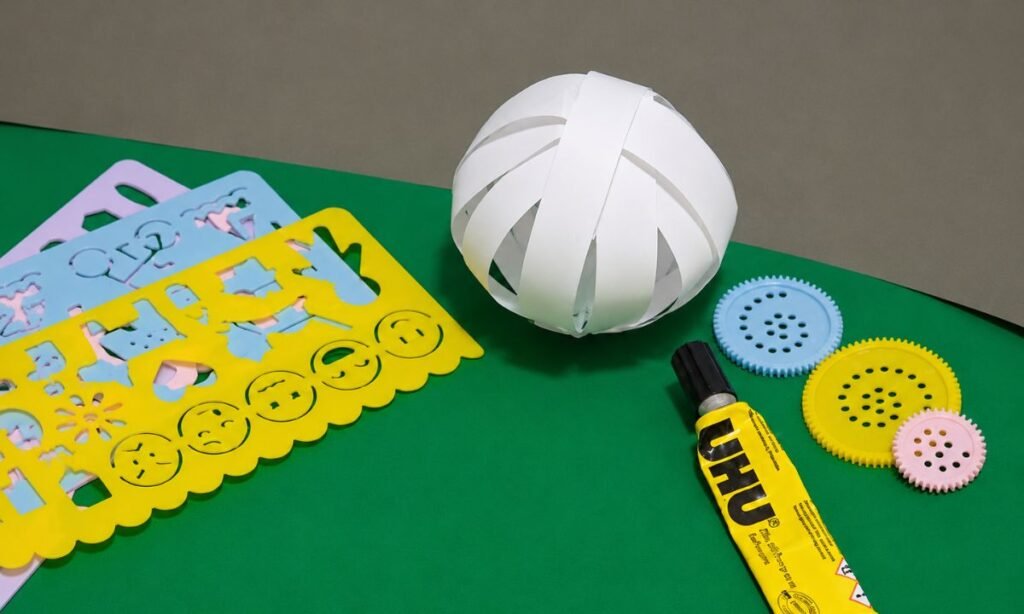
Bring the remaining white strips over the top and glue them down until the paper forms one complete rounded snowball shape.
Keep each strip slightly spaced from the next so the curved gaps stay visible and the ball does not look too tight.
Set the finished paper ball upright and check every side, making small adjustments wherever the round shape looks uneven or flat.
6. Prepare Snowman Details
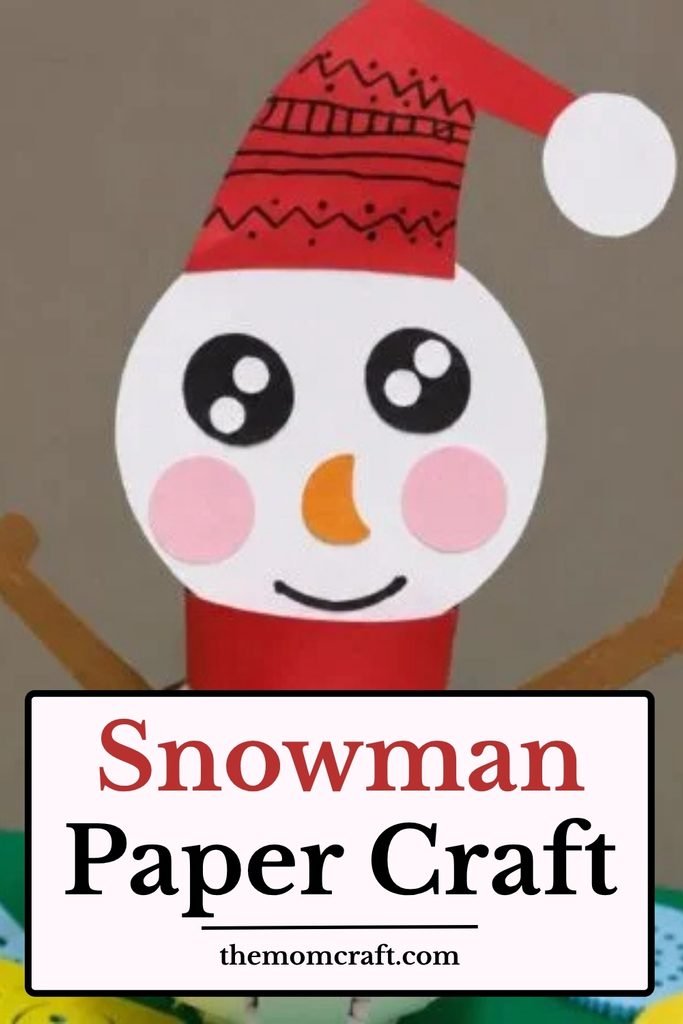
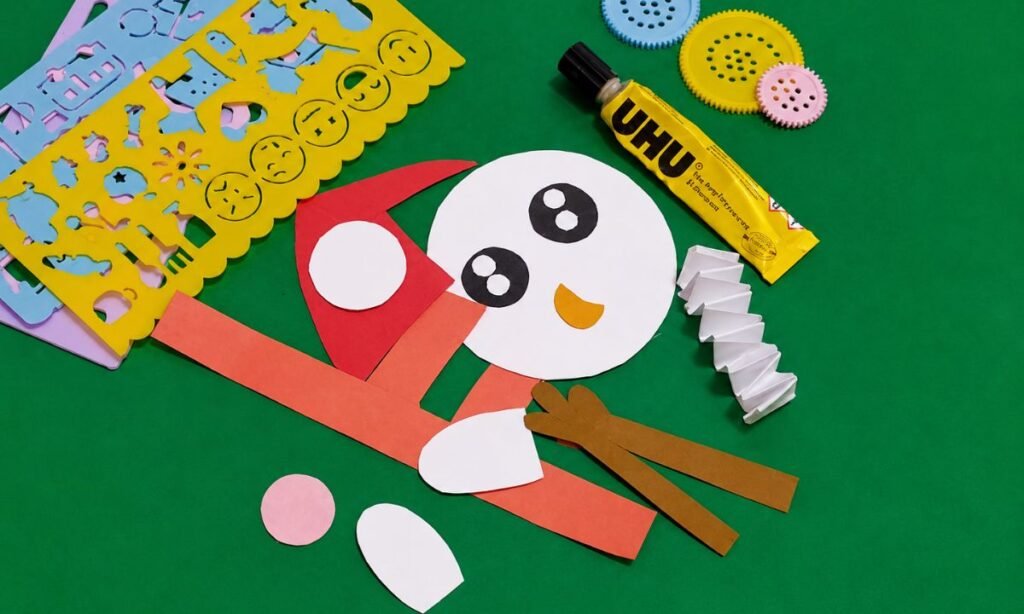
Cut the snowman face, hat, scarf, mittens, arms, and small decorative pieces from colored paper before attaching anything together.
Keep the facial pieces simple and clearly shaped so the eyes, nose, and mouth stay easy to recognize on the white face.
Lay every piece beside the snowman body first so you can check the sizes and overall balance before gluing them in place.
7. Attach Folded Strip
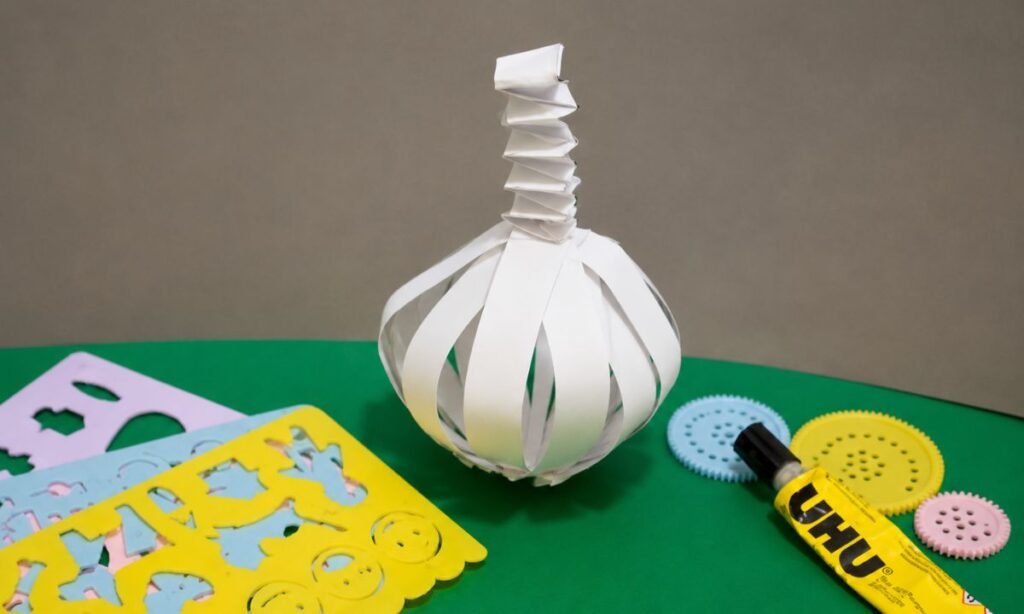
Attach the folded white paper strip to the top of the rounded body so it stands upright like a short spring.
Press the lower end firmly against the center, keeping the accordion folds stacked evenly instead of leaning toward one side.
Check that the folded strip stays vertical and the rounded body remains balanced before attaching the head and other snowman details.
8. Attach Snowman Details
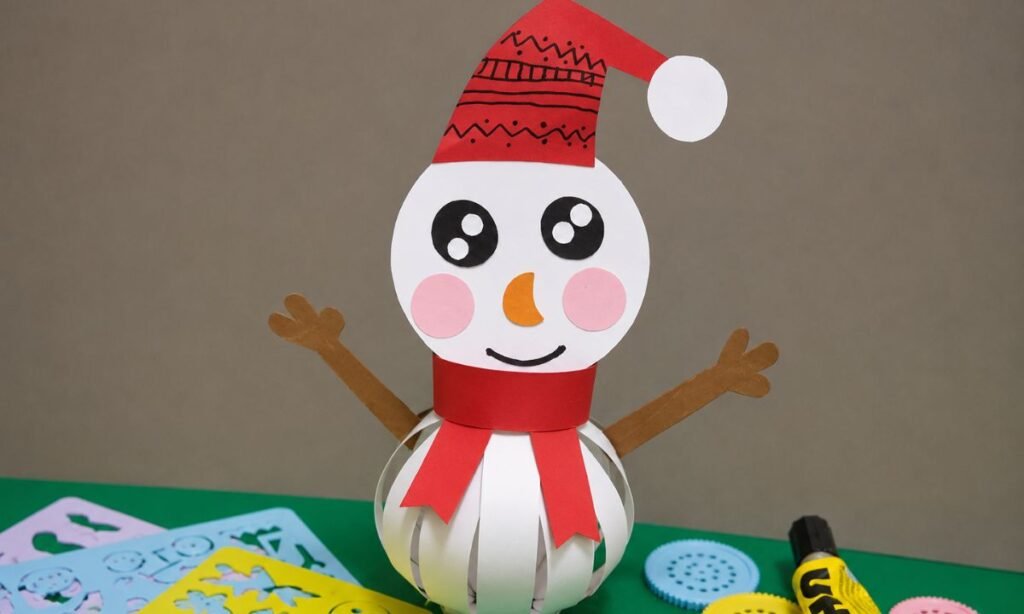
Attach the prepared face, hat, scarf, and brown arms to the rounded body, keeping each piece centered and clearly visible.
Press the head firmly onto the folded support, then wrap the red scarf around the neck so it sits neatly.
Finish by adding the hat, cheeks, carrot nose, smile, and arms, checking that both sides look balanced and secure together.
Fun Ways to Customize
Change the hat and scarf colors to match a favorite winter theme, school color, or simple holiday palette at home.
Add small buttons, paper snowflakes, or simple patterns to the hat so the snowman feels more personal and playful for kids.
Try different facial expressions by changing the eyes, mouth, or cheeks, especially if kids want each snowman to look unique.
You can also add a name tag, tiny paper mittens, or a patterned scarf to give the finished craft extra character.
FAQs
Can I Make This Snowman Paper Craft With Preschoolers?
Yes, preschoolers can enjoy this craft, especially if an adult helps with cutting the strips and preparing the smaller snowman pieces.
They can help arrange the paper strips, add the face, and choose colors for the scarf, hat, cheeks, and other details.
For younger kids, prepare the tricky shapes beforehand so they can focus more on gluing, decorating, and putting the snowman together.
What Type of Paper Works Best for a 3D Snowman Craft?
Lightweight cardstock or sturdy craft paper works best because it bends easily while still holding the rounded snowman shape properly.
Very thin paper can collapse too quickly, while heavy cardstock may be harder for kids to curve and glue neatly.
Choose paper that feels flexible but firm enough to keep the strips rounded once the snowman body is fully assembled.
You may also like to make!