

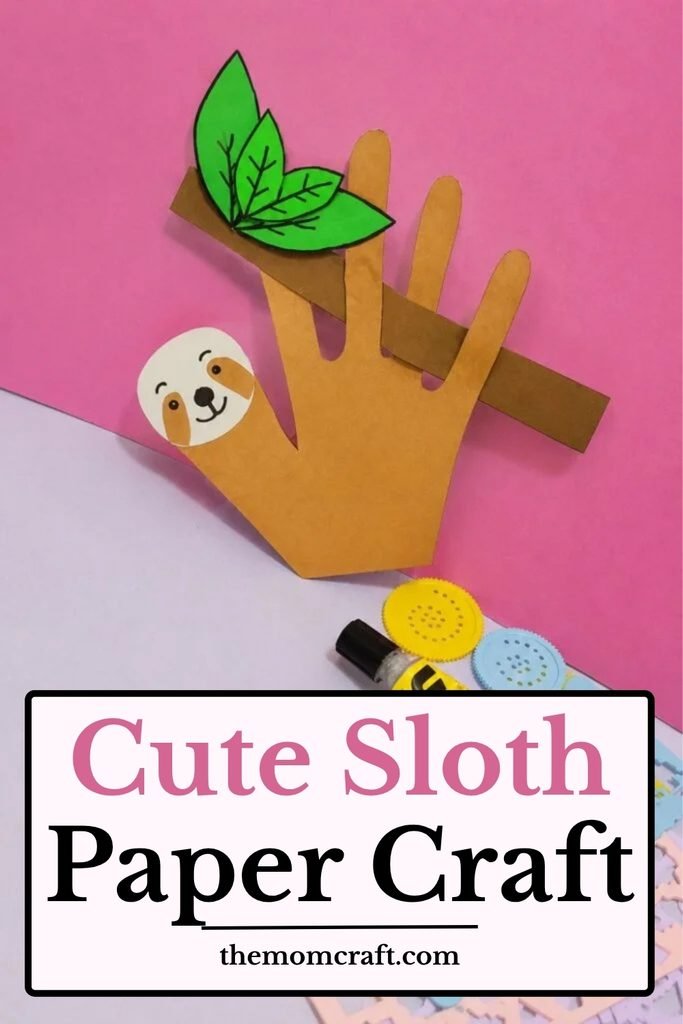
A few days ago, I was helping my little sister with an animal activity when she pointed out a sloth hanging from a branch.
She was surprised that it could stay in that position for so long and kept asking how its arms held on without slipping.
That gave me the idea to use a traced hand shape to recreate the same hanging pose with simple paper pieces.
The long fingers worked perfectly for the sloth’s limbs, while the branch and leaves completed the little tree scene.
Let’s make this sloth paper craft.
- Why Sloths Move So Slowly
- Materials Needed:
- How to Make Sloth Craft Step By Step?
- 1. Prepare Brown Paper
- 2. Trace Hand Shape
- 3. Cut Hand Base
- 4. Prepare Sloth Pieces
- 5. Assemble Sloth Craft
- Fun Facts About Sloths
- Why Sloths Hang From Branches
- Sloth Craft Challenges
- FAQs
- Can I Make This Sloth Craft Without Tracing a Hand?
- Can I Turn This Sloth Craft Into a Classroom Display?
Why Sloths Move So Slowly
Sloths have a very slow metabolism, so they use energy carefully and spend much of their time moving at an easy pace.
Their muscles are built more for hanging and steady movement than for quick running across the ground.
This slow lifestyle helps them survive on a diet that does not provide a lot of energy.
That is why the relaxed hanging pose in this craft matches the way sloths are usually seen in nature.
Materials Needed:
- Brown craft paper
- White craft paper
- Light brown craft paper
- Green craft paper
- Pencil
- Black marker
- Scissors
- Glue
How to Make Sloth Craft Step By Step?
1. Prepare Brown Paper
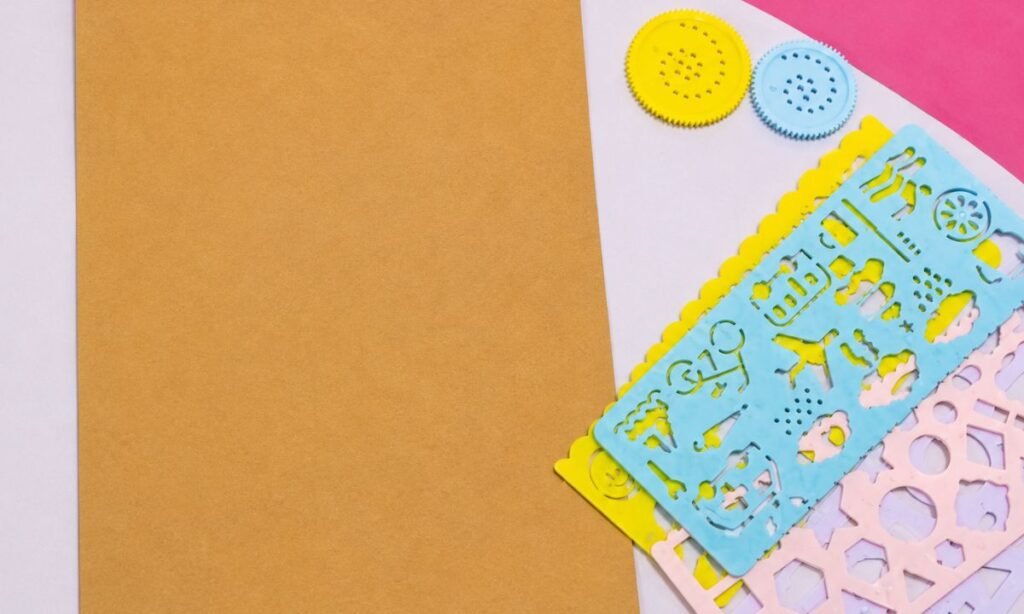
Place a clean brown craft paper sheet flat on your work surface, keeping the edges straight and the surface completely smooth.
Choose a sheet large enough to trace one full hand shape without the fingers or palm reaching beyond the paper edges.
Keep a pencil and scissors nearby so the outline can be drawn clearly and cut neatly in the next steps.
2. Trace Hand Shape
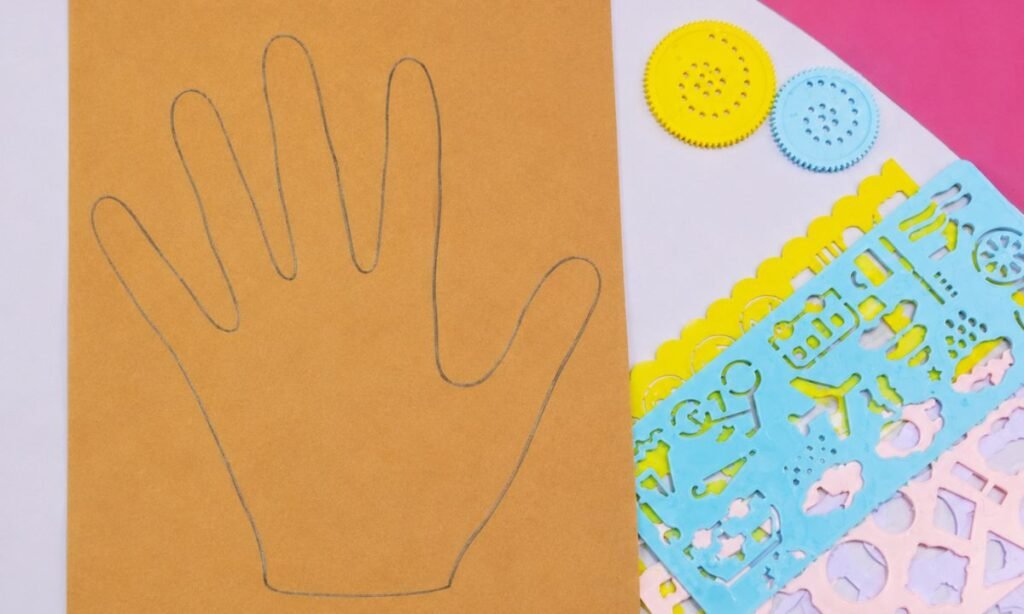
Place your hand flat on the brown paper, spreading the fingers slightly so each outline stays separate and easy to follow.
Trace carefully around the thumb, fingers, and palm with a pencil, keeping the line close without making the shape too narrow.
Check the full outline before cutting, smoothing any shaky areas so the hand shape looks clean and evenly proportioned.
3. Cut Hand Base
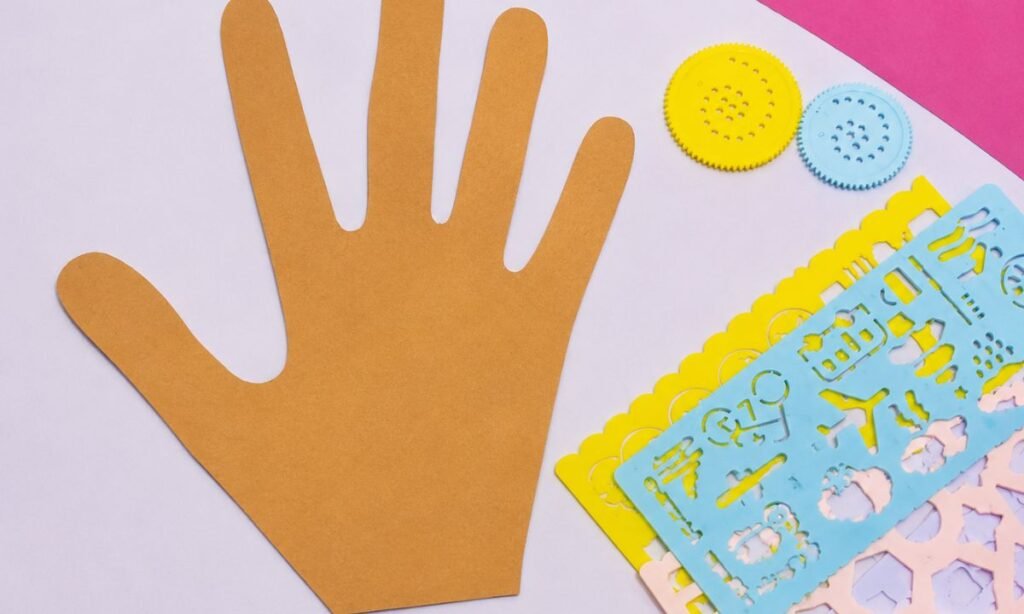
Cut carefully along the traced pencil line, following each finger curve and the outer palm edge without trimming too deeply.
Turn the paper slowly around the narrow spaces between fingers so the finished hand shape stays neat instead of tearing.
Place the cut hand base flat on the work surface and trim any rough edges before preparing the remaining sloth pieces.
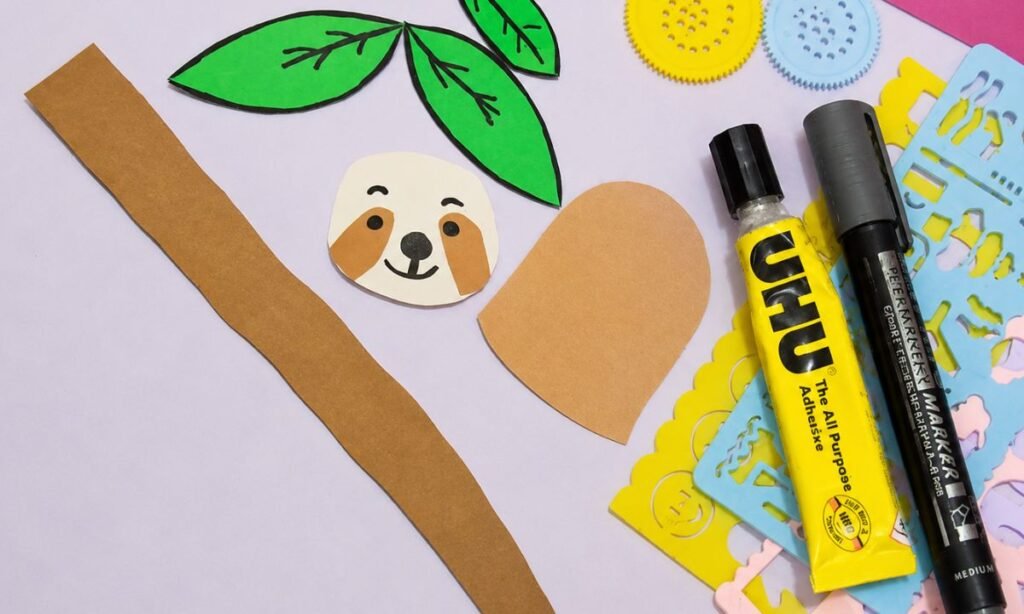
4. Prepare Sloth Pieces
Cut a long brown branch strip, a rounded body piece, green leaves, and a small cream face for the sloth.
Add brown facial patches, eyes, nose, eyebrows, and a curved smile, then draw simple veins across the green leaves.
Keep every prepared piece together and check the sizes before attaching them to the hand-shaped base during the final assembly.
5. Assemble Sloth Craft
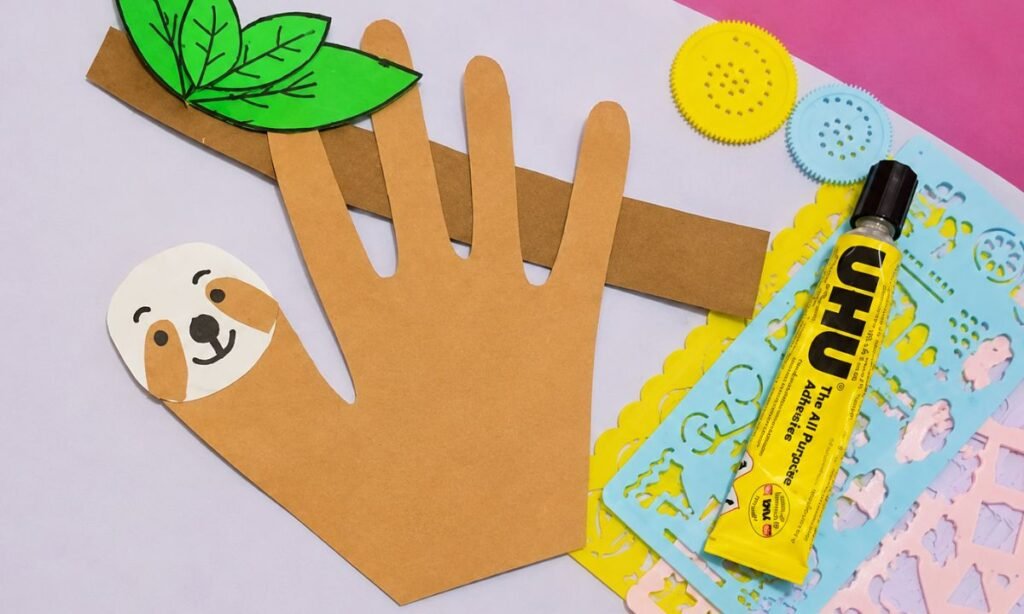
Glue the long brown branch strip horizontally behind the hand-shaped body, keeping enough space above it for the green leaves.
Attach the sloth face near the thumb section, then position the rounded body so it connects naturally with the hand base.
Add the green leaves along the branch, press every glued piece firmly, and check that the hanging sloth stays balanced.
Fun Facts About Sloths
- Sloths can turn their heads surprisingly far, helping them look around while staying in one hanging position.
- They usually descend from trees only occasionally, spending most of their daily life high above the ground.
- Sloths are surprisingly good swimmers and can move through water better than many people expect.
- Some sloths have algae growing in their fur, which can give them a slightly greenish appearance.
- Baby sloths often cling closely to their mother while they are still young.
Why Sloths Hang From Branches
Sloths have strong curved claws that let them hold onto tree branches for long periods without constantly gripping with their muscles.
Their body structure makes hanging more comfortable than standing or walking across the ground for long distances.
Staying in trees also helps them reach leaves and remain farther away from many ground-level dangers.
The hand-shaped body in this craft creates a simple way to copy that familiar hanging position.
Sloth Craft Challenges
Tracing and cutting around each finger can be tricky because the narrow spaces are easy to trim unevenly.
The branch also needs to sit at the right height so the hand-shaped body looks like it is hanging naturally.
Small facial pieces can shift while gluing, especially around the eyes, nose, and curved mouth.
Arranging the branch, leaves, face, and body first helps the finished sloth look cleaner and more balanced.
FAQs
Can I Make This Sloth Craft Without Tracing a Hand?
Yes, you can draw a simple rounded body with four long arm and leg shapes instead of using a traced hand.
Keep the limbs long enough to wrap around or hang near the branch so the sloth pose still looks recognizable.
This option works well if you want every sloth to have the same size rather than matching different hand shapes.
Can I Turn This Sloth Craft Into a Classroom Display?
Yes, you can place several finished sloths around paper branches and leaves to create a simple rainforest-themed classroom display.
Keep enough space between each craft so the hand-shaped bodies, faces, and hanging positions remain easy to see.
You can also add student names near the branches to turn the display into a personalized class project.
You may also like to make!



