One evening, I walked into my room and suddenly there was a lot of movement near the ceiling that completely caught me off guard.
For a few seconds, I could not tell what was happening until I realized a small bat had somehow flown inside.
It kept circling the room quickly while everyone tried to figure out how to guide it back outside safely.
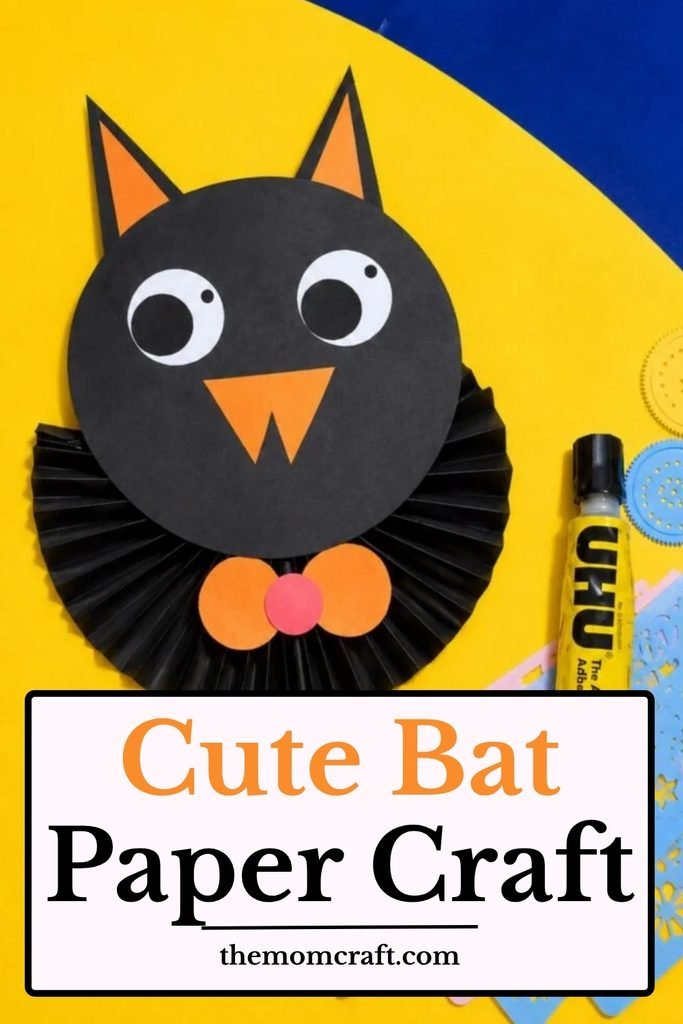
That unexpected little moment stayed in my mind and inspired this paper bat craft with wide folded wings and a playful face.
Let’s make this paper bat craft.
- Why Bats Come Out at Night
- Materials Needed:
- How to Make Paper Bat Craft Step By Step?
- 1. Prepare Black Paper
- 2. Fold Accordion Wings
- 3. Shape Wing Centers
- 4. Open Bat Wings
- 5. Prepare Bat Details
- 6. Join Bat Wings
- 7. Assemble Bat Face
- 8. Finish Bat Craft
- Fun Facts About Bats
- FAQs
- Can I Make This Bat Craft Without Accordion Folding?
- Can I Use This Bat Craft for Halloween Decor?
Why Bats Come Out at Night
Most bats are active after sunset, when the air is cooler and many insects become easier to find.
Their nighttime routine also helps them avoid some daytime predators and move around when there is less competition.
This is why bats are commonly connected with dark skies, caves, and evening scenes.
That nighttime behavior also makes this craft fit naturally with Halloween and other spooky seasonal activities.
Materials Needed:
- Black craft paper
- Orange craft paper
- White craft paper
- Pink craft paper
- Glue
- Scissors
- Pencil
How to Make Paper Bat Craft Step By Step?
1. Prepare Black Paper
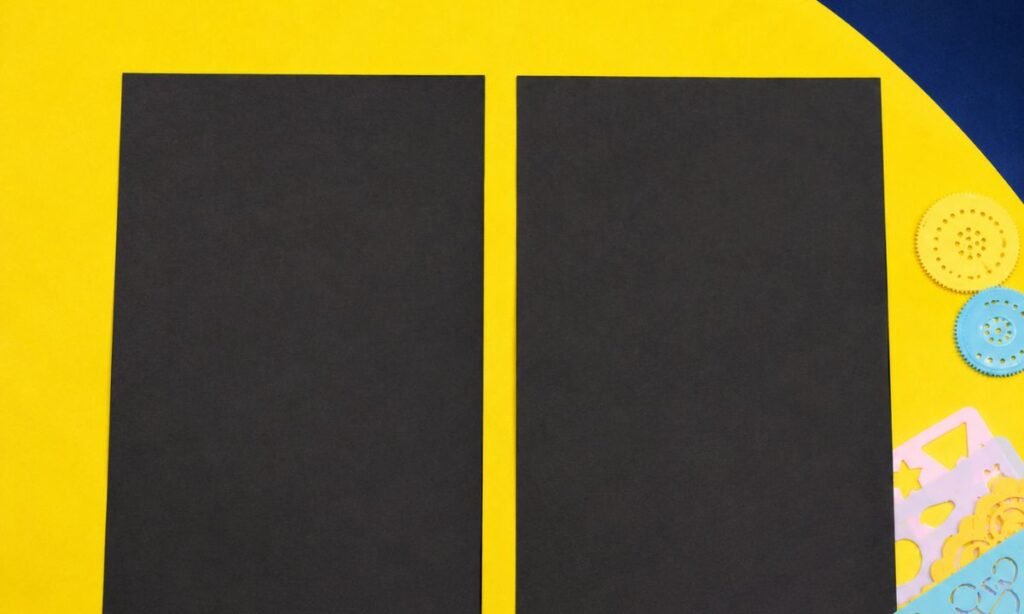
Place two rectangular black craft paper sheets flat on your work surface, keeping both pieces similar in size and completely smooth.
Choose paper that folds easily without cracking so the accordion sections stay neat and hold their shape after repeated bending.
Keep the sheets aligned side by side, checking their widths before folding so both bat wings end up similar in size.
2. Fold Accordion Wings
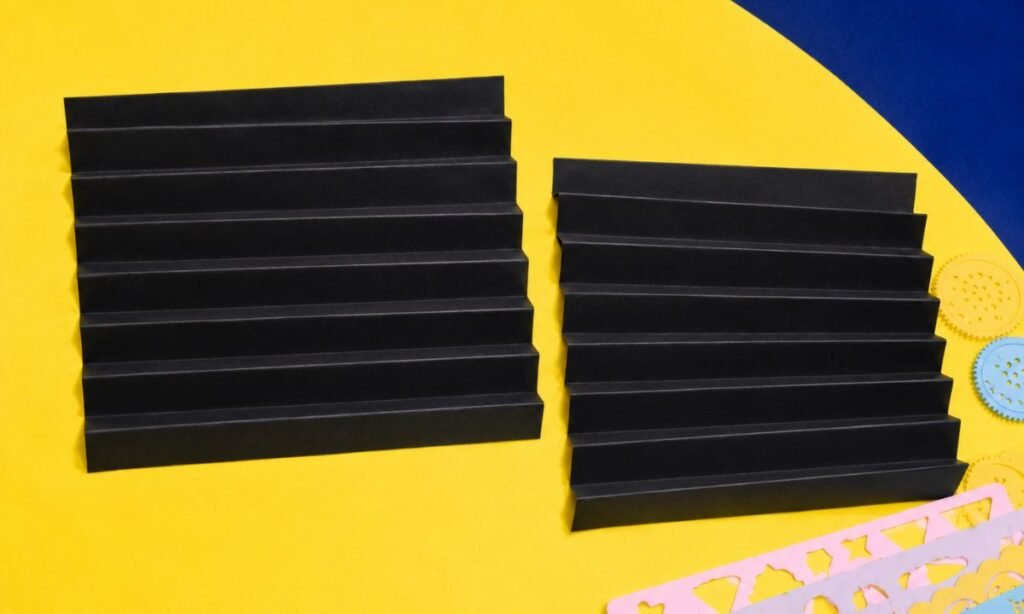
Fold each black paper sheet back and forth into narrow accordion sections, keeping the creases straight and the spacing fairly even.
Press every fold firmly with your fingers so the paper holds its pleated shape instead of opening flat again.
Repeat the same folding pattern on both sheets, making sure the two accordion pieces remain close in width and length.
3. Shape Wing Centers
Bring the folded ends of each accordion piece inward, creating a deep center bend that spreads both sides outward like a fan.
Press the middle section firmly so the folds gather together while the outer edges begin forming the pointed bat-wing shape.
Adjust both sides gently until the pleats open evenly and the center stays narrow enough for the wing structure to remain balanced.
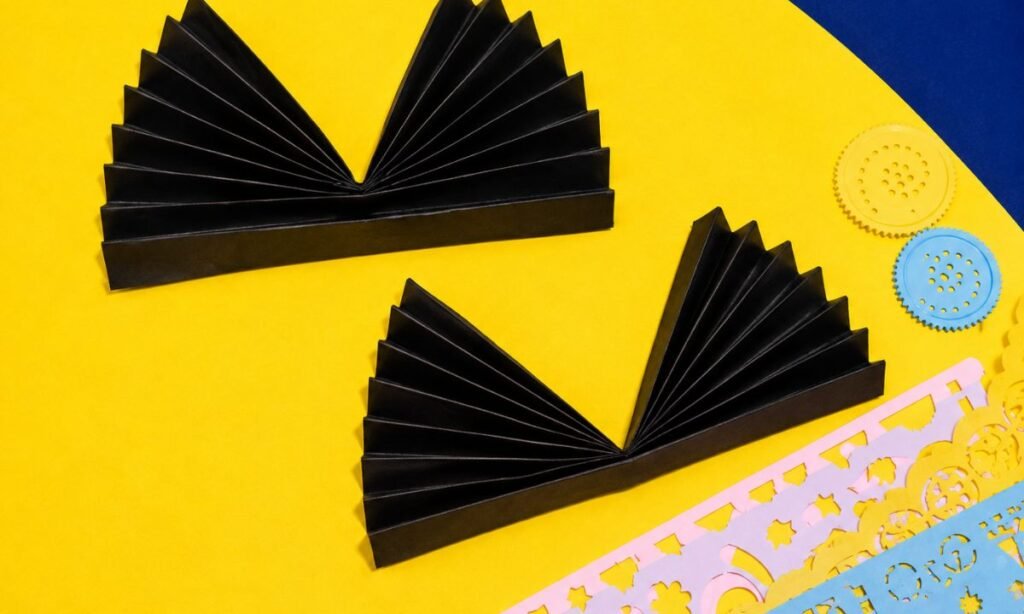
4. Open Bat Wings
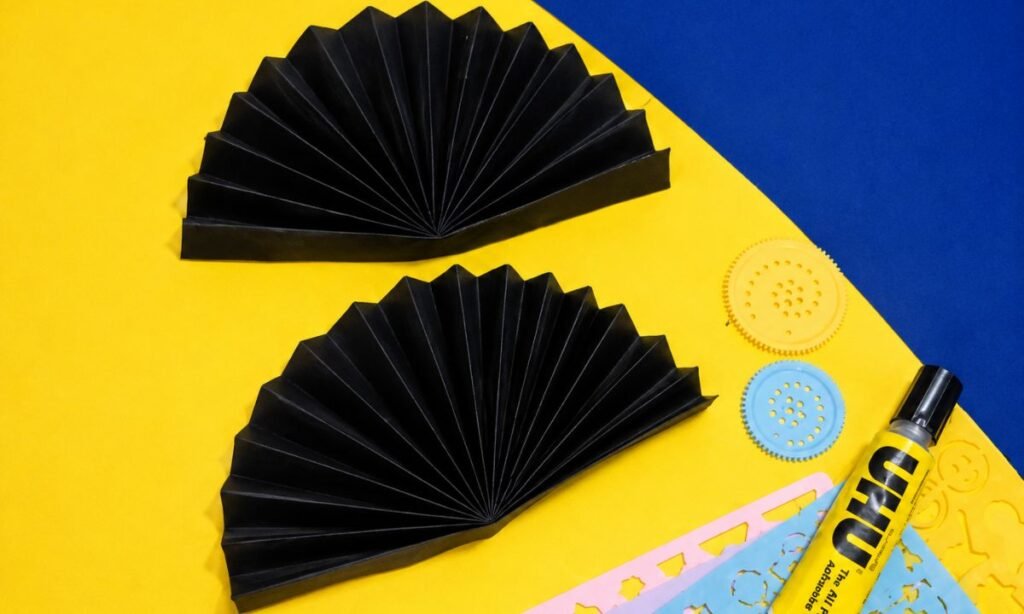
Spread each folded piece into a wide semicircular fan, keeping the center tightly gathered while the pleats open across the top.
Shape the outer edges carefully so both paper wings look full without flattening the accordion folds or bending the lower strip.
Place the two finished fan pieces together and compare their size before moving on to the bat body and final assembly.
5. Prepare Bat Details
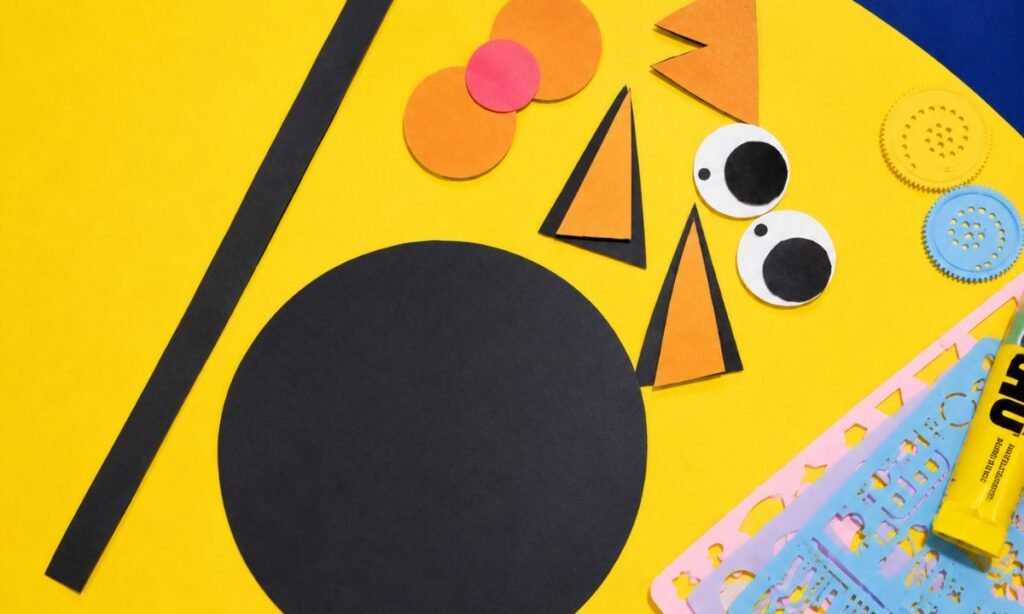
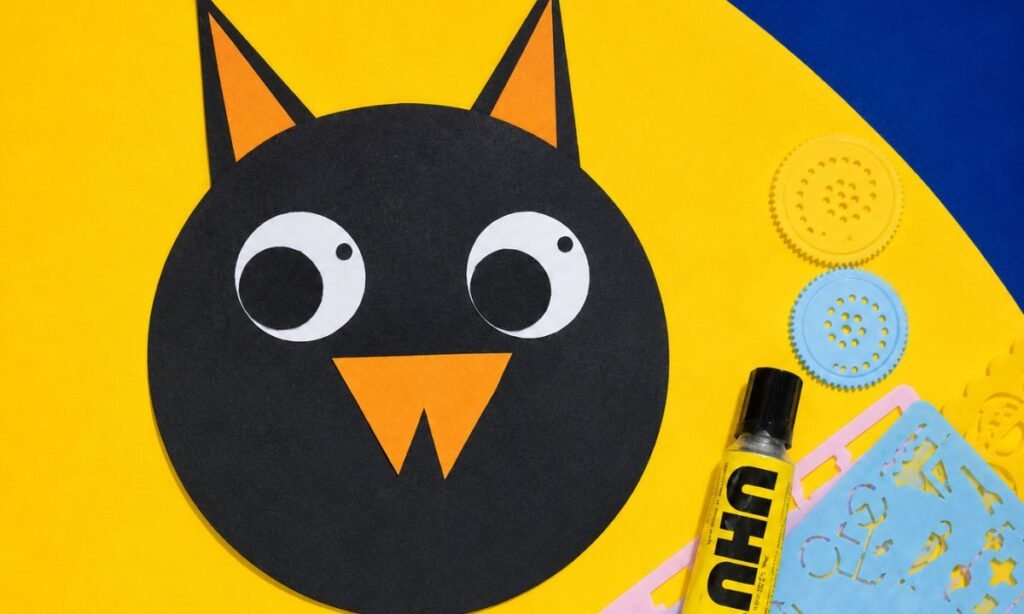
Cut one large black circle for the head, two pointed ear pieces, round paper eyes, and a small orange mouth shape.
Prepare one narrow black strip and three small orange and pink circles to create the decorative bow detail beneath the face.
Keep all pieces grouped together, checking their sizes before attaching anything so the bat face stays balanced and easy to assemble.
6. Join Bat Wings
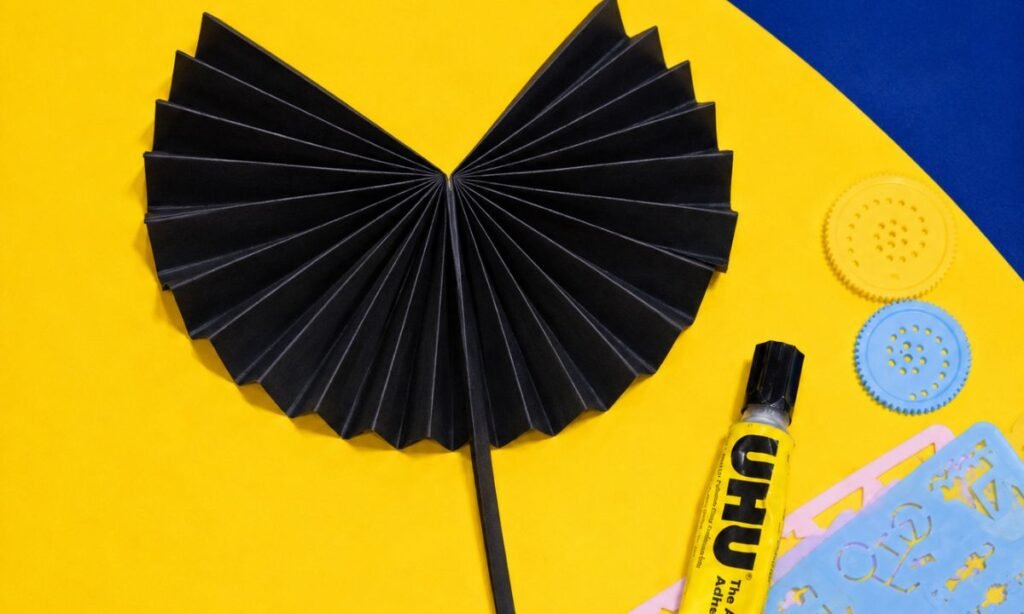
Glue the two black accordion fans together at their narrow center points, creating one wide rounded wing section behind the body.
Attach the long black paper strip vertically through the middle, keeping it centered so both folded sides remain evenly spread.
Press the glued center firmly and adjust the pleats until the joined wings form one balanced semicircular shape without collapsing inward.
7. Assemble Bat Face
Attach the large paper eyes to the black circular head, leaving enough space above for the pointed ear pieces.
Glue the orange inner sections inside each ear, then attach the small orange mouth shape near the lower center.
Press every facial piece gently after gluing, checking that the eyes, ears, and mouth remain centered and clearly visible.
8. Finish Bat Craft
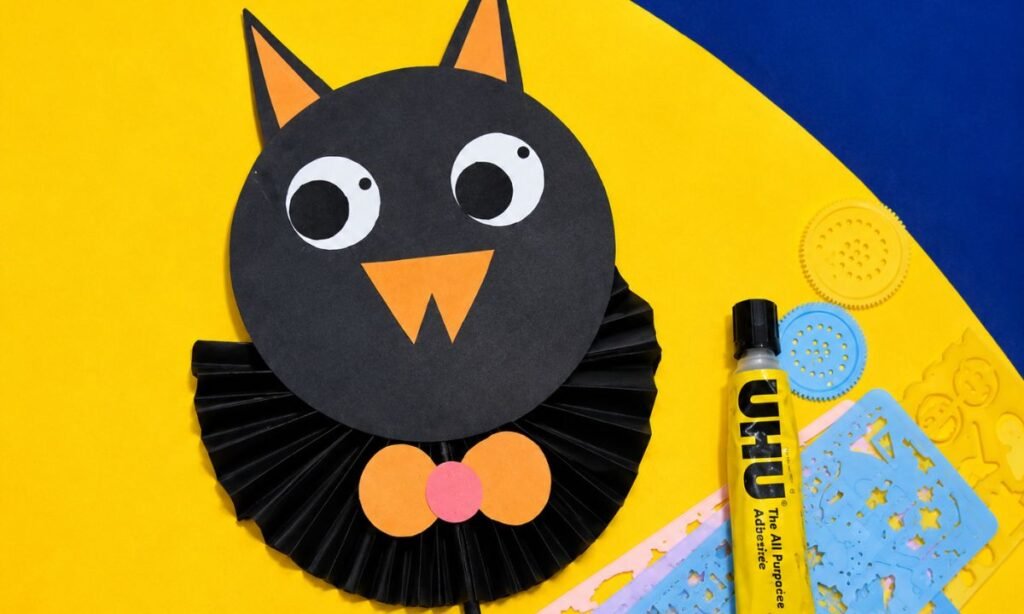
Glue the completed black head over the upper center of the folded wings, keeping the face upright and fully visible.
Attach the orange and pink bow detail below the head, positioning it neatly over the center of the accordion body.
Press the main joins firmly, then spread the folded wings evenly until the finished paper bat looks balanced and ready to display.
Fun Facts About Bats
- Bats are the only mammals capable of true powered flight.
- Many bat species use echolocation to help navigate and find food in the dark.
- Some bats eat insects, while others feed on fruit, nectar, fish, or small animals.
- Bats can hang upside down because their feet lock securely around a surface with little effort.
- Many species play an important role in pollination, seed spreading, and controlling insect populations.
FAQs
Can I Make This Bat Craft Without Accordion Folding?
Yes, you can cut two simple wing shapes from black paper instead of making the folded accordion sections.
A flat version will look less dimensional, but the large head and pointed ears will still keep the bat easy to recognize.
This option works well if you want a quicker version for younger kids or a classroom activity with less folding.
Can I Use This Bat Craft for Halloween Decor?
Yes, you can hang the finished bat on a wall, door, bulletin board, or window as part of a Halloween display.
Make sure the folded wings are fully opened so the shape stays visible instead of looking narrow from the front.
You can also make several bats in different sizes and group them together for a simple spooky decoration.
You may also like to make!