
I always stop for a moment when I see colorful cupcakes lined up in a bakery window, especially the ones covered with sprinkles and little decorations.
I thought it would be fun to make that same cheerful cupcake look with paper instead of baking anything.
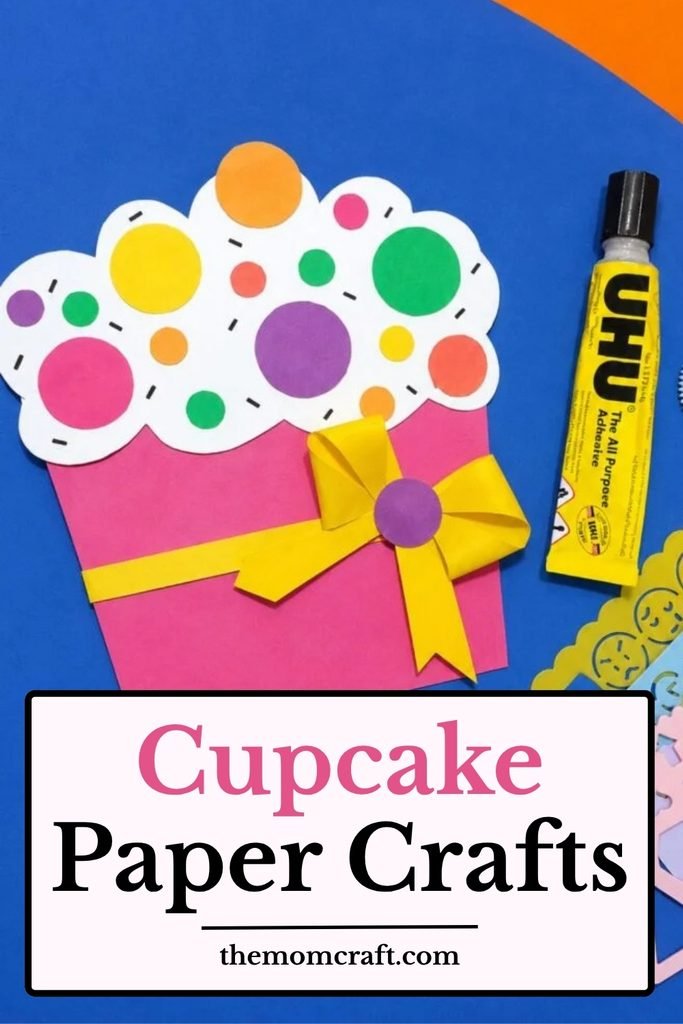
That gave me the idea for a cupcake craft with bright frosting, colorful toppings, and a small bow around the wrapper.
It turned into a cute little decoration that was almost as fun to make as a real cupcake.
Let’s make this cupcake paper craft.
- Why Do Cupcakes Have Wrappers?
- Material Needed:
- Step-by-Step Guide
- 1. Prepare Pink Paper
- 2. Draw Wrapper Shape
- 3. Cut Wrapper Pieces
- 4. Add Cupcake Topping
- 5. Add Cupcake Bow
- Fun Facts About Cupcakes
- How to Customize this Craft?
- Easy Ways to Display It
- FAQs
- Can I Turn This Cupcake Craft Into a Card?
- Can I Make This Cupcake Craft Without the Bow?
Why Do Cupcakes Have Wrappers?
Cupcake wrappers help the batter keep its round shape while baking and stop the cake from sticking directly to the pan.
They also make cupcakes easier to hold and serve, especially at parties where people usually eat them without using plates.
The wrapper can catch small crumbs and frosting drips, which makes eating a cupcake a little cleaner and less messy.
Wrappers also add to the look of cupcakes, with different colors and patterns often chosen to match special occasions or themes.
Material Needed:
- Pink craft paper
- White craft paper
- Yellow craft paper
- Orange craft paper
- Small colored paper circles
- Black marker or sketch pen
- Scissors
- Pencil
- Glue
Step-by-Step Guide
1. Prepare Pink Paper
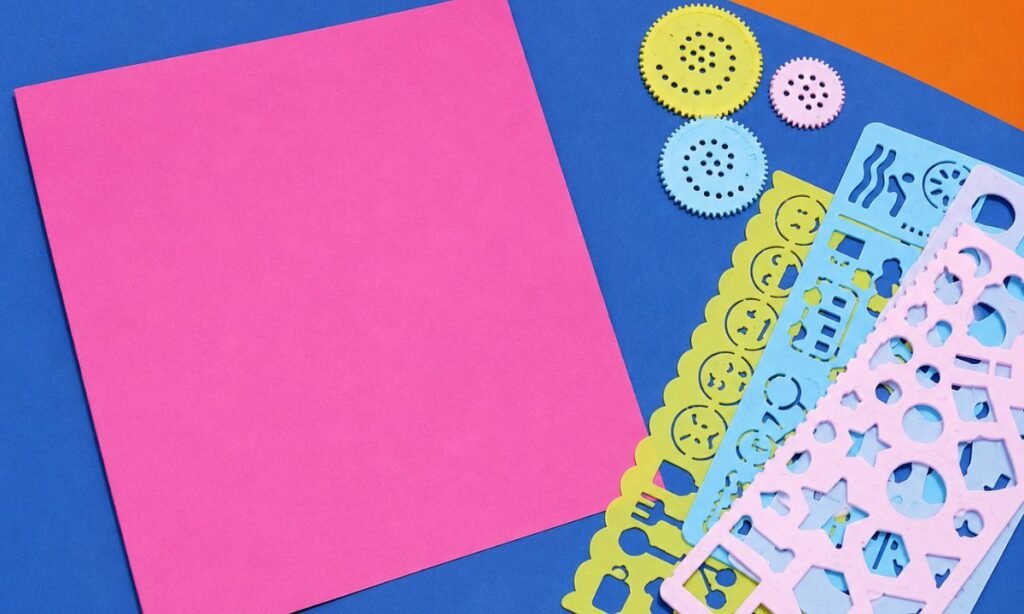
Place a bright pink paper sheet flat on your work surface, keeping the edges straight and the surface smooth before starting.
Choose a clean sheet without folds or wrinkles, because a smooth surface makes drawing and cutting the cupcake pieces much easier.
Keep the paper centered in front of you, leaving enough open space around it for tracing, shaping, and cutting comfortably.
2. Draw Wrapper Shape
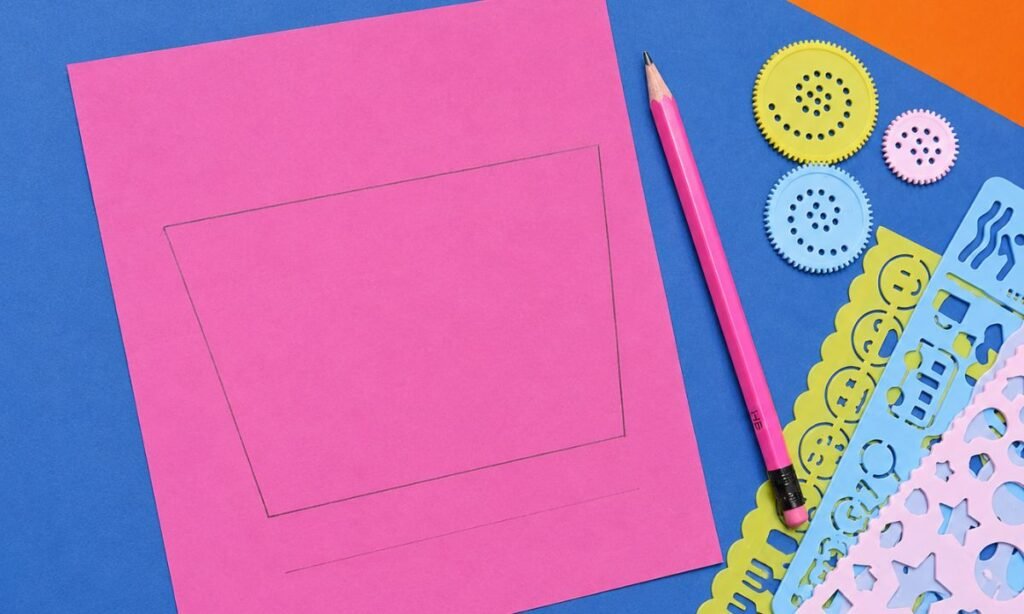
Use a pencil to draw a wide cupcake wrapper shape on the pink paper, keeping the top edge slightly longer.
Keep both side lines angled gently inward toward the bottom, so the wrapper shape looks even and balanced on both sides.
Check the outline before cutting, making sure the corners are clear and the bottom edge stays straight across the paper.
3. Cut Wrapper Pieces
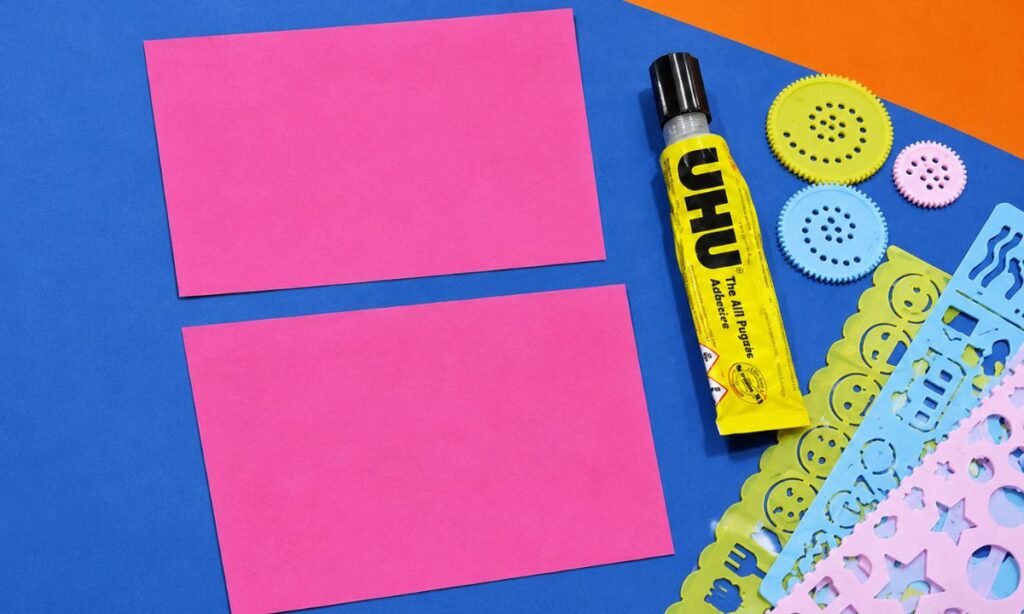
Cut along the pencil outline to create two matching pink wrapper pieces, keeping the edges straight and the corners clean.
Place both cut pieces flat on the work surface, leaving a small gap so their matching shapes remain easy to compare.
Check the sides and bottom edges carefully, trimming any uneven sections so both wrapper pieces stay similar in size and shape.
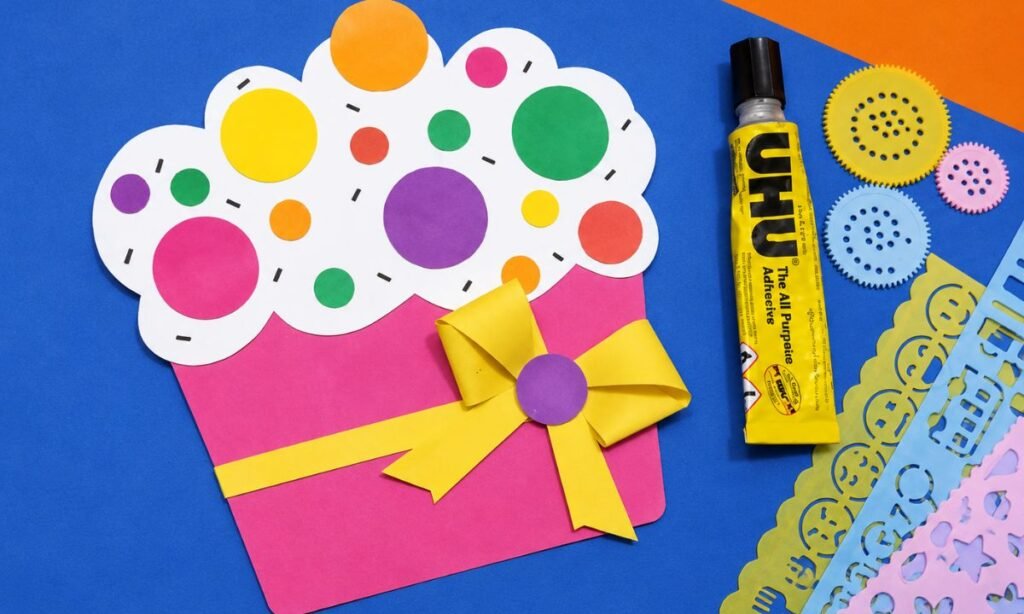
4. Add Cupcake Topping
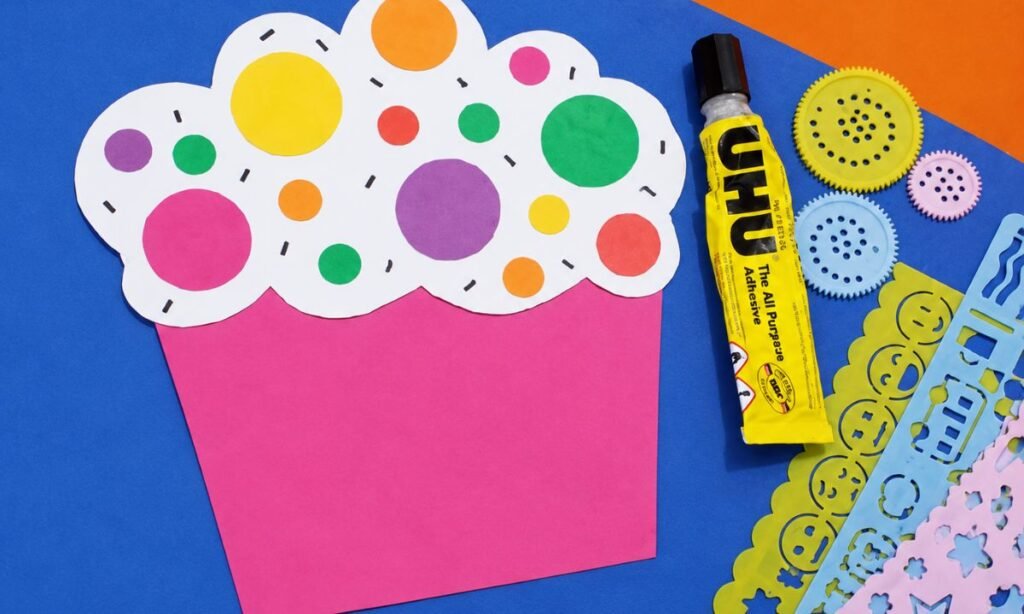
Glue the white frosting shape across the top of the pink wrapper, keeping the scalloped edge wide and evenly placed.
Add colorful paper circles across the frosting, mixing different sizes and shades so the decoration looks bright without feeling too crowded.
Finish with a few short black sprinkle marks between the circles, leaving enough white space to keep every detail clear.
5. Add Cupcake Bow
Glue a long yellow paper strip across the lower wrapper, keeping it straight so it looks like a ribbon around the cupcake.
Fold yellow paper into a bow shape and attach it over the ribbon, keeping both loops similar in size and angle.
Add a purple circle at the center of the bow, then press every piece firmly so the decoration stays neatly attached.
Fun Facts About Cupcakes
- Cupcakes were once called number cakes because early recipes used simple numbered measurements for ingredients.
- The name “cupcake” likely came from cakes being baked in small cups before modern cupcake pans became common.
- Cupcakes usually bake faster than full-sized cakes because each portion is much smaller and receives heat from more sides.
- Cupcake liners help keep individual cakes together, make serving easier, and reduce direct contact with the baking pan.
- Cupcakes became especially popular for parties because everyone gets an individual portion without needing to cut a large cake.
- Frosting, sprinkles, fruit, candies, and small toppers can make the same basic cupcake look completely different for different occasions.
How to Customize this Craft?
Change the wrapper and frosting colors to match a birthday theme, favorite color, or any party style you already have.
Add extra paper sprinkles, stars, hearts, or tiny circles to make the cupcake look more colorful without covering the frosting completely.
You can also change the bow color, add a small cherry on top, or use patterned paper for the wrapper.
If kids are making several cupcakes, let each one choose different toppings so every finished craft looks a little more personal.
Easy Ways to Display It
You can place the finished cupcake on a shelf, desk, or craft table as a small colorful decoration.
It also works well on bedroom walls, classroom boards, or party displays because the paper craft stays light and easy to hang.
Make several cupcakes in different colors and arrange them together to create a fun bakery-style display with more variety.
You can also add a small name or message beside each cupcake if you want to use them for birthdays or special events.
FAQs
Can I Turn This Cupcake Craft Into a Card?
Yes, you can glue the finished cupcake onto folded cardstock and use it as a handmade birthday or celebration card.
Leave some empty space around the cupcake so you can add a short message, name, or small decorative details.
Because the craft is flat and lightweight, it works well on cards without making them difficult to fold, carry, or display.
Can I Make This Cupcake Craft Without the Bow?
Yes, you can leave the bow off and keep the wrapper simple if you want a cleaner cupcake design.
You can replace it with a paper heart, small label, ribbon strip, or another decoration that matches your theme.
The cupcake will still look complete as long as the frosting and wrapper details stay balanced and clearly visible.
You may also like to make!