My niece loves lining up her toy cars on the floor and comparing their colors, shapes, and sizes one by one.
She usually spends the most time with the bright blue cars and keeps moving them around like they are racing.
Watching her play with them gave me the idea to make a simple car craft she could create and decorate herself.
It felt like a nice way to turn one of her favorite toys into a small hands-on activity.
Let’s make this car paper craft.
- Why Cars Have Different Shapes
- Materials Needed:
- Step-by-Step Guide
- 1. Prepare Blue Paper
- 2. Draw Car Shape
- 3. Cut Car Body
- 4. Add Car Windows
- 5. Add Car Details
- Fun Ways to Customize
- How Cars Help Us Every Day
- Why Car Windows Matter
- FAQs
- Can I Turn This Car Craft Into a Birthday Card?
- Can I Make a Road Scene With This Car Craft?
Why Cars Have Different Shapes
Cars come in different shapes because each design is made for a different purpose, such as carrying people, luggage, or heavy loads.
Small cars are easier to move through busy streets, while larger vehicles usually offer more space for passengers and storage.
The shape can also affect how smoothly air moves around the car, which can influence speed and fuel use.
That is why sports cars, family cars, and larger vehicles can look very different even though they all travel on roads.
Materials Needed:
- Light blue craft paper
- Dark blue craft paper
- Scissors
- Black marker/sketch pen
- Pencil (for drawing shapes)
- Glue
Step-by-Step Guide
1. Prepare Blue Paper
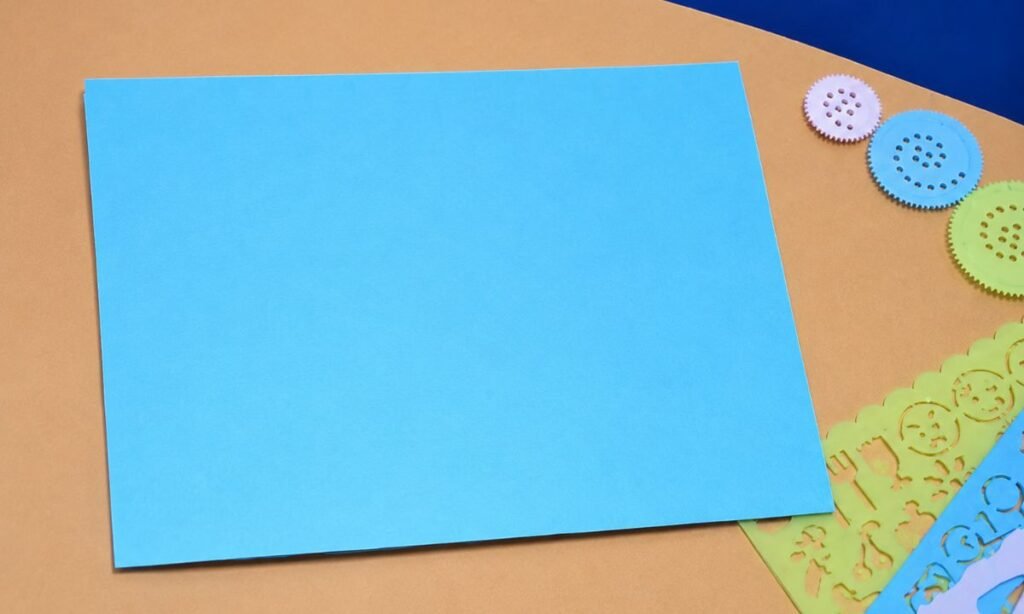
Place a light blue paper sheet flat on your work surface, keeping the edges straight and the surface smooth before starting.
Choose a clean sheet without folds or wrinkles, because a smooth surface makes drawing and cutting the car shape much easier.
Keep the paper centered in front of you, leaving enough open space around it for tracing, shaping, and cutting comfortably.
2. Draw Car Shape
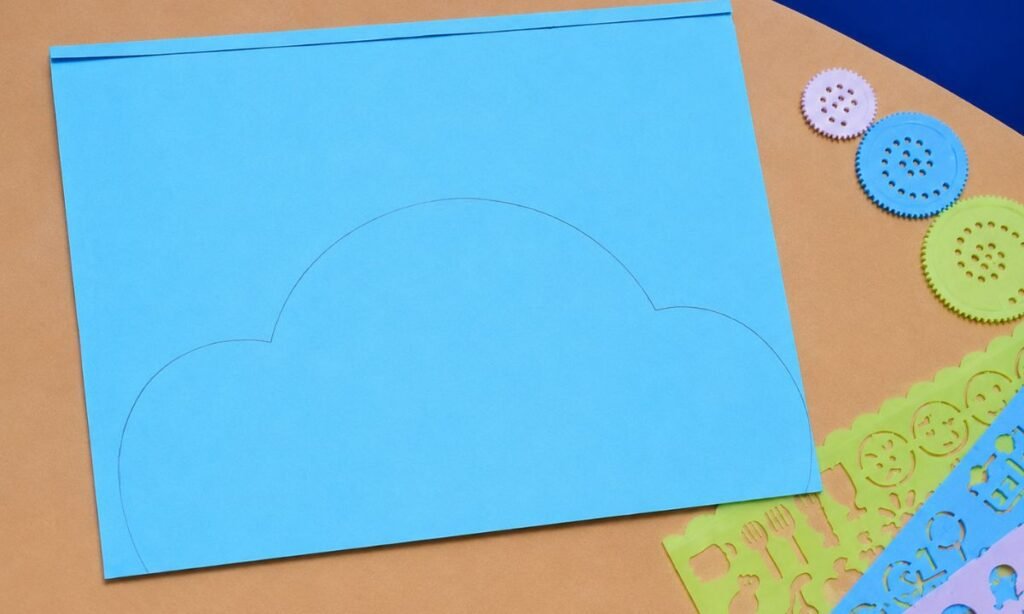
Use a pencil to draw the car body outline, keeping the roof curved and the lower edge straight across the paper.
Make the front and back ends rounded, while keeping the middle roof section wide enough to give the car a balanced shape.
Check the outline before cutting, smoothing any uneven curves so the full car body looks neat and easy to recognize.
3. Cut Car Body
Cut carefully along the pencil outline, following each rounded curve while keeping the straight bottom edge clean and even.
Turn the paper slowly as you cut around the roof and side curves, helping the car body stay smooth and balanced.
Check the finished shape from every side, trimming any rough spots lightly until the edges look clean and evenly shaped.

4. Add Car Windows
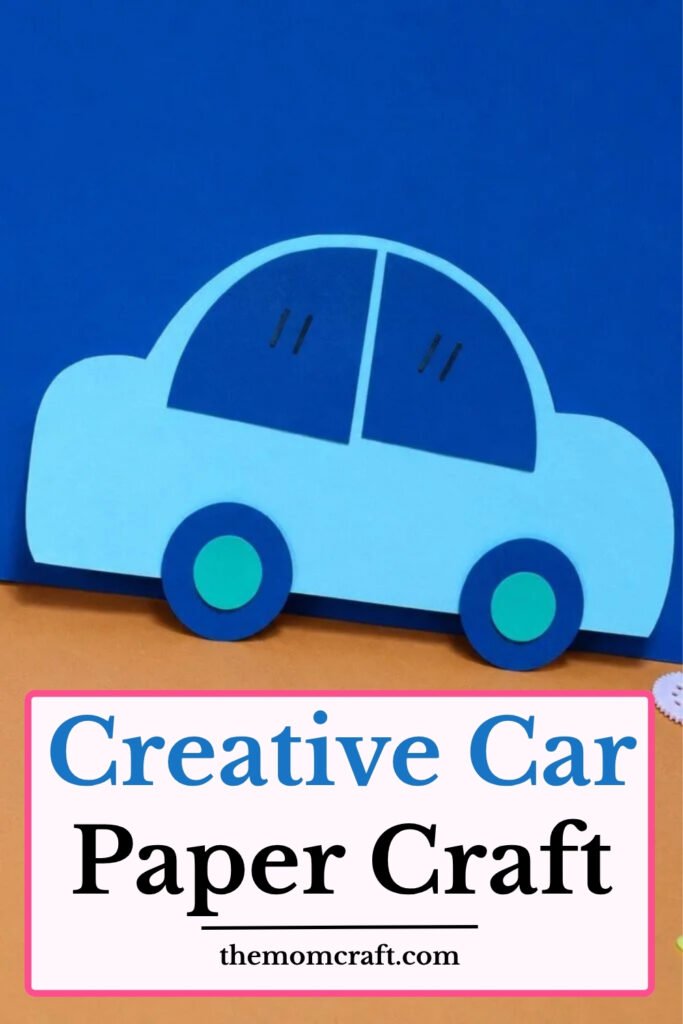
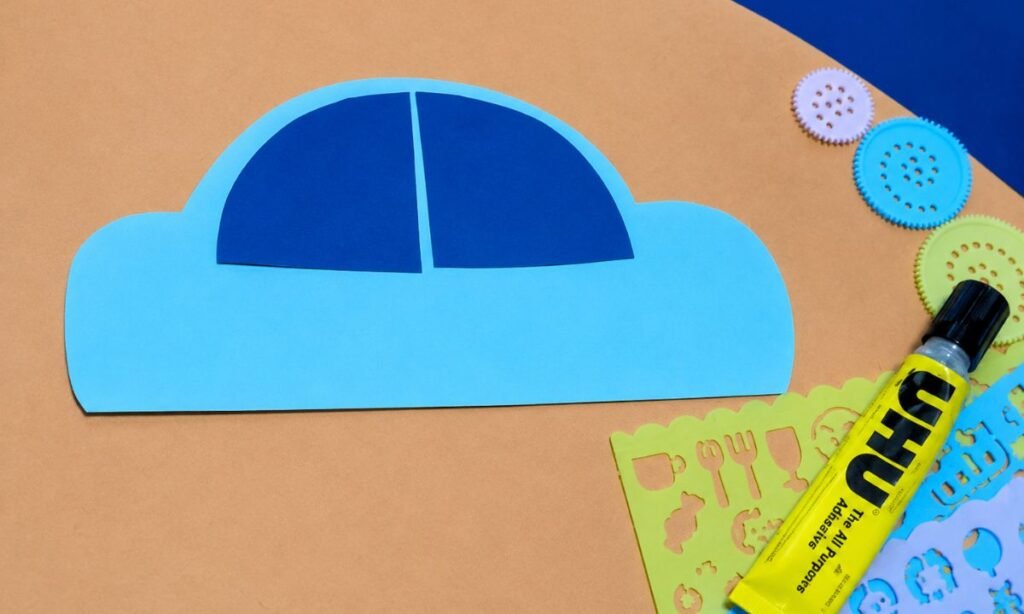
Cut two dark blue window shapes and glue them near the upper center of the light blue car body.
Leave a narrow gap between both windows, keeping their curved top edges aligned with the rounded roof shape above.
Press each window firmly after gluing, checking that both pieces sit evenly and leave enough blue border around the edges.
5. Add Car Details
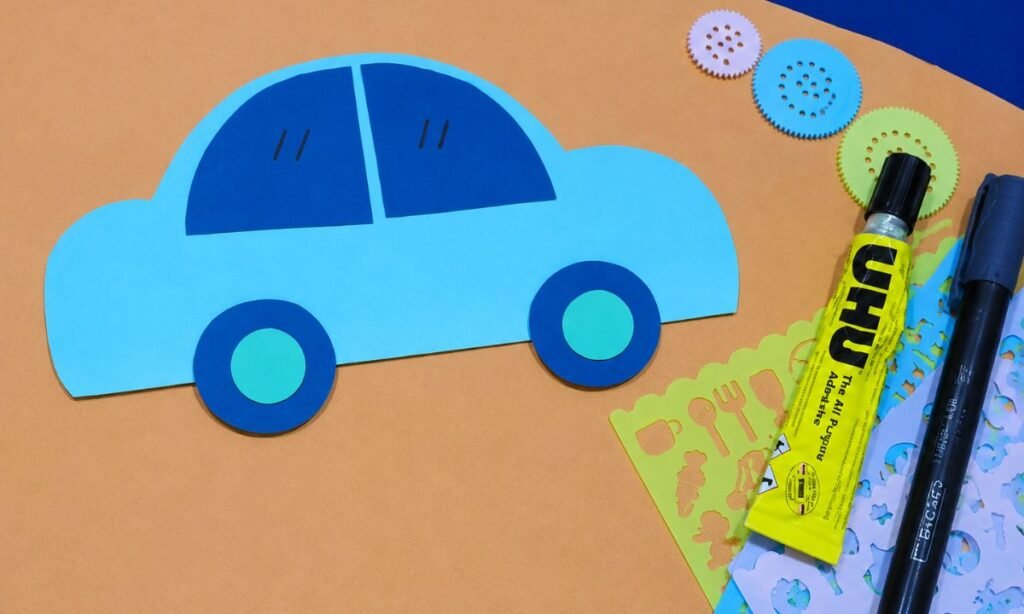
Glue two dark blue wheels along the lower edge of the car body, keeping them spaced evenly near both ends.
Add smaller light blue circles inside the wheels, centering each one carefully so both tires look neat and balanced overall.
Draw a few short black lines on the windows, keeping the marks simple so they add detail without crowding the car.
Fun Ways to Customize
Change the car color, window shade, wheel details, or small markings to create a design that feels completely different.
You can add headlights, door lines, number plates, or simple racing stripes without making the paper car look too crowded.
Try using two matching colors for the body and windows, then keep the wheels darker so the main shape stays clear.
If kids make several cars, let each one choose a different design so the finished group looks like a small collection.
How Cars Help Us Every Day
- Cars help people travel to work, school, shops, hospitals, and other places without walking long distances.
- Families use cars for road trips, visiting relatives, carrying groceries, and moving things from one place to another.
- Cars are especially useful when the weather is very hot, cold, or rainy and walking outside is uncomfortable.
- Emergency vehicles such as ambulances and police cars also help people reach important places quickly when time matters.
- Some cars are built mainly for carrying passengers, while others are designed to transport tools, luggage, or heavier items.
- For many people, cars make daily travel faster and easier, especially in places where public transport is limited.
Why Car Windows Matter
Car windows help drivers see the road clearly while also giving passengers a view of what is happening outside.
They let natural light into the car, which keeps the inside from feeling too dark or closed in.
Windows can also open for fresh air, while closed windows help protect passengers from rain, dust, and strong wind.
Their placement is important because drivers need clear views around the vehicle to move, turn, and park more safely.
FAQs
Can I Turn This Car Craft Into a Birthday Card?
Yes, you can glue the finished car onto folded cardstock and use it as a handmade birthday card for someone who loves cars.
Leave some empty space around the car so you can add a name, age, short message, or simple road details.
Because the craft stays flat and lightweight, it works well on cards without making them difficult to fold or display.
Can I Make a Road Scene With This Car Craft?
Yes, you can place the finished car on a larger sheet and add a road, traffic lights, trees, or simple buildings.
Keep the background details simple so the car stays the main focus and the page does not start looking too crowded.
This turns the single car into a small scene that works well for classroom projects, wall displays, or pretend play.
You may also like to make!