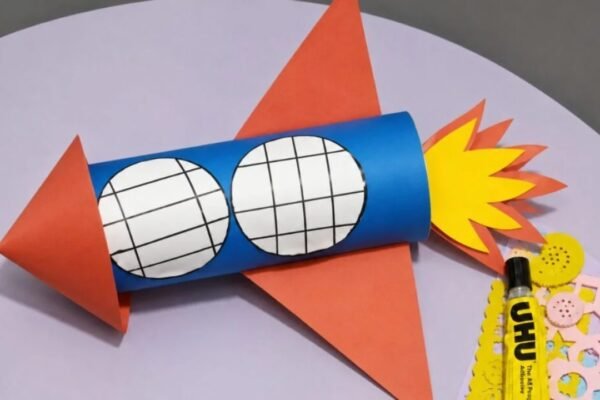
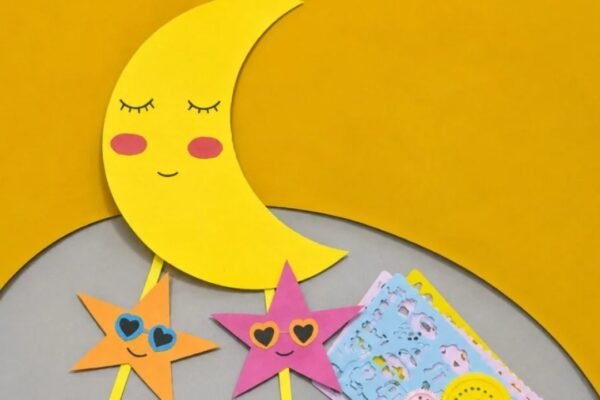
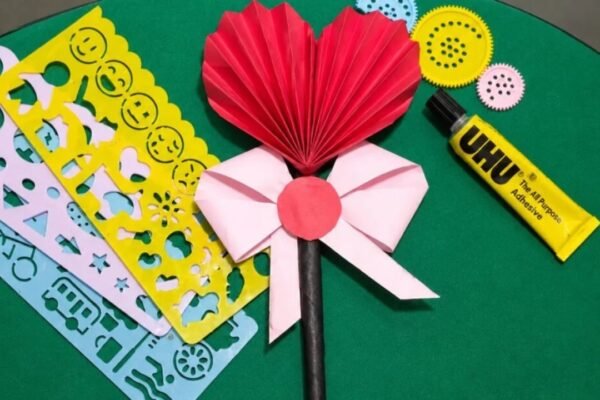
I always like looking at the night sky when the stars are clear, because it makes me think about how huge space really is.
One night, I started thinking about astronauts and how different everything must look from outside Earth.
That thought gave me the idea to make a small astronaut craft instead of just reading or watching something about space.
I wanted it to be simple, colorful, and easy enough to turn into a fun little space-themed project.
Let’s make this astronaut craft.
- How Astronauts Move in Space?
- Material Needed:
- Step-By-Step Guide
- 1. Cut Helmet Base
- 2. Prepare Astronaut Pieces
- 3. Create Astronaut Face
- 4. Assemble Helmet Face
- 5. Create Center Crease
- 6. Prepare Suit Pieces
- 7. Arrange Suit Panels
- 8. Assemble Astronaut Body
- Why Do Astronauts Wear Space Suits?
- What Made This Astronaut Craft So Fun?
- FAQs
- Can I Add More Details to the Astronaut Suit?
- Can I Make the Astronaut Helmet Bigger?
How Astronauts Move in Space?
Astronauts float in space because they are in microgravity, where everything inside the spacecraft seems to feel almost weightless.
They move by gently pushing against walls, handrails, or other surfaces, which sends their bodies in the opposite direction.
Outside the spacecraft, astronauts use handrails and safety tethers to control their movement and avoid drifting too far away.
They must move slowly and carefully, because even a small push can keep them moving until another force changes their direction.
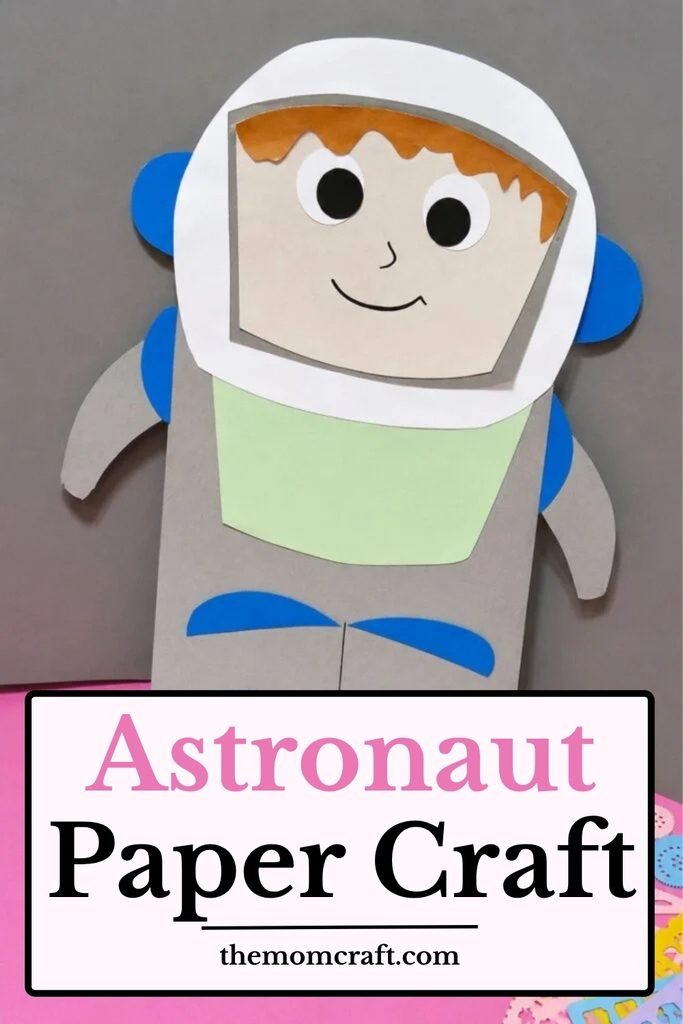
Material Needed:
- Colored craft papers (white, grey, light green, blue, beige/brown, and black)
- Glue
- Scissors
- Black marker/sketch pen
- Pencil (for drawing shapes)
Step-By-Step Guide
1. Cut Helmet Base
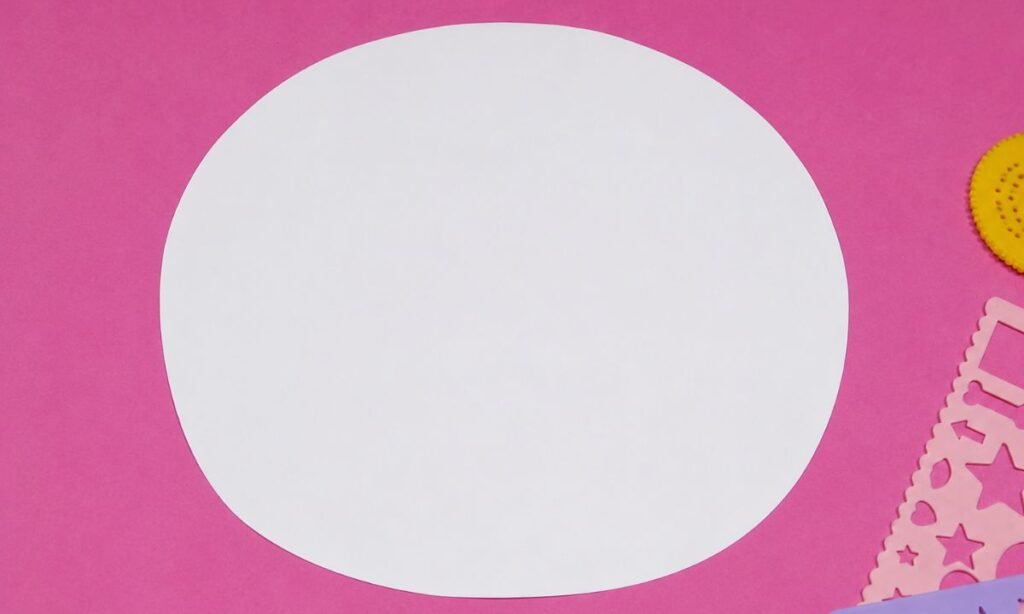
Cut a large white circle from sturdy paper, keeping the edge smooth so the astronaut helmet shape looks clean and even.
Place the circle flat on your work surface and check that the rounded outline stays balanced without any sharp or uneven sections.
Trim any rough edges carefully, then keep the finished white circle ready for adding the helmet details in the following steps.
2. Prepare Astronaut Pieces
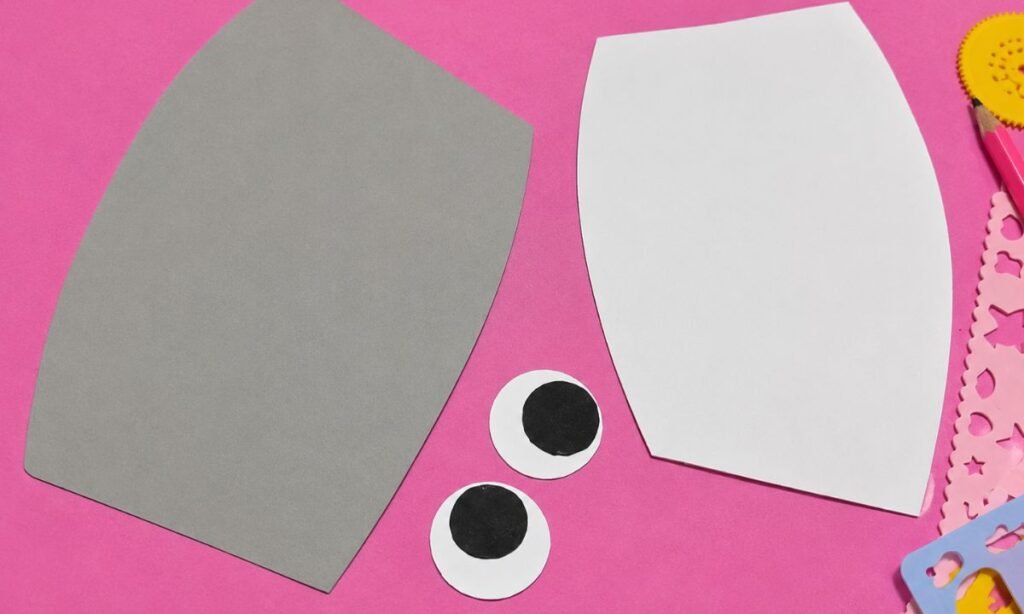
Cut one large gray body shape and one smaller white panel, keep both pieces smooth with gently curved sides throughout.
Prepare two round eyes using white and black paper, making the dark centers large enough to stay clearly visible later.
Place all four pieces together before gluing, checking that their sizes look balanced and suitable for the astronaut face design.
3. Create Astronaut Face
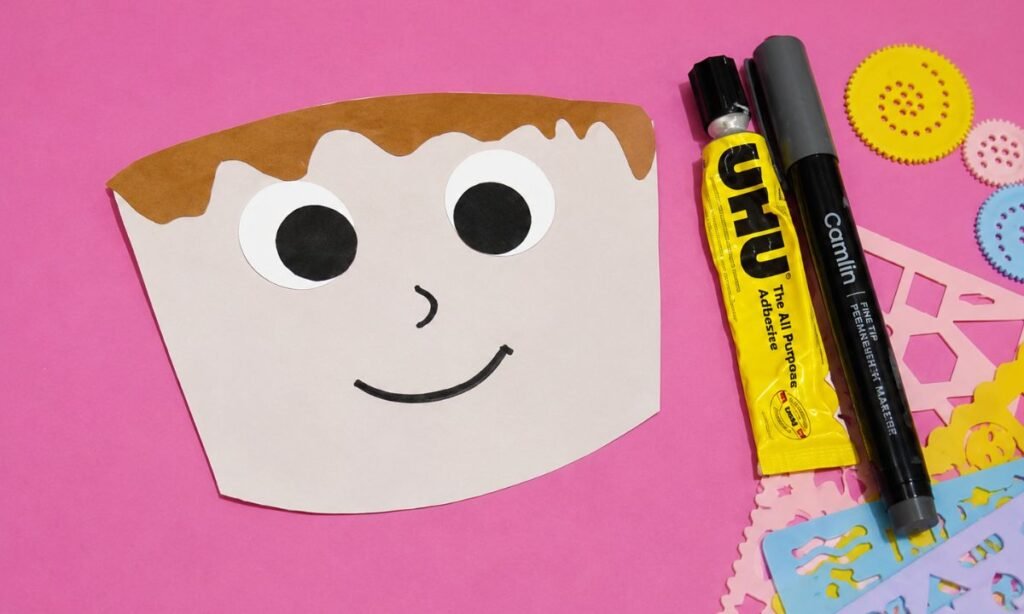
Glue the large white face panel onto the gray base, keeping the curved edges aligned neatly around the sides carefully.
Attach the two layered eyes near the upper half, spacing them evenly so the face looks balanced and easy to recognize.
Use a black marker to draw a small nose and curved smile, keeping both details simple and centered beneath the eyes.
4. Assemble Helmet Face
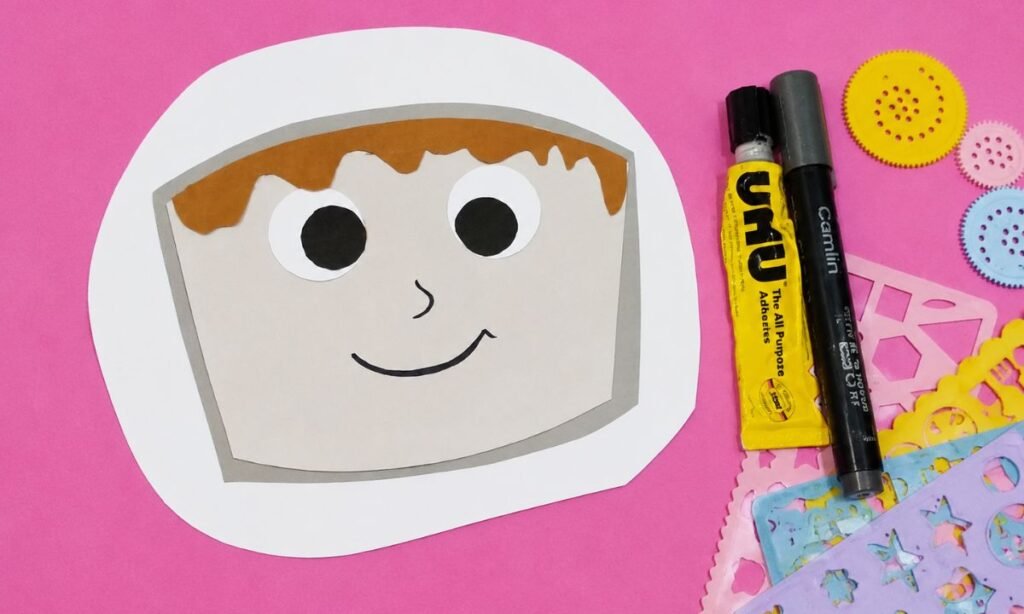
Glue the finished face panel inside the large white helmet base, leaving an even white border around the outer edge.
Keep the gray layer visible between the face and helmet, creating a clear frame that separates both paper sections neatly.
Press the layers firmly after gluing, checking that the face stays centered and the helmet outline remains smooth on every side.
5. Create Center Crease
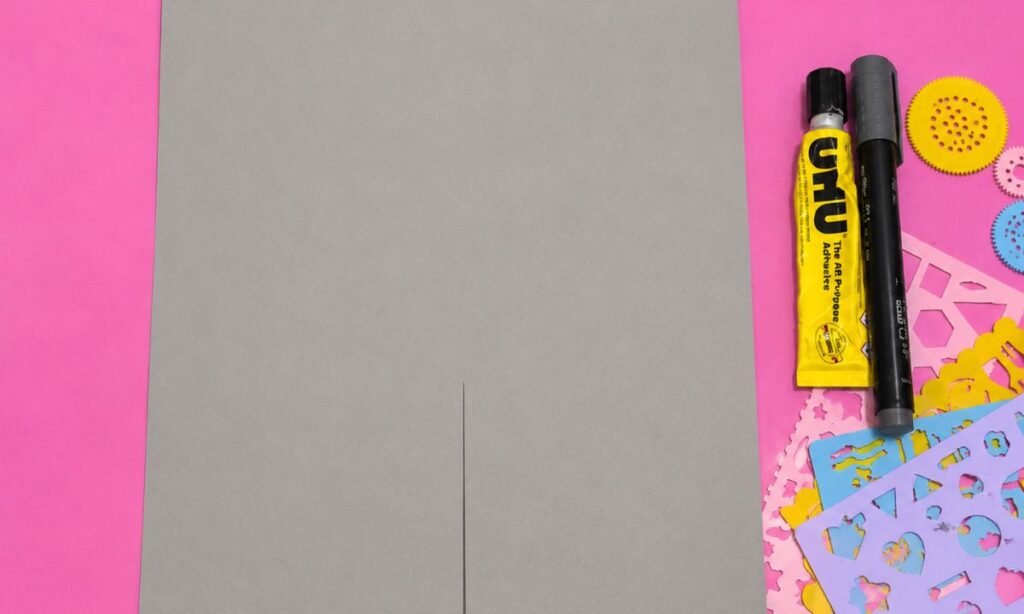
Fold the gray paper in half vertically, press the center firmly, then open it again to leave one clear crease.
Keep the sheet flat on your work surface, making sure both sides stay smooth and the center line remains straight.
Use this crease as a guide for the next folds, checking that the paper stays evenly divided from top to bottom.
6. Prepare Suit Pieces
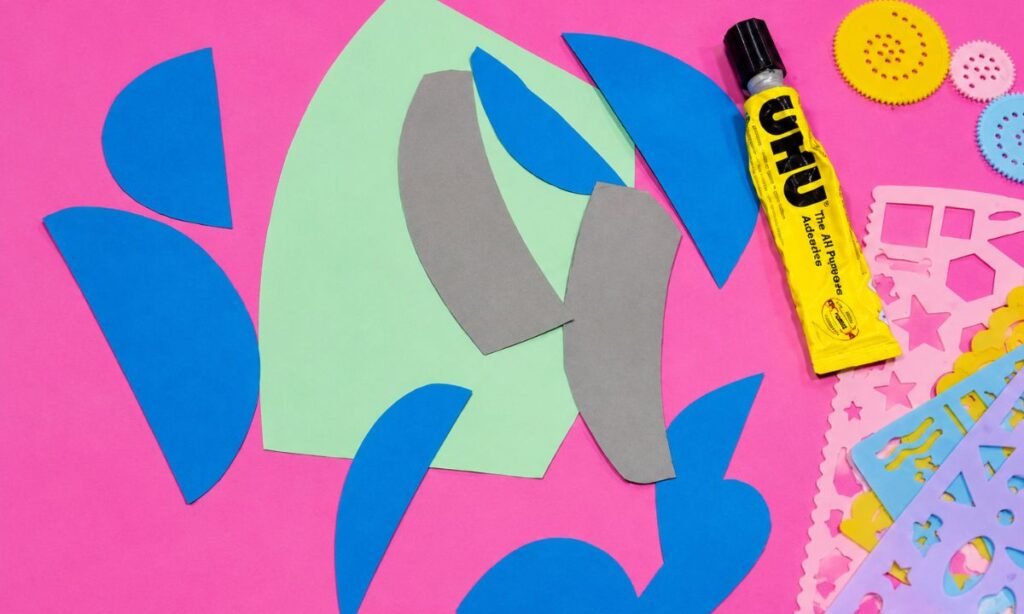
Cut the green, blue, and gray paper into separate body pieces, keeping each shape smooth and easy to match together.
Prepare two blue curved pieces for the sides, then cut matching gray sections that will sit neatly over the green base.
Lay every cut piece flat before gluing, checking the sizes and angles so the astronaut suit stays balanced when assembled.
7. Arrange Suit Panels
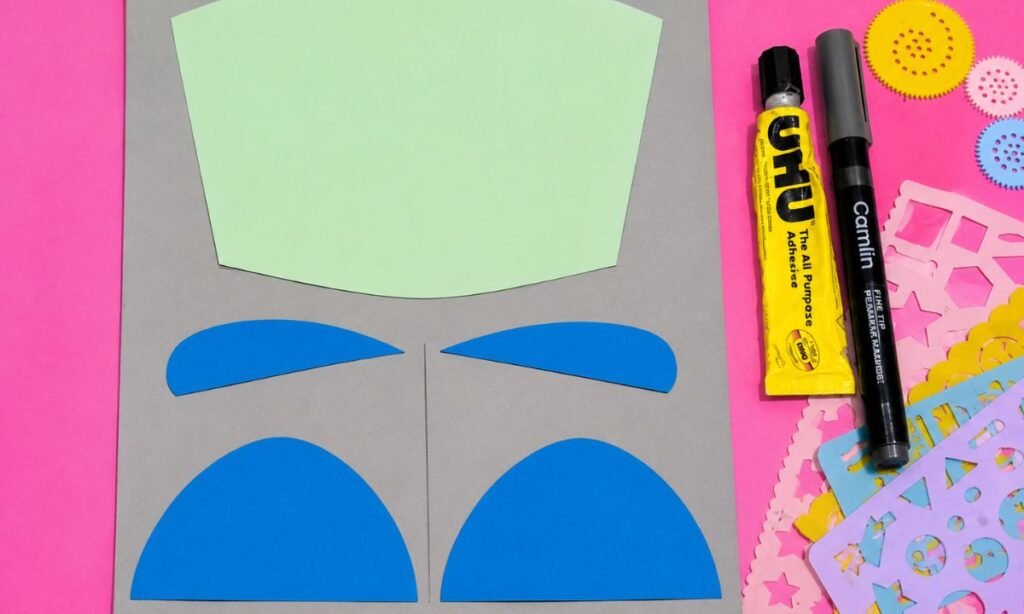
Place the large green panel near the top of the gray sheet, keeping it centered across the folded base carefully.
Position the two narrow blue pieces below the green panel, pointing their tapered ends inward toward the center crease evenly.
Set the larger blue pieces near the bottom, matching both sides so the lower suit sections look even and balanced.
8. Assemble Astronaut Body
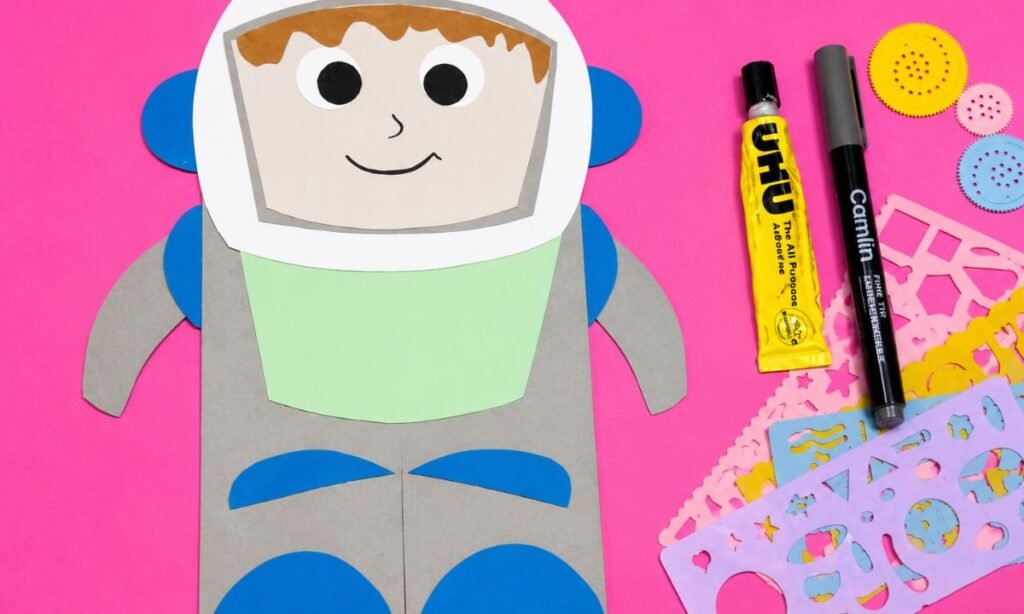
Glue the helmet at the top of the gray suit, keeping it centered above the green chest panel and blue shoulder pieces.
Attach the gray arms along both sides, positioning the blue upper sections near the shoulders so both arms angle downward evenly.
Press all glued pieces firmly, then check the helmet, chest panel, arms, and leg details stay balanced across the whole astronaut.
Why Do Astronauts Wear Space Suits?
Astronauts wear space suits because space has no breathable air, so the suit provides the oxygen they need to survive.
The suit also protects their bodies from extreme temperatures, which can change quickly between sunlight and shadow outside a spacecraft.
Space suits keep the right pressure around the body, because the human body cannot safely handle the vacuum of space.
They also include helmets, gloves, and protective layers that help astronauts move, communicate, and stay safer while working outside.
What Made This Astronaut Craft So Fun?
The best part was watching the astronaut slowly come together as we added the helmet, suit pieces, arms, and small details.
Each new piece made the craft look more complete, which kept the whole activity interesting from the beginning to the end.
We also enjoyed choosing where each suit piece should go and checking how everything looked once the parts were attached.
By the end, it felt satisfying to see a simple set of paper shapes turn into a complete little astronaut.
FAQs
Can I Add More Details to the Astronaut Suit?
Yes, you can add small paper buttons, pockets, badges, or colored panels to make the astronaut suit look more detailed.
Keep the extra pieces small and spaced apart so the suit stays clear without covering the main body shapes.
You can also add a name tag or simple mission symbol if kids want to personalize their finished astronaut craft.
Can I Make the Astronaut Helmet Bigger?
Yes, you can cut a larger white circle if you want the helmet to stand out more around the astronaut face.
Keep the face panel centered inside the helmet so the white border stays visible and looks even on every side.
A larger helmet works especially well for display crafts, but make sure it does not become too heavy for the body.
You may also like to make!