

My room window faces a tree, so I often notice small birds sitting on the branches during the day.
Sometimes they stay there for a while, and other times they quickly fly away before I can even look properly.
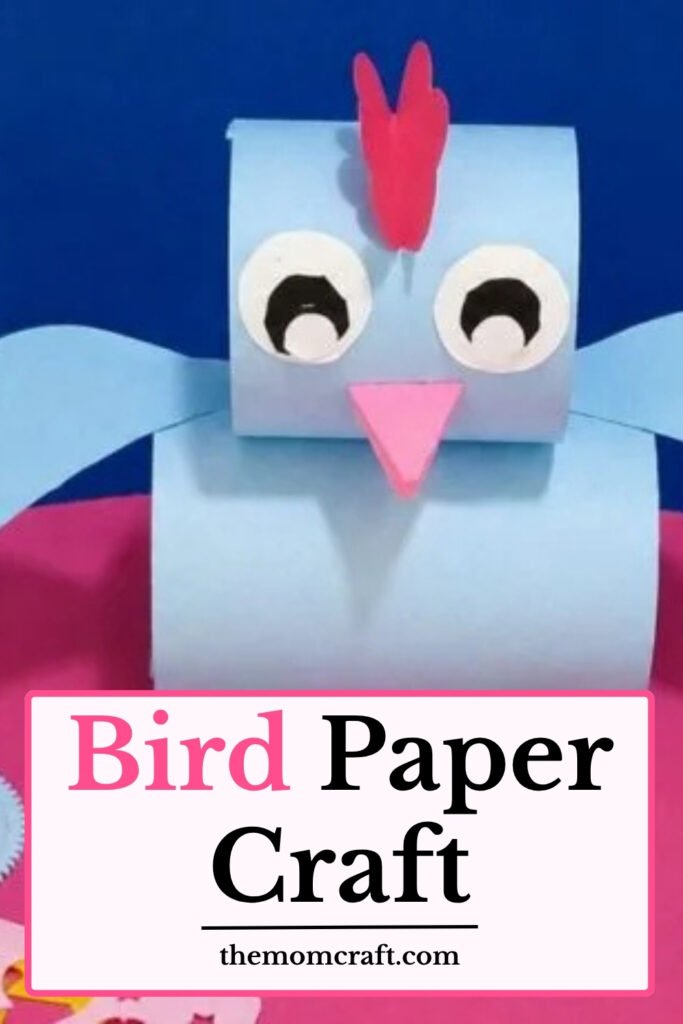
Watching them from my window gave me the idea to make a little bird craft that could stay in my room all the time.
It felt like a simple way to bring a small part of that outdoor view inside.
Let’s make this bird craft.
- Why Do Birds Sit on Tree Branches?
- Material Needed:
- Step-by-Step Guide
- 1. Prepare Blue Pieces
- 2. Form Paper Rolls
- 3. Stack Paper Rolls
- 4. Add Bird Wings
- 5. Finish Bird Details
- Why Birds Have Feathers
- Why the Paper Rolls Work
- Fun Ways to Customize
- FAQs
- Can I Make This Bird Craft in Different Sizes?
- How Can I Make the Bird Stand More Steadily?
Why Do Birds Sit on Tree Branches?
Birds often sit on branches because they give them a safe place to rest, watch their surroundings, and stay above the ground.
Branches also make it easier for birds to look for food, keep an eye on danger, and prepare before flying away.
Many birds use trees as places to sleep, build nests, or hide between leaves when they want protection from weather or predators.
Their feet are designed to grip branches firmly, which helps them stay balanced even when the branch moves slightly in the wind.
Material Needed:
• Blue paper
• Light blue paper
• White paper
• Pink paper
• Red paper
• Brown paper
• Glue
Step-by-Step Guide
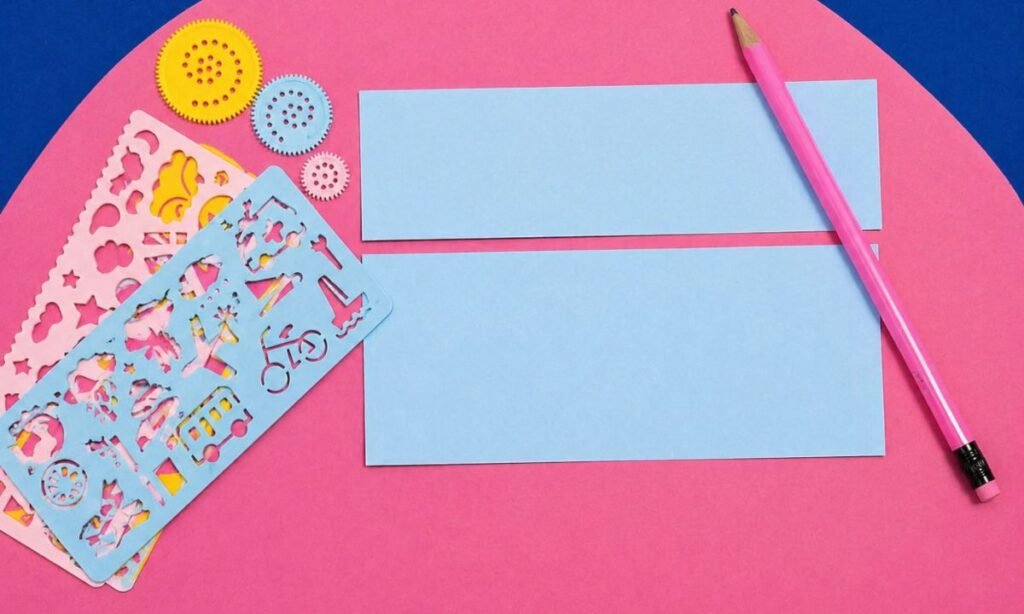
1. Prepare Blue Pieces
Cut one large blue rectangle and one long narrow strip, keeping both pieces straight and smooth for the bird craft.
Place both paper pieces flat on the work surface, leaving a small gap so each shape stays easy to handle.
Check the edges carefully and trim any uneven sections before using the pieces to build the main bird shape later.
2. Form Paper Rolls
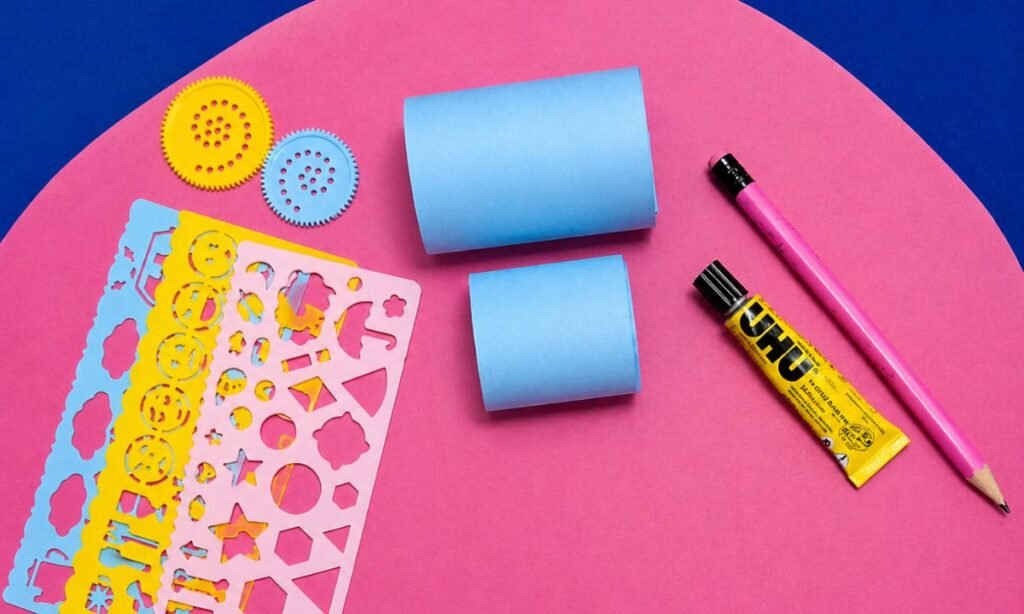
Roll both blue paper pieces into separate cylinders, overlapping the ends slightly so each shape stays rounded and holds together neatly.
Glue the overlapping edges firmly, keeping the larger and smaller rolls smooth so neither cylinder becomes flattened or uneven.
Place both finished rolls upright or sideways and check that their openings stay round before moving on to the next pieces.
3. Stack Paper Rolls
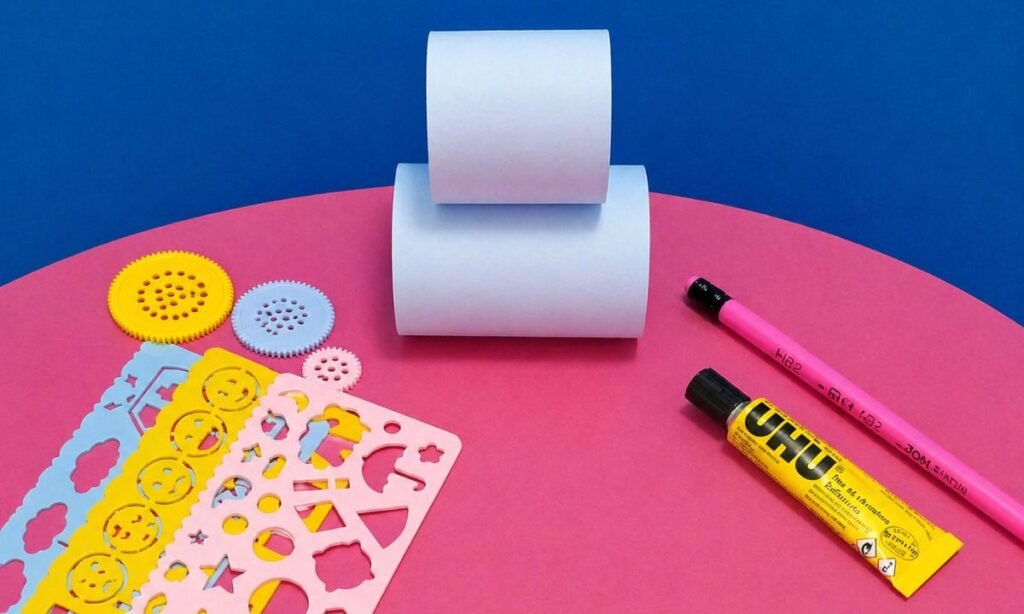
Place the smaller blue paper roll on top of the larger roll, keeping both openings facing the same direction evenly.
Apply glue where the two rolls touch, then press gently until the smaller cylinder stays centered and secure in place.
Check the stacked shape from the front and sides, making sure the top roll does not lean or slide sideways.
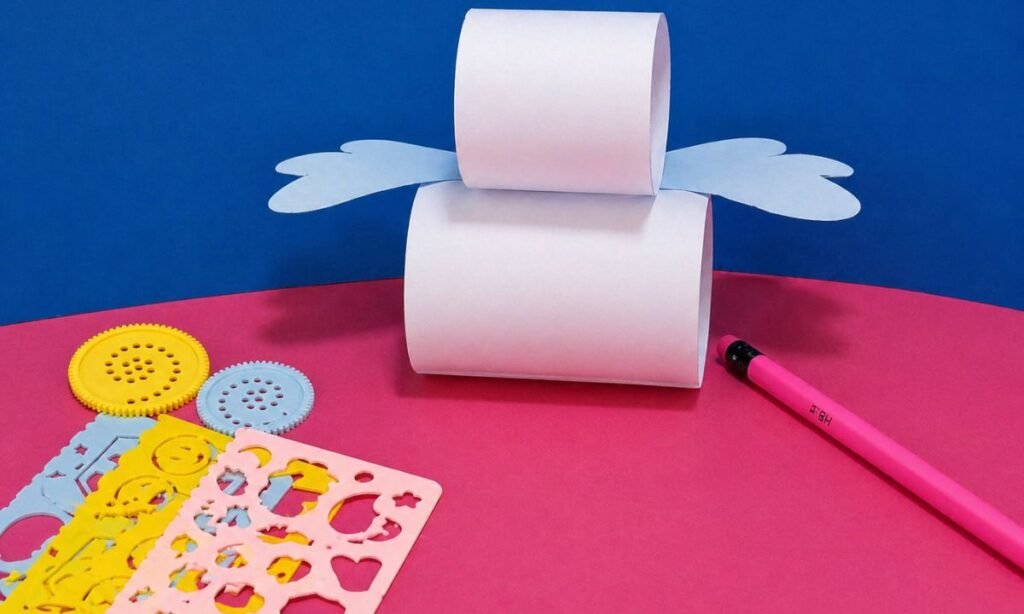
4. Add Bird Wings
Cut two matching blue wing shapes and attach one to each side between the stacked rolls, keeping both wings level.
Position the wings so they extend outward evenly, with the rounded feather tips clearly visible beyond the bird body on both sides.
Press the glued sections firmly against the larger roll, checking that neither wing tilts upward or drops lower than the other.
5. Finish Bird Details
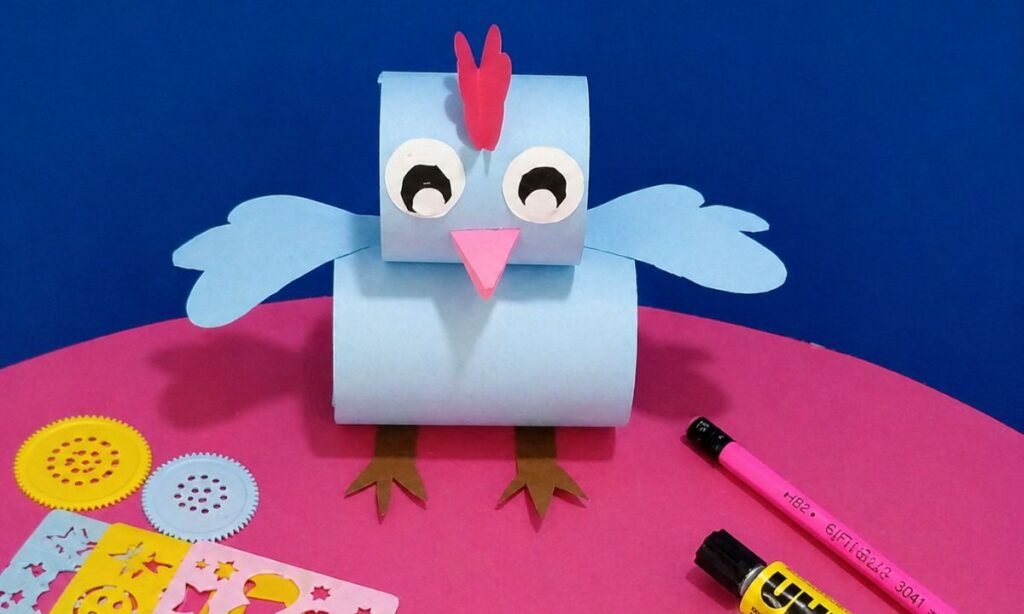
Glue the layered eyes onto the smaller roll, keeping them level and centered so the bird face looks balanced overall.
Attach the pink beak below the eyes and place the red feather shape on top of the head for a clear finish.
Glue the two brown feet under the larger roll, spacing them evenly so the finished bird stands neatly on display.
Why Birds Have Feathers
Birds have feathers because they help protect the body, keep it warm, and make flying possible for many different species.
Flight feathers on the wings and tail help birds lift, steer, slow down, and stay balanced while moving through the air.
Other feathers trap warm air close to the body, which helps birds stay comfortable when the weather becomes cold or windy.
Feathers can also provide camouflage, attract mates, and protect the skin from sunlight, rain, and small scratches.
Why the Paper Rolls Work
The two paper rolls create a simple head and body shape without needing complicated folds or many separate pieces.
Using a smaller roll on top and a larger one below also helps the bird look balanced and easy to recognize.
The round shape gives the craft more depth, so it stands out more than a completely flat paper bird.
Paper rolls also make it easier to attach wings, feet, eyes, and other details without overcrowding the main body.
Fun Ways to Customize
Change the bird’s body, wings, and feather colors to match a favorite bird, room theme, or classroom activity.
Add small patterns, dots, or stripes to the wings if you want the finished bird to look more colorful and playful.
You can also change the beak shape, eye size, or top feather to give each bird a slightly different look.
If you make several birds, use different color combinations so they look like a small group instead of matching exactly.
FAQs
Can I Make This Bird Craft in Different Sizes?
Yes, you can change the size of both paper rolls depending on how large or small you want the bird to be.
Keep the top roll smaller than the bottom one so the head and body still look balanced when stacked together.
Smaller birds work well for table displays, while larger versions can be used for classroom decor or themed craft activities.
How Can I Make the Bird Stand More Steadily?
Use slightly thicker paper for the larger body roll so it keeps its round shape and supports the smaller head better.
Attach the feet evenly underneath, making sure both pieces touch the surface at the same angle without pushing the body sideways.
If the bird still leans, gently reshape the bottom roll until it sits flat and the weight feels evenly distributed.
You may also like to make!



