

My little sister really loves an elephant poem and always gets excited whenever the elephant appears on the screen.
She watches it so closely that one day I thought, why not turn the elephant she enjoys watching into a craft she can hold?
I wanted to make something simple she already knew, but in a way she could touch, hold, and enjoy away from the screen.
It felt like a fun way to bring one of her favorite things off the screen and into craft time.
Let’s make this elephant craft.
- Why Do Elephants Have Such Big Ears?
- Materials Needed:
- Step-by-Step Guide
- 1. Prepare Blue Paper
- 2. Draw Elephant Shape
- 3. Cut Elephant Shape
- 4. Stand Elephant Body
- 5. Prepare Face Pieces
- 6. Add Elephant Details
- 7. Finish Elephant Craft
- How Elephants Use Their Trunks?
- Can Preschoolers Make This Elephant Craft?
- FAQs
- Can This Elephant Craft Stand on Its Own?
- Can I Make the Elephant in Other Colors?
Why Do Elephants Have Such Big Ears?
Elephants use their large ears to help control body temperature, especially when the weather becomes very hot.
Their ears contain many blood vessels, and moving them helps release heat from the blood into the surrounding air.
The wide ear surface also works like a fan, creating airflow around the head and helping the elephant feel cooler.
Big ears can also help with communication, because elephants sometimes spread or move them to show warning, excitement, or attention.
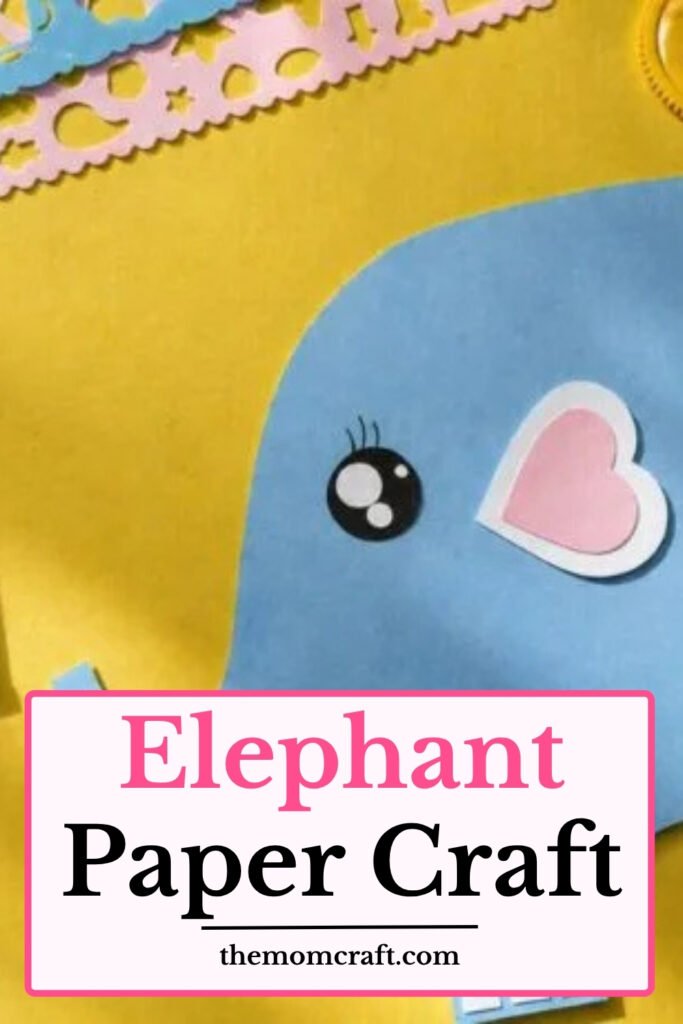
Materials Needed:
- Blue paper sheet
- Colored paper (pink, white and black)
- Pencil
- Scissors
- Glue
- Black marker (for eye details)
Step-by-Step Guide
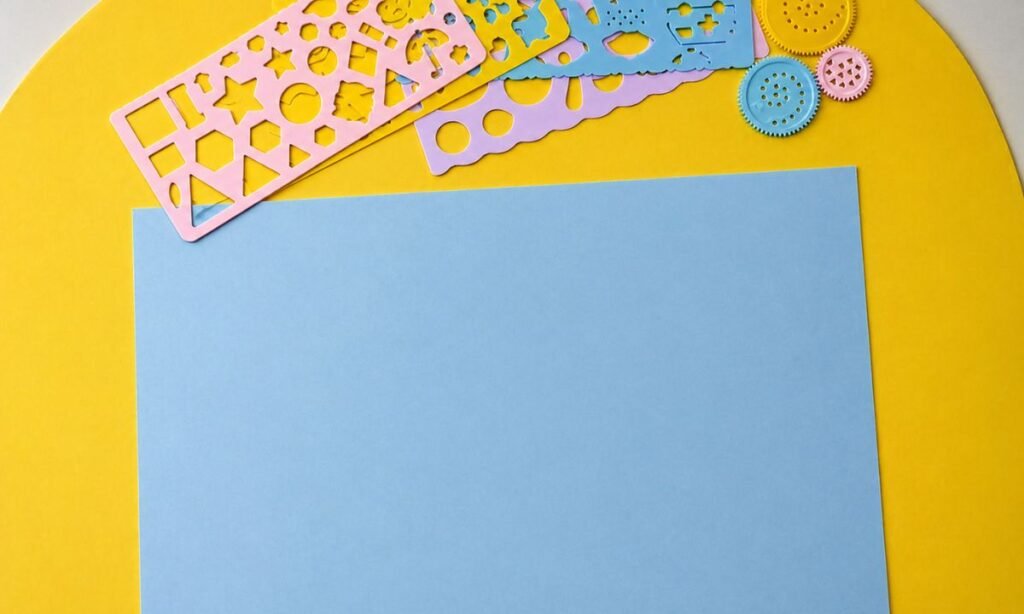
1. Prepare Blue Paper
Place a light blue paper sheet flat on your work surface, keep the edges straight and the sheet completely smooth.
Choose a clean sheet without folds or wrinkles, because a flat surface will make tracing and cutting the elephant pieces easier.
Keep the paper centered in front of you, leaving enough open space around it for drawing and shaping comfortably while working.
2. Draw Elephant Shape
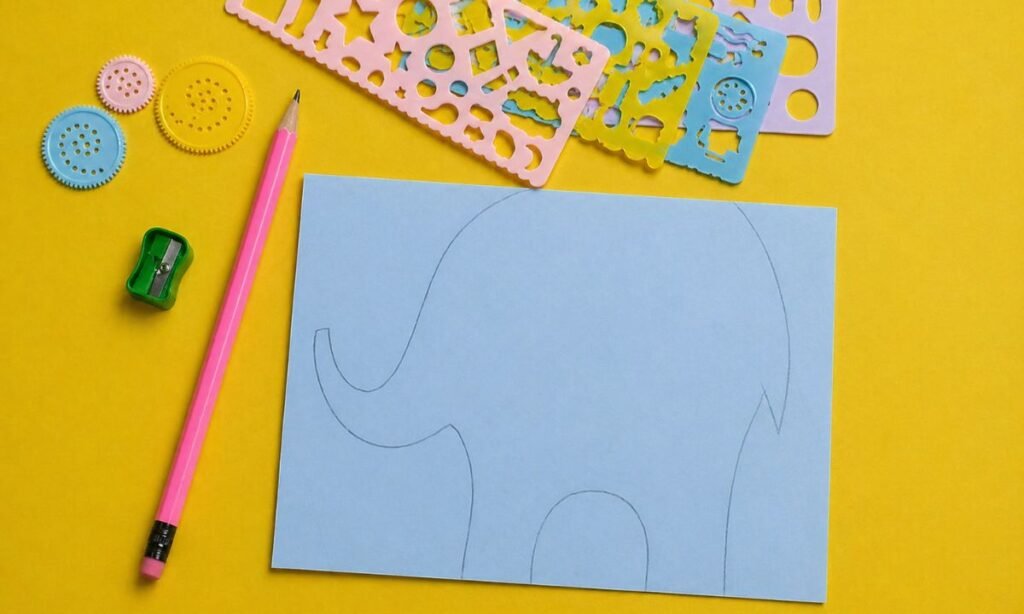
Use a pencil to draw a large elephant outline on the blue paper, including the rounded body, trunk, and legs.
Keep the trunk gently curved upward and make the body wide enough so the elephant shape looks clear and balanced.
Sketch lightly at first, then darken the outline once you are happy with the proportions and placement on the sheet.
3. Cut Elephant Shape
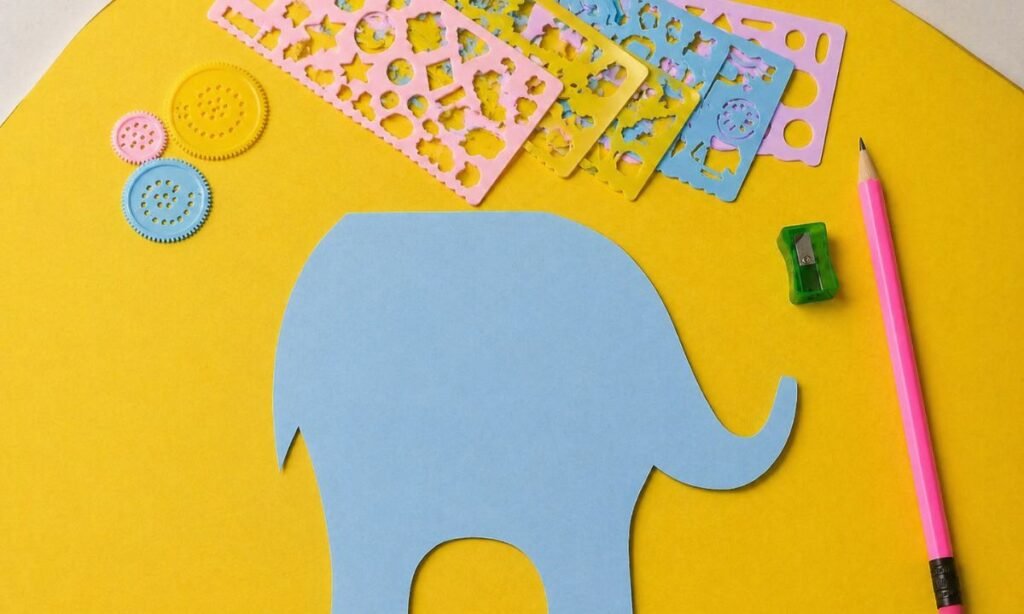
Carefully cut along the pencil outline, following the rounded back, curved trunk, and leg shapes without trimming inside the edges.
Turn the paper slowly while cutting around each curve, especially near the trunk and legs, so the outline stays smooth.
Check the finished elephant shape for rough corners, then trim any uneven spots lightly until the body looks clean and balanced.
4. Stand Elephant Body
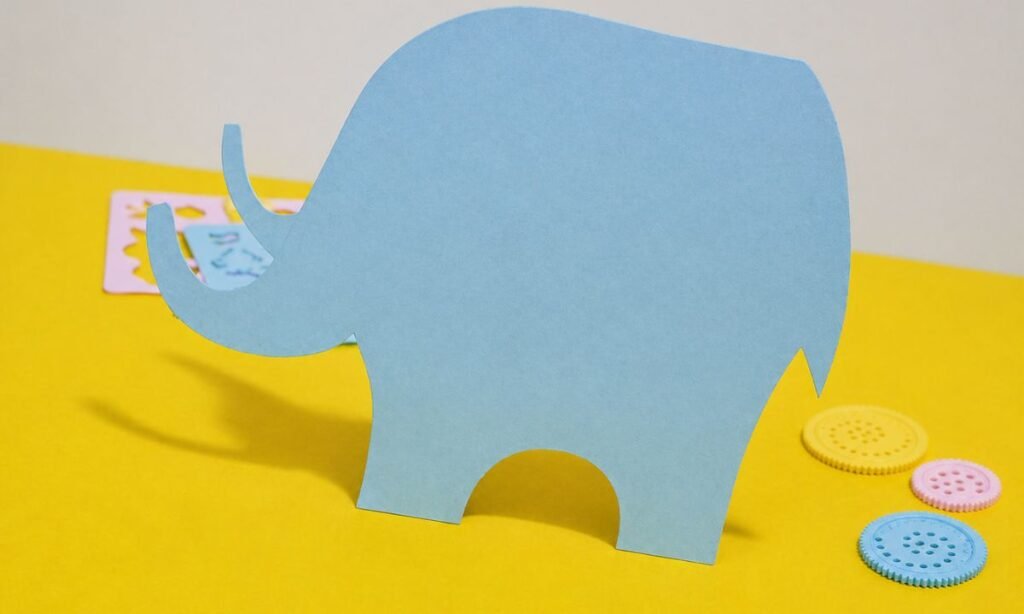
Stand the finished blue elephant cutout upright on its flat legs, checking that the body stays balanced without tipping forward.
Make sure both legs rest evenly on the surface, because uneven trimming can cause the elephant to lean toward one side.
If needed, trim the bottom edges slightly until the elephant stands straight while keeping the curved trunk and back unchanged.
5. Prepare Face Pieces
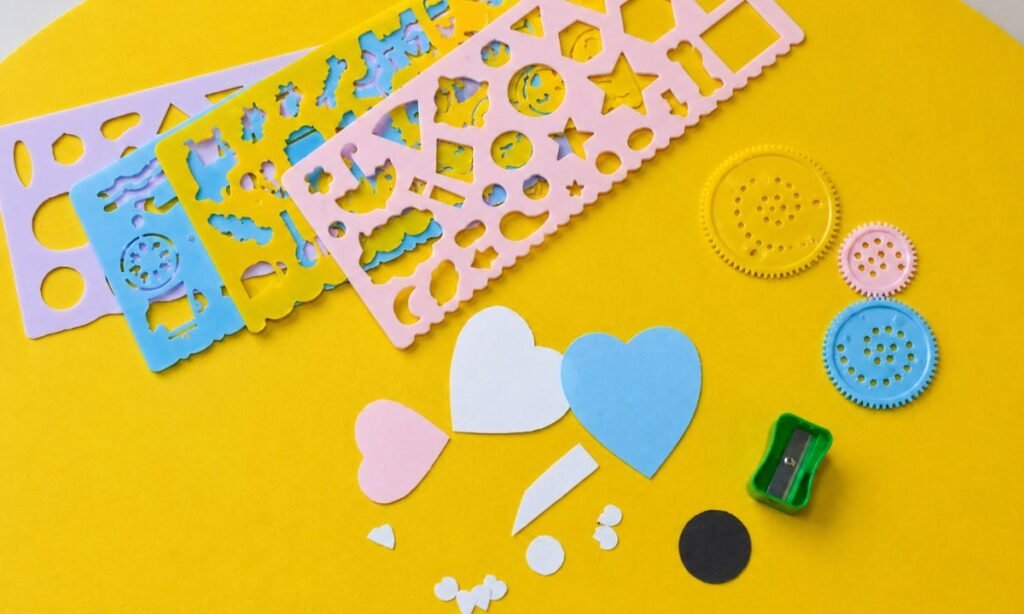
Cut two large heart shapes for the ears, using blue and white paper as the layered pieces are easy to arrange.
Prepare a smaller pink heart, a white tusk shape, and several tiny circles for the eye and decorative facial details.
Keep all pieces grouped beside the elephant body, making sure the sizes look balanced before attaching anything with glue.
6. Add Elephant Details
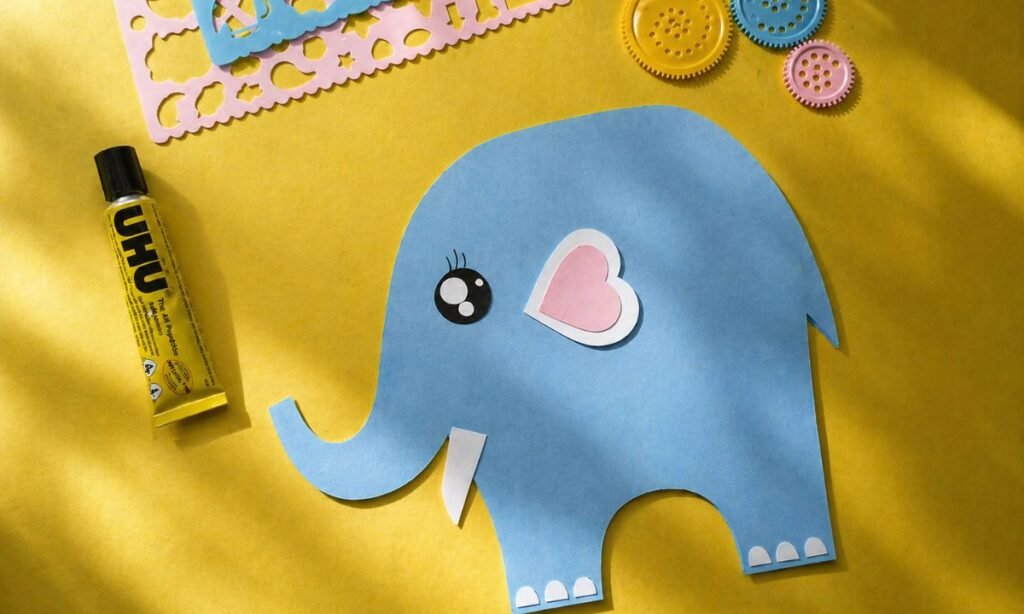
Glue the layered heart-shaped ear onto the elephant’s head, keeping it slightly behind the eye area for a balanced look.
Attach the black and white eye, then place the small white tusk beside the trunk so each facial feature stays clear.
Finish by adding the small white toenails along the feet, spacing them evenly so the lower edge looks neat and complete.
7. Finish Elephant Craft
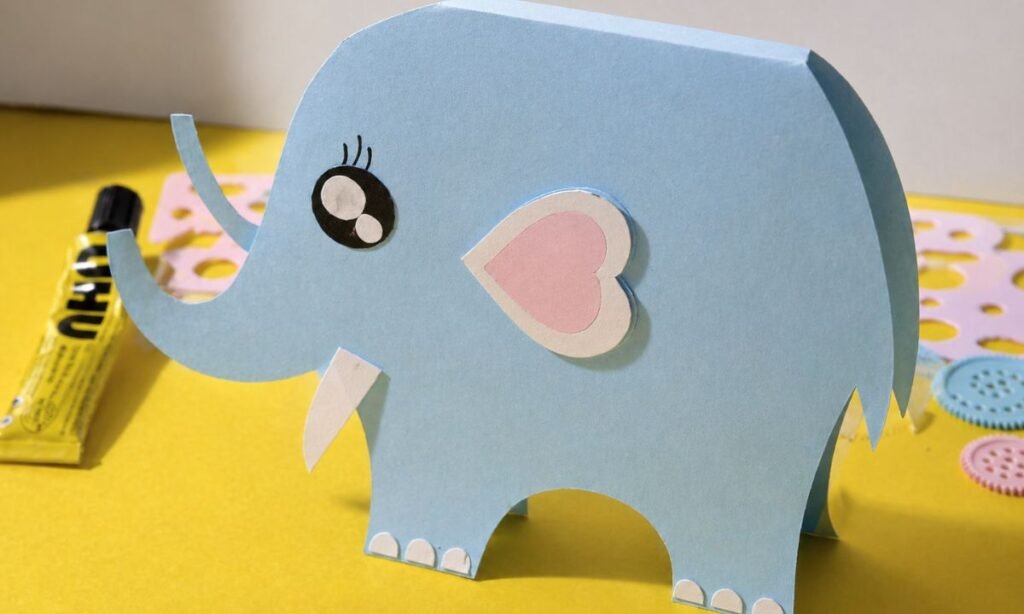
Stand the completed elephant upright, making sure both folded sides stay open enough to support the body without leaning sideways.
Check that the ear, eye, tusk, trunk, and toenails are firmly attached and clearly visible from the front of the elephant.
Press any loose paper pieces down gently, then adjust the legs until the finished elephant stands evenly on the surface.
How Elephants Use Their Trunks?
Elephants use their trunks for many everyday tasks, including picking up food, drinking water, smelling, touching, and carrying different objects.
A trunk works like a long nose and a flexible arm, which helps elephants reach things both high above and near the ground.
They can suck water into their trunks and then pour it into their mouths or spray it over their bodies.
Elephants also use their trunks to greet each other, explore their surroundings, and gently touch other elephants in their group.
Can Preschoolers Make This Elephant Craft?
Yes, preschoolers can help with this elephant craft, especially when the main body and smaller paper pieces are prepared beforehand.
They can glue the ear, eye, tusk, and toenails in place while an adult handles the more detailed cutting.
Using larger pieces also makes the activity easier for small hands and gives younger kids more control while decorating.
FAQs
Can This Elephant Craft Stand on Its Own?
Yes, the elephant can stand on its own if both legs are cut evenly and the folded body stays balanced.
Use slightly thicker paper if the elephant keeps bending, because firmer paper gives the legs better support on flat surfaces.
You can also trim the bottom edges carefully until both feet touch the table evenly without making the body lean.
Can I Make the Elephant in Other Colors?
Yes, you can use gray, pink, purple, or any color your child likes instead of using only blue paper for this craft.
Try keeping the ear, eye, and tusk colors different from the body so each facial detail remains easy to see.
If you make several elephants, choosing different colors can turn them into a fun classroom, party, or wall display together.
You may also like to make!



