My little sister came home with a science question about planets and started asking me why they all look so different from one another.
She was trying to remember the names, colors, and shapes, but reading them from a book was getting a little boring for her.
So I thought a colorful paper planet craft would make the topic easier to understand while giving her something fun to work on.
We turned the planets into playful faces and connected them together so she could keep the whole space theme in front of her.
Let’s make this planet paper craft.
- Why Some Planets Have Rings
- Material Needed:
- Step-by-Step Guide
- 1. Draw Planet Circles
- 2. Cut Circle Shapes
- 3. Decorate Planet Designs
- 4. Add Planet Faces
- 5. Connect Planet Pieces
- Why Planets Look So Different
- How Planets Move Around the Sun
- Easy Ways to Customize
- FAQs
- Can I Make This Planet Craft Without a Compass?
- Can I Turn This Planet Craft Into a Hanging Display?
Why Some Planets Have Rings
Planetary rings are made from countless small pieces of ice, rock, and dust moving around a planet.
Saturn is the most famous example, but Jupiter, Uranus, and Neptune also have ring systems around them.
Adding a paper ring to one of the craft planets helps children notice this feature instead of treating every planet as a plain circle.
That small detail can also start an easy conversation about why some planets look more unusual than others.
Material Needed:
- Colored craft papers
- Cardboard or thick paper strips
- Ice cream sticks or craft sticks
- Glue
- Scissors
- Black marker
- Circle stencil or compass
Step-by-Step Guide
1. Draw Planet Circles
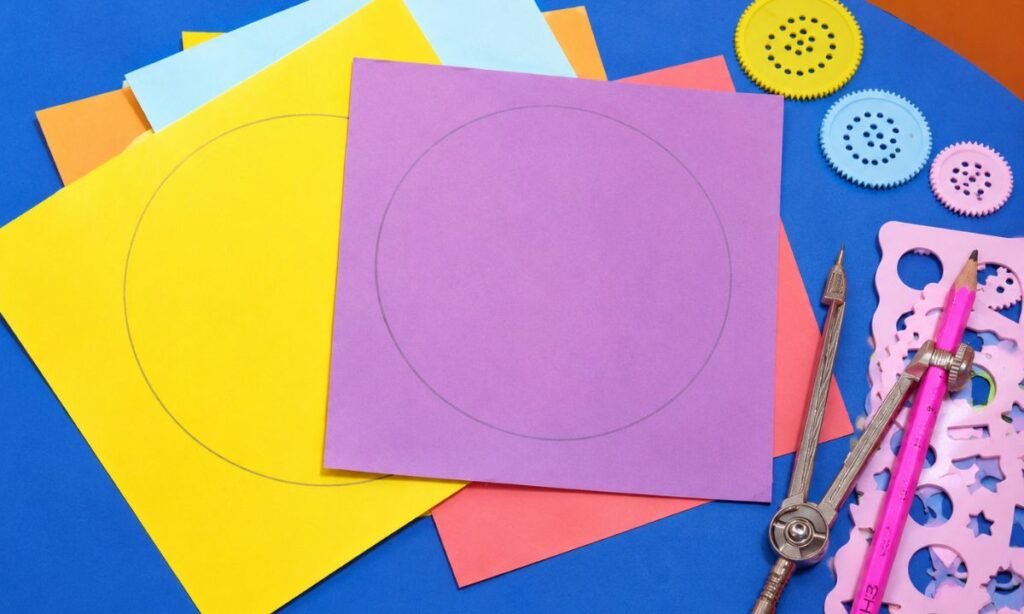
Place different colored craft papers on the work surface, then use a compass to draw large circles for each planet shape.
Keep the circles similar in size where needed, while allowing a few larger pieces to create variety across the finished planet set.
Draw each outline lightly with pencil so the edges stay clean and easy to cut without leaving dark marks behind.
2. Cut Circle Shapes
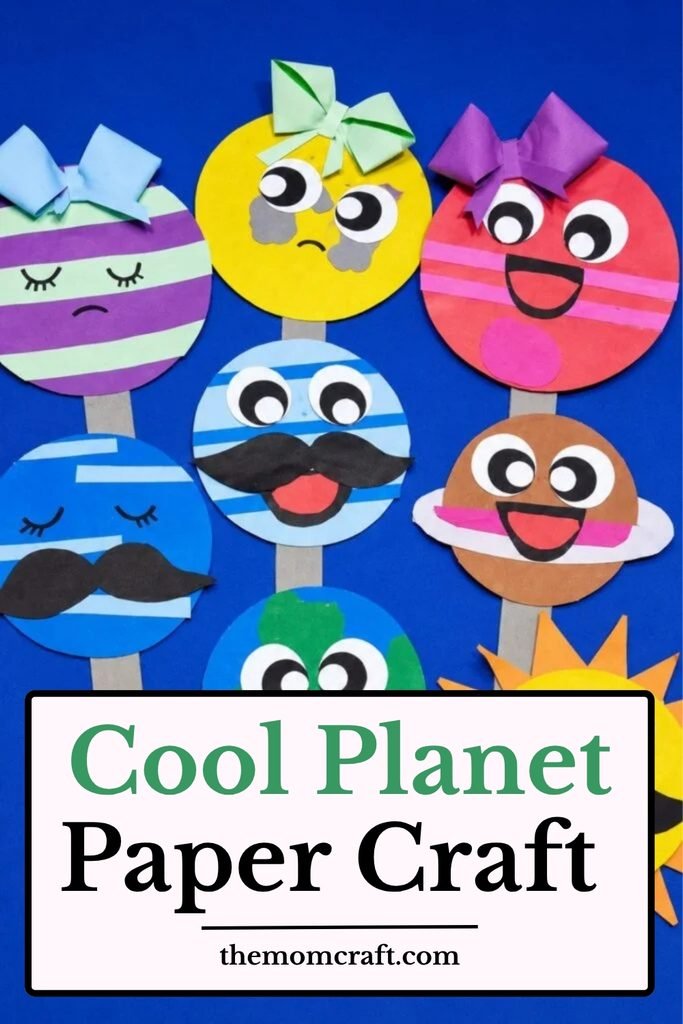
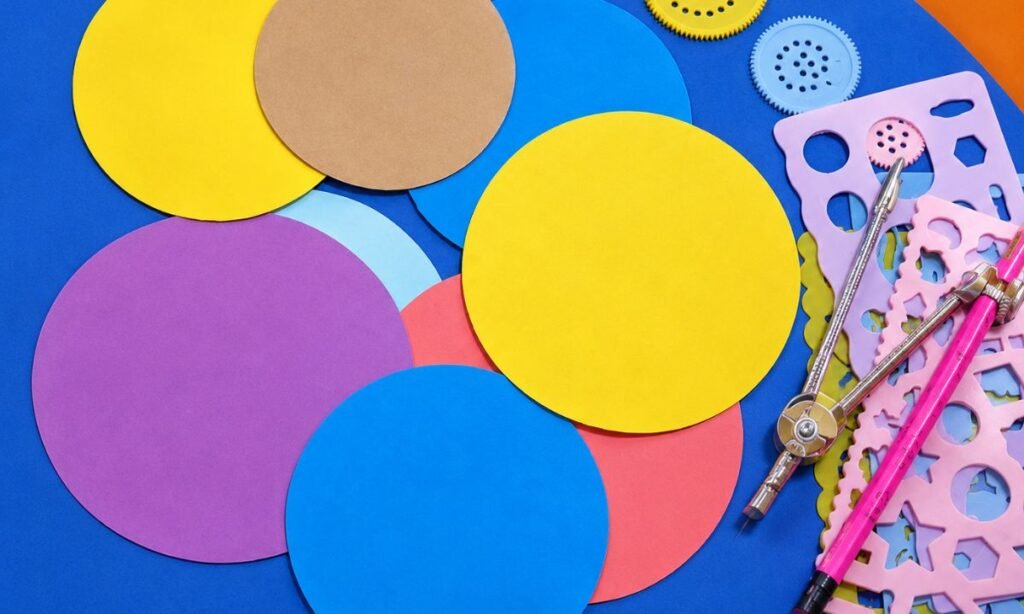
Cut carefully around each drawn outline, creating several smooth paper circles in yellow, purple, blue, brown, red, and other colors.
Keep the scissors close to the pencil line, turning the paper gradually so every circular edge stays neat and rounded.
Arrange all finished circles together and compare their sizes before adding the decorative strips, rings, land shapes, and other planet details.
3. Decorate Planet Designs
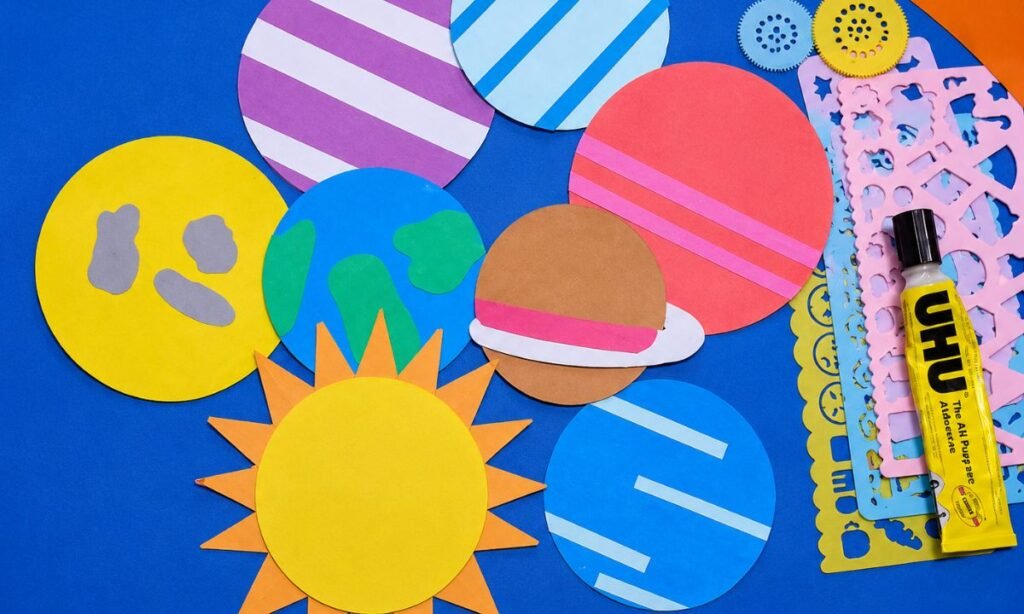
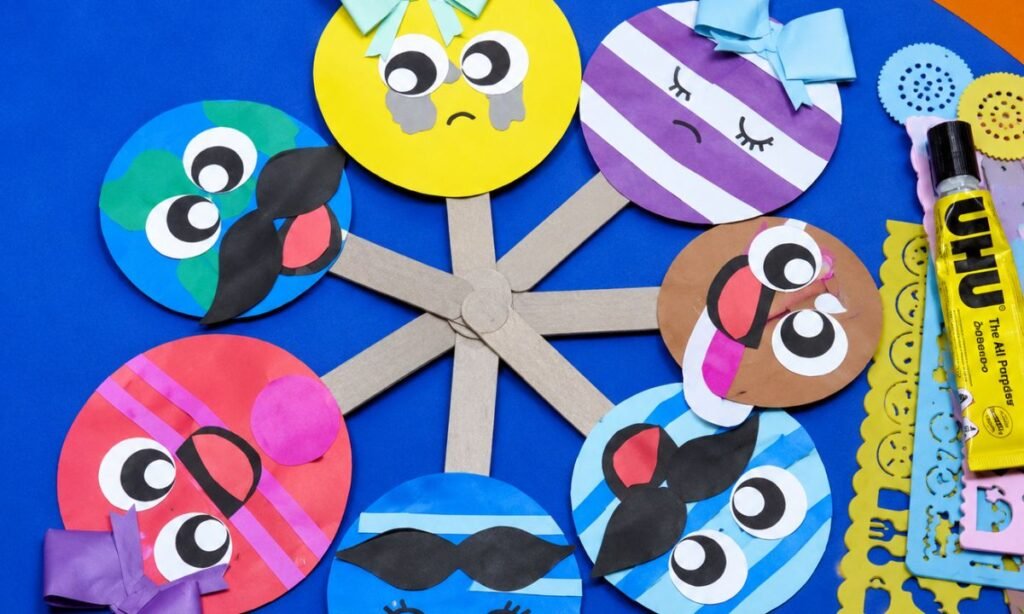
Add colored paper strips, land shapes, rings, and triangular sun rays to the circles, creating several different space-inspired planet designs.
Use contrasting colors for each detail so the stripes, continents, rings, and surface markings remain clearly visible against every circular base.
Glue each decoration flat and smooth, checking the placement before pressing firmly so the planet patterns stay balanced and easy to recognize.
4. Add Planet Faces
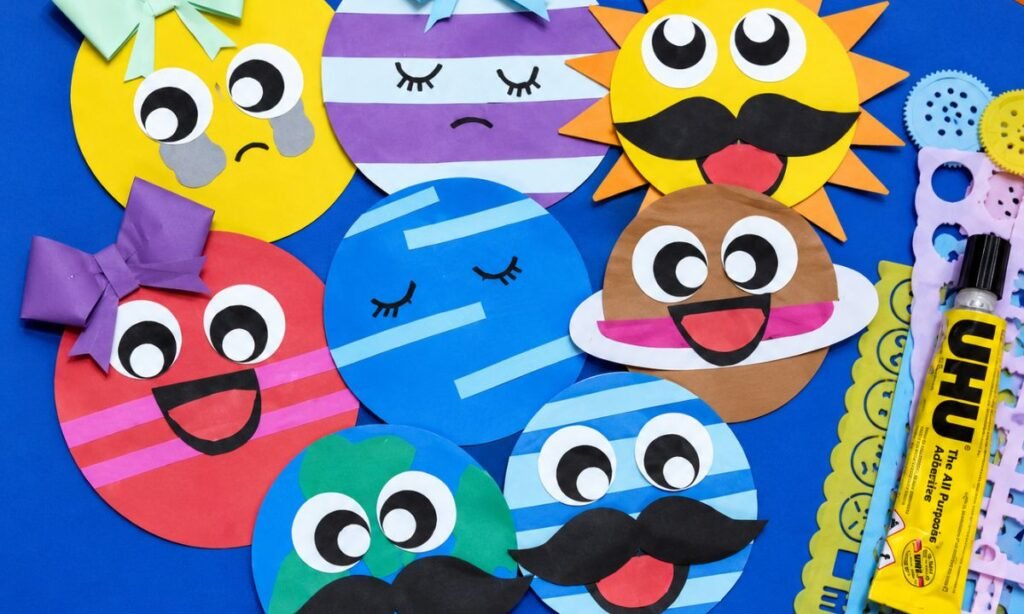
Attach paper eyes, mouths, bows, moustaches, and other facial details to the decorated planets, giving every piece a different playful expression.
Use black paper or marker details for eyelashes and smiles, keeping the features centered and proportionate to each round planet shape.
Arrange the completed planets together, adjusting any loose decorations so the finished collection looks colorful, expressive, and ready for a space display.
5. Connect Planet Pieces
Cut several long brown paper strips and arrange them like spokes around a small circular center piece for support.
Glue one finished planet to the outer end of each strip, spacing the colorful faces around the center as evenly as possible.
Press every connection firmly and adjust the angles until the planets spread outward neatly, creating a playful solar-system-style paper display.
Why Planets Look So Different
Planets do not all look the same because their surfaces, atmospheres, temperatures, and materials can be very different from one another.
Some appear rocky, some are covered by thick clouds, while others have bands, storms, or rings that make them easy to recognize.
Using different paper colors and patterns in this craft helps show that variety without making every planet look exactly alike.
It also makes the activity more useful for a simple science lesson because each finished circle can represent a different planet.
How Planets Move Around the Sun
Planets travel around the Sun along paths called orbits, and each planet takes a different amount of time to complete one journey.
Planets closer to the Sun usually complete their orbits faster, while the farther planets take much longer to travel around it.
The connected layout in this craft gives a simple visual idea of several planets belonging to one larger space system.
It also gives kids an easy starting point for understanding that planets are always moving rather than staying still in space.
Easy Ways to Customize
The connected layout keeps several planet-inspired pieces together, making it easier to discuss how planets belong to the same solar system.
You can add extra rings, small stars, tiny moons, or simple surface spots to give individual planets more personality.
Try making some planets larger or smaller so the finished display has more variety instead of using matching circle sizes.
You can also skip the faces completely and use more realistic colors if you want the craft to feel more science-focused.
FAQs
Can I Make This Planet Craft Without a Compass?
Yes, you can trace around cups, bowls, lids, or other round objects instead of using a compass to draw the planets.
Choose objects in different sizes if you want some planets to appear larger while keeping the circles neat and easy to cut.
This method also works well for younger kids who may find drawing smooth circles with a compass difficult.
Can I Turn This Planet Craft Into a Hanging Display?
Yes, you can attach a loop of string or ribbon to the center section and hang the finished planet craft carefully.
Make sure every paper strip and planet is glued securely before lifting it so the outer pieces do not come loose.
A hanging version can work well in a bedroom, classroom, or science corner where the planets can stay visible together.
You may also like to make!