Don’t you think simple paper crafts can make you feel so relaxed, you sit down and you instantly feel calm because you are just doing something with your hands and you are not even thinking too much?
You might give yourself one afternoon, and you just grab colored paper and you start making a cute little rabbit craft.
And you can actually see how you are turning simple pieces into something lovely that can surprise you.
This rabbit paper craft is really fun for you if you like easy, low-mess activities that you can enjoy with kids, and you can also feel how quickly you get into it once you start.
You don’t need any fancy tools, you can just use simple shapes, and you can take a little time, and you can easily make it step by step without stress.
And if it doesn’t turn out perfect the first time, don’t worry, you can try again, and you might notice that you are getting better each time you do it.
- Why Does My Bunny Paper Craft Never Look Neat And Clean?
- Materials Needed :
- Step-by-Step Guide
- 1. Gather Your Circles and Craft Supplies
- 2. Fold the Orange Circle in Half
- 3. Paste the Pink Circle Behind the Basket
- 4. Cut Out the Small Bunny Details
- 5. Add the Bunny’s Dace and Paws
- 6. Decorate with Green Leaves
- 7. Draw the Final Details
- What Type Of Paper Works Best For Bunny Paper Crafts?
- How Do You Make a Bunny Paper Craft If You’re Bad At Cutting Shapes?
- FAQs
- Can I make this bunny paper craft without colored paper?
- How long does this bunny paper craft usually take to make?
Why Does My Bunny Paper Craft Never Look Neat And Clean?
Don’t worry if your rabbit creation looks a little untidy, you’re not the only one, you know, you might face this too and you might even think you did something wrong when actually you didn’t.
You might use too much glue, or you might cut a little unevenly, or you might rush through the steps because you just want to finish it quickly.
And you can end up with this happening, and yes, you’ve probably been there too, and I’ve done all three as well so you’re not alone in it.

One thing that really helps you, and it can help you too, is when you slow down and you take your time, because you can actually see the difference in your work when you do that.
You should also get all the little bits ready before you start gluing anything together, and you’ll notice it becomes much easier for you and you can work without stress.
And if you use too much adhesive, it can make the paper wrinkle and everything can start moving around in a way that you don’t want.
You should only use a very small amount, and you’ll see it works better for you and your craft can actually look much cleaner.
Materials Needed :
- Colored paper sheets (pink, orange, white, green)
- Pencil
- Black marker
- Scissors
- Glue
- Compass (for making circles)
- Craft stencils (optional)
Step-by-Step Guide
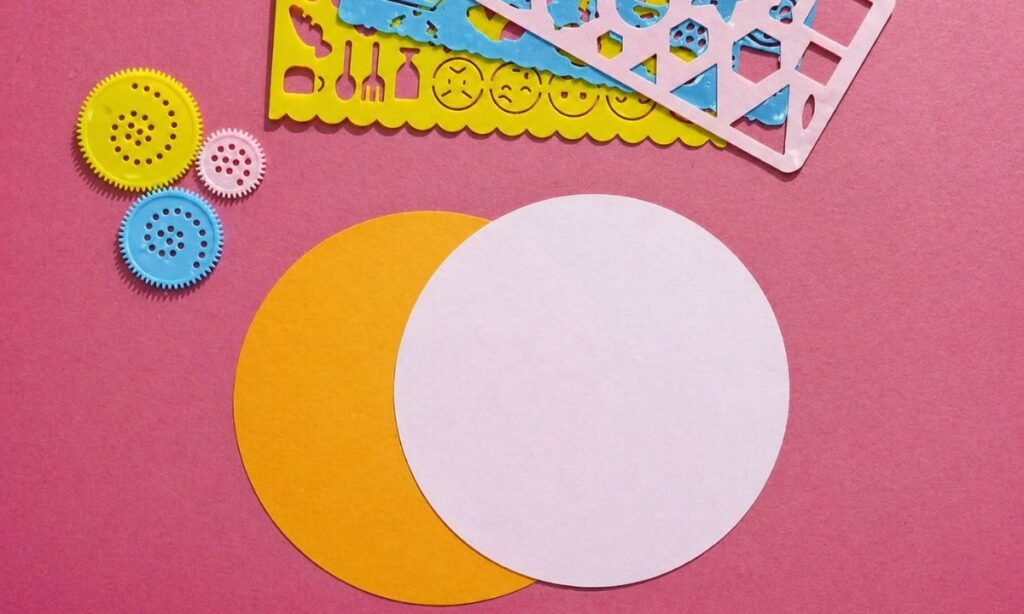
1. Gather Your Circles and Craft Supplies
Don’t worry if your rabbit creation looks a little untidy, you’re not the only one, you know, you might face this too and you might feel a bit annoyed at first.
Too much glue, or you might cut unevenly, or you might rush through the steps because you just want it done quickly.
And you can end up with this happening, and yes, you’ve done all three as well, and you might even laugh about it later.
One thing that really helps you, and it can help you too, is when you slow down and you take your time, because you can see things turning out better when you do.
You should also get all the little bits ready before you start gluing anything together, and you’ll notice it becomes much easier for you and you can work more smoothly.
And you’ll notice it becomes much easier for you once everything is laid out in front of you. And if you use too much adhesive, it can make the paper wrinkle and everything can start moving around.
So you should only use a very small amount, and you’ll see it works better for you and your rabbit craft can actually look much cleaner.

2. Fold the Orange Circle in Half
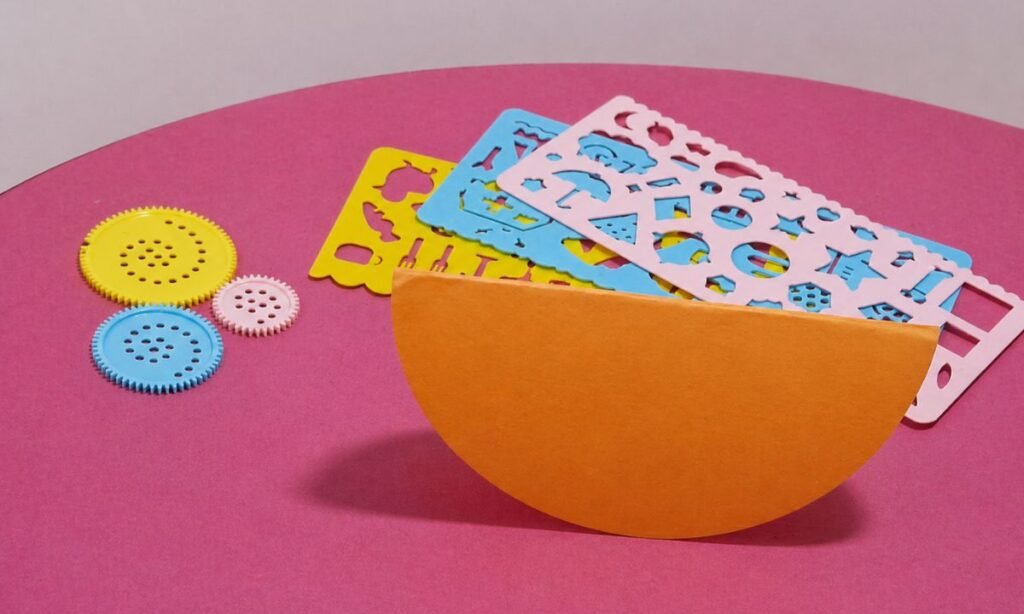
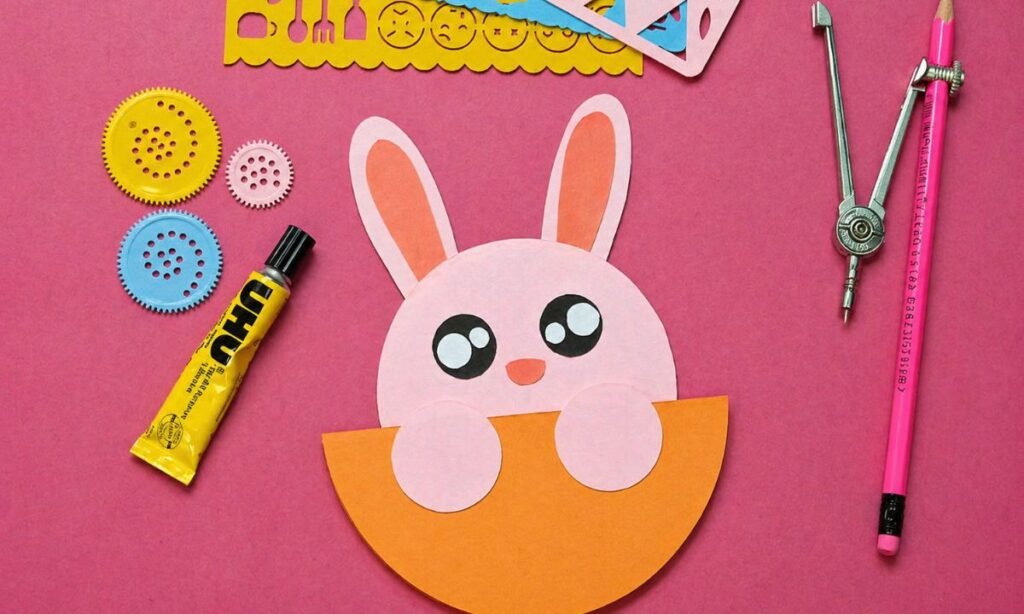
Now, you can carefully fold the orange circle in half, and you can try to form a nice smooth semicircle shape as you press it gently with your fingers.
You’ll see, this folded piece can sit at the bottom of your bunny creation, and it can start to look like a small basket or pocket that you can actually build the whole craft around.
If you line up the edges as neatly as you can before you press the fold, you can get a cleaner finish and you might notice how much better it looks when you take your time.
And don’t worry if it’s not perfect, you might notice that paper crafts always have their own special charm, and you can still make it look really cute even with small imperfections.
This simple fold can make your craft look like it’s sitting in a little carrot-colored basket, and it can give your bunny a lovely 3D effect that you can really see when you look at it from the side.

3. Paste the Pink Circle Behind the Basket
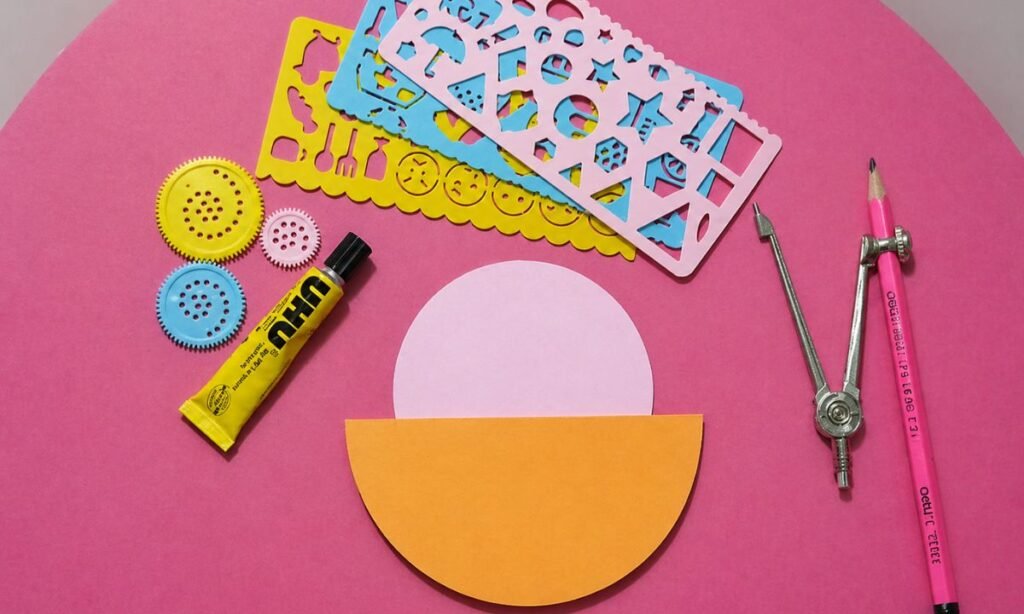
After that, you can place your white circle behind the orange semicircle, and you’ll start to see your bunny slowly take shape in your hands.
You should make sure the pink circle stays on top, because you want it to become the bunny’s face, and you can already imagine how it’s going to look.
You should apply adhesive only on the back of the orange semicircle, so you can control everything better and avoid any mess.
And then you can gently position the white circle behind it before you press it down, and you can adjust it slightly if something feels off.
You should check that the bunny’s face is sitting right in the middle, because you want it to look balanced when you look at it.
This step is really important for you because it gives your craft its main structure and shape, and you can really notice everything coming together now.
When everything looks good to you, you can press both pieces together for a few seconds so they stick properly and you can feel everything set in place.

4. Cut Out the Small Bunny Details
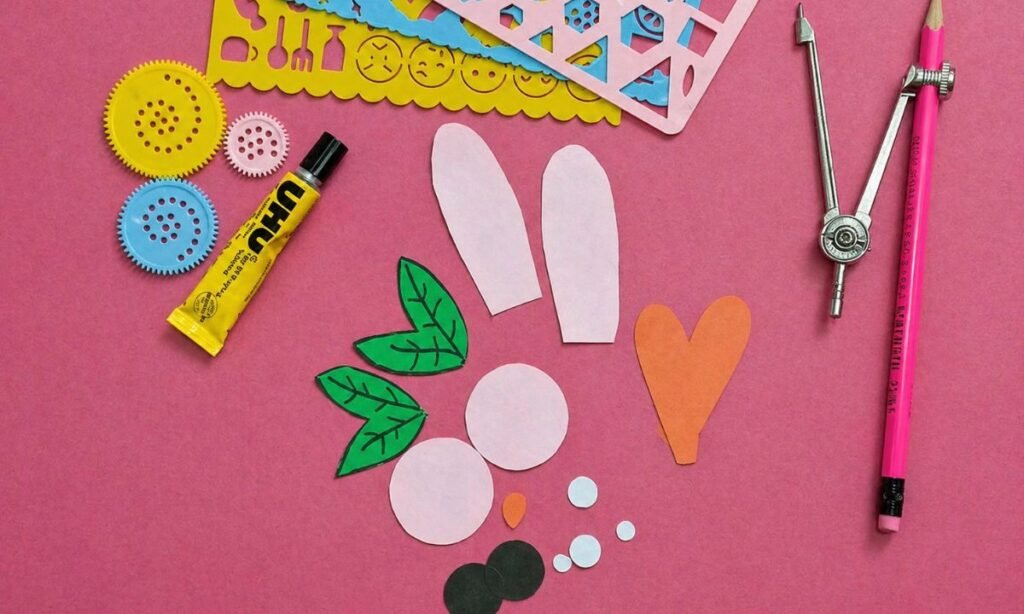
Now it’s time for you to get all the cute little pieces ready, like the bunny’s ears, cheeks, leaves, paws, nose, and eyes.
And you can already start imagining how your bunny is going to look once everything comes together.
You should cut out each piece from paper, and you might notice it takes a little time for you because the shapes are small and you have to be a bit careful.
But you can also find this step really fun once you get into it, and you might even enjoy the slow, detailed work more than you expected.
You can choose pink or orange for the nose, and you can use green for the leaves so it looks fresh and bright when you look at the final craft.
For the paws, you can go with white or any light-colored paper, and you can mix and match as you like until it feels right for you.
If cutting tiny shapes feels difficult for you, you should lightly sketch them first with a pencil so you can guide your hands better.
And it can make everything much easier for you, and you can avoid mistakes before you even start cutting.

5. Add the Bunny’s Dace and Paws
Now you should put the rabbit ears right on top of the white circle, and you can already start seeing your bunny’s personality forming as you place each piece.
And then you can add the small orange nose, the eyes, and the cheeks, and you’ll notice how quickly everything starts to come alive in your hands.
This is the moment when your rabbit suddenly starts to look cute and almost alive, and you’ll notice it right away when you step back and look at it.
You should take your time placing the face pieces because even a small change can make your rabbit look sleepy, surprised, or even very happy depending on where you put everything.
When you finish the face, you can glue the paws onto the sides of the orange basket, and you can adjust them until they feel balanced to you.
The paws will make it look like your rabbit is peeking out of the basket, and you can already imagine how adorable that effect is going to be.
And you’ll see how this little detail makes the whole craft look even more charming and fun for you.

6. Decorate with Green Leaves
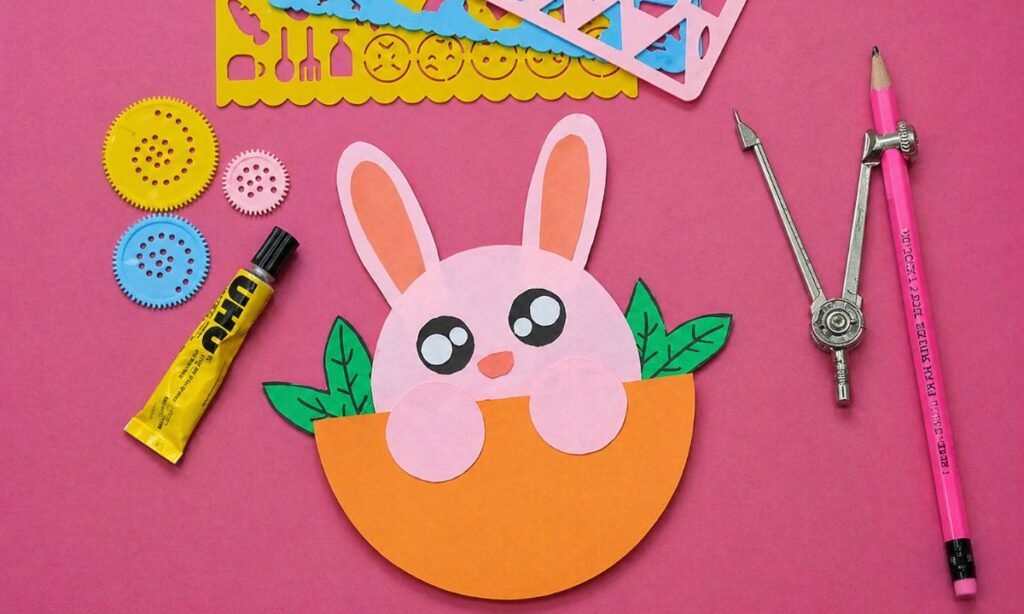
Once you’re done with the bunny’s face, you should place the green leaves on both sides of the orange basket.
And you can already see how your craft starts feeling more complete in your hands.
You’ll notice these small leaves make your craft look brighter and more lively, and you can instantly feel the difference they bring.
Almost like you have a rabbit sitting inside a basket of carrots, and you can almost imagine it as a little scene you created yourself.
You should add a little glue on each leaf and press it down gently so it sticks properly, and you can hold it for a moment to make sure it sets.
If you want the design to look more playful, you can angle the leaves slightly so they point outward, and you can adjust them until they feel right to you.
And you can even add two leaves on each side if you like a fuller look, and you can experiment a bit with placement.
Just make sure you balance it well so one side doesn’t feel heavier than the other, and you’ll get a neat, even finish that looks good from every angle.

7. Draw the Final Details
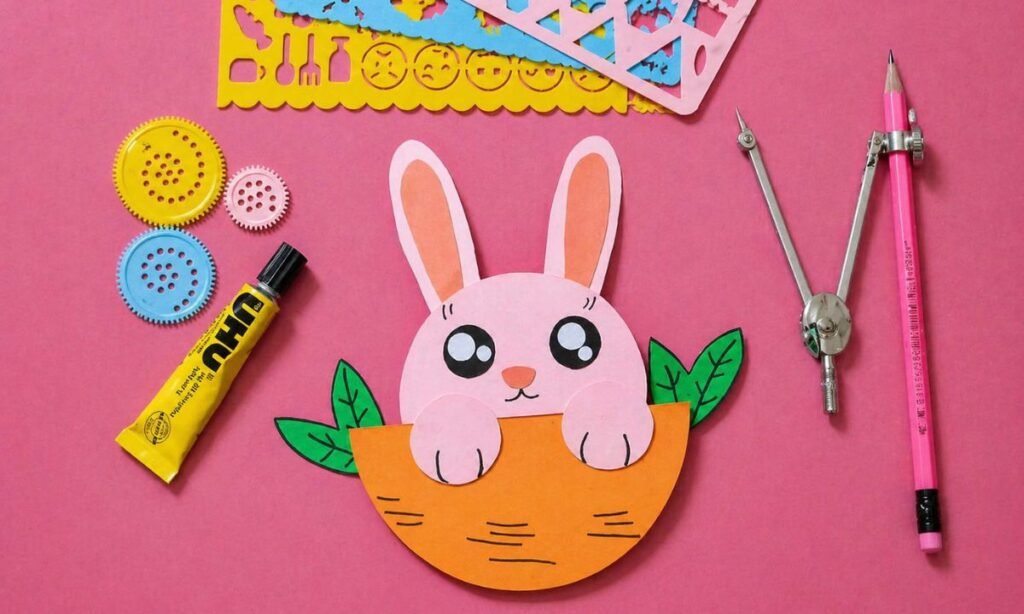
Now you can use a black marker to draw the bunny’s mouth, whiskers, and any small last details you want to add, and you can slowly shape the final expression of your rabbit.
You can also add a few lines on the orange basket to give it more texture and make it look more interesting when you look at it closely.
This is the stage where everything really comes together, so you should take your time and use light strokes if you feel unsure, because you can always add more later if needed.
You’ll notice whiskers instantly make your rabbit look cuter, and you can really see how a small detail like that changes the whole face.
Once you’re done with all the marker details, you should let your craft sit for a few minutes so the glue can dry properly, and you can just let it rest without touching it.

What Type Of Paper Works Best For Bunny Paper Crafts?
The type of paper you use can really change how your rabbit project turns out, you know, you might notice that yourself when you try different options.
In my opinion, you should go for medium-thick craft paper or construction paper, because you can handle it easily and you can still cut and fold it without too much effort.
Because it can hold its shape well and you can still cut and fold it easily, and you won’t feel like it’s bending or tearing too quickly while you work.
If you use colorful craft papers, you can make your project look much brighter and more fun, and you might really enjoy the playful look it gives you when everything comes together.
Plain white paper can also work really well for you if you want a softer and cuter rabbit face, and you can keep it simple yet sweet while still making it look really nice.
How Do You Make a Bunny Paper Craft If You’re Bad At Cutting Shapes?
Don’t worry if cutting shapes feels hard for you, you can still make a really lovely rabbit craft and you can still enjoy the whole process without stress.
You can keep things simple and you should use basic shapes like circles and ovals instead of anything too complex, and you’ll find it much easier to manage when you start.
You can lightly draw the shapes with a pencil first, and then you should cut along the lines slowly so you stay in control and you don’t rush your hands.
You can also fold the paper in half and cut both sides together, and this way you can easily make matching ears or paws that look neat and even.
If you’re crafting with kids, you might want to cut some parts in advance so they don’t get frustrated and you can keep things moving smoothly.
And you can keep the whole activity fun and smooth for them so they actually enjoy making it from start to finish.
FAQs
Can I make this bunny paper craft without colored paper?
Yes, you can do it, you really can, and you might even surprise yourself with how nice it turns out!
If you don’t have colorful paper at home, you can just use plain white paper and you should let your imagination run free without holding back.
You can color all the pieces using crayons, markers, or colored pencils, and you can choose whatever style you like.
Either before you assemble everything or even after you put the craft together, you can decide what feels easier for you.
Kids will genuinely enjoy this because you can let them design their rabbit however they want it to look, and you can guide them while still letting them be creative.
And you might even find that it turns out more unique than using pre-colored sheets, and you can actually enjoy that handmade, personal touch more.
How long does this bunny paper craft usually take to make?
This bunny activity is really easy for beginners, and it doesn’t take much time for you to make it from start to finish.
You can usually finish it in about 20 to 30 minutes, depending on how much detail you want to add and how carefully you want to work on each step.
If you’re making it with kids, it might take a little longer, and that’s totally fine for you because you don’t need to rush the process at all.
You can enjoy the process because the fun is really in the journey, and you can actually see how each small step builds your bunny.
Once everything is ready, you’ll notice that putting the rabbit together becomes much easier and smoother for you, and everything just starts to fall into place.
You may also like to make!