It was one of those really hot days when all I wanted was something cold, and ice cream was the first thing that came to mind.
Later, when it was time to sit down for a little craft activity, that same ice cream idea was still stuck in my head.
So instead of making another random shape, I turned that summer craving into a colorful paper ice cream craft.
The best part was getting the look of a sweet frozen treat without worrying about anything melting or making a mess.
Let’s make this ice cream craft.
- Why Ice Cream Melts So Fast
- Materials Needed:
- Step-by-Step Guide
- 1. Prepare Ice Cream Base
- 2. Prepare Ice Cream Pieces
- 3. Attach White Topping
- 4. Attach Ice Cream Stick
- 5. Finish Ice Cream Face
- Easy Ways to Use This Craft
- Why Ice Cream Comes in So Many Flavors
- Why Ice Cream Feels So Refreshing
- FAQs
- Can I Add Extra Toppings to This Ice Cream Craft?
- Can I Make This Ice Cream Craft in Different Colors?
Why Ice Cream Melts So Fast
Ice cream starts melting when heat from the air and your hands warms it above its frozen temperature.
The outer layer usually softens first because it is directly exposed to warmer air while the inside stays colder longer.
Hot weather, sunlight, and warm hands can make this happen even faster, especially with smaller ice cream treats.
That is why ice cream is usually stored in a freezer and eaten soon after it is taken out.
Materials Needed:
- Colored paper (Pink, Light Purple/White, Black, Brown)
- Scissors
- Glue
- Pencil
- Black marker
- Circle cutter or any round object (for eyes)
Step-by-Step Guide
1. Prepare Ice Cream Base
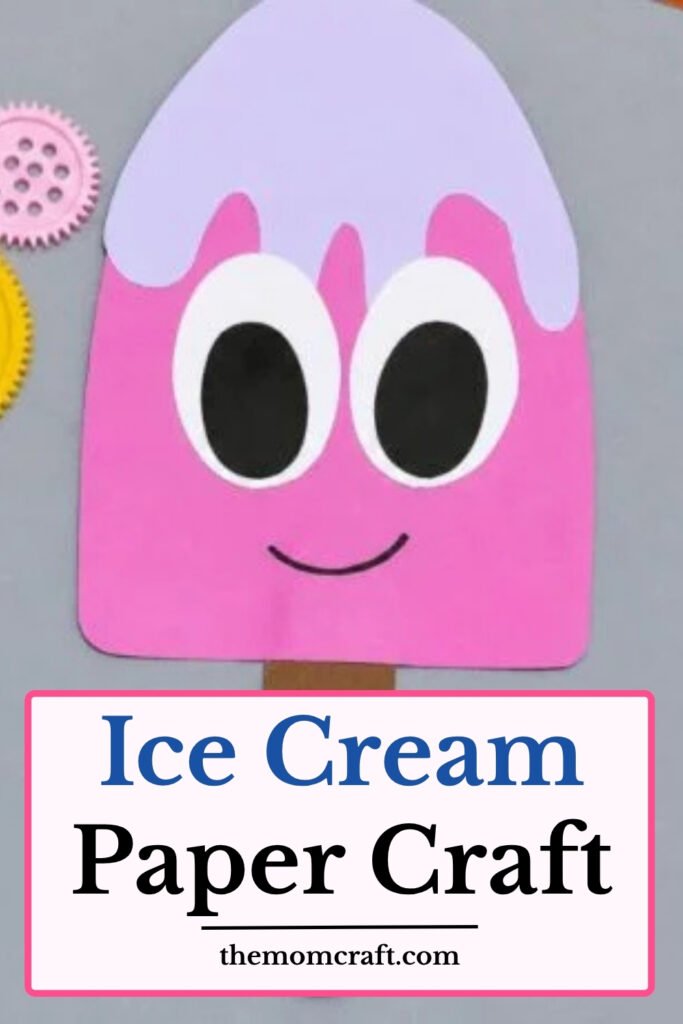
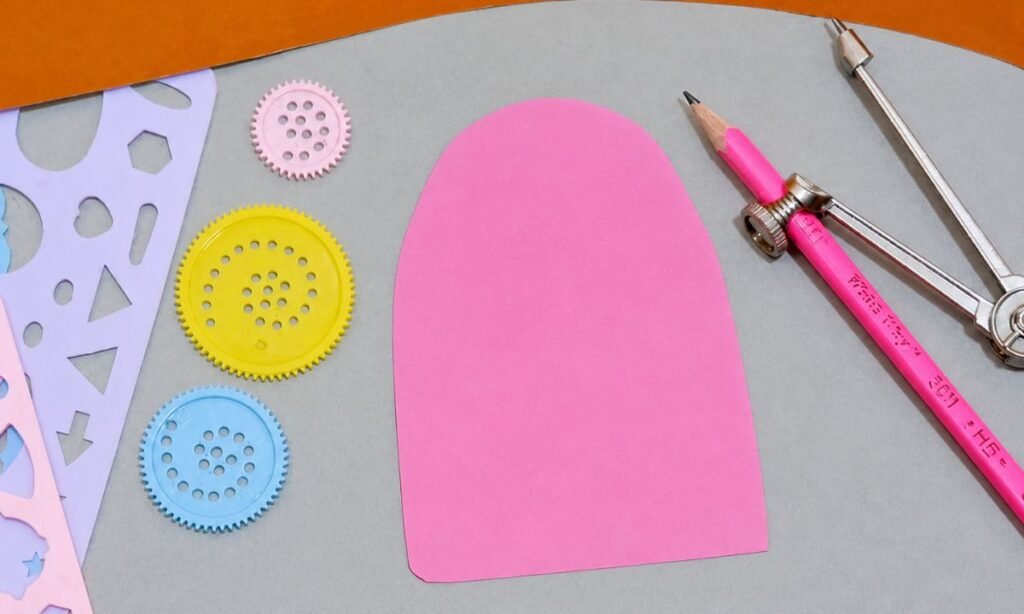
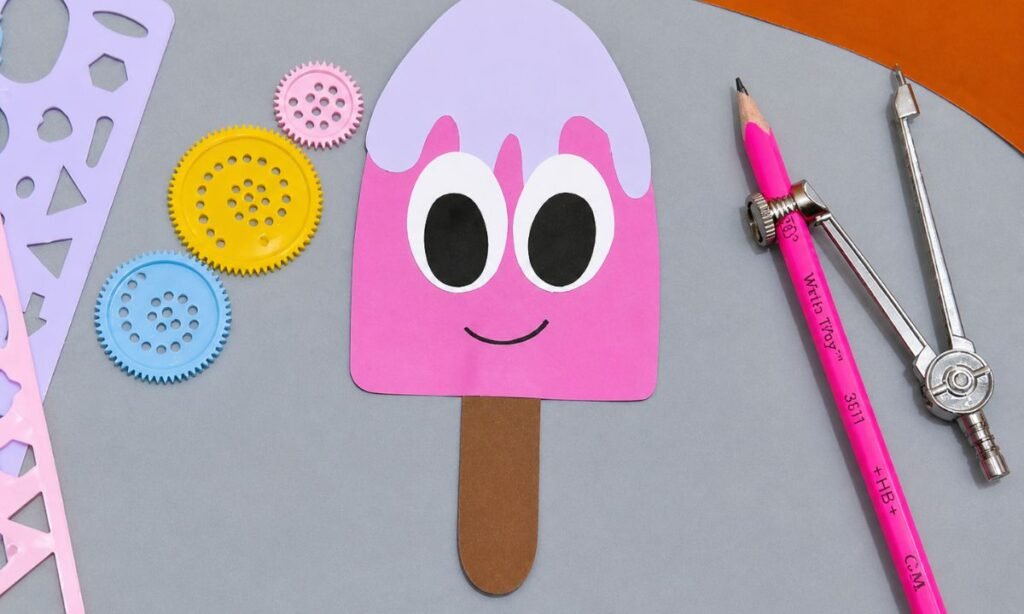
Cut a tall pink paper shape with a rounded top, keeping the sides straight and the bottom edge neatly trimmed.
Check the outline from every side, smoothing any uneven curves carefully so the ice cream body looks clean, neat, and balanced.
Keep the finished pink base flat on your work surface, ready for adding the topping and other small decorative paper pieces.
2. Prepare Ice Cream Pieces
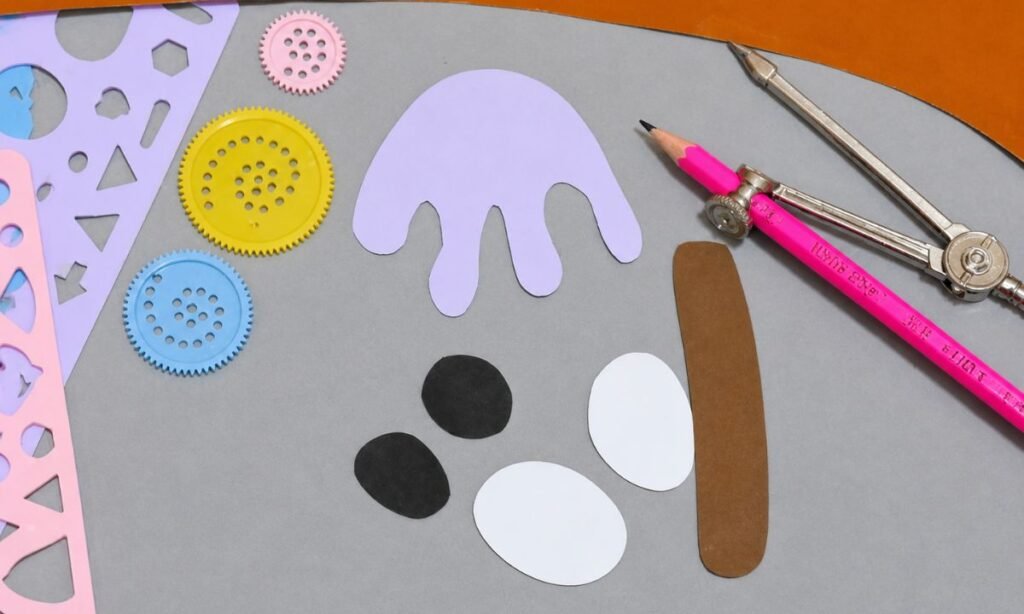
Cut a white dripping topping shape, two white eye pieces, two black pupils, and one brown stick from colored paper.
Keep the dripping edge rounded and uneven, because the soft curves help the topping look more natural on the ice cream.
Arrange all the smaller pieces nearby before gluing, checking carefully that their sizes look balanced against the larger pink base.
3. Attach White Topping
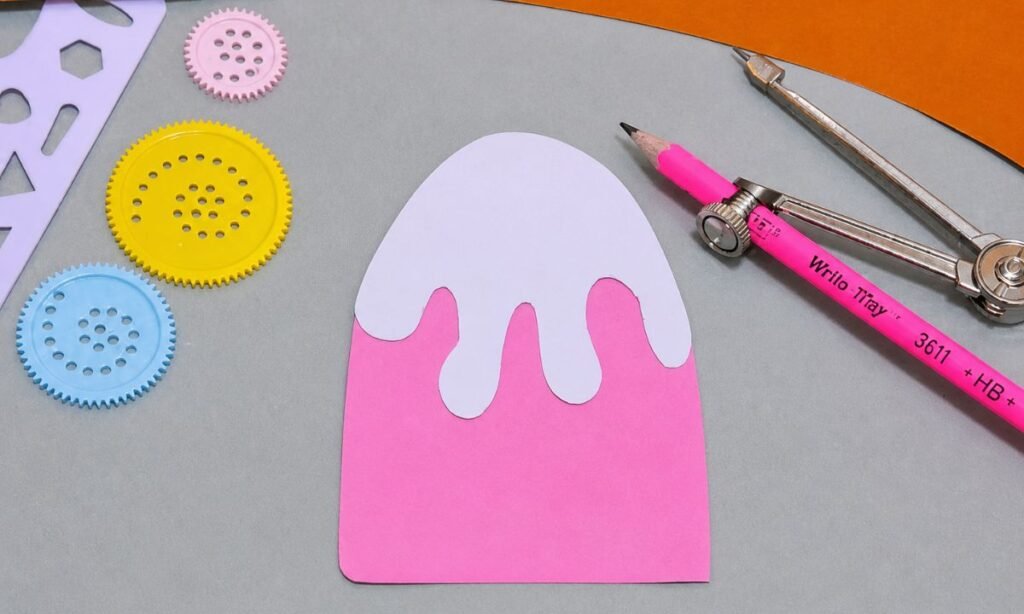
Place the white dripping topping across the rounded top of the pink base, keeping the curved edge evenly positioned and centered.
Glue the white piece down carefully, pressing along each drip so the topping stays flat without lifting around the edges.
Check that enough pink paper remains visible below the topping, keeping the ice cream shape clear and easy to recognize.
4. Attach Ice Cream Stick
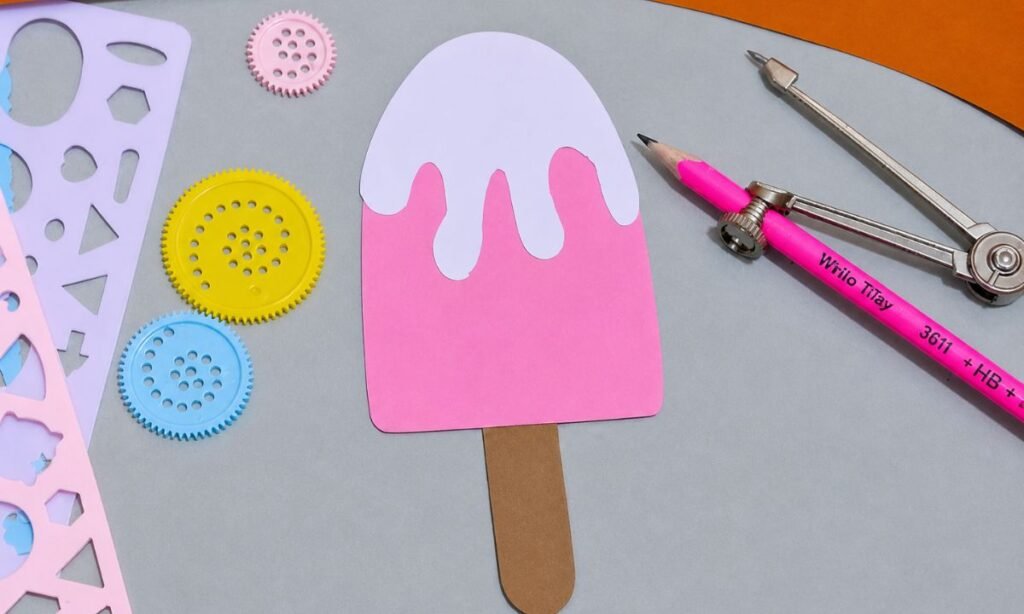
Glue the brown paper stick behind the bottom center of the pink ice cream base, keeping it straight and evenly aligned.
Press the stick firmly where it meets the base, making sure the rounded end extends clearly below the ice cream.
Check the full shape from the front, adjusting the stick if needed so it stays centered beneath the finished body.
5. Finish Ice Cream Face
Glue the two layered eyes onto the pink section, keeping them level and evenly spaced beneath the white topping and above the smile.
Use a black marker to draw a simple curved smile below the eyes, keeping the line smooth and centered on the face.
Press the eye pieces firmly after gluing, then check that the face looks balanced and the stick remains straight underneath.
Easy Ways to Use This Craft
The finished ice cream can be used for summer wall decor, classroom boards, birthday displays, or simple craft room decoration.
You can also glue it onto folded cardstock and turn it into a handmade card for birthdays or warm-weather celebrations.
Several ice creams in different colors can be arranged together to create a fun dessert-themed display or pretend shop setup.
Because the craft stays flat and lightweight, it is easy to hang, store, or reuse for different activities.
Why Ice Cream Comes in So Many Flavors
Ice cream can be made with many different flavors because the basic mixture works well with fruits, chocolate, nuts, spices, and other ingredients.
Some flavors are sweet and creamy, while others taste fruity, tangy, or rich depending on what is mixed into the base.
Different countries and brands also create their own combinations, which is why ice cream choices can look very different from place to place.
That variety is one reason ice cream stays popular, because almost everyone can find a flavor that matches what they enjoy.
Why Ice Cream Feels So Refreshing
Ice cream feels refreshing because its cold temperature quickly cools your mouth and gives a strong contrast on hot days.
The smooth texture also melts slowly across the tongue, which makes each bite feel cool, creamy, and easy to enjoy.
Sweet flavors can make the experience feel even more satisfying, especially when you are tired, warm, or craving something cold.
That combination of cold temperature, soft texture, and sweetness is what makes ice cream such a popular summer treat.
FAQs
Can I Add Extra Toppings to This Ice Cream Craft?
Yes, you can add small paper sprinkles, fruit shapes, chocolate pieces, or tiny hearts to make the ice cream look more decorative.
Keep the toppings small and spaced apart so the face and white dripping section remain clearly visible after everything is attached.
You can also let kids choose their own toppings, which makes each finished ice cream look a little different and more personal.
Can I Make This Ice Cream Craft in Different Colors?
Yes, you can change the pink base, white topping, and stick colors to match any flavor or theme you like.
Try using pastel shades for a softer look or brighter colors if you want the ice cream to stand out more.
You can also make several versions in different colors so each finished craft looks like a different ice cream flavor.
You may also like to make!