

Last weekend, I went on a picnic with my grandparents, and we spent most of the time sitting near the grass and trees.
While we were there, I noticed a tiny ladybug moving slowly across one of the leaves beside us.
Its bright red color and little black spots stood out so much that I kept watching it for a while.
That small picnic moment stayed in my mind, and later it felt like the perfect idea for a simple ladybug craft.
Let’s make this ladybug craft.
- Why Ladybugs Have Spots
- Materials Needed:
- Step-by-Step Guide
- 1. Prepare Ladybug Circles
- 2. Add Ladybug Spots
- 3. Fold Ladybug Wings
- 4. Join Body Circles
- 5. Attach Ladybug Wings
- 6. Finish Ladybug Details
- Fun Facts About Ladybugs
- How the Folded Wings Work
- Fun Ways to Customize
- FAQs
- Can I Turn This Ladybug Craft Into a Hanging Decoration?
- Can I Use Stickers for the Ladybug Spots?
Why Ladybugs Have Spots
Ladybug spots are part of their natural coloring, and the number, size, and pattern can vary between different species.
The bright colors and dark markings can act as a warning, helping predators recognize that the ladybug may taste unpleasant.
Some ladybugs have many spots, while others have only a few, and certain species may have no obvious spots at all.
The spots are not connected to age, so counting them does not tell you how old a ladybug is.
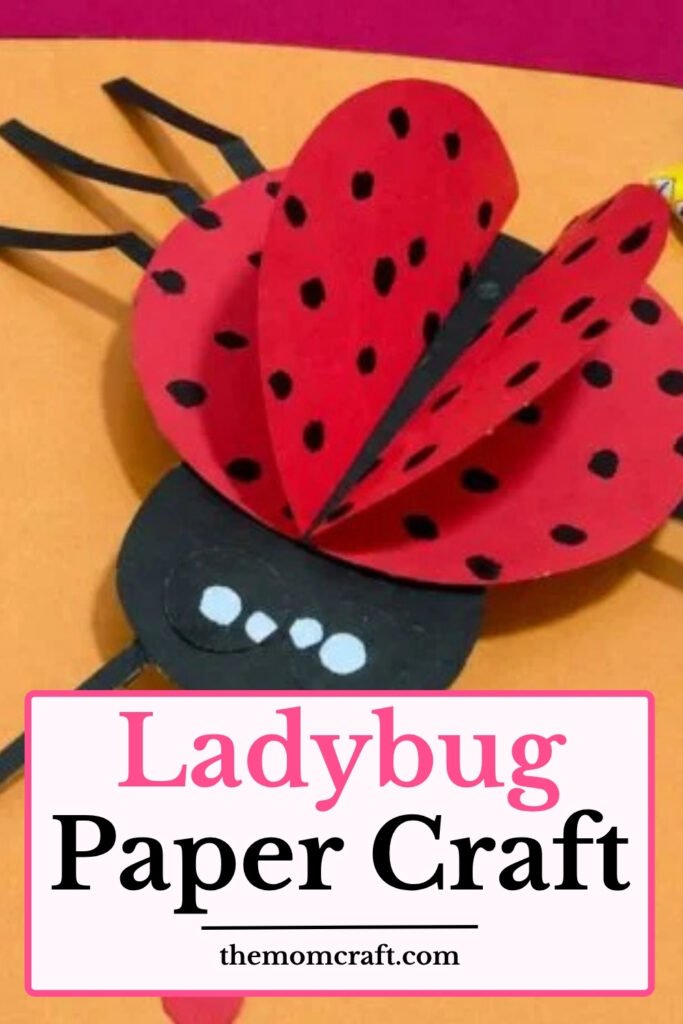
Materials Needed:
- Red colored paper
- Black colored paper
- Glue
- Scissors
- Pencil
- Black marker (for spots & face)
Step-by-Step Guide
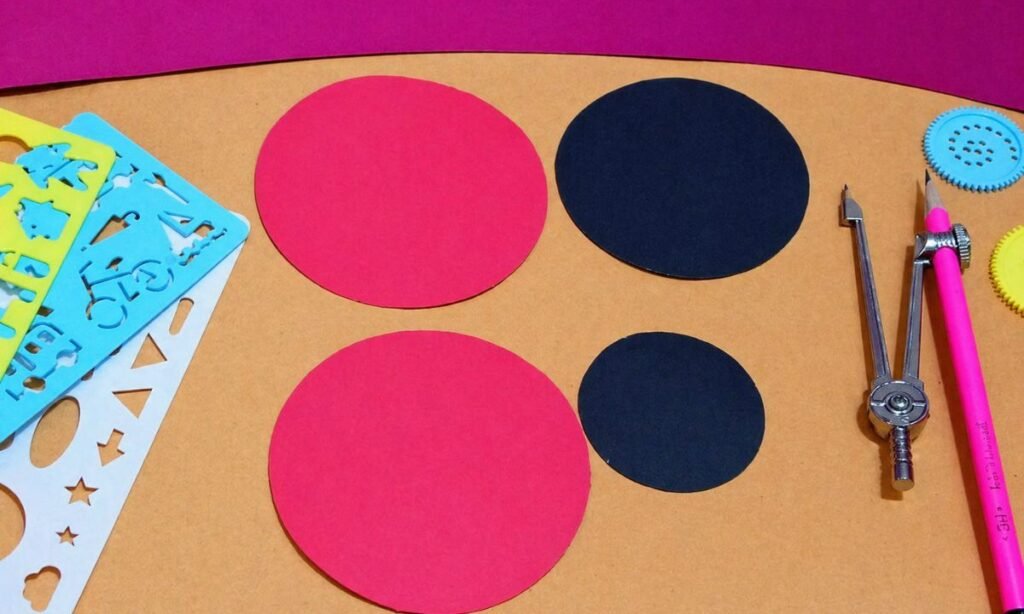
1. Prepare Ladybug Circles
Cut two large red circles for the wings, keeping both pieces similar in size so the ladybug body looks balanced.
Prepare one large black circle for the body and one smaller black circle for the head, trimming rough edges carefully.
Lay all four circles flat together and compare their sizes before gluing, making sure the red pieces match each other evenly.
2. Add Ladybug Spots
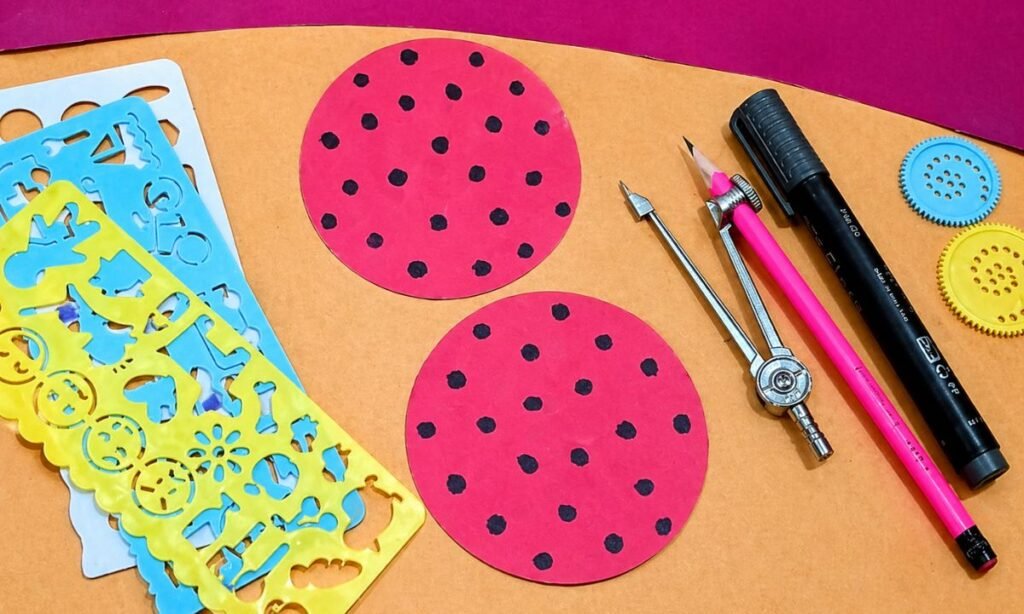
Use a black marker to add small round spots across both red circles, spacing them out so the pattern looks balanced.
Keep the spots similar in size, but vary their placement slightly so the wings do not look too perfectly matched.
Check each circle from a distance and fill any empty areas carefully, making sure the red paper still shows clearly.
3. Fold Ladybug Wings
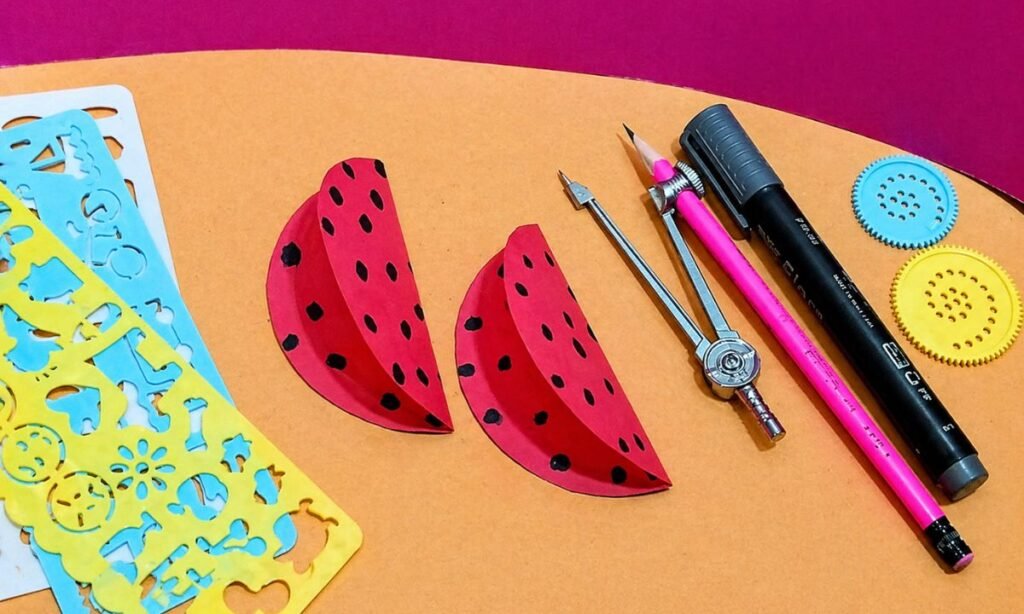
Fold each spotted red circle in half gently, bringing the edges together while keeping the center crease smooth and clearly defined.
Open the folded circles slightly so both sides lift upward, creating a raised wing shape instead of lying completely flat.
Press along the center fold carefully, making sure both wing pieces hold the same curved angle and remain evenly shaped.
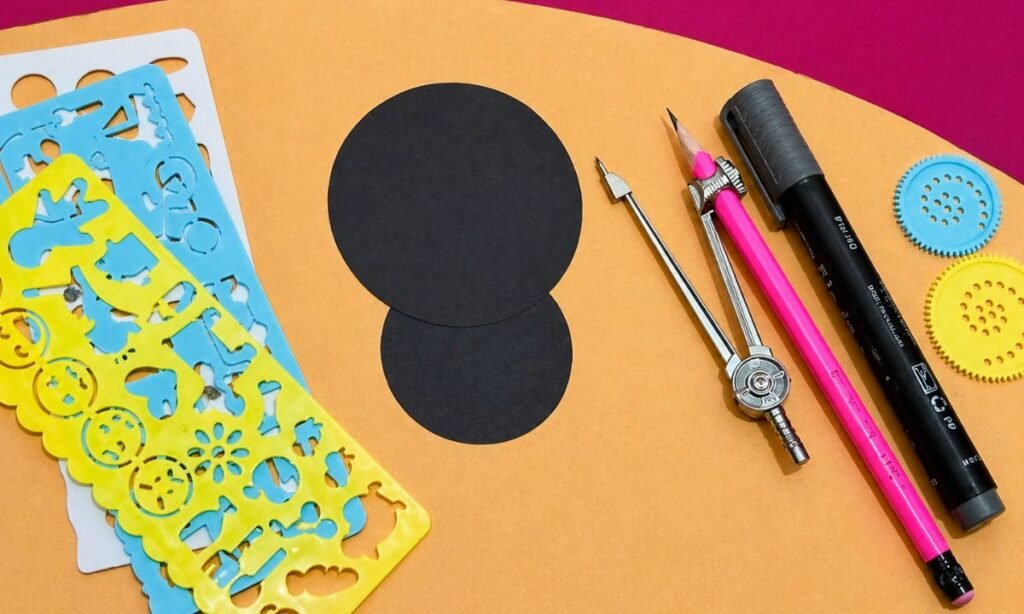
4. Join Body Circles
Place the smaller black circle below the larger one, letting the edges overlap slightly to create the ladybug body and head.
Apply glue where the two circles meet, then press the overlap firmly so both pieces stay flat and securely connected.
Check that the smaller circle sits centered beneath the larger circle, keeping the finished black base straight and evenly balanced.
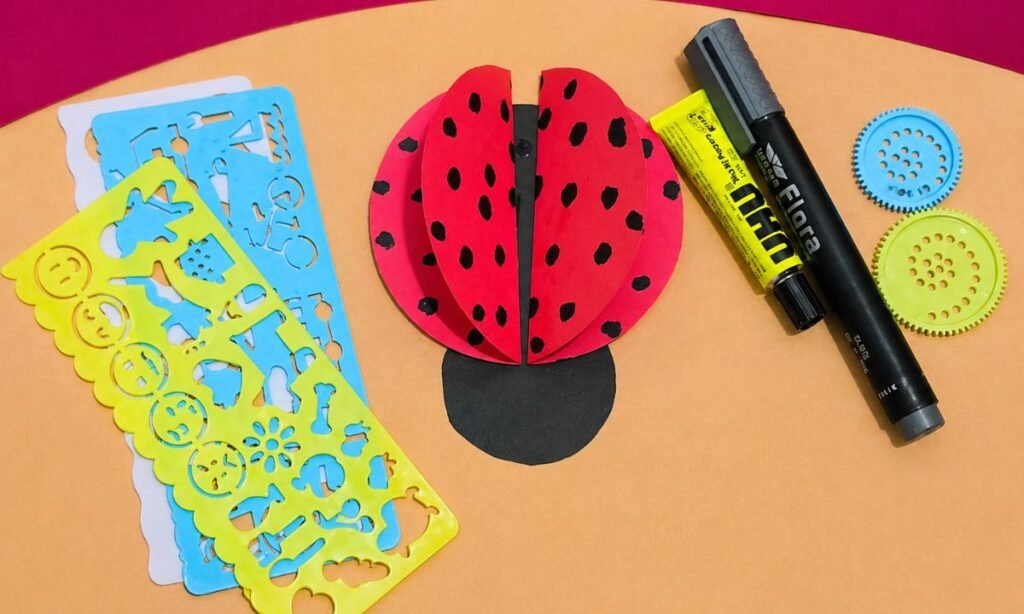
5. Attach Ladybug Wings
Glue the two folded red circles onto the larger black body, placing them side by side with a narrow gap between.
Keep each wing slightly raised along the center fold, so the ladybug has a rounded shape instead of looking completely flat.
Press the outer edges firmly against the black base, checking that both spotted wings stay even and neatly aligned.
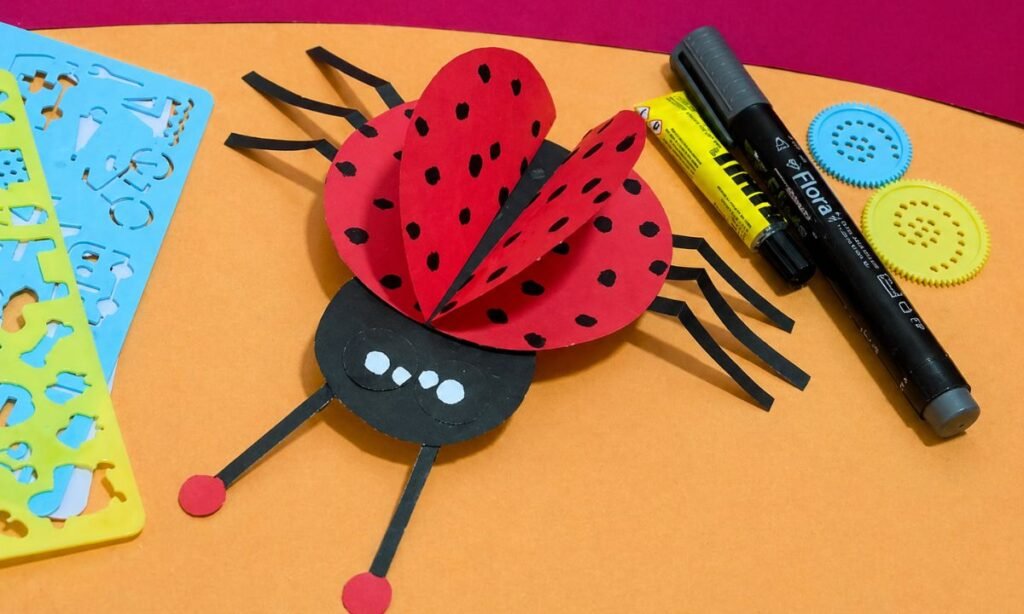
6. Finish Ladybug Details
Cut six narrow black paper legs and attach three along each side of the body, keeping their spacing fairly even.
Add two long black antennae to the head, then place small red circles at the tips for a playful finish.
Glue the white eye details onto the black head, then check that every leg, wing, and antenna stays firmly attached.
Fun Facts About Ladybugs
- Ladybugs are small beetles, not true bugs, and they belong to a large group with thousands of different species.
- Many ladybugs have red or orange wings with black spots, but some species can also be yellow, brown, or even black.
- Ladybugs are helpful in gardens because many of them eat aphids and other tiny insects that can damage plants.
- Ladybugs can release a yellowish fluid from their legs when they feel threatened, which can help keep predators away.
- Some ladybugs gather together in large groups during colder months and stay in protected places until the weather becomes warmer.
- Ladybugs can fold their flying wings under the hard outer wing covers when they are resting.
How the Folded Wings Work
The folded red circles create raised wings, giving the ladybug more shape than a completely flat paper design.
Keeping the center crease firm helps each wing stay slightly open while still holding its position on the black body.
Both wings should open at a similar angle so the finished ladybug looks balanced from the front and sides.
Using lightweight cardstock can also help the wings keep their curved shape without becoming too stiff or difficult to fold.
Fun Ways to Customize
Change the wing color, spot size, or antenna details if you want the ladybug to look different from the original version.
You can add more spots, use tiny hearts, or mix simple patterns while keeping enough red space visible on the wings.
Try changing the eye size or antenna tips to give the ladybug a slightly different expression and more personality.
If you make several ladybugs, use different colors and patterns so each finished craft has its own unique look.
FAQs
Can I Turn This Ladybug Craft Into a Hanging Decoration?
Yes, you can attach a small string loop behind the ladybug and hang it from a wall, window, or classroom display.
Keep the loop near the center of the body so the ladybug hangs evenly instead of tilting toward one side.
Because the craft is lightweight, it can also work well as a spring or summer decoration without needing heavy support.
Materials mein White paper bhi add karo because Step 6 mein white eye details use ho rahi hain.
Can I Use Stickers for the Ladybug Spots?
Yes, small black circle stickers can replace marker spots and make the decorating step faster for younger kids during craft time.
Choose stickers that are similar in size and space them across both wings without covering too much of the red paper.
This option also works well for group activities because kids can decorate their ladybugs without needing to draw every spot carefully.
You may also like to make!



