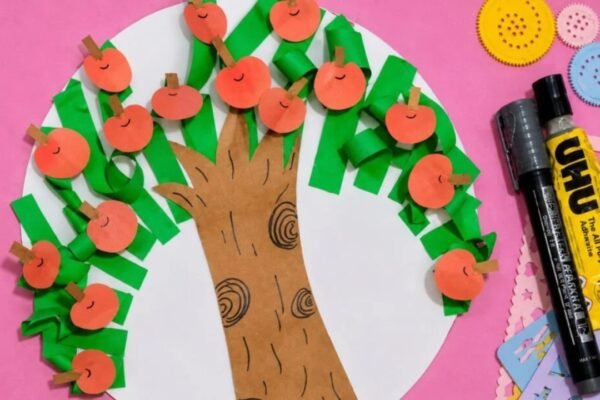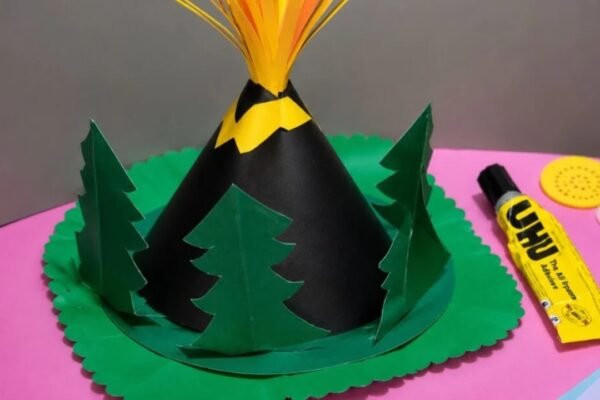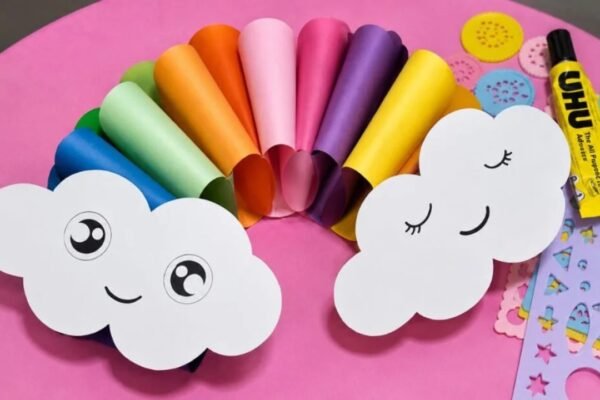
There’s just something so exciting about you making simple fall crafts with colored paper, especially when you see them turn out this lovely.
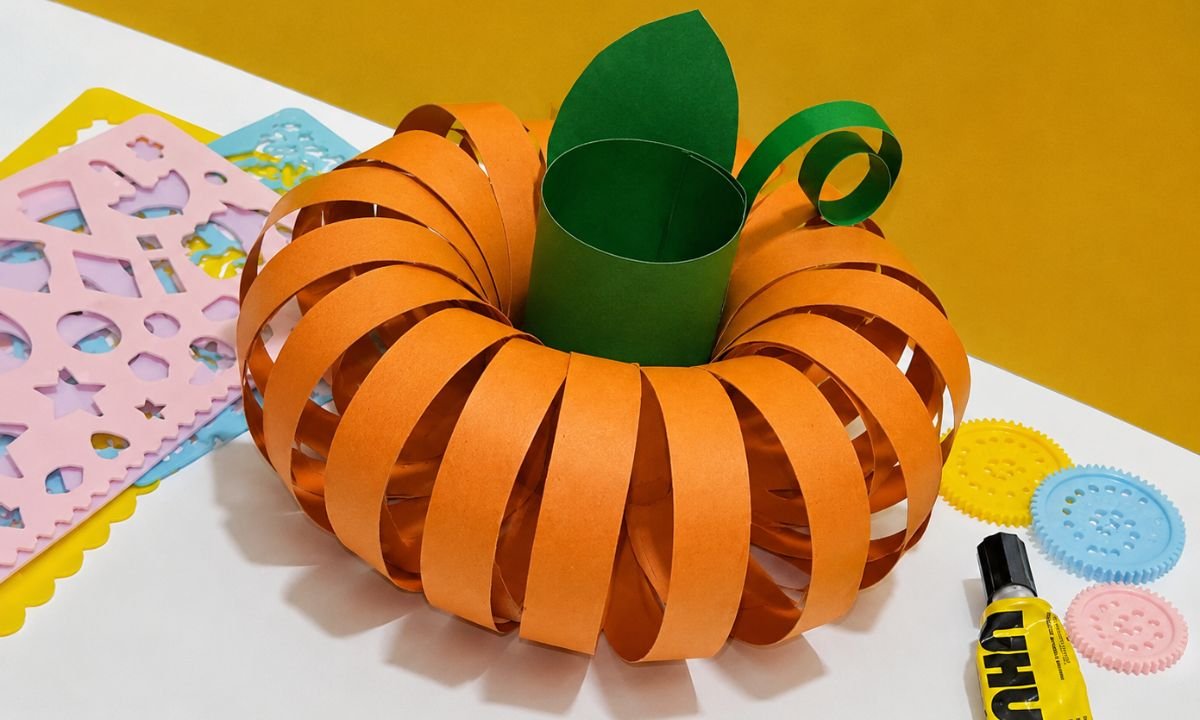
I recently made this pumpkin paper craft while you could say I was decorating for the fall season, and honestly.
It was one of those simple little projects where you start small. But you end up with something that looks way more amazing than you expected.
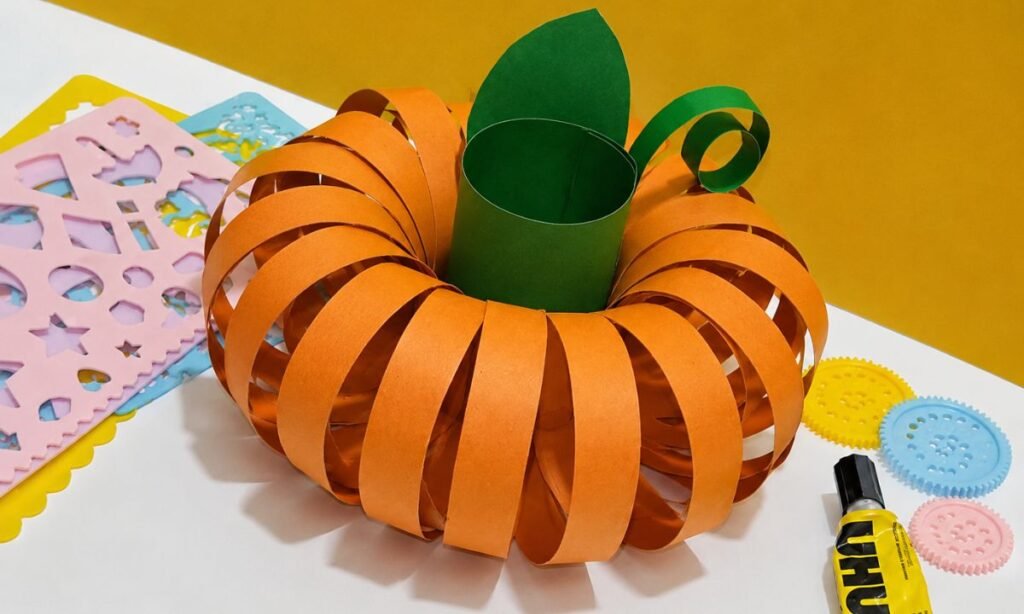
The paper rings can make your pumpkin feel colorful and 3D, and the curling green vine gives you the sweetest finishing touch.
What you would probably love most about this craft is that you don’t need any fancy supplies. And you won’t have to deal with a huge mess, which should always feel like a win at home.
Whether you’re doing it with kids, using it for school activities. Or when you just want to give your home a cozy fall touch, you can easily enjoy making this.
Let’s jump in!
- Can You Use Pumpkin Paper Crafts for Classroom Activities?
- Material Needed:
- Step-By-Step Guide
- 1. Gather Your Supplies
- 2. Draw Paper Lines
- 3. Cut The Strips
- 4. Make Paper Rings
- 5. Join The Rings
- 6. Shape The Pumpkin
- 7. Create Green Details
- 8. Add Final Touches
- What Type of Paper Works Best for a Pumpkin Paper Craft?
- How Do You Decorate a Paper Pumpkin Without Making It Messy?
- FAQs
- Can I Make This Pumpkin Paper Craft Without Glue?
- How Long Does This Pumpkin Paper Craft Take to Make?
Can You Use Pumpkin Paper Crafts for Classroom Activities?
One of the things you would probably love about this pumpkin paper craft is how easily you can turn it into a fun little learning activity for kids.
This isn’t just a pretty fall decoration because while you’re making it, kids can also learn cutting, gluing, folding.
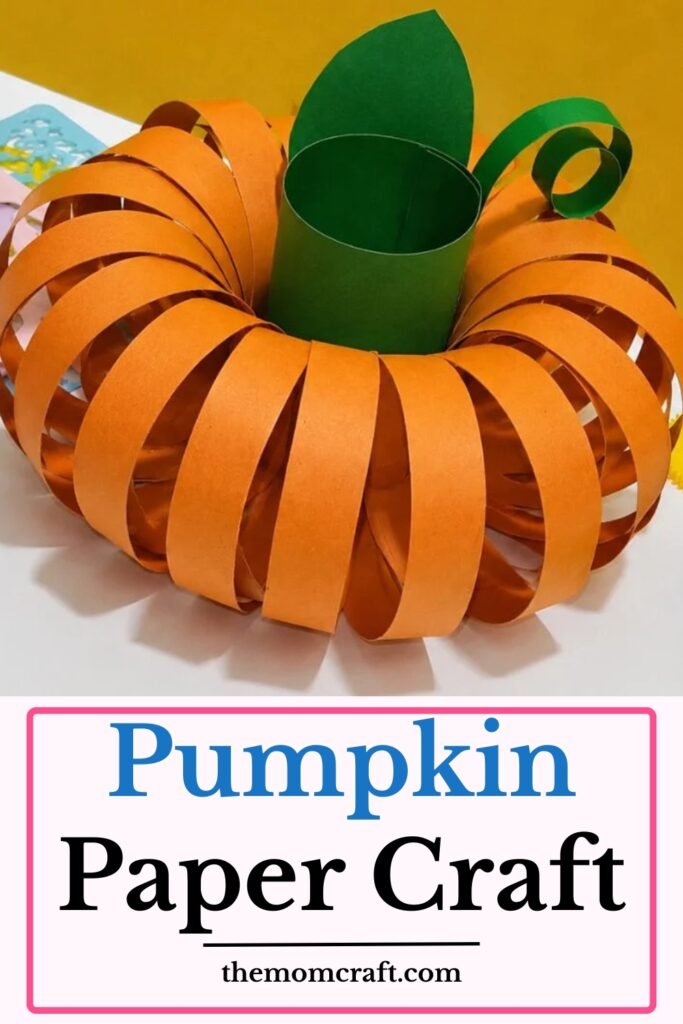
And when you follow the easy step-by-step directions, you can keep the whole activity simple and fun at the same time.
That’s why you could easily use this craft for classroom or homeschool projects during fall. Teachers can use it for Halloween or Thanksgiving themed activities.
And if you homeschool your kids, you can easily fit it into your art time or seasonal lessons. I also really like that you don’t need expensive supplies because the materials are affordable.
Material Needed:
- Colored craft paper
- Pencil
- Scissors
- Glue
- Black marker
- Ruler or stencil shapes
Step-By-Step Guide
1. Gather Your Supplies
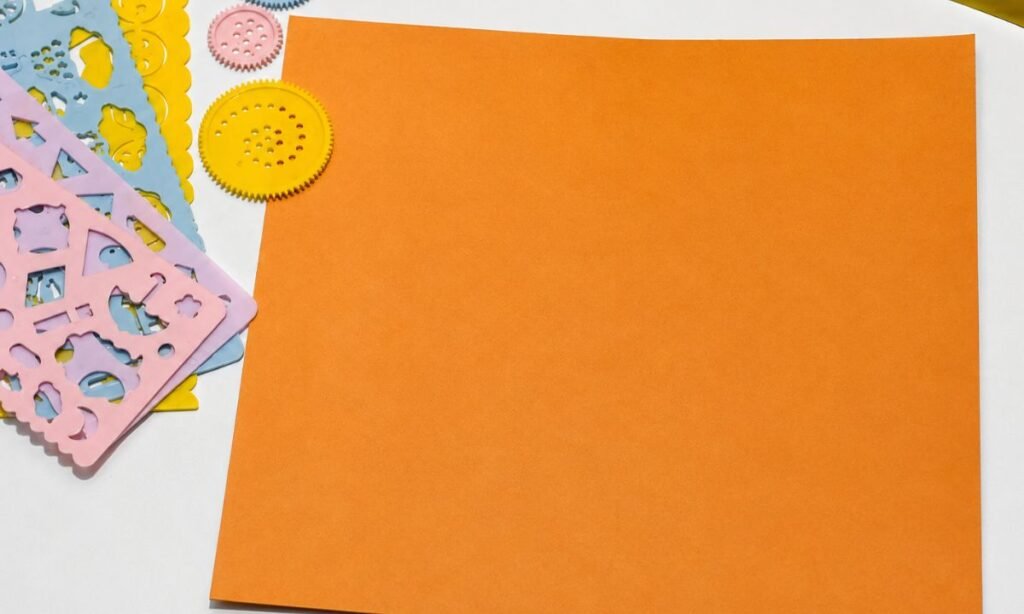
Take a square piece of orange paper and place it on a flat table where you can work comfortably. You should keep your pencil, glue, scissors, and other craft supplies close to you.
So you don’t have to keep stopping in the middle while you’re making everything. I usually like to get everything ready first.
Because when you do that, the whole activity can feel so much easier, especially if you’re crafting with kids.
You really don’t need anything fancy for this pumpkin paper craft because you can make the main pumpkin with orange paper.
And then you can use green paper for the stem, leaf, and the little curling vine that gives your pumpkin that cute finishing touch.
2. Draw Paper Lines
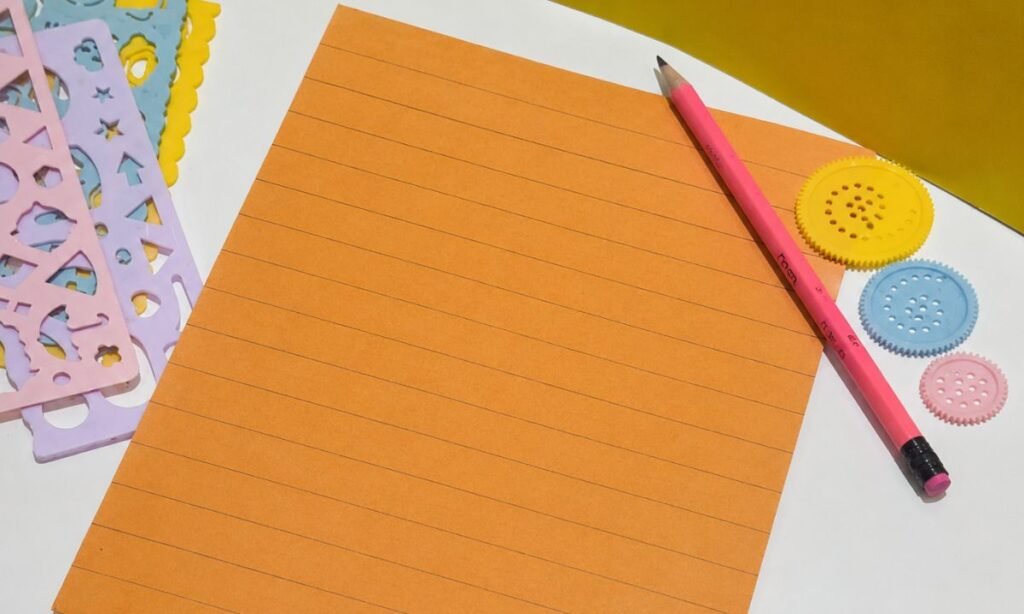
Okay, now you can grab your pencil and start drawing straight lines all over the orange paper.
These lines will help you make even strips, so you should try to keep them as balanced as possible.
They really don’t have to be perfect, especially when you’re doing this as a fun kids activity.
But when your strips are close to the same size, your pumpkin can look much neater in the end.
I personally found it easier when I used a ruler, but you can also draw the lines by hand if you want a more relaxed and easygoing craft feel.
Pro Tip: If you want your pumpkin to look fuller. You can draw more strips because more paper rings will make your pumpkin feel thicker and more 3D.
3. Cut The Strips
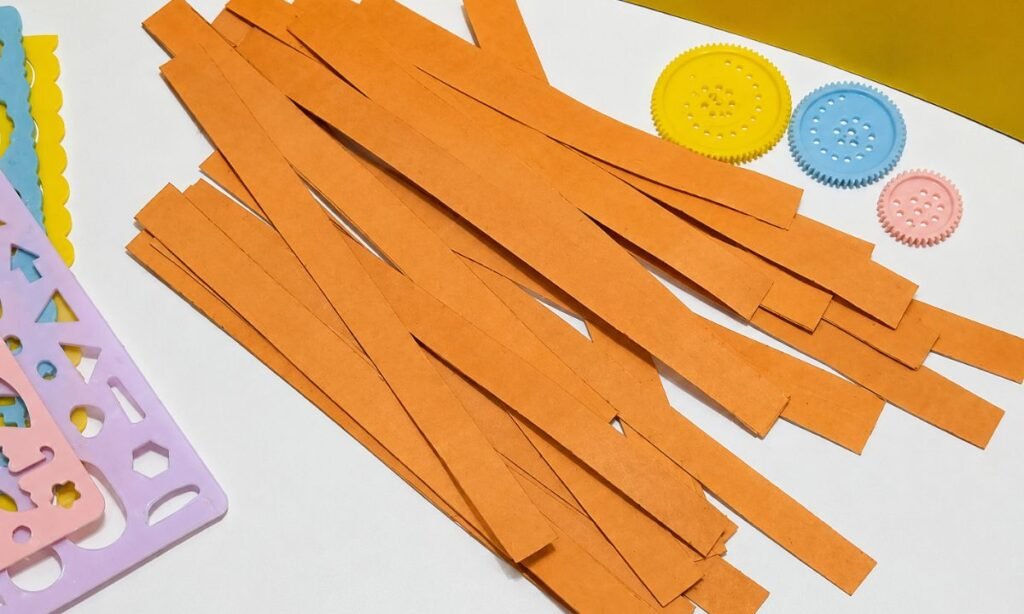
Then you can carefully cut along the pencil lines to make long orange paper strips.
You shouldn’t rush this part because when your strips are clean, you’ll find them much easier to roll and glue later.
If kids are doing this craft, this would be a good time for you or another adult to help or supervise, especially when scissors are involved.
I usually like to keep the strips in a little pile as I cut them so everything stays neat and organized.
Once all your strips are ready, you’ll start seeing how your pumpkin is slowly going to come together.
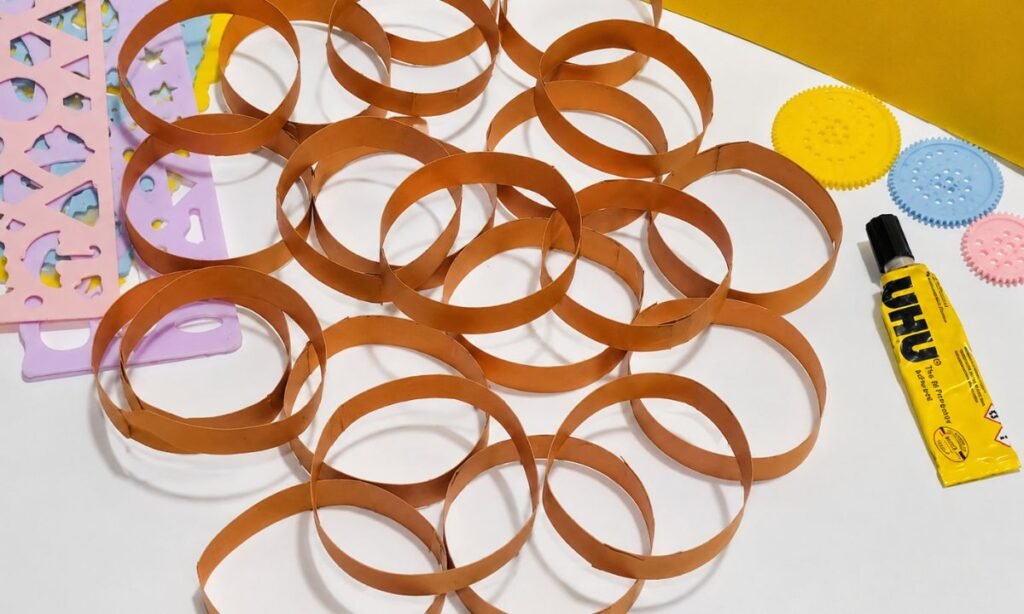
4. Make Paper Rings
Take one orange strip and bring the two ends together so you can make a small paper ring.
You should add a little bit of glue where the ends overlap, then press gently until you feel it stick properly.
Keep doing this with all the orange strips until you have a whole bunch of little paper rings ready.
This part can feel really fun because you suddenly watch the flat strips turn into tiny shapes right in front of you.
You shouldn’t use too much glue or the paper might start feeling wet and slippery. Once you’ve made all the rings.
You should let them sit for a little while so the glue can hold properly before you move on to the next step.
5. Join The Rings
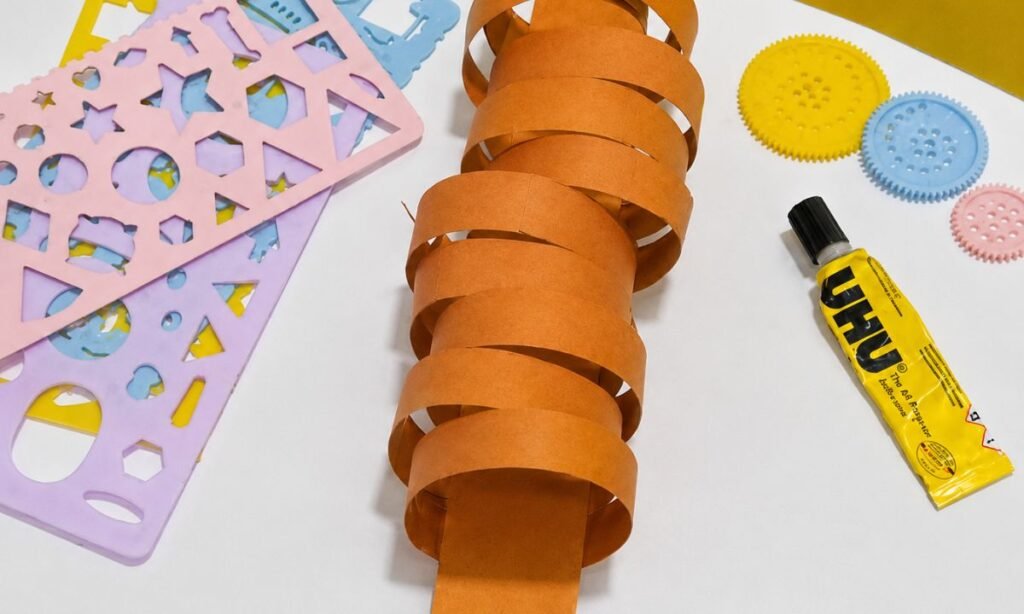
Now you can start gluing the paper rings together side by side to make one long curved strip.
You should place a little glue on the side of one ring, then gently press another ring against it.
Keep connecting the rings one by one until you’ve joined them all together.
This is usually the moment where your pumpkin starts looking really cute, so you shouldn’t rush through it.
Make sure all your rings are facing the same direction and sitting nice and close together.
If you notice some rings moving around, you can lightly adjust them before the glue dries completely.
6. Shape The Pumpkin
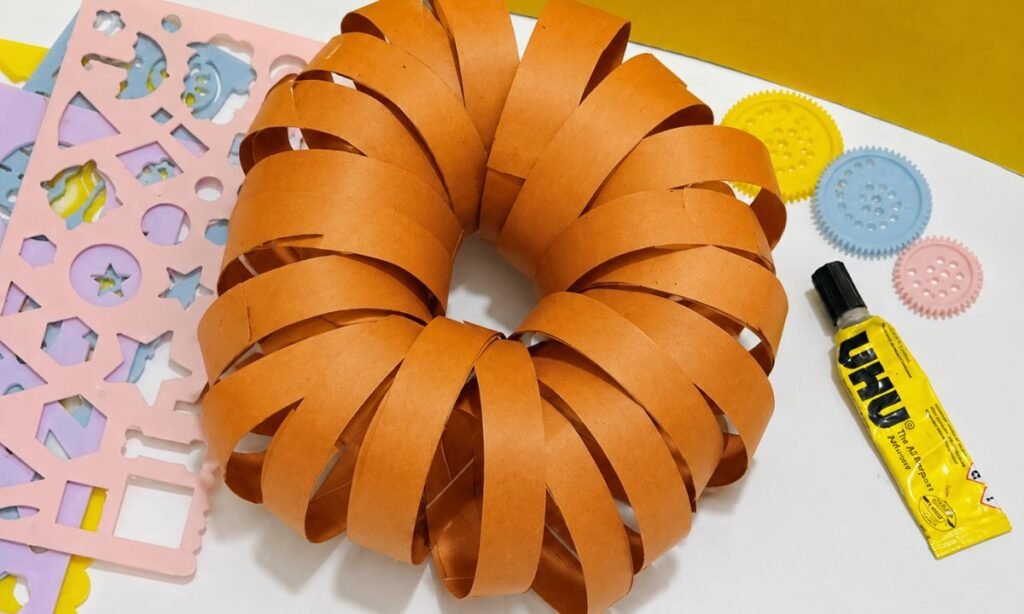
Once your long strip of rings feels secure, you can carefully bend it into a circle shape. Bring both ends together and glue them so you can close the shape nicely and neatly.
You should hold the ends for a few seconds until they can stay together on their own. This is now the main body of your pumpkin, and you’ll notice it should already have that round.
Soft little 3D look to it. I always love this part because your craft suddenly starts feeling like a real tiny pumpkin.
You should handle the paper gently so you can keep that nice curved shape looking smooth and pretty. And before you realize it, your paper strips won’t just look like random pieces of paper anymore.
If your circle looks uneven, you can gently press and adjust the rings with your fingers. Just keep handling the paper softly so you can protect the pumpkin’s cute rounded shape.
7. Create Green Details
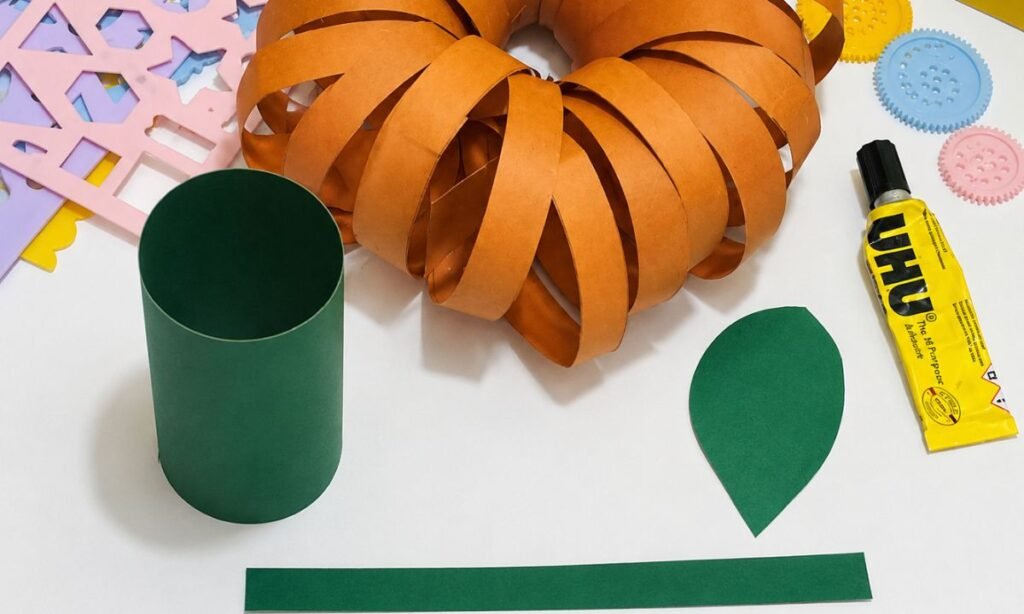
Now you can grab your green paper and start making the pumpkin details. For the stem, you can take a small piece of green paper and roll it up.
You should glue the end down so it doesn’t come unrolled while you’re working.
Next, you can cut out a simple leaf shape. It can be round, pointed, or even a little wavy, whatever feels cute to you.
Then you can cut a thin strip of green paper for the vine. To curl it, you can wrap the strip around a pencil for a few seconds, then gently slip it off.
These small green pieces can really add a lot of character, and you’ll notice how they make your pumpkin feel more complete and lively.
8. Add Final Touches
For the last step, you can glue the green stem right in the middle of your pumpkin.
You should attach the leaf close to the stem and place the curly vine right beside it so everything feels balanced.
Press each piece down gently so it sticks well, but you must be careful not to flatten your pumpkin shape while doing it.
Once everything is in place, you should let it sit for a while so it can properly set before you move it around too much.
You can keep it simple, or you might choose to add extra fun details like a cute face. Some glitter, stickers, or even tiny paper leaves if you want more decoration.
I really love how pretty it already looks with just the stem and vine. And now your pumpkin paper craft is ready for you to show off for fall.
What Type of Paper Works Best for a Pumpkin Paper Craft?
I tried this craft and found that thicker paper is much better than your typical thin printer paper.
You can use cardstock because it will help you keep the pumpkin shape nicely. And you’ll notice your paper rings stay firmer and more rounded.
You can also go with construction paper, especially if you’re doing this as a kids craft, and you might find it works well enough.
But you should know it can bend a little more easily, so you’ll need to handle it with a bit more care.
You should avoid very thin paper because your rings might lose their shape once you start adding glue.
I personally like using bright orange construction paper because you get a more vivid pumpkin. And you’ll see it gives your finished craft a more festive, happy feel.
How Do You Decorate a Paper Pumpkin Without Making It Messy?
I particularly like this pumpkin paper project because it feels simple for you to decorate and it doesn’t leave you with a big mess afterward.
You can keep it basic by using colorful paper, stickers, markers, or small paper cut-outs instead of using tons of paint or glitter everywhere.
You’ll notice these simple choices can still make your pumpkin look exciting and artistic without you covering the whole table with craft supplies.
If kids are doing this craft, you should use washable glue sticks because you can control them much more easily than liquid glue.
You can also add small faces, bows, or little paper leaves if you want your pumpkin to have its own personality.
Honestly, you don’t really need a lot of extras because you might find that the curly green vine already adds enough beauty on its own.
FAQs
Can I Make This Pumpkin Paper Craft Without Glue?
Yes, you can still make a simple pumpkin paper craft even without using glue, and you’ll find it works quite well.
You can join your paper strips into rings using double-sided tape or even a small stapler.
If younger kids are doing this craft, you’ll notice tape is usually easier and much less messy for them to handle.
This pumpkin might not look as smooth as the glued version. But you’ll still see it turns out incredibly cute for classroom work or quick fall activities.
How Long Does This Pumpkin Paper Craft Take to Make?
Once you have everything prepped, you’ll notice this craft can actually feel quite fast and easy to finish.
It usually takes you around 20 to 30 minutes, depending on how detailed you want your decorations and embellishments to be.
If you’re doing this with younger kids, you might find it takes a bit longer .Because you’ll be helping with the cutting and gluing process.
You may also like to make!