

I have thrown away more failed bunny crafts than I want to admit. So, let me save you the trail and error.
This craft will take about 20 minutes, will cost you under $3 and even your five year old can do this craft most of their own.
The ears actuclly stand up – that was the whole problem with every version I tried before this one.
Let’s start to make this cute little bunny.
- The Ear Thing Nobody Warns You About
- Materials Needed:
- Step-by-Step Guide
- 1. Circles and Craft Supplies
- 2. Fold the Orange Circle
- 3. Combine Pink and Orange Circle
- 4. Small Bunny Details
- 5. Add Face and Paws
- 6. Decorate Bunny
- 7. Final Details
- Shapes Cutting Tips
- FAQs
- Can I make this bunny paper craft without colored paper?
- How long does this bunny paper craft usually take to make?
The Ear Thing Nobody Warns You About
Here’s the thing that took me six bunnies to figure out. Ear fail for one reason: you are asking a flate piece of paper to hold a curve it was never cut to hold.
Glue does not fix that. More glue really does not fix that. What helps me to fix this was a score line.
You can run the back of a butter knife down the center of each ear before you glue anything – one light pass, top to bottom, hard to dent the paper but not cut through it.
That dent will give the paper a spine. Then you can fold along it and the ear will stand on its own. Now grab your supplies.
Materials Needed:
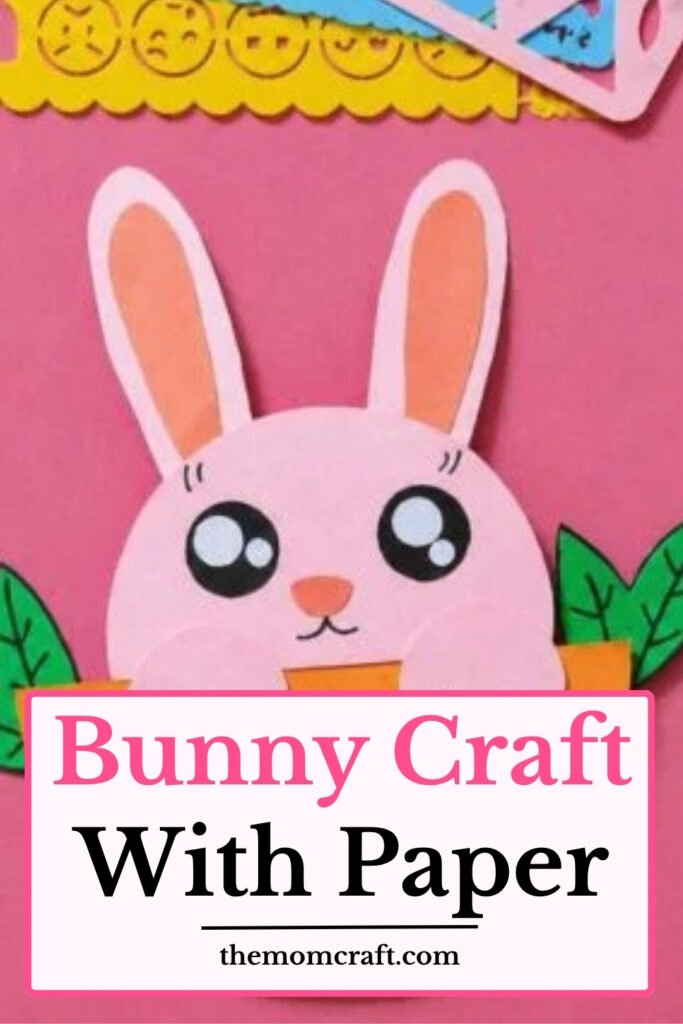
- Colored paper sheets (I use pink, orange, white, green)
- Pencil
- Black marker
- Scissors
- Glue
- Compass (for making circles)
- Craft stencils (optional)
Step-by-Step Guide
1. Circles and Craft Supplies
First of all you have to grab all the supplies I have listed above so you don’t have to find things half way.
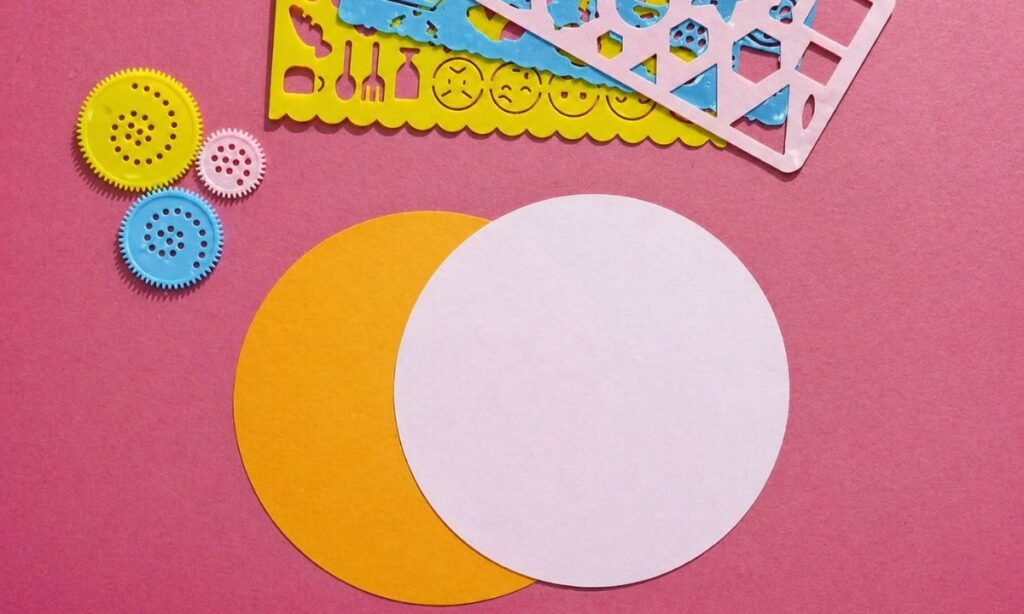
Then you can use compass to make two circles on two different papers, I used one pink and other orange paper here.
Crafting is not about to be professional, don’t worry if circles or the overall craft looks a little untidy.
2. Fold the Orange Circle
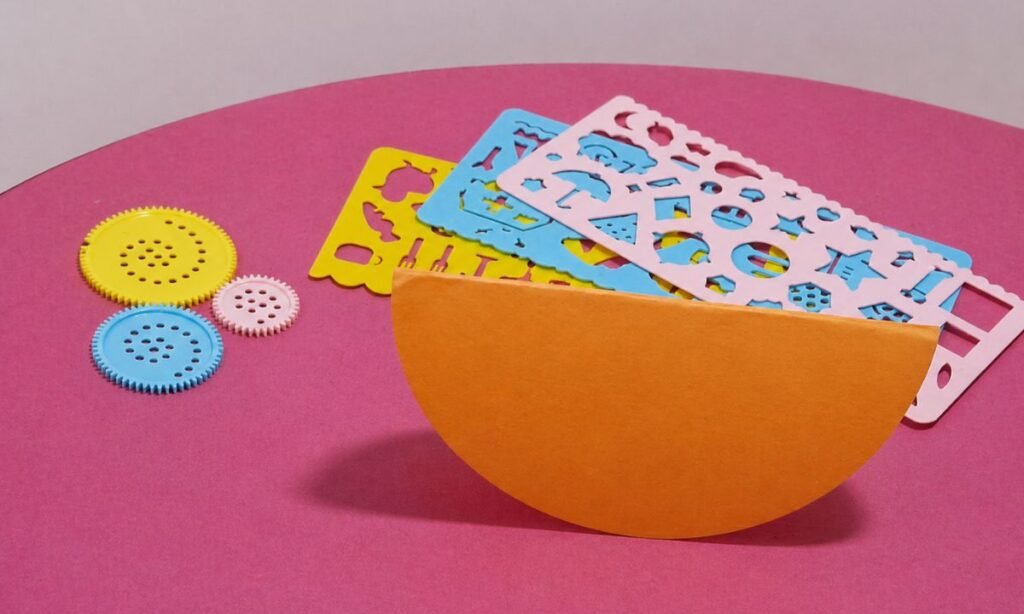
The orangle circle is going to work as our carrot in our craft here.
So, you have to now fold the orange circle in half to make it a semi-circle shape.
To make it clean you have to line up the edges before you press the fold. The fold will give this craft a 3D effect.
3. Combine Pink and Orange Circle
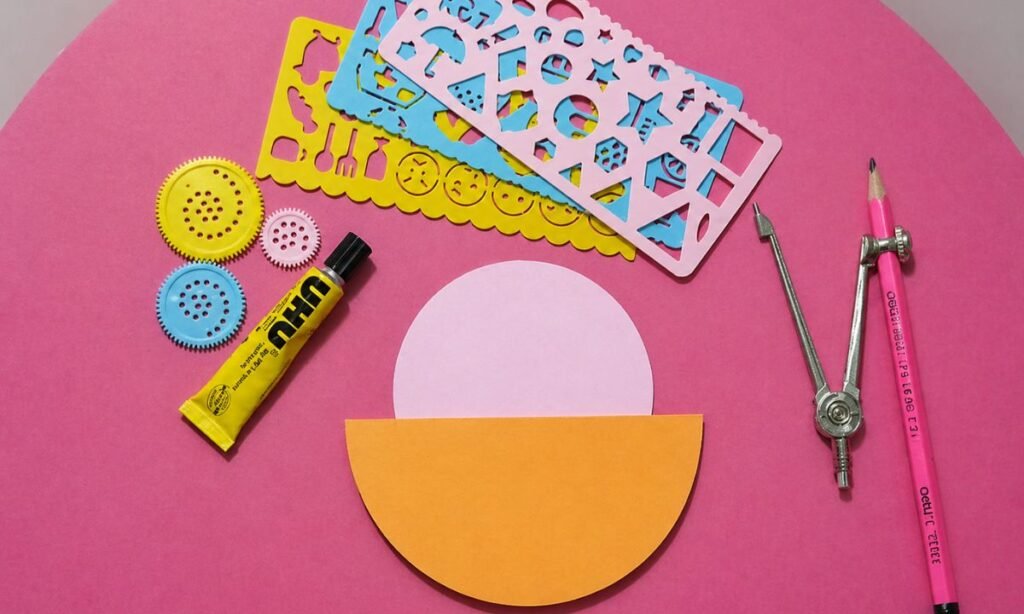
After that, you can place pink circle behind the orange semicircle, and you’ll start to see bunny slowly take shape in your hands.
You should make sure the pink circle stays on top, because it will become the bunny’s face.
You can apply adhesive only on the back of the orange semicircle to avoid mess.
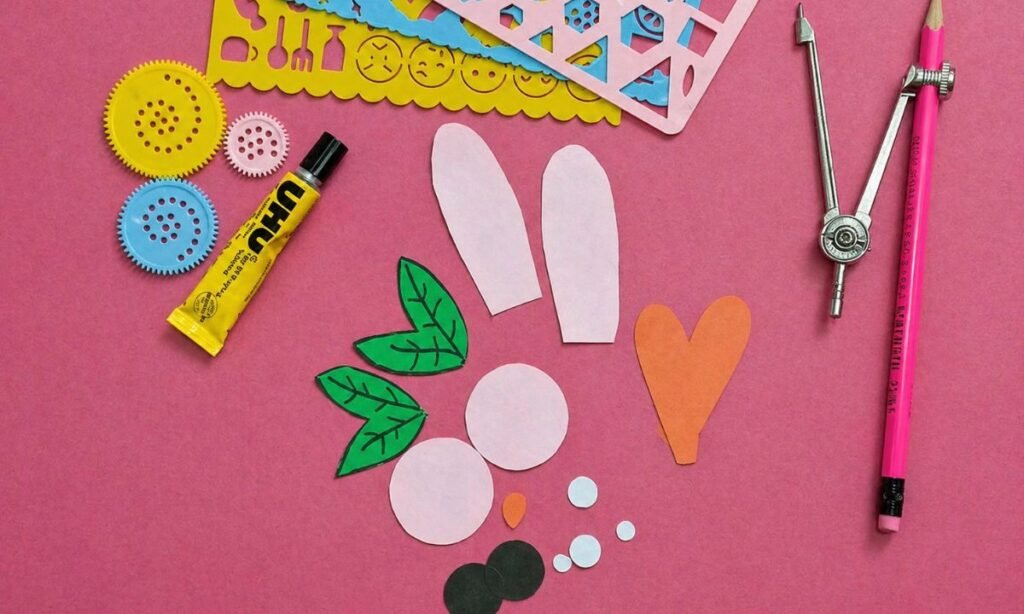
4. Small Bunny Details
Now it is the time to get all the cute pieces ready, like ears, cheeks, leaves, paws, nose, and eyes.
You can choose pink, orange for the nose, and green for the leaves to make the final craft look fresh and bright.
For the paws, I will prefer white or maybe any light-colored paper. For perfect cutting you should first sketch the details with pencil.
5. Add Face and Paws
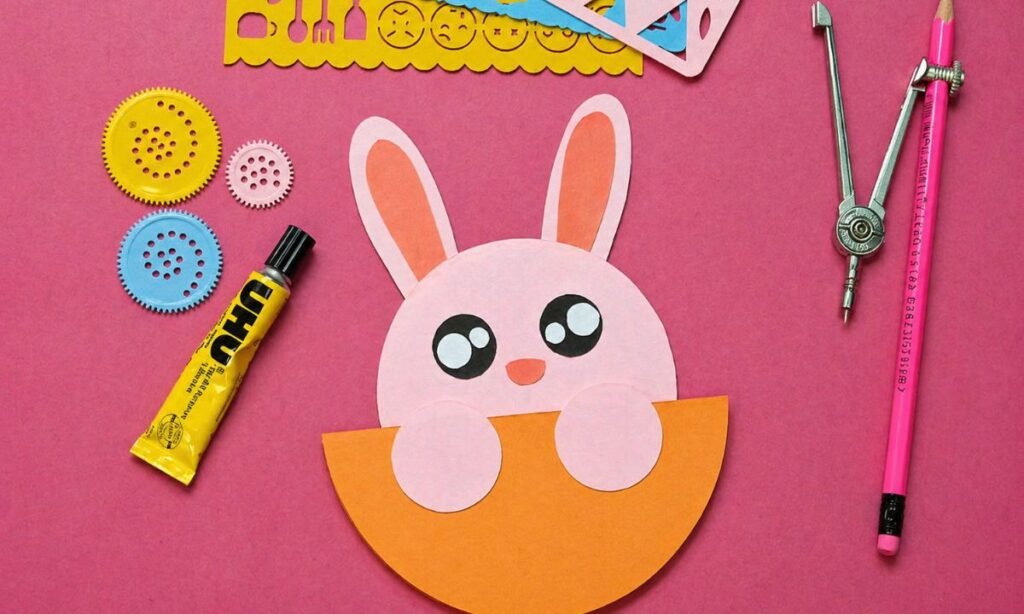
Now it’s time to put the bunny ears behind the pink circle, and make sure you have followed the method we discuss earlier to make ear straight.
After this you have to add the small orange nose, eyes, and cheeks. This it the moment when your bunny will start to look cute.
Then I attach paws onto the sides of the orange basket, these look like bunny is peeking out of the basket.
6. Decorate Bunny
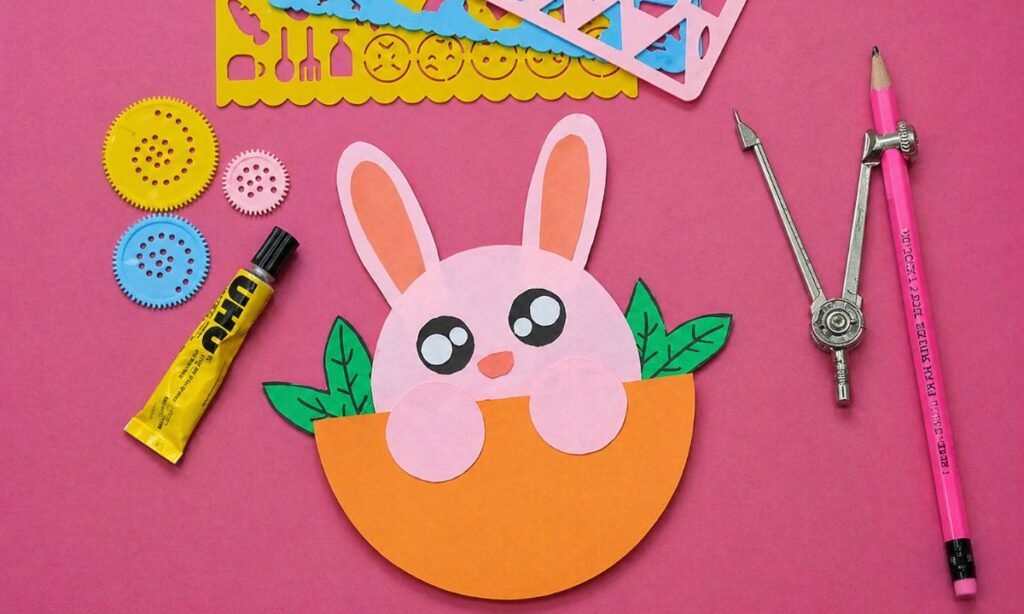
Once you are done with the bunny’s face, you should place the green leaves on both sides of the orange basket.
These small leaes will make your craft look bright. The bunny on the other hand will look sitting inside a basket of carrots.
7. Final Details
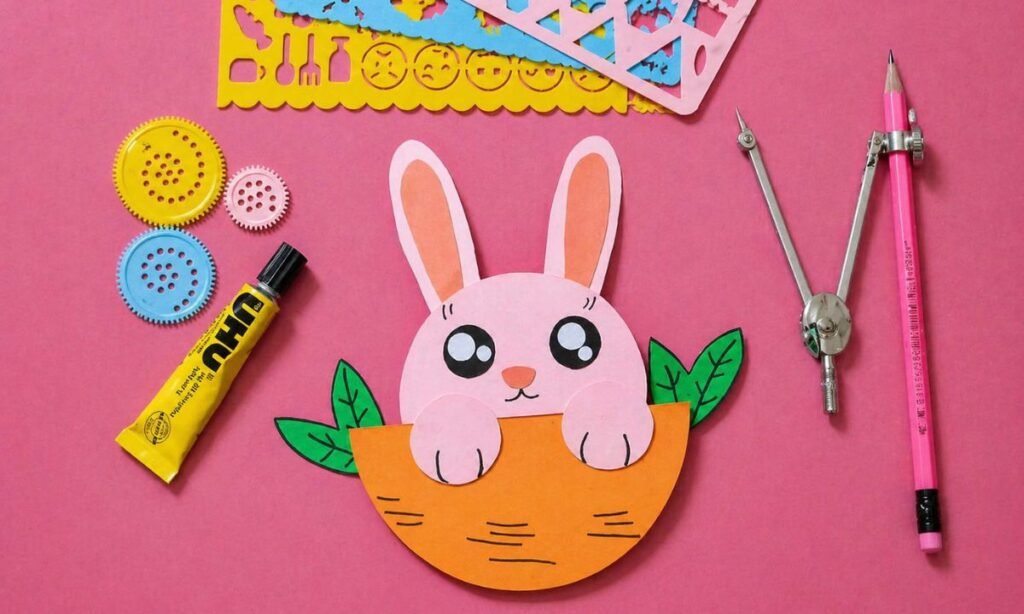
Now you can use a black marker to draw the bunny’s mouth, whiskers, and any small last details you want to add.
To give the orange basket more texture you can add few lines on it.
Now your bunny craft is completed and ready to be displayed in your kids bedroom.
Shapes Cutting Tips
Don’t worry if you feel it hard to cut shapes, I know it is difficult in begining. But the best part of this craft is you can still make it lovely.
To keep things simple you should use basic shapes like circles and ovals instead of anything too complex.
The best thing to avoid mess is you can draw the shapes with the pencil first and then you should cut along the lines slowly to stay in control.
Here’s the pro tip to cut both sides of the paper you can fold it half especially for the mathing ears and paws.
FAQs
Can I make this bunny paper craft without colored paper?
Yes, you can do it, and it will it turns out very nice! If you don’t have colorful paper at home, you can just use plain white paper.
You can color all the pieces using crayons, markers, or colored pencils, and you can choose whatever style you like.
Kids will genuinely enjoy this because you can let them design their rabbit however they want it to look.
How long does this bunny paper craft usually take to make?
This bunny activity is really easy for beginners, and it doesn’t take much time for you to make it from start to finish.
You can usually finish it in about 20 to 30 minutes, depending on how much detail you want to add and how carefully you want to work on each step.
If you’re making it with kids, it might take a little longer, and that’s totally fine for you because you don’t need to rush the process at all.
You may also like to make!



