

My little sister always tries to catch butterflies whenever she sees one flying nearby.
The problem is, the butterfly usually flies away before she can get close, and then she gets upset and starts crying.
One day, instead of trying to distract her with something else, a butterfly craft felt like the perfect little surprise.
It gave her a butterfly she could actually hold, decorate, and keep with her even after the real one had flown away.
Let’s make this butterfly craft.
- Why Butterfly Wings Look So Colorful
- Materials Needed:
- Step By Step Guide
- 1. Fold Pink Paper
- 2. Draw Butterfly Shape
- 3. Cut Butterfly Shape
- 4. Prepare Decoration Pieces
- 5. Attach Lollipop Holder
- 6. Secure Lollipop Position
- 7. Add Wing Spots
- 8. Finish Butterfly Face
- How To Customize This Craft
- Butterfly Craft Challenges
- Fun Facts About Butterflies
- FAQs
- Can I Make This Butterfly Craft Without a Lollipop?
- Can I Turn This Butterfly Craft Into a Party Favor?
Why Butterfly Wings Look So Colorful
Butterfly wings are covered with tiny scales that reflect light in different ways, creating bright colors and patterns across their surface.
These colors can help butterflies attract mates, blend into flowers or leaves, and warn predators to stay away.
Some wing patterns also make butterflies harder to spot when they are resting with their wings closed.
That is why butterfly wings can look so different from one species to another, even when their body shapes seem similar.
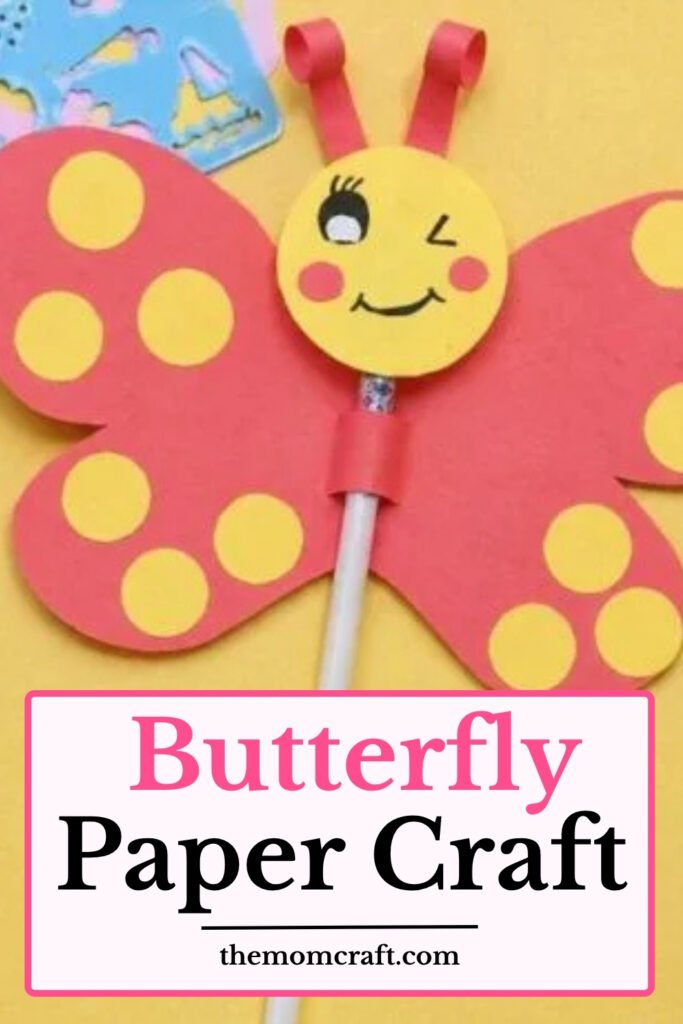
Materials Needed:
- Pink paper
- Yellow paper
- Red paper
- White paper
- Black paper or black marker
- Lollipop
- Glue
- Scissors
Step By Step Guide
1. Fold Pink Paper
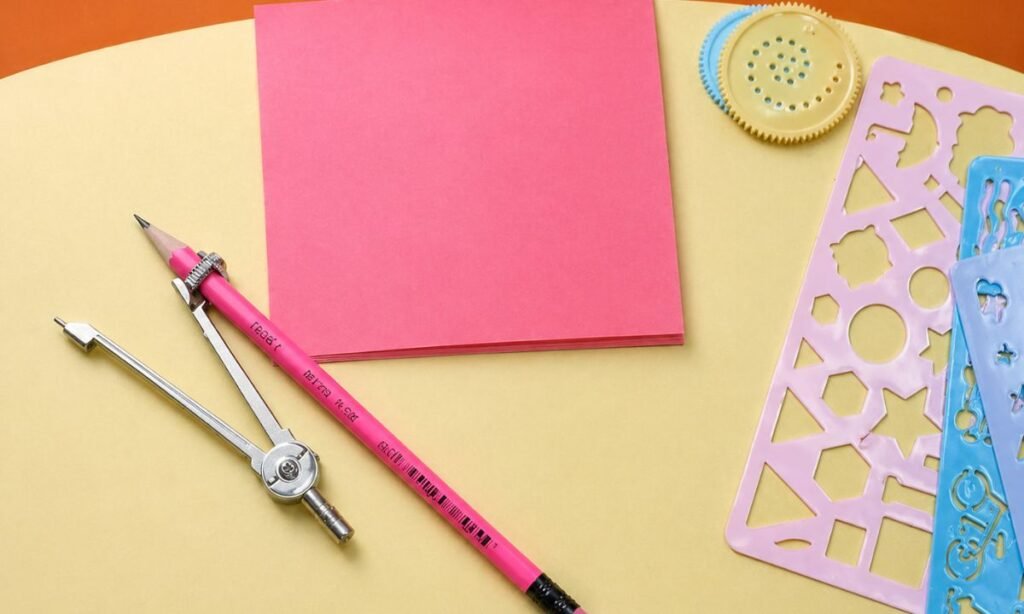
Fold the pink paper in half, bringing both sides together carefully so the edges meet evenly from top to bottom.
Press along the folded edge with your fingers, creating a clear center crease while keeping the paper smooth and flat.
Check that both layers stay aligned before drawing, because an uneven fold can make the butterfly wings look different on each side.
2. Draw Butterfly Shape
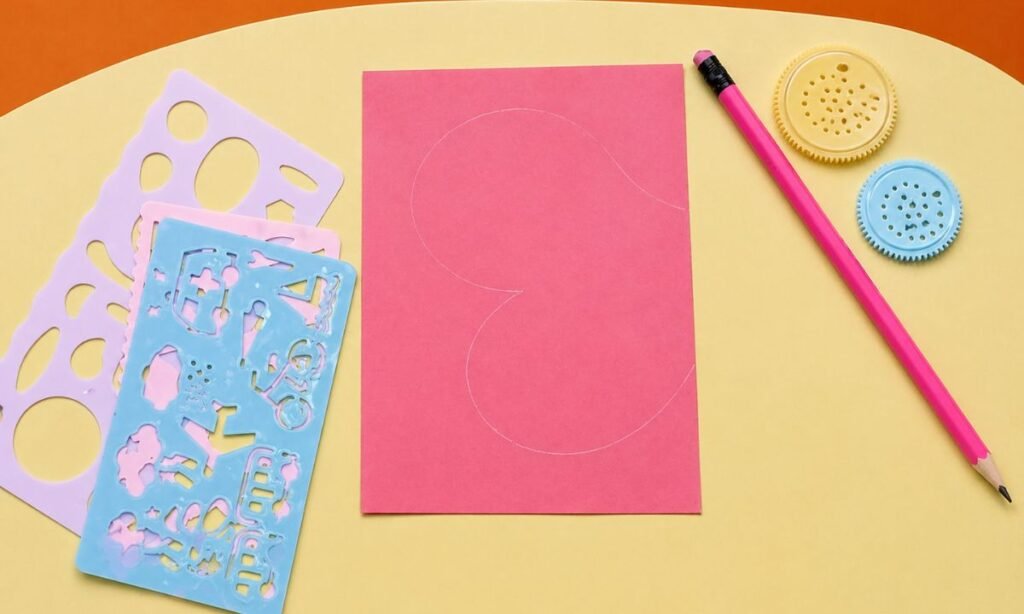
Draw one half of a butterfly along the folded edge, making the upper and lower wings wide and smoothly rounded.
Keep the butterfly body close to the fold, so both sides stay connected when the paper is cut and opened.
Use light pencil lines at first, then adjust the curves until the wing shape looks balanced and easy to cut.
3. Cut Butterfly Shape
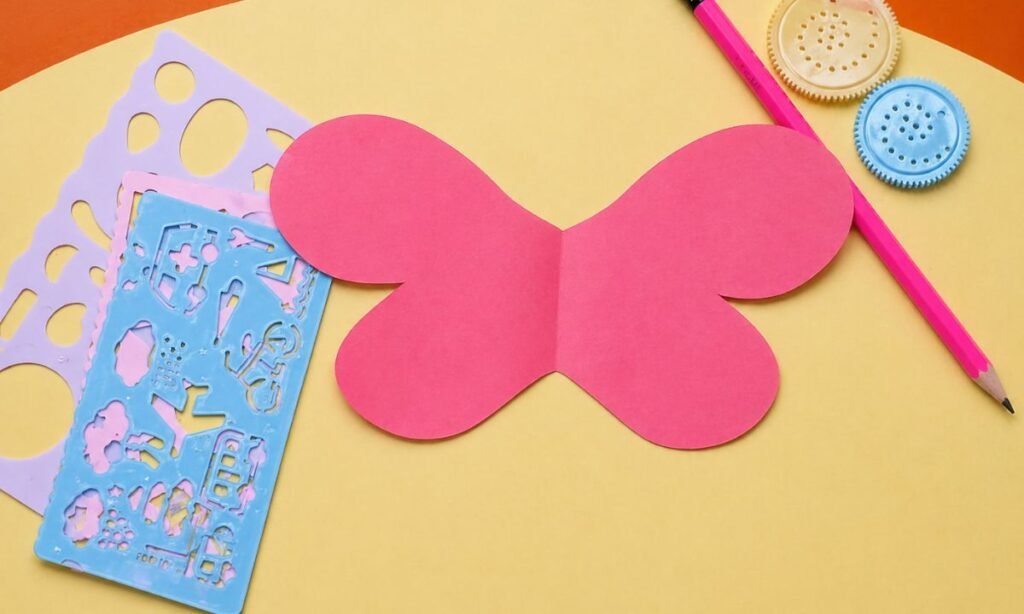
Cut carefully along the drawn outline, keeping the folded paper together so both butterfly wings are created at the same time.
Open the paper slowly after cutting, revealing the matching wings on both sides of the center fold without tearing the edges.
Flatten the butterfly gently on the work surface and trim any rough spots so the four wings look smooth and balanced.
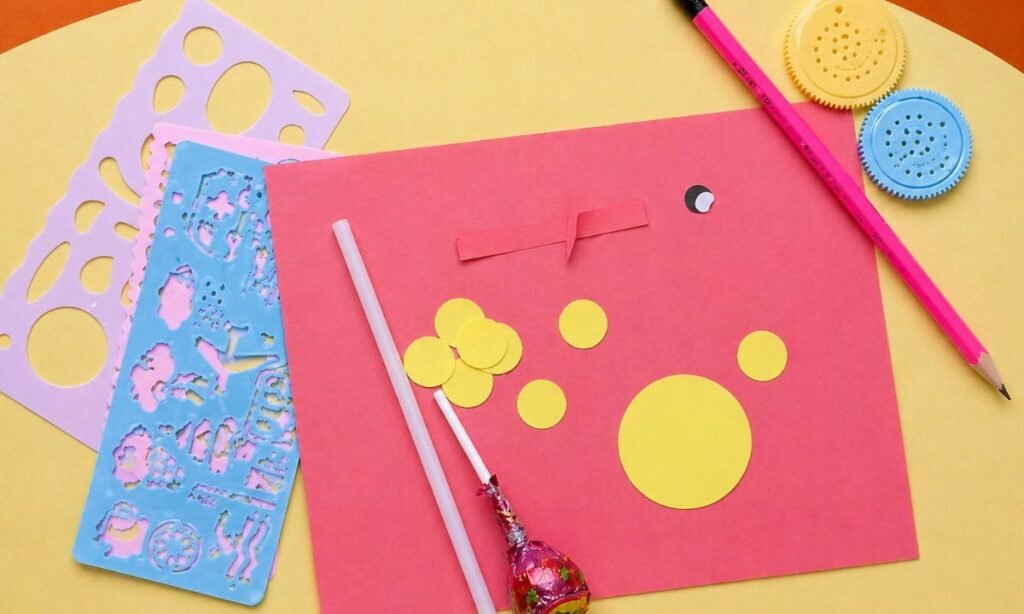
4. Prepare Decoration Pieces
Cut several yellow paper circles in different sizes, preparing a few larger and smaller pieces for decorating the butterfly wings.
Prepare a small layered eye, two narrow red paper strips, and two white paper tubes before attaching the butterfly details together.
Keep all the cut details grouped on the work surface, checking their sizes so the decoration stays balanced across the butterfly.
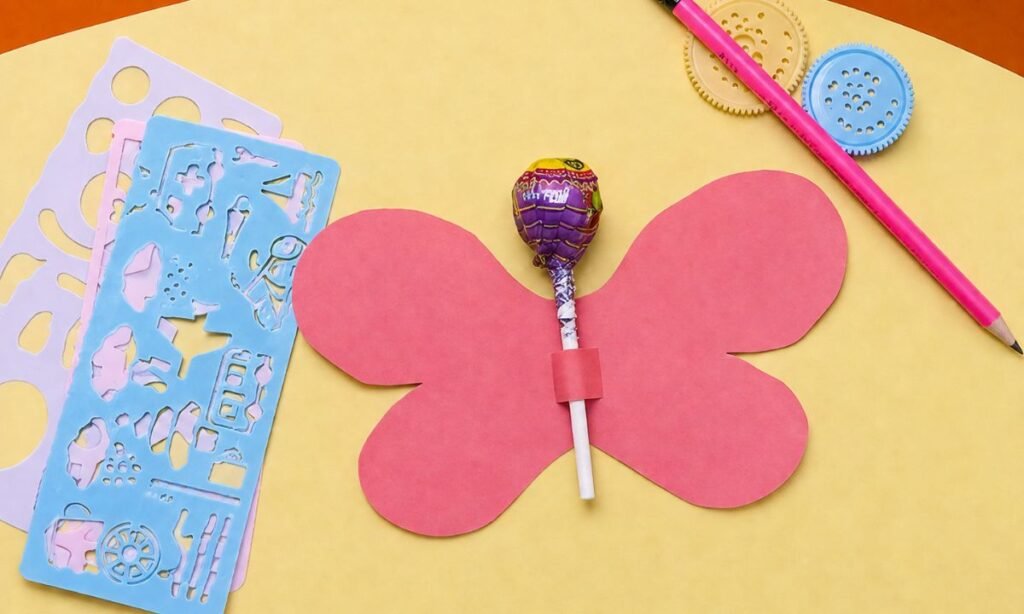
5. Attach Lollipop Holder
Place the lollipop vertically along the butterfly center, keeping the candy at the top and the stick running downward straight.
Wrap the small red paper loop around the stick and glue both ends securely onto the butterfly body at the center.
Press the loop firmly so the lollipop stays centered without sliding, while the four wings remain completely flat and visible.
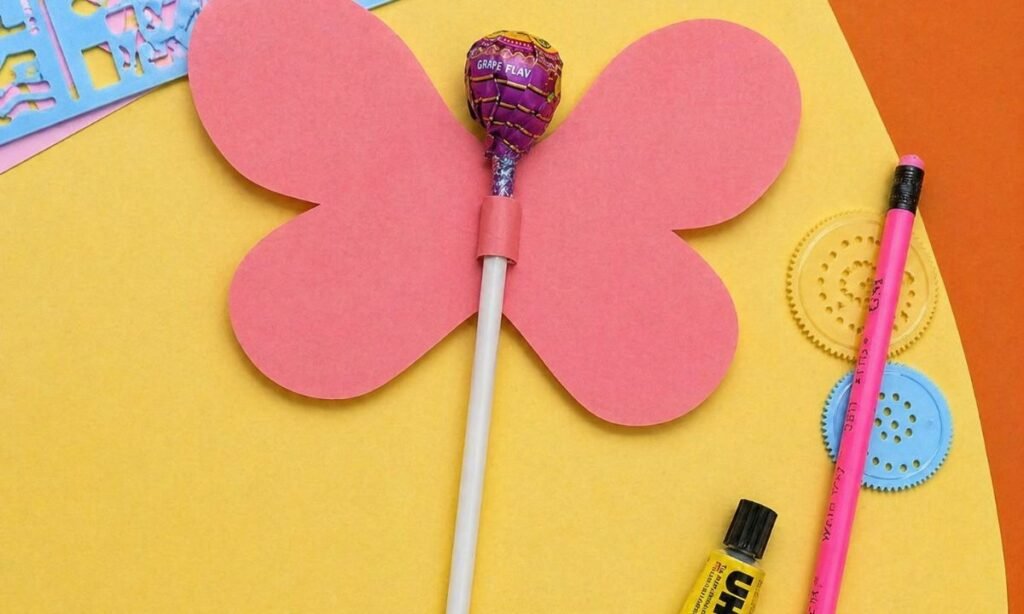
6. Secure Lollipop Position
Check that the red paper loop holds the lollipop stick firmly against the butterfly center without covering the nearby wings.
Keep the candy positioned above the butterfly body, leaving enough space below so the stick extends straight through the center.
Adjust the loop before the glue dries if the stick leans sideways or the candy sits too close to one wing.
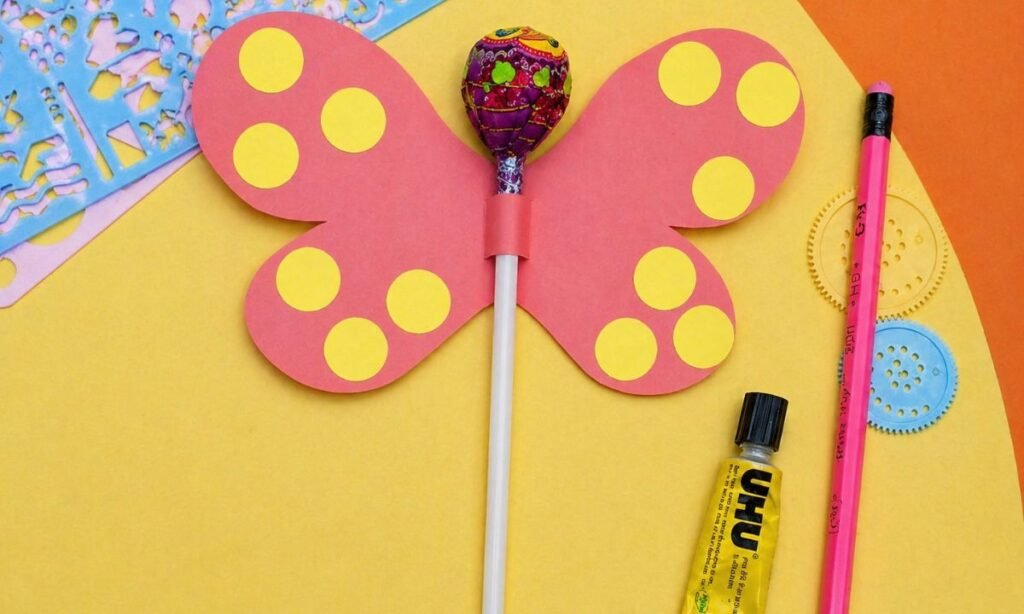
7. Add Wing Spots
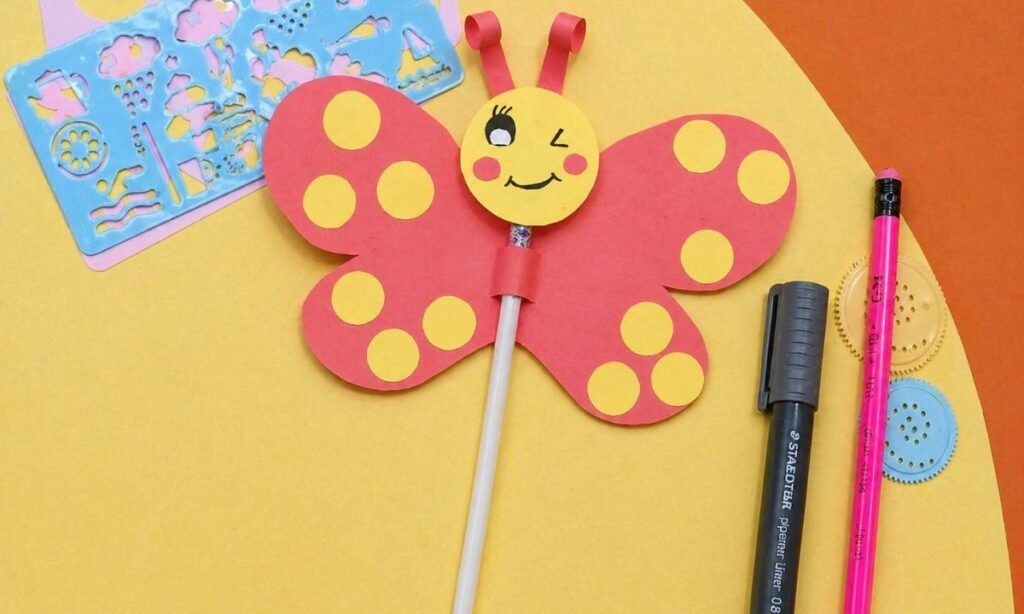
Glue the yellow paper circles across all four wings, spreading the larger and smaller spots so the pattern feels balanced.
Leave some pink paper visible between each circle, which keeps the decoration clear instead of making the wings look crowded.
Check both sides before pressing the circles down firmly, making small adjustments wherever one wing has noticeably more decoration than the other.
8. Finish Butterfly Face
Glue the yellow face above the lollipop holder, keeping it centered where the upper wings meet around the butterfly body.
Add the curled red antennae, eye details, pink cheeks, and simple smile, spacing every feature clearly across the round face.
Press each paper piece gently after gluing, then check that the face stays straight and both antennae sit at similar heights.
How To Customize This Craft
Change the wing colors, spot shapes, or antenna details to create a butterfly that looks completely different from the original version.
You can use hearts, stars, dots, or small patterns instead of circles if you want the wings to feel more playful.
Try mixing two or three colors across the wings while keeping the center simple so the design does not look crowded.
If you make several butterflies, use different patterns on each one so every finished craft has its own look.
Butterfly Craft Challenges
Keeping both wings even can be tricky, especially if the folded paper shifts while you are drawing or cutting the outline.
The lollipop holder may also loosen if the loop is too wide, so check the fit before the glue fully dries.
Small decoration pieces can move around while gluing, which makes it harder to keep both wings looking balanced.
Using firm paper and arranging all the pieces before gluing can make the final butterfly look much cleaner.
Fun Facts About Butterflies
- Butterflies taste with their feet because special sensors on their legs help them check whether a plant is suitable for food or eggs.
- Butterflies use their antennae to smell and also help sense their surroundings while moving from place to place.
- Most butterflies drink nectar from flowers using a long tube-like mouthpart called a proboscis.
- Butterflies cannot fly well when they are too cold, so they often warm themselves in sunlight before becoming active.
- Some butterfly species travel very long distances during migration, moving between warmer and cooler regions during different seasons.
- A butterfly begins life as an egg, then becomes a caterpillar, forms a chrysalis, and finally changes into an adult butterfly.
FAQs
Can I Make This Butterfly Craft Without a Lollipop?
Yes, you can leave the lollipop out and use a rolled paper strip, straw, or narrow paper tube through the center.
Keep the center piece light so the butterfly stays balanced and the wings do not bend or pull downward.
This version works well if you want the craft mainly for decoration rather than using it as a small treat.
Can I Turn This Butterfly Craft Into a Party Favor?
Yes, this butterfly works well as a party favor because the lollipop fits neatly through the center and stays easy to remove.
You can match the wing colors to the party theme and add each child’s name near one side of the butterfly.
Making several together also creates a colorful table display before the butterflies are handed out as small treats.
Materials mein bhi thoda fix chahiye. Pencil missing hai, aur Step 4 mein white paper bhi use ho raha hai. Better list:
You may also like to make!



