
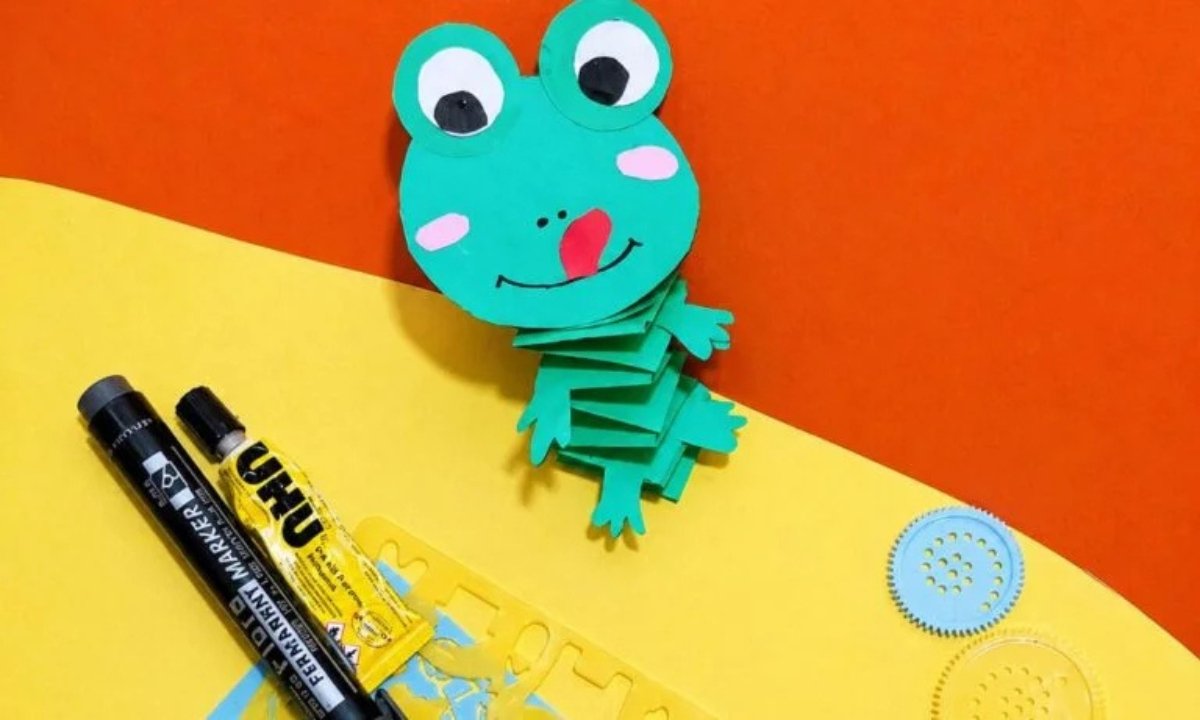
You can try this paper frog project, and you might notice how simple it feels when you actually start it.
You can see yourself turning a plain idea into something cute. And you can honestly feel surprised because you didn’t expect it to turn out this adorable.
You can do this project on a cozy afternoon at home when you just want something easy and fun, and you don’t need any special supplies to get started.
If you want a quick creative break, you can make this little frog with your kids. Or you can even do it by yourself when you feel like you want to do something light and creative.
- Step-By-Step Guide
- 1. Get Paper Strips & Supplies
- 2. Fold Two Paper Strips
- 3. Make Folded Pieces
- 4. Stack & Glue The Folded Pieces
- 5. Make The Frog’s Cute Face
- 6. Attach The Hands And Feet
- 7. Glue The Face On Top
- Why Does My Paper Frog Craft Not Look Cute Like The Pictures?
- Why Is Cutting Shapes For Frog Craft So Difficult For Kids?
- Is There A Mess-Free Way To Make A Frog Paper Craft At Home?
- FAQs
- How Can I Make My Paper Frog Craft Look More Fun And Creative?
- What Age Is This Frog Paper Craft Suitable For?
Step-By-Step Guide
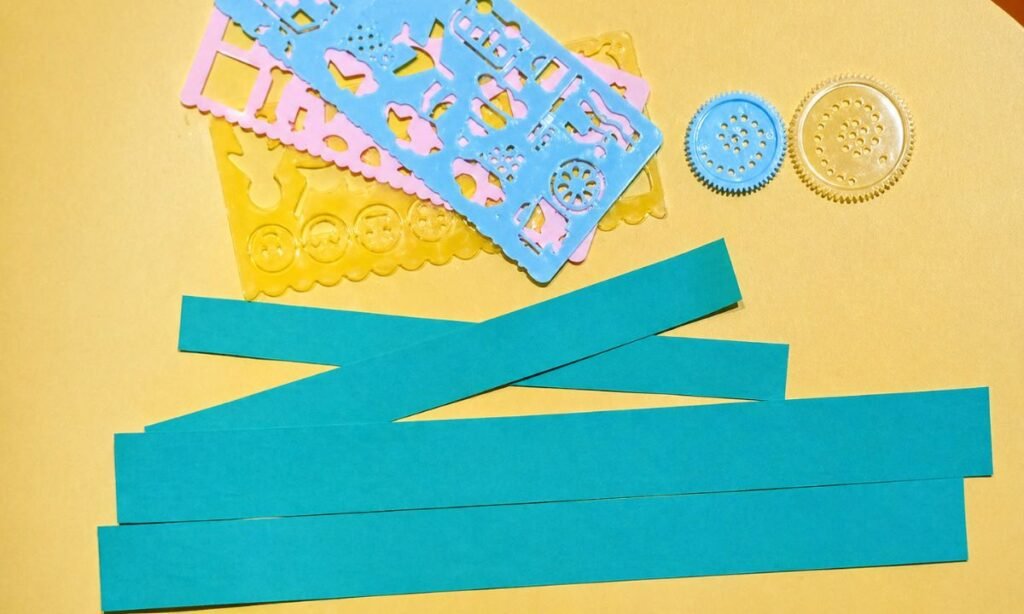
1. Get Paper Strips & Supplies
You can start making the frog’s folded body and legs by taking or cutting large strips of green paper.
And you can already feel how simple it begins when you just set the strips in front of you. Before you start, you might want to get everything ready.
Because you know kids can get excited quickly and they will want to jump straight into folding and gluing as soon as they see the materials.
You will need green paper strips, glue, scissors, a green circle for the face. And you can also use paper eyes or even googly eyes if you want a fun look.
You can add pink cheeks, a red tongue, and you can use a black pen for small details that bring the frog to life.
2. Fold Two Paper Strips
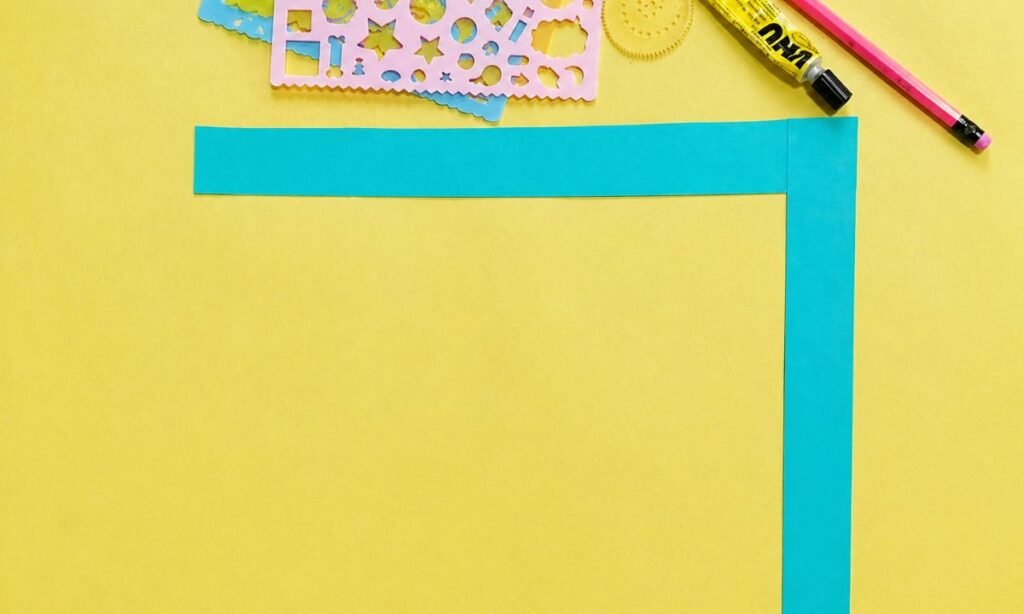
You can start by placing two green paper strips in an “L” shape, and you can see one strip going across while the other goes down.
Then you can fold one strip over the other, and you can fold the other strip back over the first. And you just keep repeating this pattern again and again until you reach the end.
When you do this, you can create that accordion fold, and you can actually see how it starts to give the frog that bouncy look.
If you are doing it with kids, you might notice that they will need a little help at the beginning. But when they get the hang of it, you can see how much they start enjoying the process.
3. Make Folded Pieces
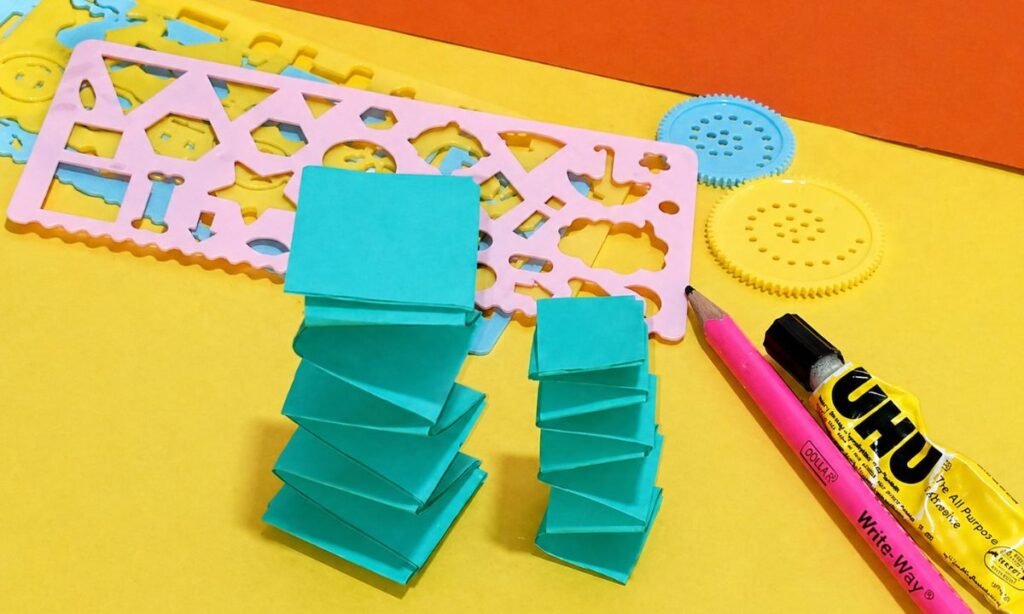
You can now construct more pieces of paper that are folded like an accordion. And you can start noticing how the craft slowly comes together in your hands.
But this time, you can try making them in two different sizes, and you can use the bigger folded piece for the frog’s main body.
You can use the smaller ones for its legs or other bouncy parts, and you can already see how this choice changes the whole look.
This is what can make your frog look more charming and layered instead of flat, and you might really like how it starts to take shape.
If your folds are not all the same, you don’t really need to worry. Because you can see that homemade crafts always have a bit of charm in their imperfections.
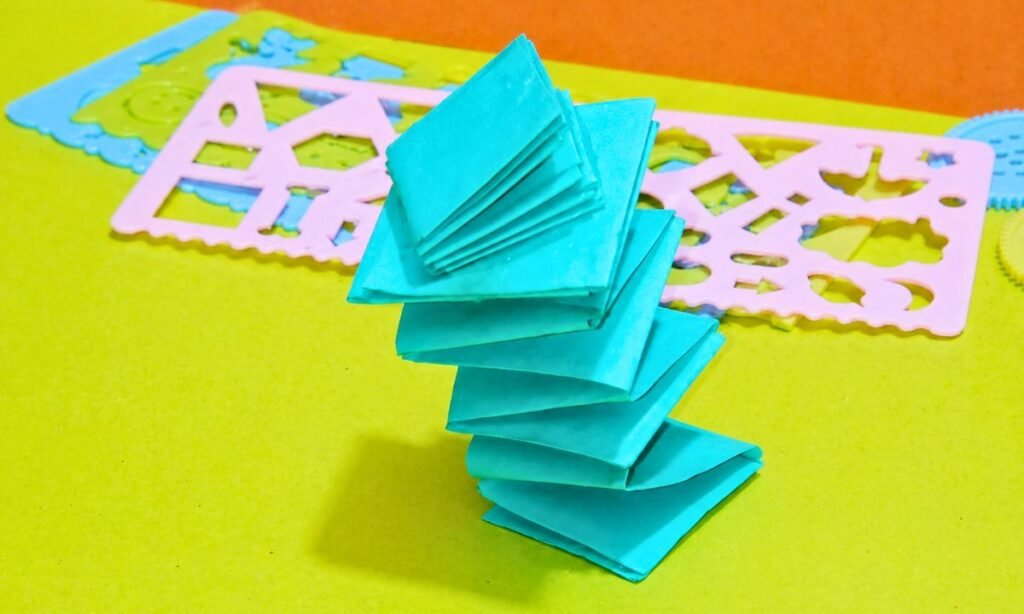
4. Stack & Glue The Folded Pieces
Once your folded paper strips are ready, you can start stacking them to form the frog’s body shape, and you can already see it slowly coming together.
You can put a little glue between the folded parts and then press them together carefully so they stick properly.
You don’t really need a lot of glue here because you can see how too much glue can make the paper soft and a bit messy.
After you apply the glue, you might find it better to hold the pieces for a few seconds so everything stays in place nicely.
This base is really important because you can see how it gives your frog a full, bouncy, and well-shaped look when everything is joined together properly.
5. Make The Frog’s Cute Face
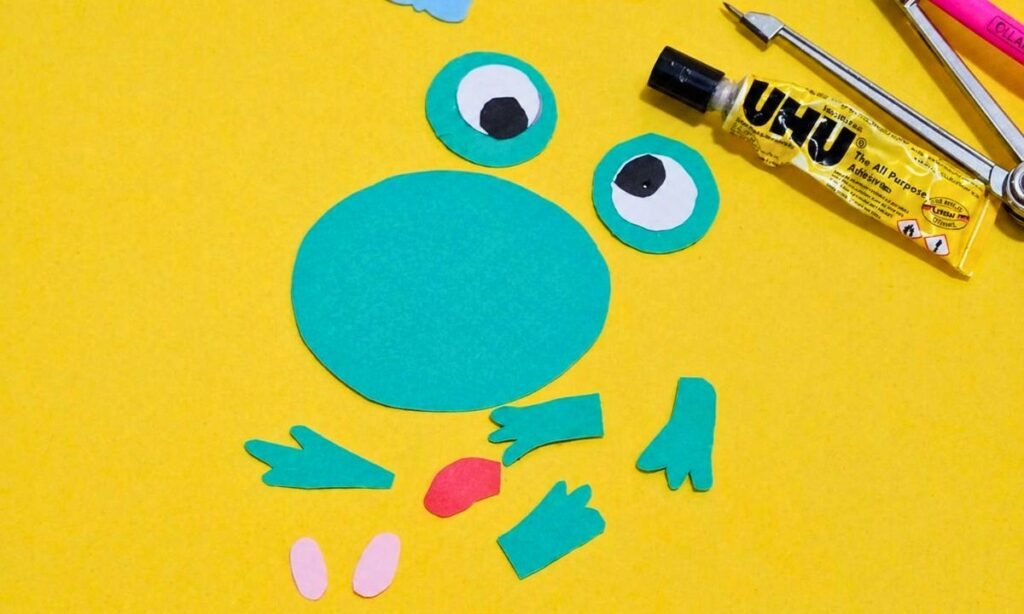
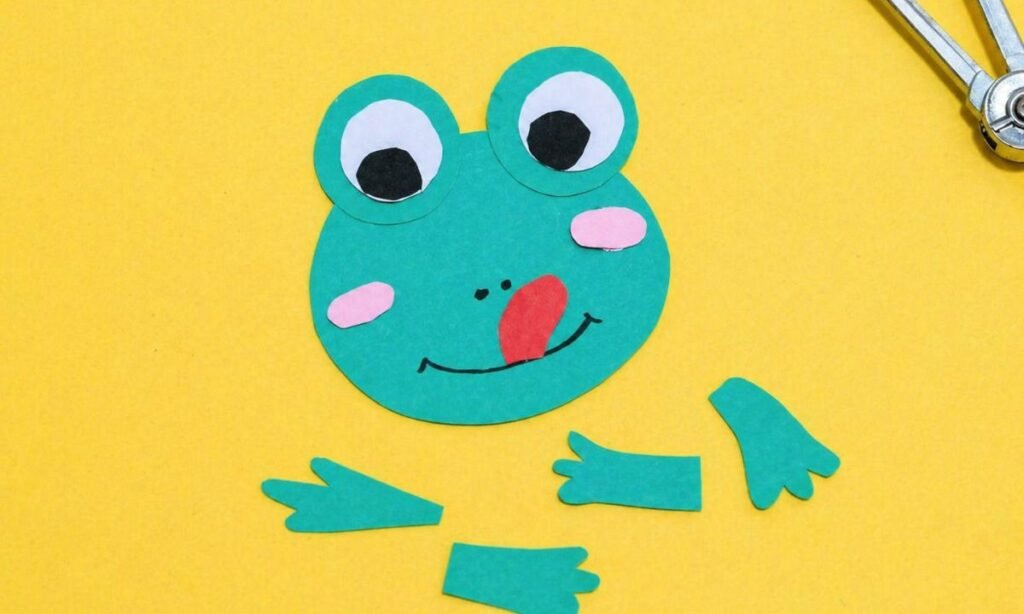
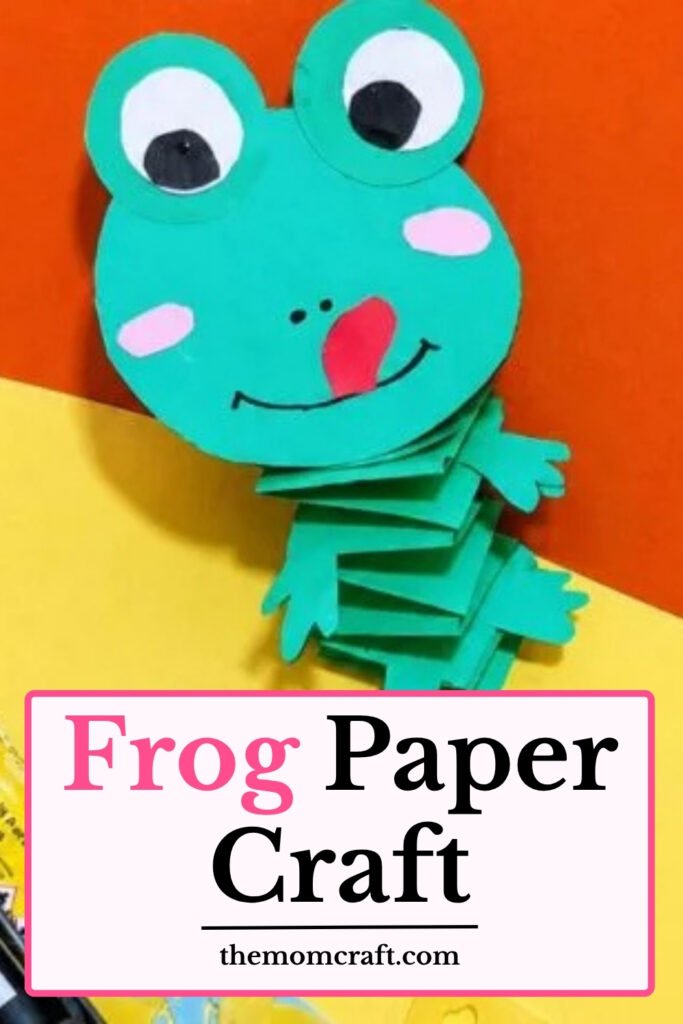
You can use the green paper circle to create the frog’s face, and you can already see it starting to look cute as you build it.
You can place the big eyes on the top, and you can add pink cheeks on each side so the face starts to feel more lively.
Then you can glue on the red tongue, and you can use a black marker to draw a cute smile along with small dots on the nose.
This is the part where you can really feel your frog coming to life. And you can even change the smile depending on what you want, it can look funny, cheerful, or anything you like.
Before you glue the eyes and cheeks, you can place them on the face first so you can check the spacing and make sure everything looks balanced.
6. Attach The Hands And Feet
Now you can add the frog’s hands and feet to the folded body, and you can already see how it starts to look more complete.
Before you glue anything, you can place them on both sides so you can check if they are even and properly balanced.
You might notice that this small step can make a big difference, because if the hands or feet are not even, your frog can start to look like it is leaning to one side.
Once you are happy with the placement, you can add glue and press down each piece carefully so everything stays in place.
This can be a really fun moment for youngsters because you can let them decide how their frog will look. And you can see how creative choices start to shape the final result.
7. Glue The Face On Top
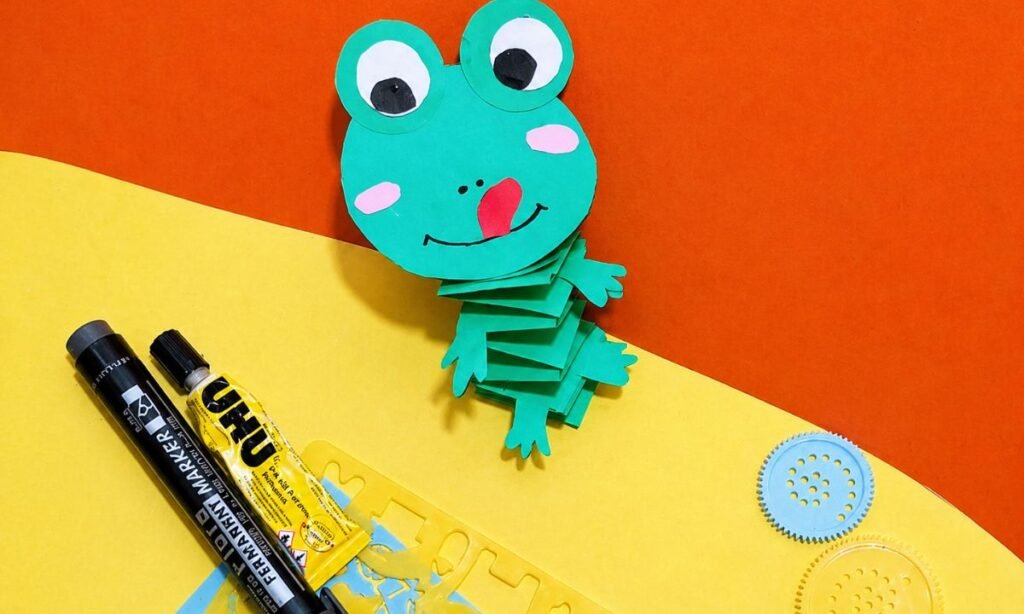
Finally, you can glue the frog’s head on top of its folded body, and you can gently press it down so it stays in place.
But you shouldn’t press too hard because you still want it to look bouncy and lively. You can hold the face for a few seconds so it sticks properly and doesn’t move around.
After that, you can put the frog aside and let everything dry completely before you try to play with it or move it.
Once it’s dry, you can see your little paper frog project is ready, and it can feel really satisfying when you finally look at it finished.
It looks happy, springy, and you can use it as a fun craft, a classroom activity, or even a simple afternoon project for kids on a rainy day.
Why Does My Paper Frog Craft Not Look Cute Like The Pictures?
You can be there too, you can follow every step carefully, but you might still notice your frog doesn’t look exactly right.
You can feel that frustration when you think you did everything correctly. But it still doesn’t look as cute as the ones you saw online, does it?
If you look closely, you can realize the truth, you can see that small details are what actually make those projects look amazing.
When you notice uneven folding, or when you see eyes that are a little off, you can understand how much it affects the final look.
If proportions feel slightly wrong, you might see how it can completely change the result.
I learned that when you properly space the eyes and when you keep your folds clean, you can actually see a huge difference in how your frog turns out.
Why Is Cutting Shapes For Frog Craft So Difficult For Kids?
You are not the only one whose child might struggle with cutting shapes, and you can see how this can be one of the trickiest parts of any paper project.
You might notice it especially with kids whose hands are still learning control, and you can understand why it takes time.
You can draw straight lines easily, but when it comes to circles, curves, and small details like frog feet, you might find it much harder.
If kids rush or hold the scissors in an awkward way, you can see how the shapes can turn out uneven.
You can make things easier by using slightly thicker paper so it doesn’t move while cutting. And you should also make your outlines clear and bold so you can follow them more easily.
Is There A Mess-Free Way To Make A Frog Paper Craft At Home?
I totally understand you if you’ve ever skipped crafts because you didn’t want to deal with the cleanup afterward, and you might have felt it’s just too much effort.
The good news is you can make this frog craft really clean and easy with just a few small changes.
Instead of using liquid glue, you can use a glue stick because you’ll notice it’s much easier to handle and it doesn’t stick to your hands as much, especially if kids are involved.
Before you even start, you can also put down an old newspaper or a tray so you can keep everything in one place and you don’t have to worry about the mess spreading.
If you want things even smoother, you can cut some of the smaller pieces ahead of time.
And you might see how this helps reduce paper crumbs and keeps everything much more organized.
FAQs
How Can I Make My Paper Frog Craft Look More Fun And Creative?
You can add your own creative touches, and you might notice how easily your frog starts to feel more unique and special.
Instead of using plain green paper, you can try patterned paper, or you can even add a little glitter if you want it to look shiny and more eye-catching.
You can also give your frog a small crown or a bow as an accessory, and you might see how much personality it adds.
If kids are making it, you can let them play with different colors and shapes while they build, and you can see how their creativity naturally comes out.
You can even adjust the frog’s personality just by changing its eyes or smile.
And you might find how this small change can make the whole craft feel more fun, personal, and full of character.
What Age Is This Frog Paper Craft Suitable For?
You can make this frog craft suitable for kids aged 4 and up, and you might notice how easily it adapts to different skill levels.
Younger kids can also take part, but they might need a little help while doing it, especially when cutting or assembling.
You can cut the shapes ahead of time for toddlers so they can focus more on folding and sticking, and you can see how much smoother the activity becomes for them.
Older kids, on the other hand, can try doing everything by themselves, like cutting, folding, and putting the pieces together.
You can use this craft both at home and in school because you can easily adjust it depending on ability. And you might find it works well for different age groups without changing much.
You may also like to make!



